Super Bowl Snacks

photo 4


The Super Bowl is always a great excuse to eat delicious treats and forget about the gym or your diet for a day. I also always love a theme or some reason to get creative with a party. As guests this year, I chose to bring an old fan favorite of mine and also try a new spin on chocolate covered strawberries that I saw on Pinterest. Both were a hit and there were no leftovers to bring home afterwards.

Chocolate Covered Football Strawberries

20130204-191622.jpg

These were very simple to make, the hardest part was getting the top off of the white icing tube. I used chocolate discs and melted them in the microwave. The box recommended that the strawberries be dry for the chocolate to stick better. After washing them, I then dried each with a paper towel. Following the directions from the package, I microwaved them in 30 second increments, stirring in between each round.

Once the consistency was very smooth, I dipped each strawberry in the chocolate and placed them on a plate. If I were to have read the instructions at the store, I would’ve bought wax paper, but of course that didn’t happen. (but definitely do so if you are planning to make these!) Once all the strawberries are covered, place them in the fridge for 15-20 minutes to harden.

20130204-192232.jpg

After the 15 minutes, I used Cake Mate Writing Gel icing to create my laces on the “footballs”.   I first made the vertical line on each followed by the horizontal lines. All in all this treat took minimal effort, time and skill to pull off but were the hit of the party!

20130204-191622.jpg

Bacon Stuffed Cherry Tomatoes

My godmother always makes these for special holidays and they have been my favorite for as long as I can remember.  They are tedious to make, but the steps are worth it!

1lb. bacon

24 cherry tomatoes

1/2 cup mayonaise

1/2 cup finely chopped green onions

1. Remove stems from tomatoes

2. Place tomatoes stem side on cutting board and cute a thin slice around the top

photo 3

3. With a small spoon (I used a melon baller ) scoop out the inside

photo 2

4. Place upside on paper towel for 3o minutes to drain

photo 4

5. Dice and fry bacon

6. Drain and cool on paper towels

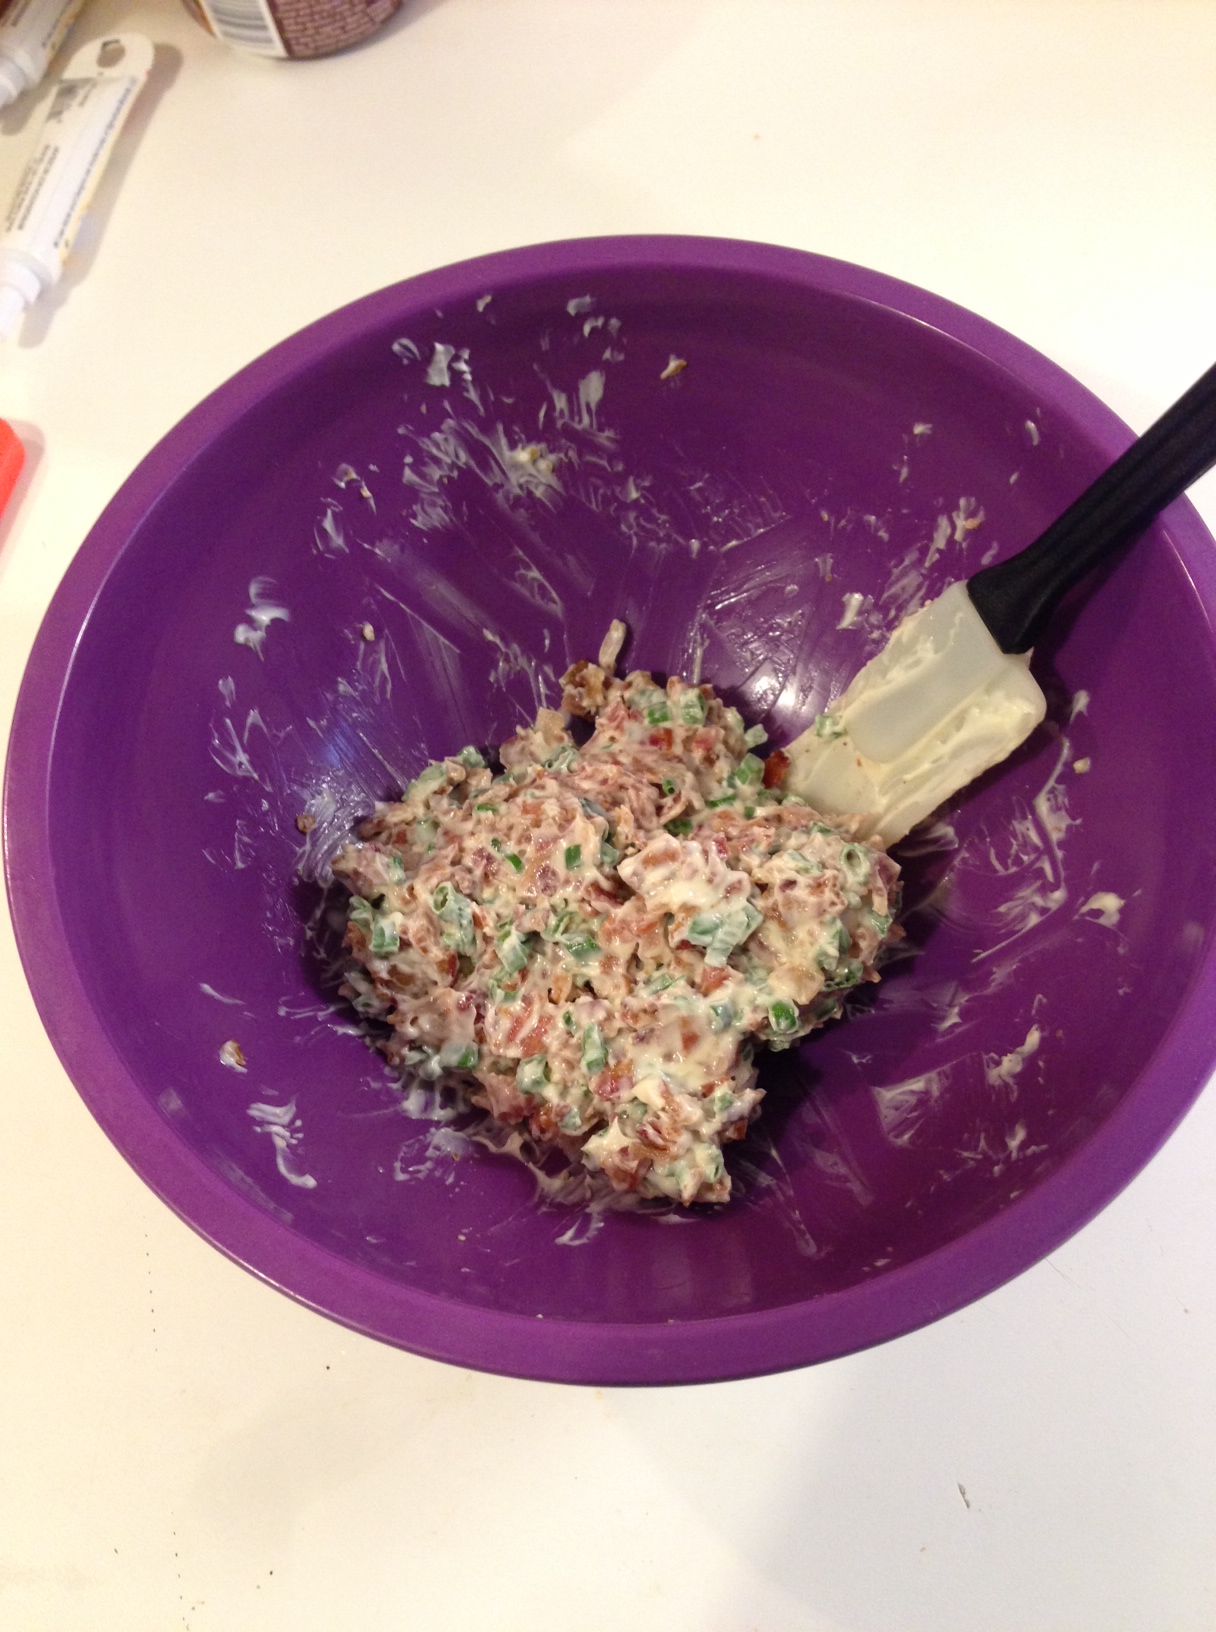
7.  In a bowl mix mayonaise, bacon and green onions

photo 2

8. Fill tomatoes with mixture

photo 4

9. Refridgerate for several hours before serving

Mac & Cheese with bacon, because everything’s better with bacon

J had a midterm yesterday and I always like to make him something special after a big test. Although I’m really the one that deserves a treat because it usually means more time alone with the kids for me while he studies! The old saying that the way to a mans heart is through his stomach could not be more true when it comes to my husband. This dish truly is a “comfort” food. Perfect for the single digit temperatures we’ve had around here lately. However if you are one of the few that are still sticking to your New Years resolution to lose weight and eat healthy then this definitely is not the recipe for you. Loaded with five different cheeses it is for sure a treat reserved for special occasions around here. This recipe is adapted from Patti Labelle’s Over the Rainbow Mac and Cheese recipe found here

1 box (16 oz) elbow macaroni
1/2 cup ( 1 stick) butter
4 oz each mild cheddar, sharp cheddar, muenster, and Monterey Jack cheeses, shredded
8 oz velveeta
2 cups half and half
1 egg, beaten
Salt and pepper to taste
1/2 pound bacon, chopped (optional)

First boil a large pot of water and cook pasta for about 8 minutes or until al dente

Drain and return pasta to pot. Then add in butter until melted.

image

Next stir in shredded and cubed cheeses, reserving about half a cup of shredded cheese

image    image

Pour in half and half and beaten egg

image    image

Stir in the bacon and season with salt and pepper.

image

Next put into a 2 1/2 quart casserole dish and sprinkle remaining cheese on top.

image

Bake at 350 degrees for about 30 minutes or until sides are bubbling.

image

Feel free to add in other ingredients. We sometimes like to use peas or broccoli but in my husbands opinion bacon just makes everything better :)

Baked Pickles


I made these delicious baked pickles the other day with all intensions of sharing with Reagan and saving some for the husband when he got home from work.  Things didn’t really play out that way and I ended up eating 14 1/2, yes I only made 15- don’t judge, but gave half of one to Reagan who was totally not interested and fed to the dog.

I found the recipe here (http://fullflavorfood.com/fried-baked-pickles/) but switched it up a bit, knowing that I didn’t want to use dill pickles, I’m not a fan, or have 50 baked pickle pieces hanging around the house that I knew I would eat before the husband came home.

These pickles were YUMMY!  I had left over ingredients in my bowl that I could have used to make three or four more baked pickles (based on what was left of the bread crumb mixture), but since my pan was full, I opted to just discard the extras.  FYI- I had to wash my thumb and pointer fingers (the dippers) off twice, because they got a little gunked with the mixture, but other than that this wasn’t messy at all.

Prep Time: 15 min

Cook Time: 7-10 min

Serves: well…it served me…

Ingredients:
15 Bread and Butter Chip Pickles
1 Egg
1 TBL Milk
1/3 cup Flour (All Purpose)
1/3 cup Bread Crumbs
1/4 cup Panko Crumbs
1/3 cup Cheddar Cheese (Finely Shredded)
Cooking Spray

pickle1

Prep & Cooking Directions –

1. Preheat the oven to 425 degrees.

2. Spray cookie sheet with cooking spray

3. Take out the 15 pickles and place on a plate

4. Take 3 small mixing bowls and put the flour in one, the egg and milk mixed together in another, and in the third bowl combine the bread crumbs, panko crumbs, and the shredded cheese.

Pickle2

5. Coat each pickle chip with flour, then the egg/milk mixture, and then the cheesy bread/panko crumb mixture, and place on to an oiled cookie sheet.

Pickle 3  pickle6 pickle4

pickle7

6. Bake @ 425 degrees for 7 – 10 minutes or until desired “crispiness” is reached.

The original recipe suggests dipping the pickles in ranch dressing.  This sounds fantastic, but I didn’t have any on hand, so I went without and they were still delish!

Chocolate Chip Amazingness

If I could only eat one dessert for the rest of my life it would be these cookies. They are THAT good! I have been making these cookies for years and everyone always asks for the recipe. I am always reluctant to give out my “secret” recipe even though I didn’t even come up with it on my own. The thing that makes them so delicious, so soft and so amazing is the vanilla pudding. I don’t know how it does it but it’s like…magic!

1 cup butter, softened
1/4 cup white sugar
3/4 cup light brown sugar
1 3.4oz box instant vanilla pudding
1T vanilla extract
2 large eggs
2 1/4 cups flour
1t baking powder
1t baking soda
1/4t salt
2 cups chocolate chips

First, cream together the butter and sugars in a large mixing bowl.

photo 2

Then, add the magic powder aka vanilla pudding.

photo-1

Next, beat in eggs and vanilla.

photo 3

After that, stir in the dry ingredients.

photo 4

Finally, pour in the chocolate chips.

photo 5

Bake at 350 degrees for 10-11 minutes on an ungreased cookie sheet or until slightly golden brown.

All done and ready to eat!

All done and ready to eat!

The recipe will make approximately three dozen cookies so if you are like me and can eat a dozen in one sitting or want to be able to freeze some for a midnight snack at a later date then you might want to double the recipe. Give them a try…I doubt you will go back to your old recipe. Happy baking!

Kid tested and approved!

Kid tested and approved!