Blueberry Muffins

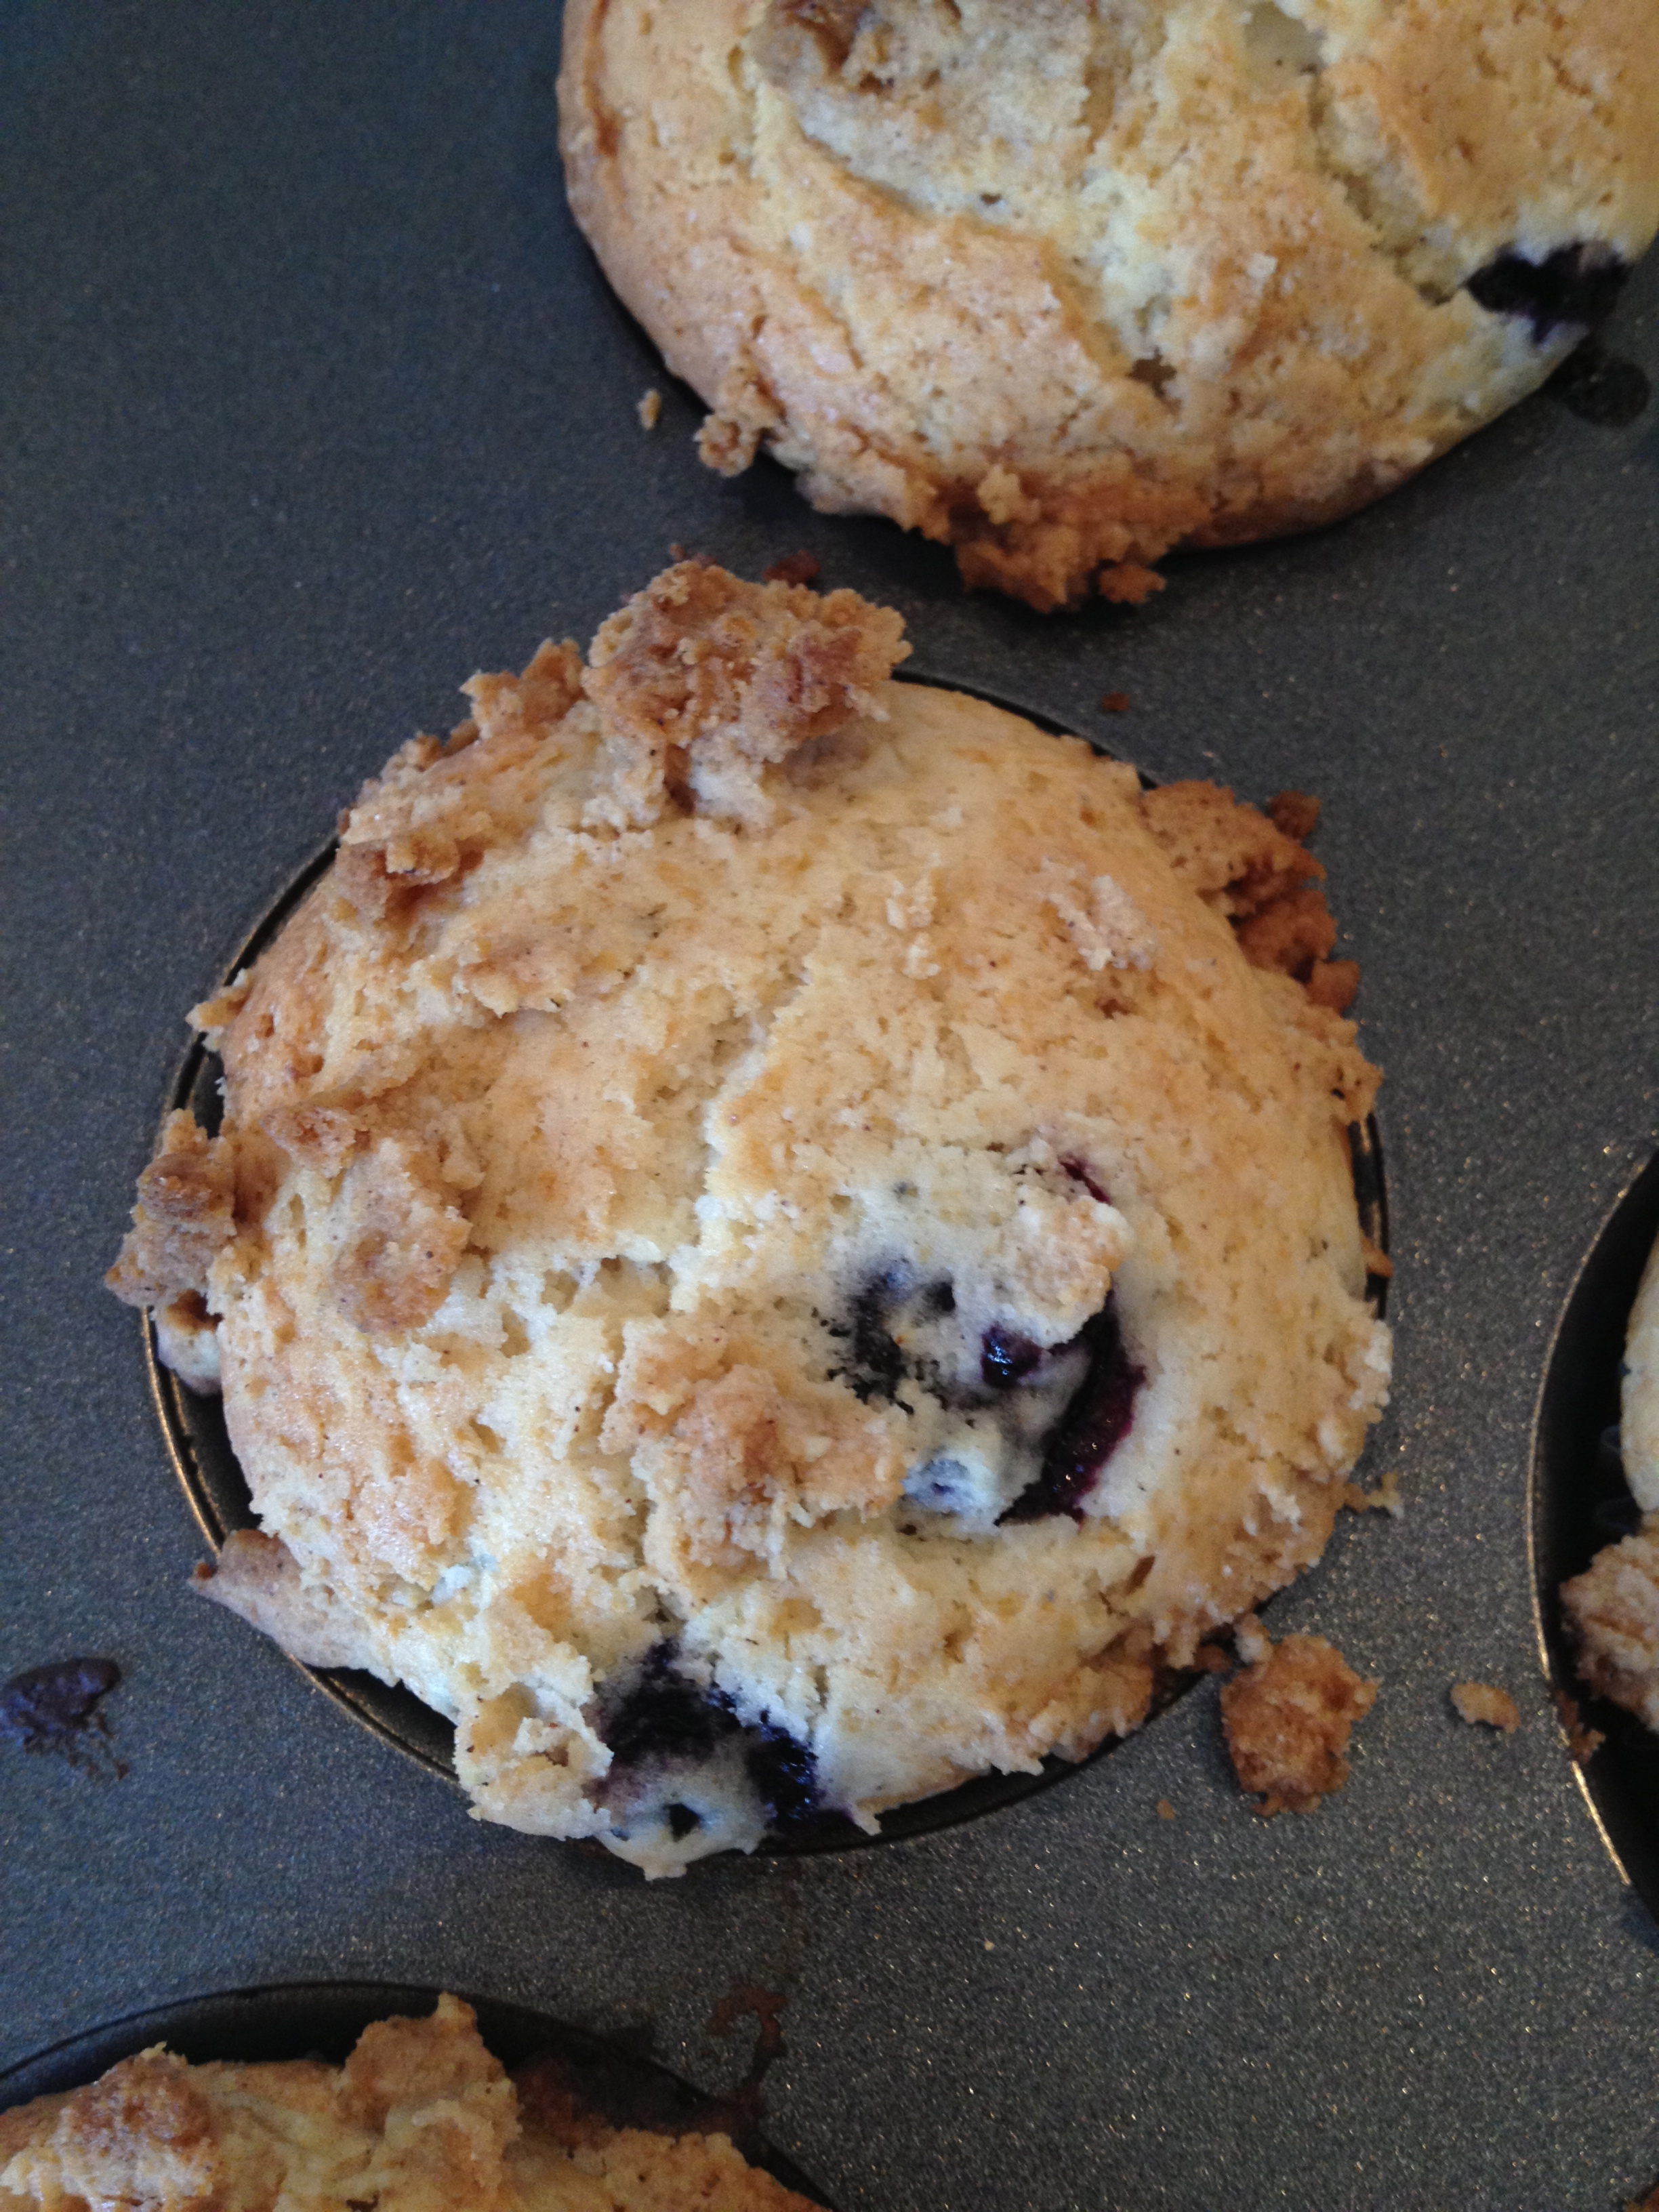
Martha has done it again! I made these delicious Blueberry Muffins that I found on her site and they are absolutely delicious! I didn’t take step by step photos, because Reagan was awake and there was just too many things happening at once. The next time around I will make a very small amount of the crumble topping. Even after generously topping all 12 muffins, I still had tons left over. You will need a had or stand mixer for this recipe, that is unless you have speedy wrists and can get the desired egg and sugar consistency without an electronic device.

REAGAN LOVED THESE MUFFINS!!

Martha’s RecipeĀ 

Ingredients:

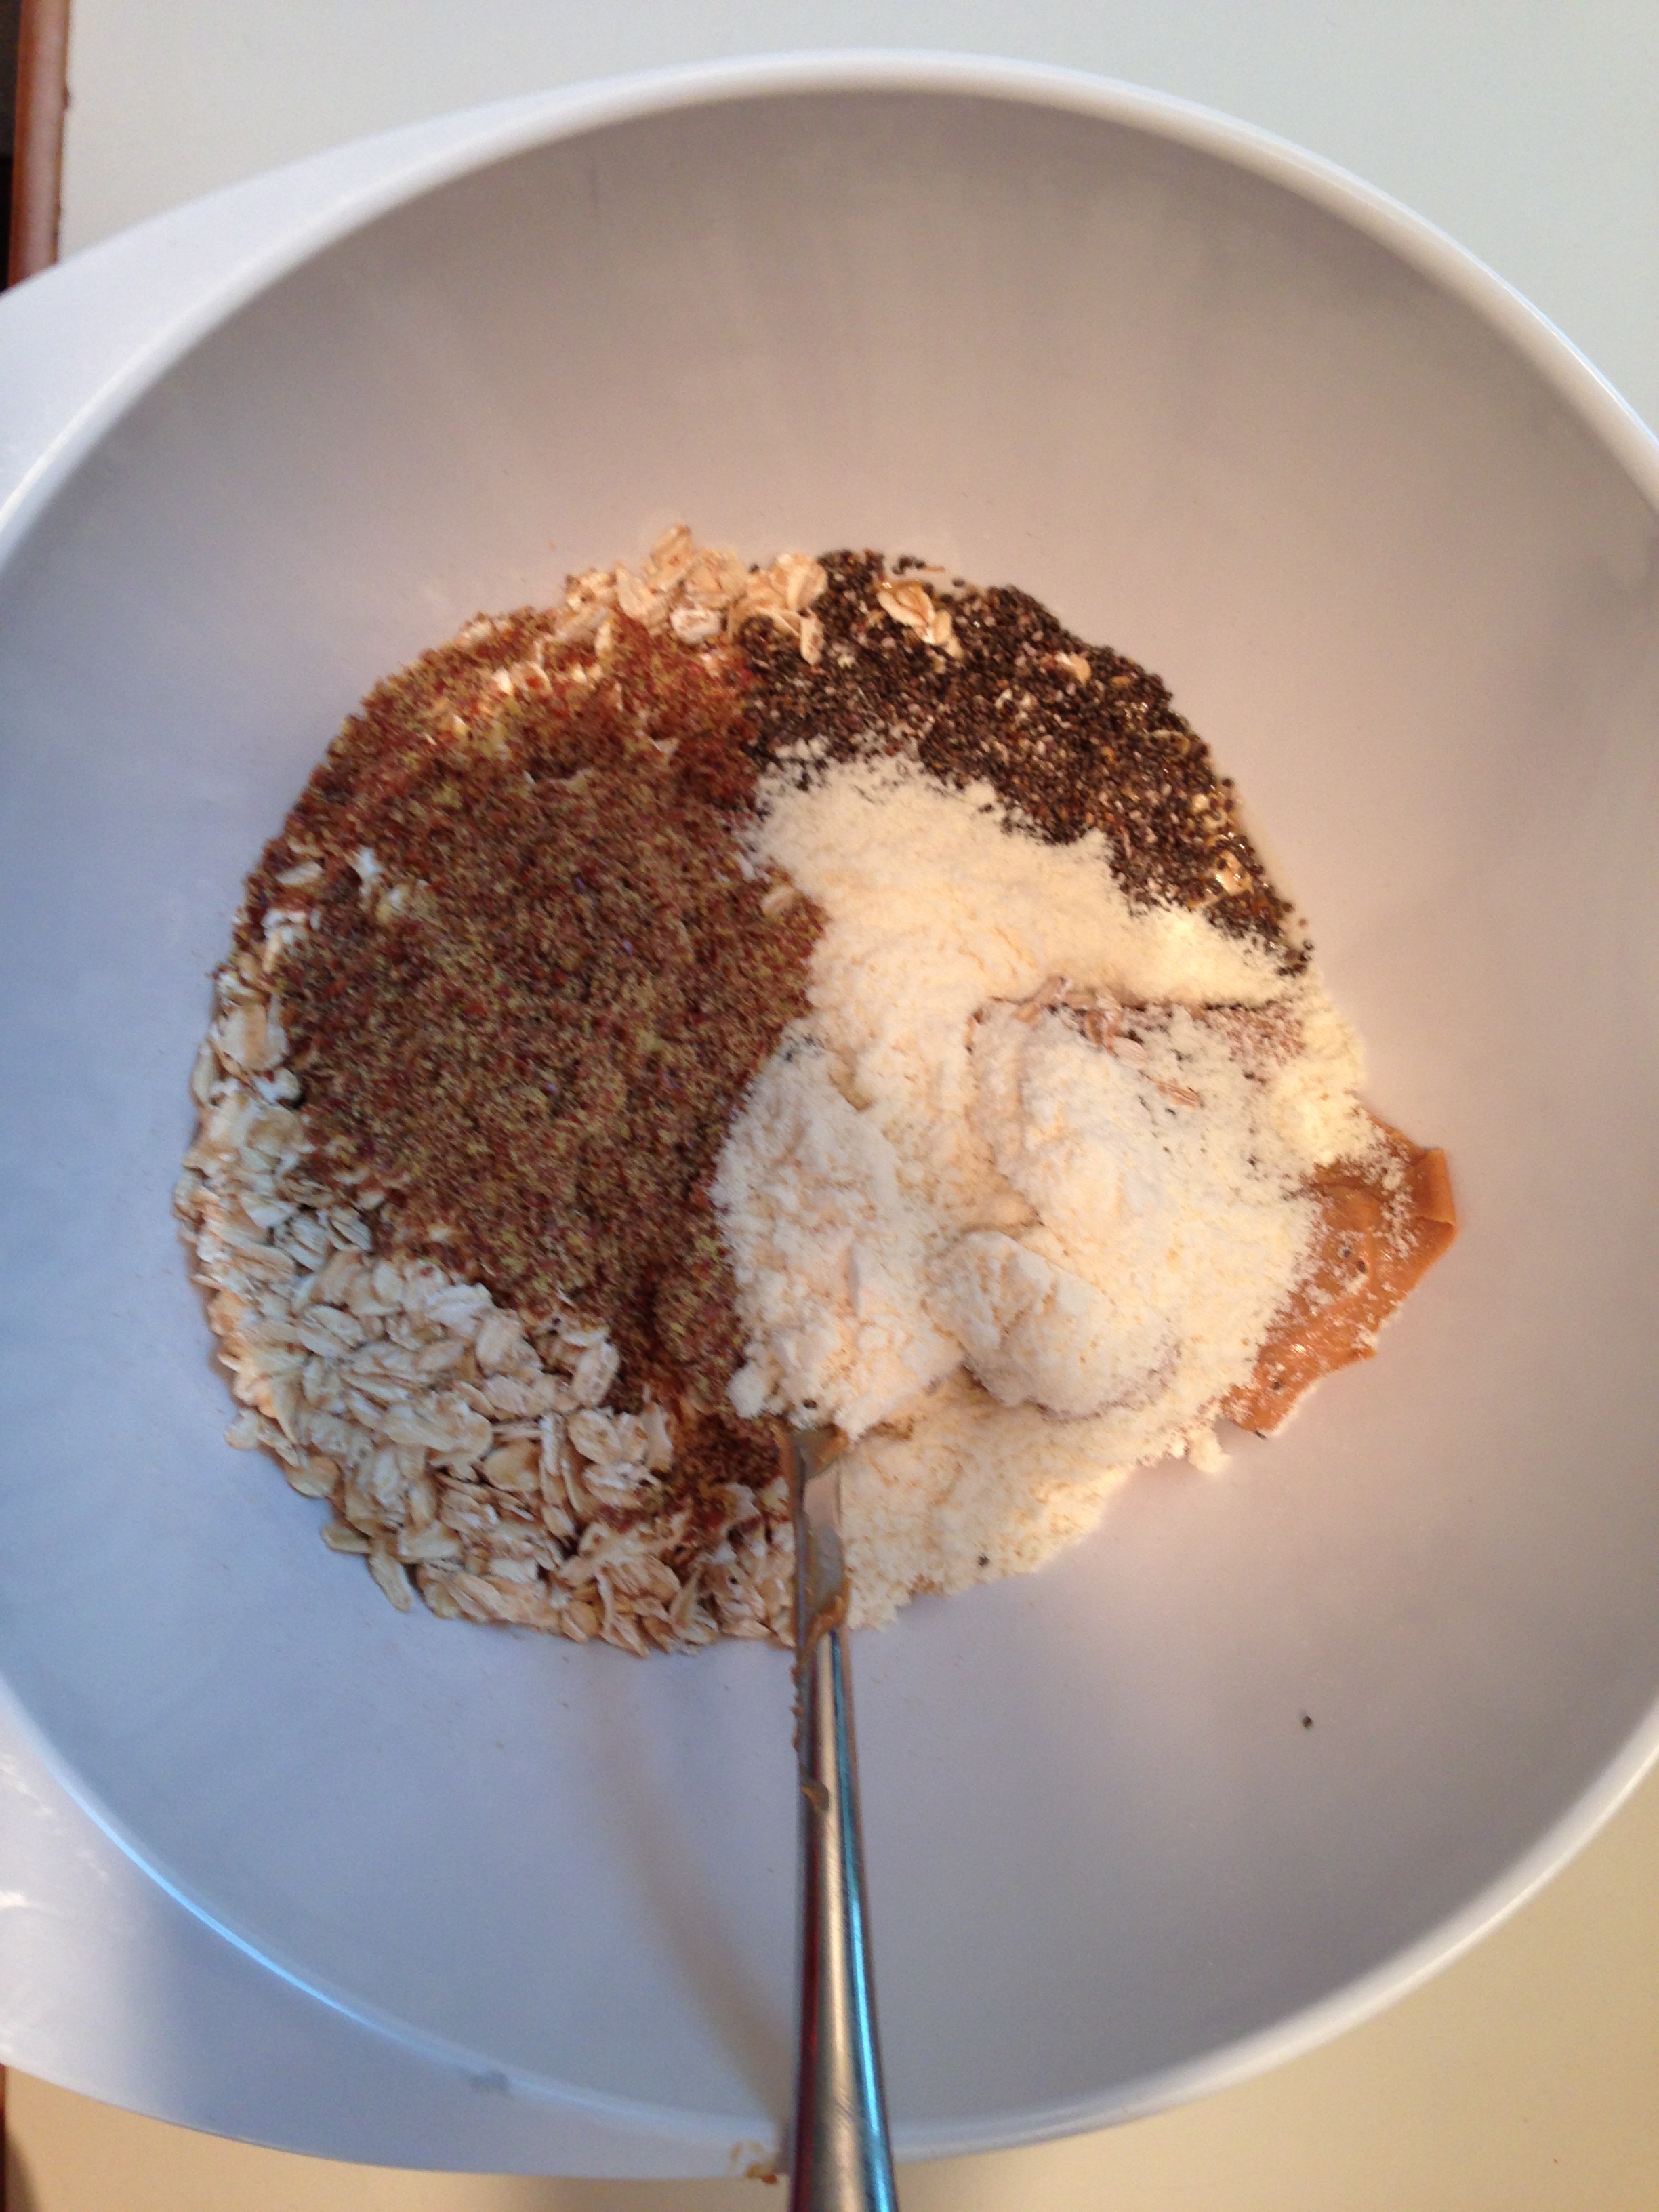
For The Crumb Topping
1 1/4 cups all-purpose flour
1/2 cup packed light-brown sugar
1/2 teaspoon salt
3/4 teaspoon ground cinnamon
1/2 cup (1 stick) unsalted butter, melted and cooled

For The Blueberry Muffins
3 cups plus 2 tablespoons all-purpose flour
1 tablespoon baking powder
1 teaspoon salt
6 tablespoons (3/4 stick) unsalted butter, softened, plus more for tin
1 1/4 cup granulated sugar
1 large whole egg plus 2 large egg yolks
1 teaspoon pure vanilla extract
1 cup milk
2 cups fresh blueberries
Granulated sugar and mace, for topping (optional)

Directions

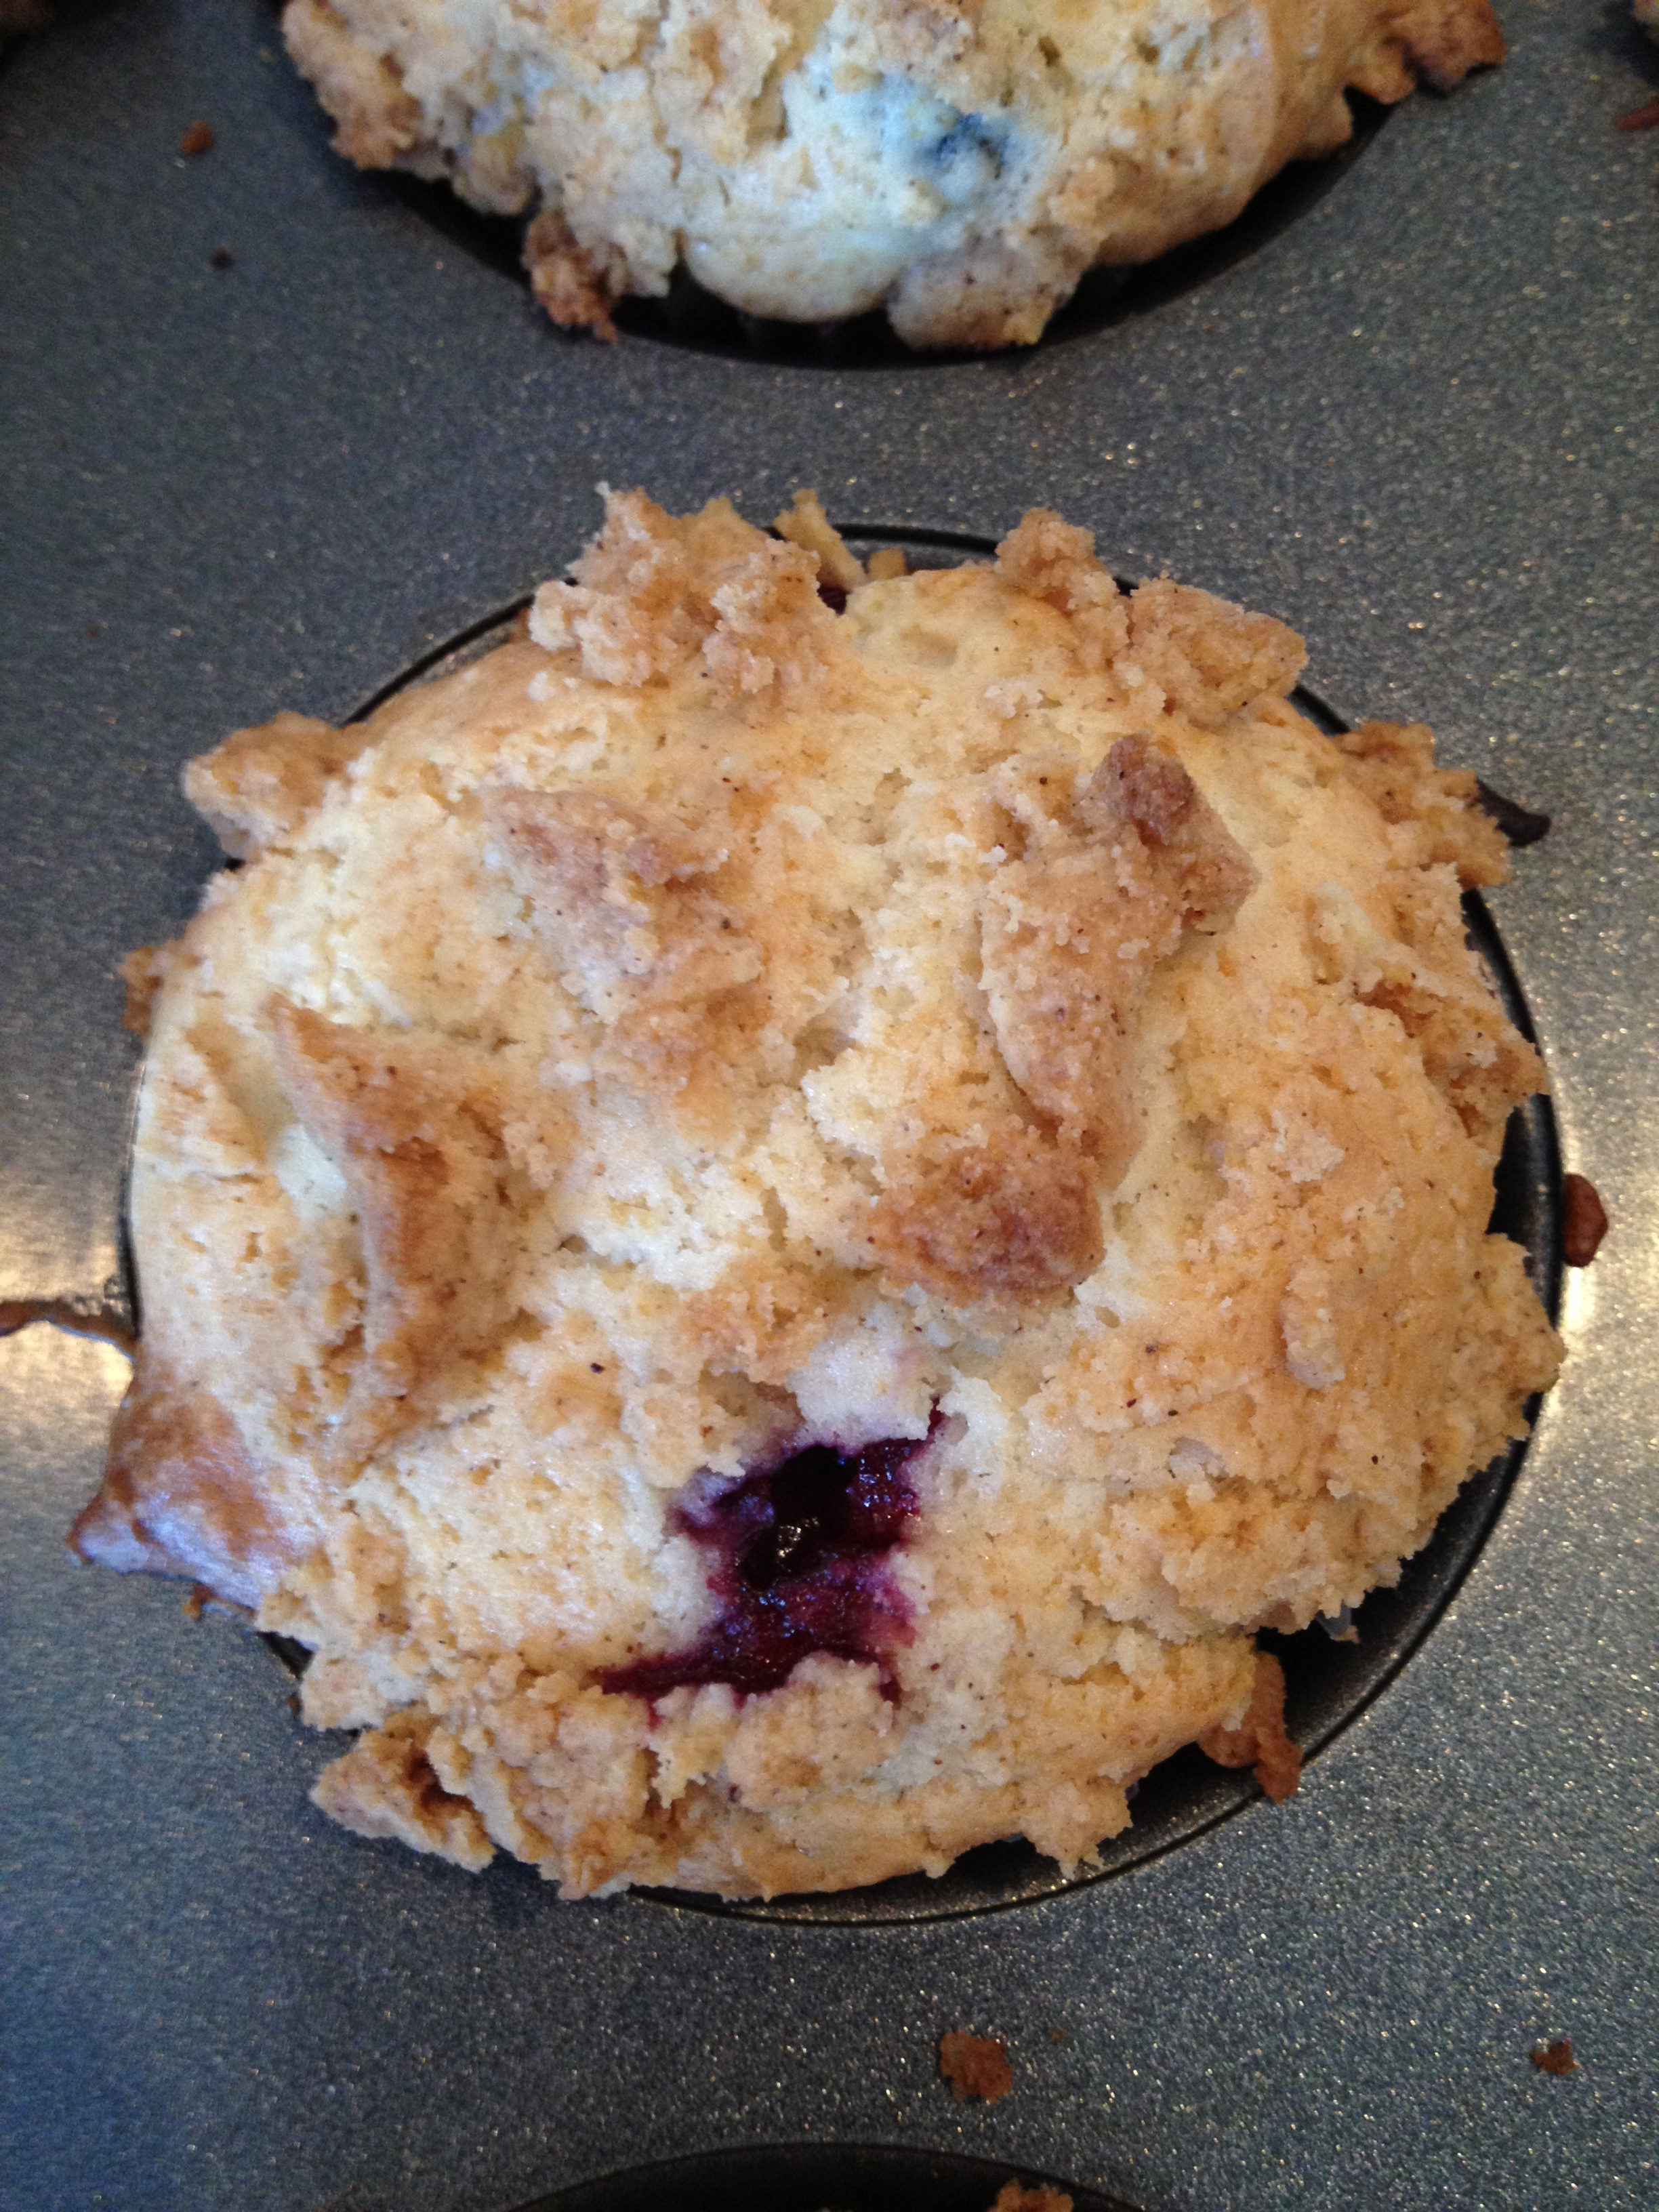
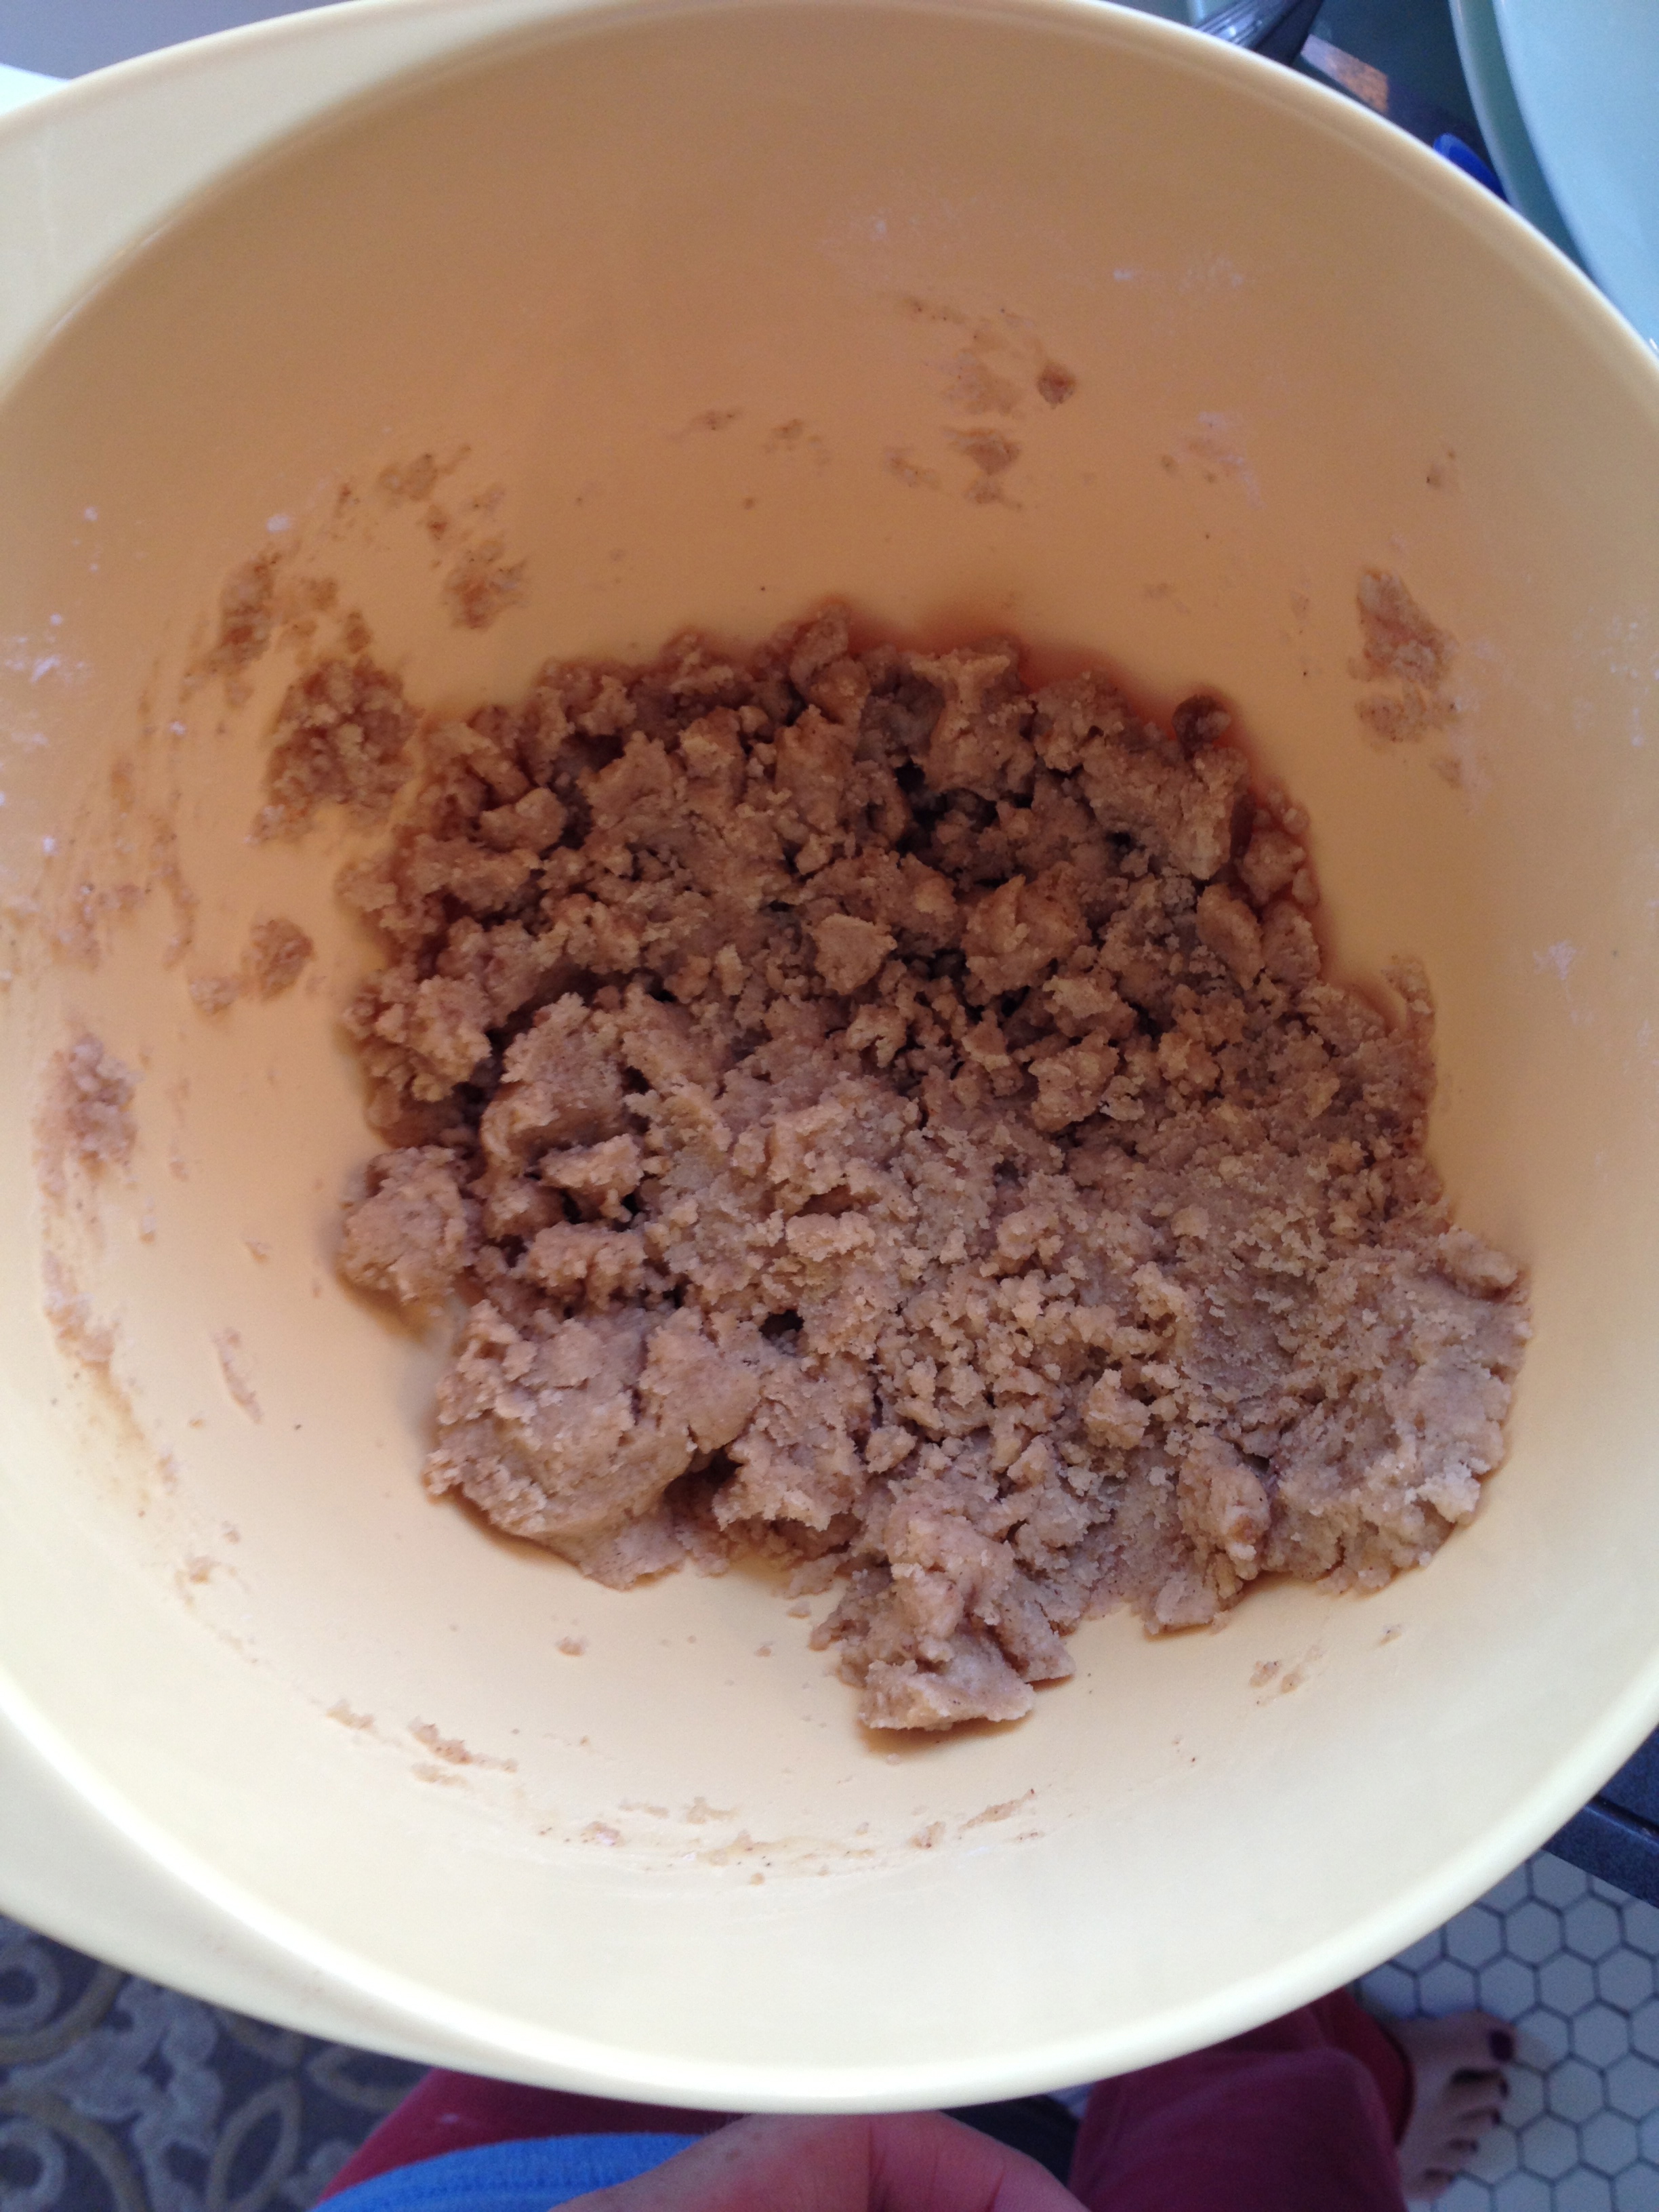
Make the crumb topping, if desired: Whisk together flour, brown sugar, salt, and cinnamon in a bowl. Pour in melted butter and toss with a flexible spatula until large crumbs form.

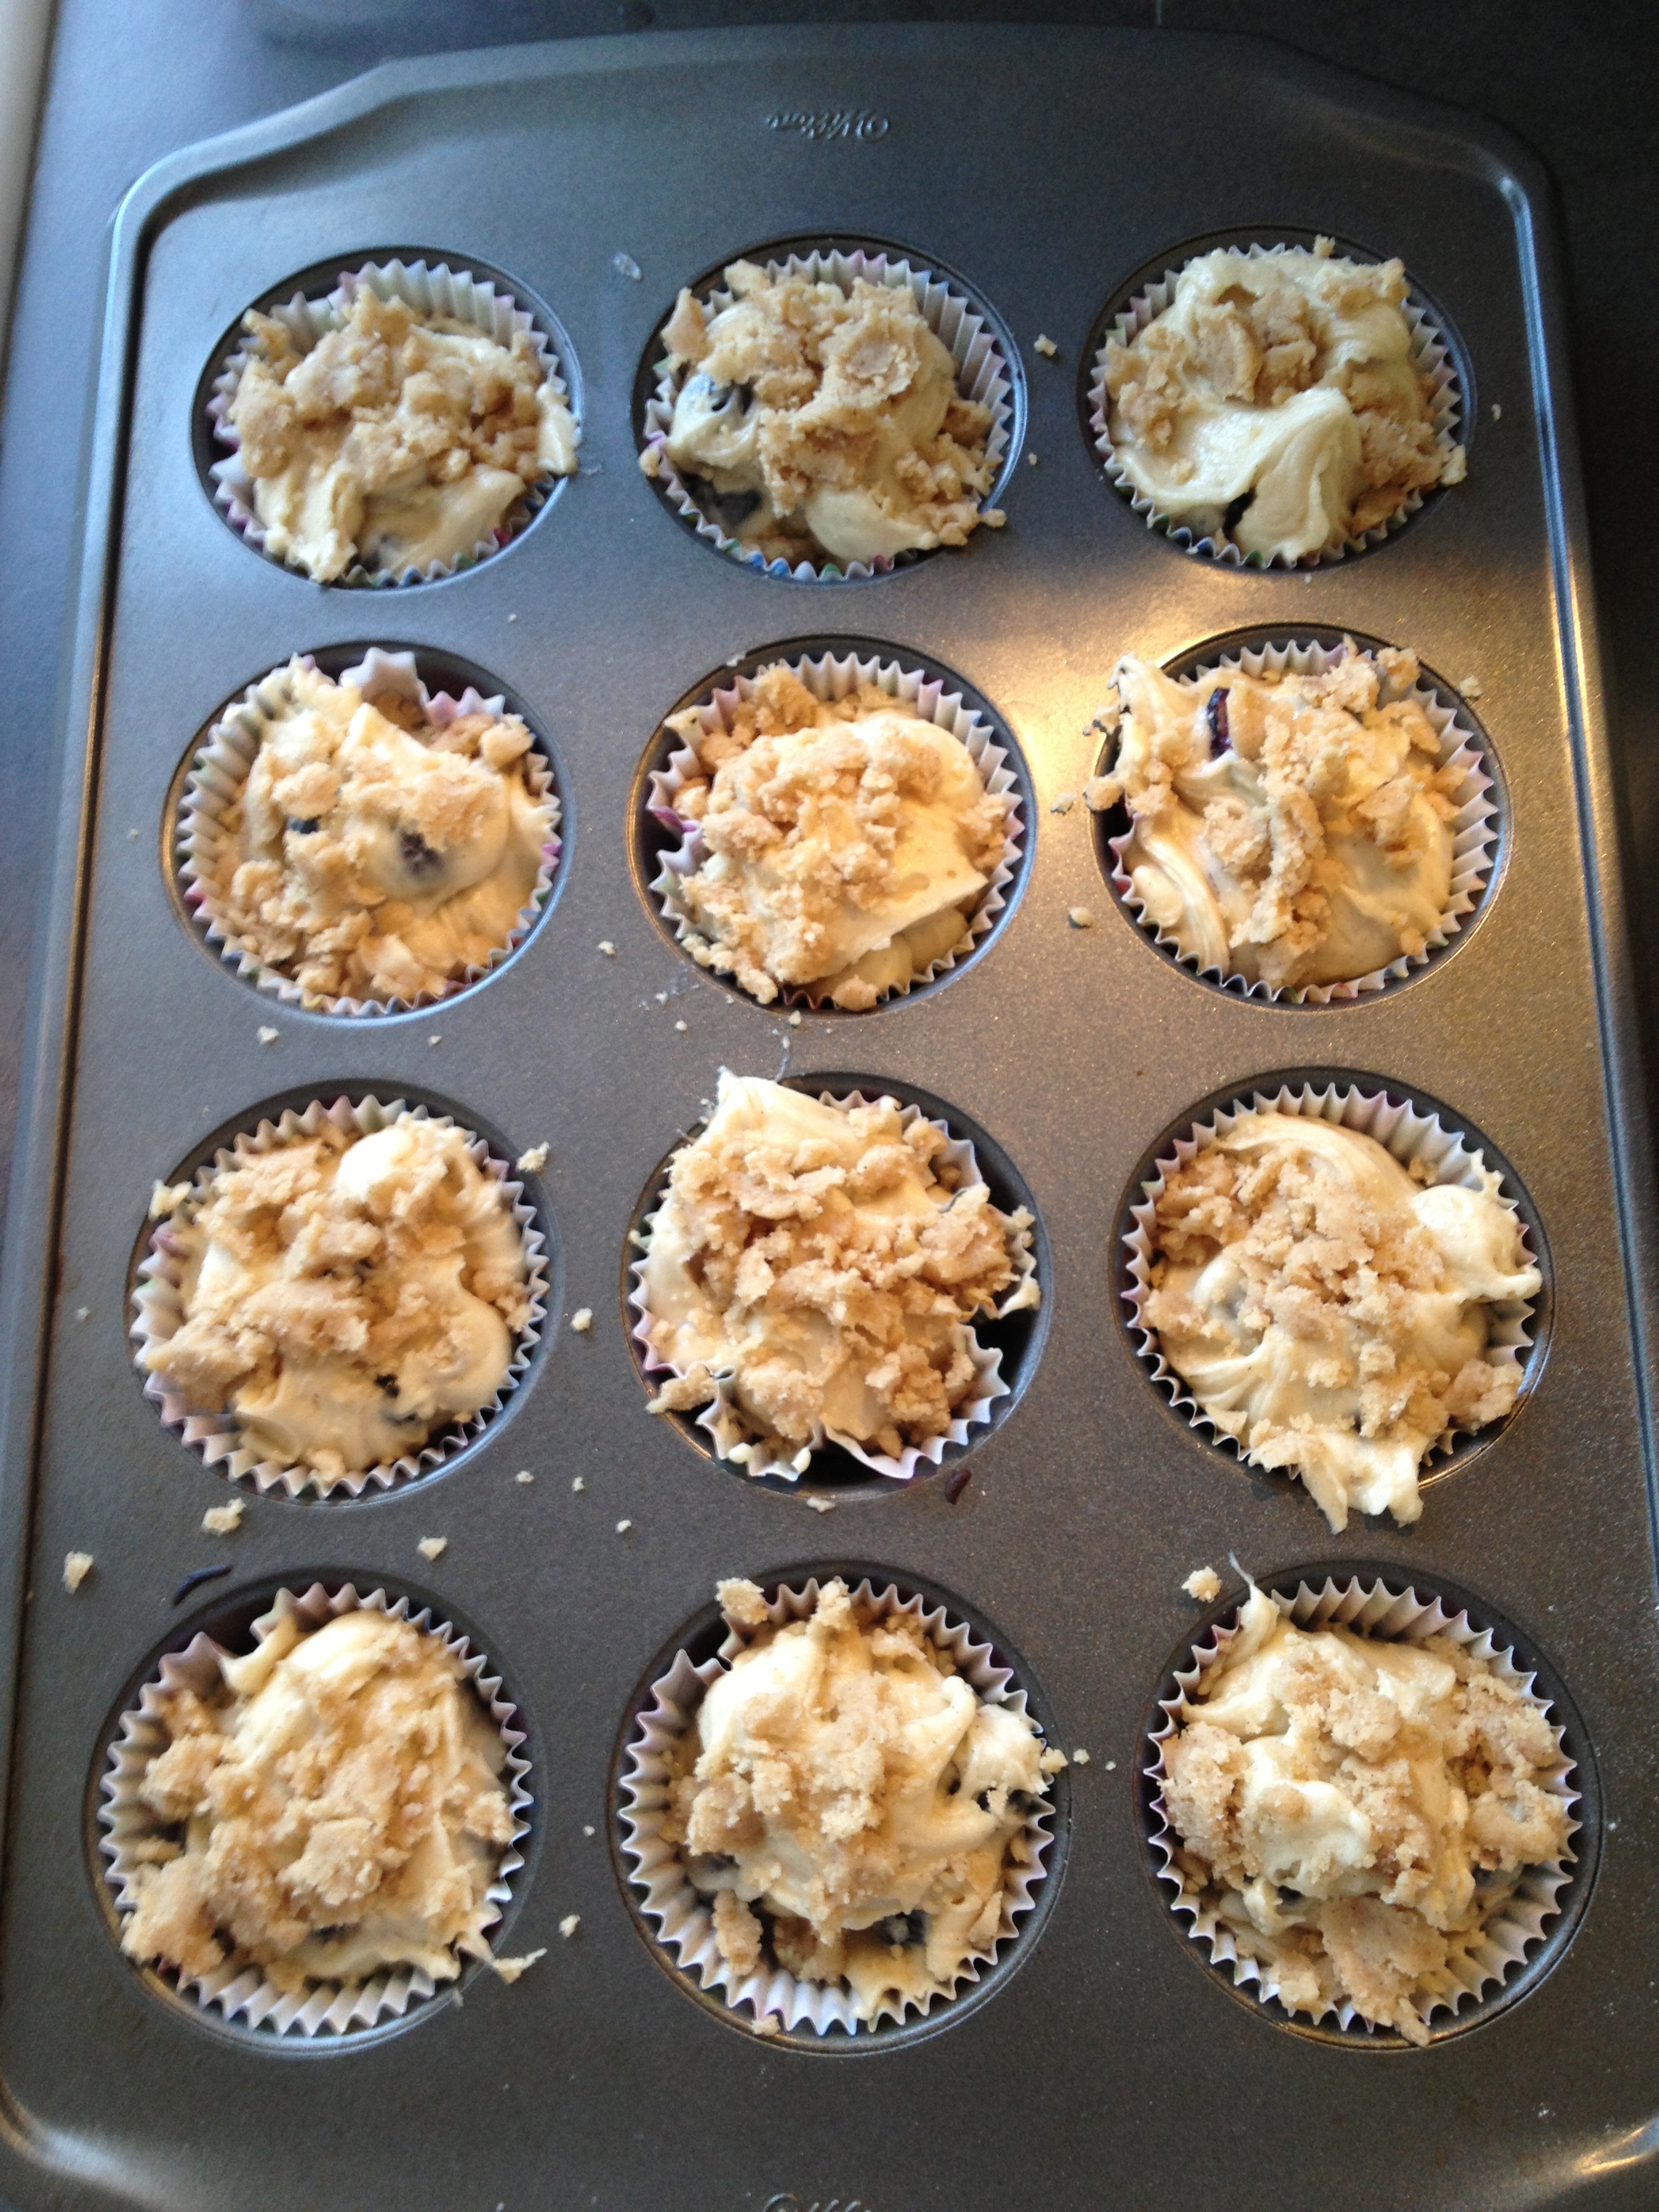
Make the muffins: Preheat oven to 375 degrees. Line standard 12-cup muffin tins with paper liners.

Sift together flour, baking powder, and salt into a bowl.

With an electric mixer on medium speed, cream butter and granulated sugar until fluffy.

Add eggs and vanilla; mix until well combined. Reduce speed to low; alternate adding reserved flour mixture and milk, beginning and ending with flour. Gently fold in berries by hand.

Divide batter evenly among prepared cups; if desired, sprinkle generously with granulated sugar and mace. Alternatively, sprinkle crumb topping evenly over batter in each cup.

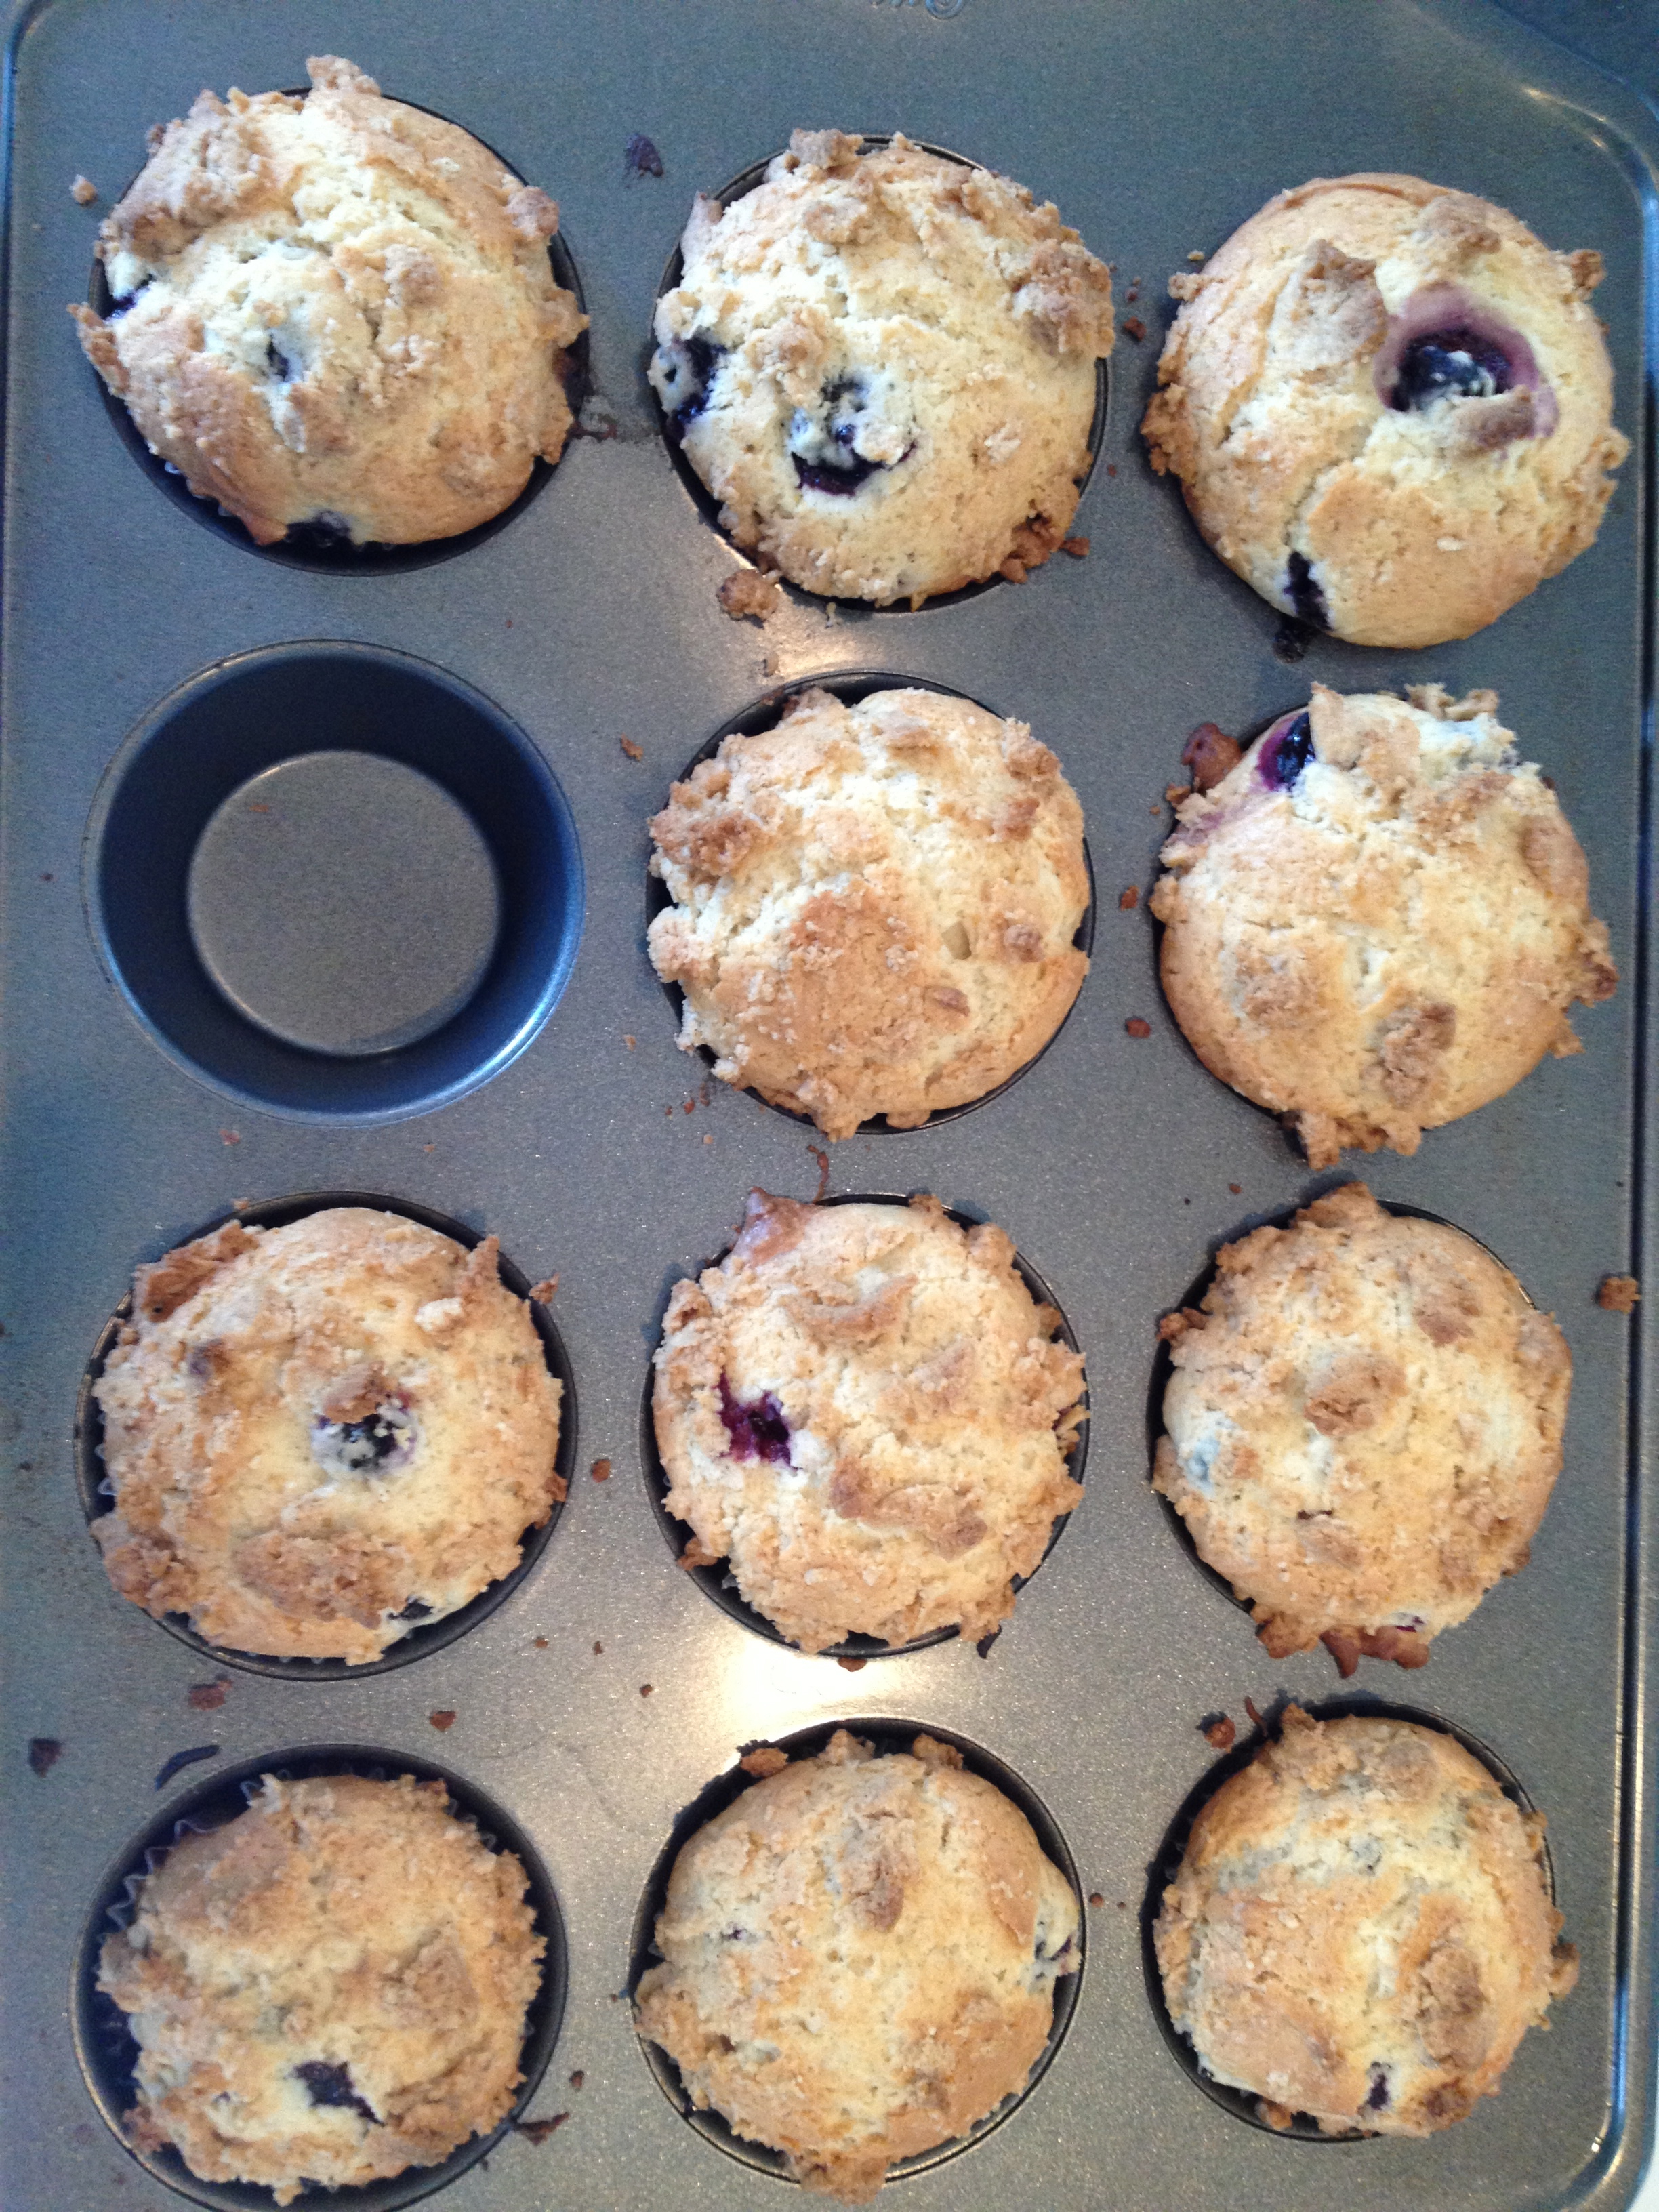
Bake until light golden on top, rotating tins halfway through, about 30 minutes. Cool in pan on a wire rack 15 minutes before turning out muffins. Serve warm or at room temperature.

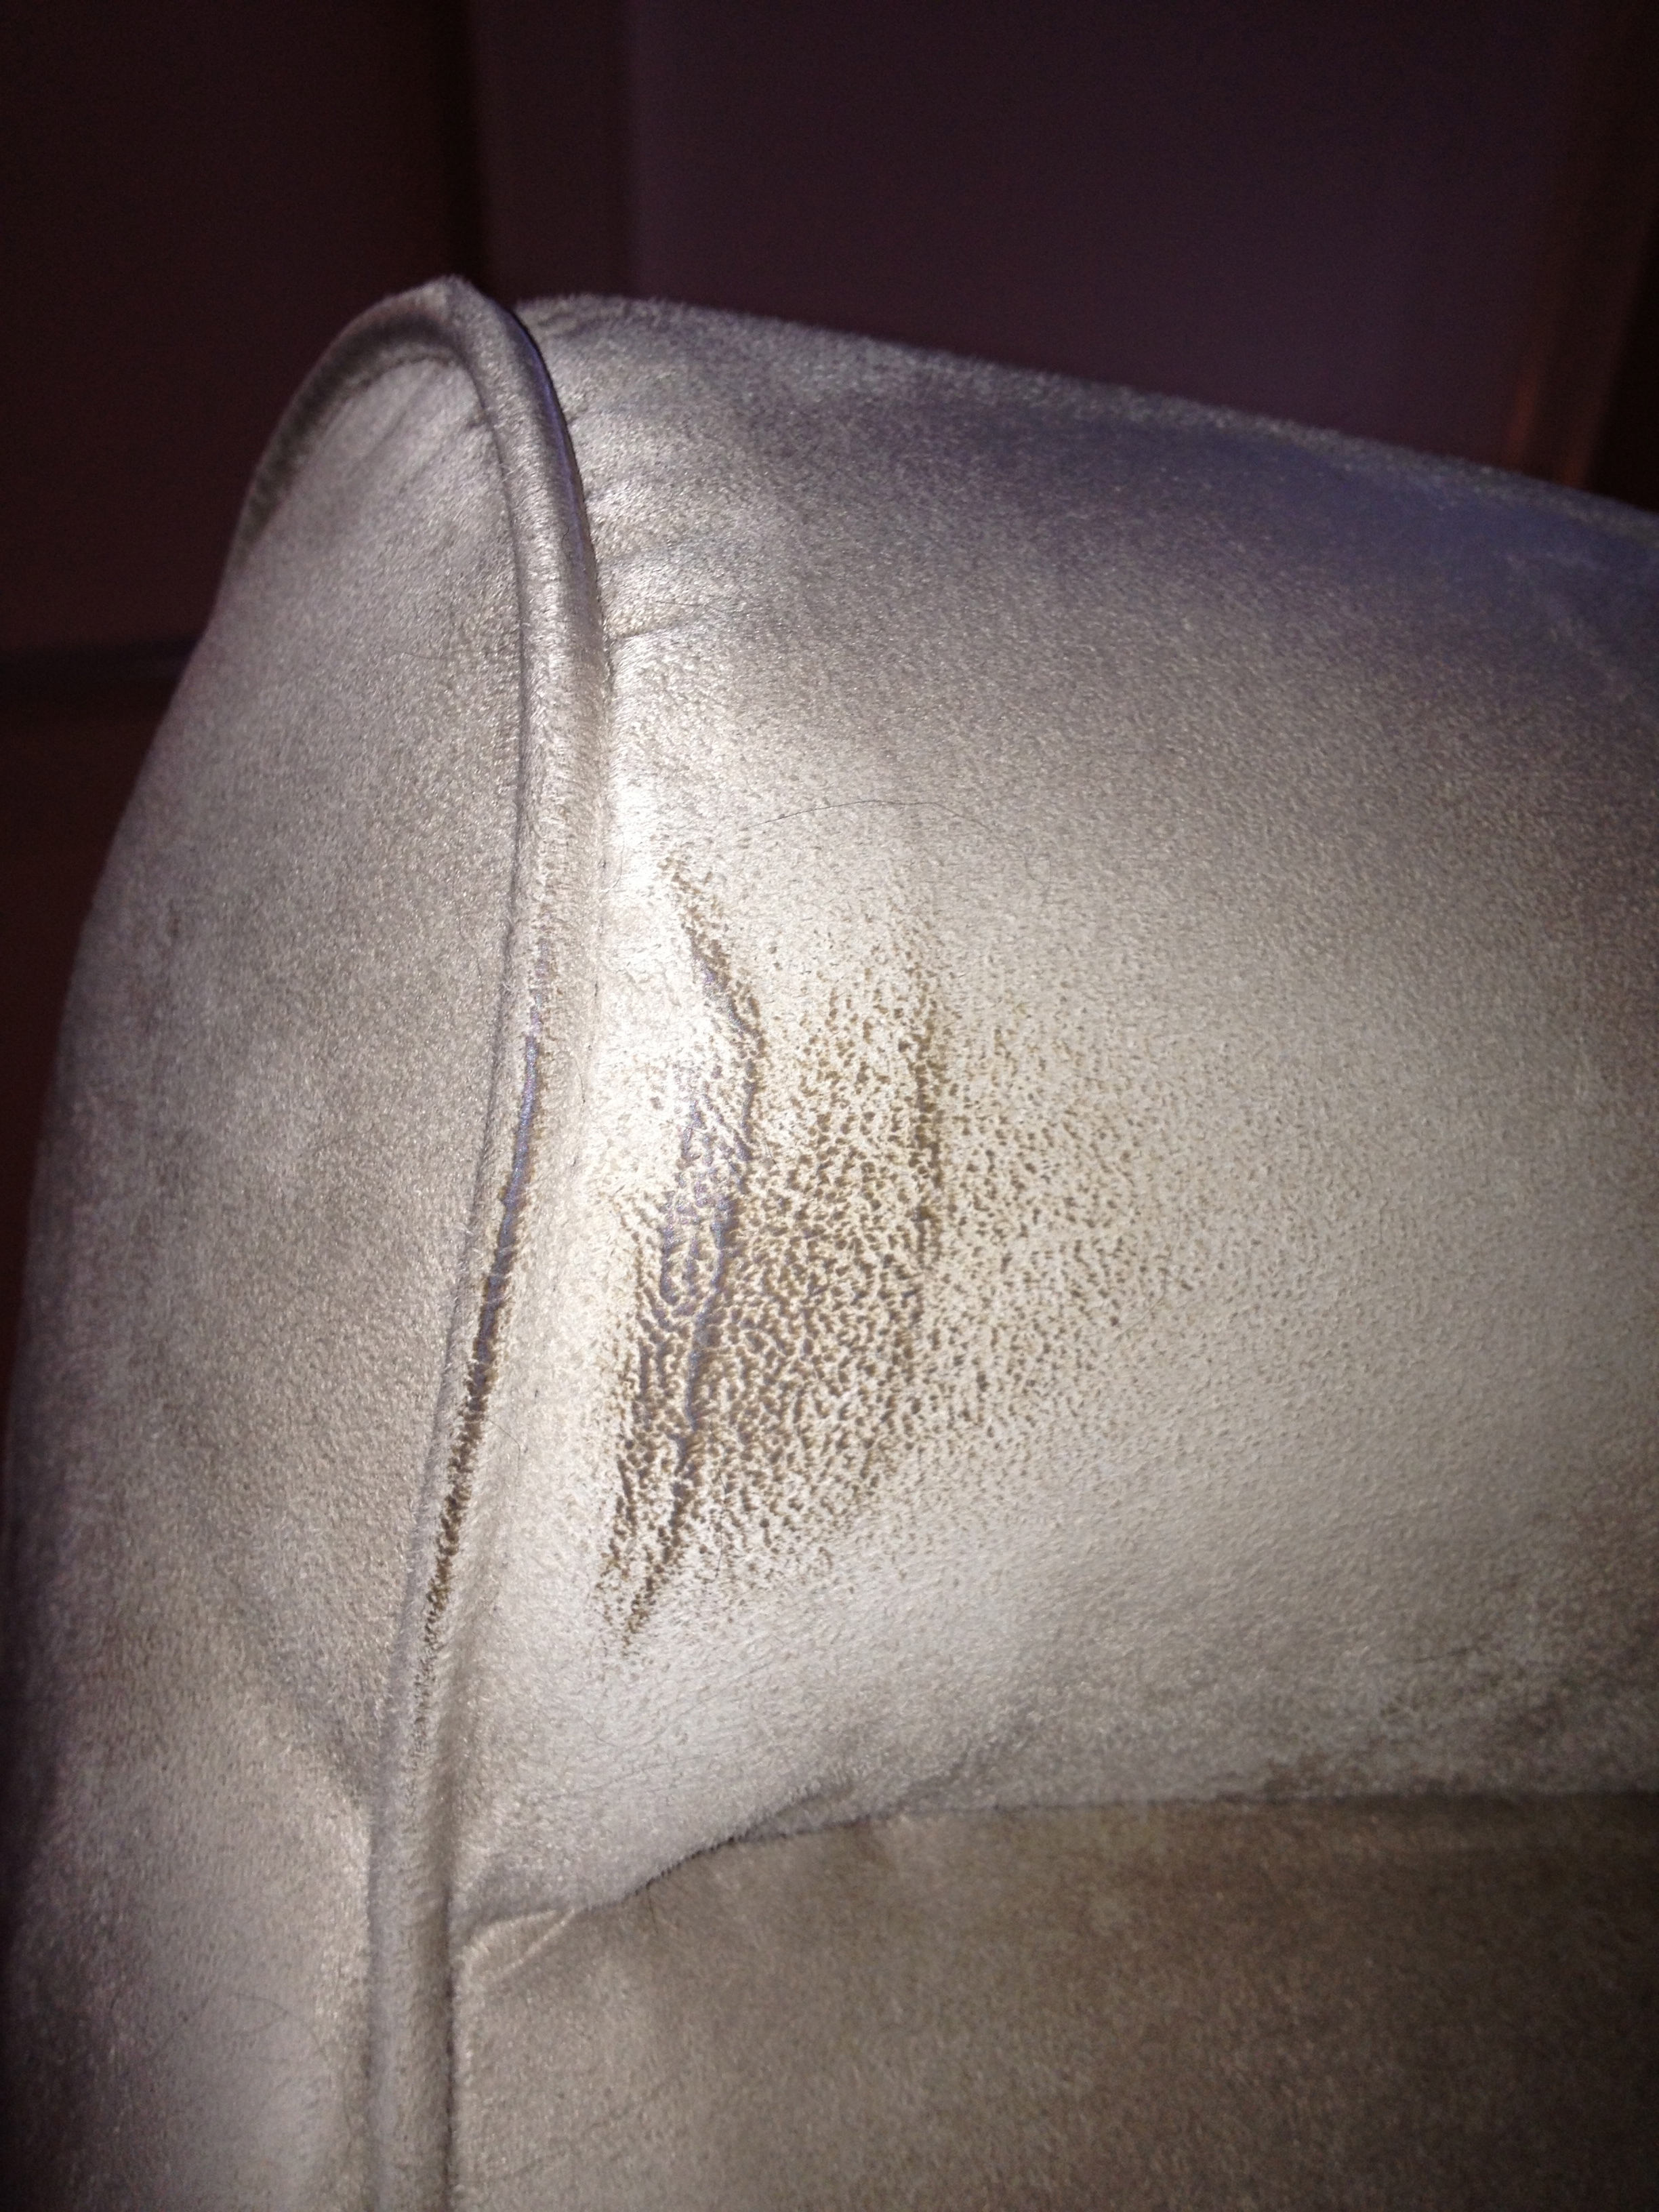
This is what was left over from the crumb topping

Advertisement

Bra Service!


I’m absolutely in LOVE with the service that True&Co. provides. It takes everything out of shopping for a bra that I hate…

#1- the old ladies measuring you with their creepy cold hands

#2- using the one shirt that you wore to the store as the end all be all for how your boobs will look in the rest of your clothing (at least your staple go to pieces)

#3- the constant thought that there is a camera somewhere watching everything go down

#4- knowing that once you take home this rather expensive piece of material; you will probably hate it, never wear it and end up not returning it because going back to the mall, parking your car and trying to return something without the receipt (because you lost it) all with an 18 month old is NOT happening!

So thank you, True&Co., thank you for giving me my first ever fabulously bearable bra experience – it’s been a long 20 years.

I came across this company on NAT THE FAT RAT . She raved about the ease of ordering and the beauty of the bras that were sent to her, so I figured I had nothing to lose.

The process is so simple and there is no pressure to keep any of the bras that you try.

Here’s what you NEED to do:

Start by going to https://trueandco.com and filing out their two-minute Bra survey. Questions such as ‘How do your breasts rest in your bra?’, “Do your cups runneth underneath?’, “Ouch! Does your bra hurt?” Don’t worry about being confused by the questions, they have pictures, for us visual learners, indicating EXACTLY what they are talking about. This is a simple click and go survey, no long and tedious questions to answer.

After completing the survey you provide your email address and create a password. Then the shopping begins! The Bra Experts pick out two bras, that they believe you will LOVE, based on the answers to your survey questions and you get to pick out three bras from their fabulous selection!

You pay a $48 deposit and they ship you the bras you chose! You have 7 days to try on the bras in the comfort of your own home. Keep the bras you want, return the bras you don’t. Print out and attach their return shipping label to the box that the bras arrived in–NO RETURN SHIPPING FEE!!! Pure awesomeness!!

This service allowed for me to try on each bra underneath various articles of clothing, show my husband to get his opinion and best of all… everything took place in the comfort of my own home! All five bras that came were beautiful and fit in their own unique way. In the end, I only ended up keeping one bra. I’m still breast-feeding, so I needed a bra that would give a little for when I’m ‘full’ and not look ridiculous when I’m ’empty’. I will definitely be using the service when I’m finish with the beloved breast-feeding process.

Here are a few pictures:


Happy Shopping! Mention that you saw True&Co. here at selectionsbysisters.com!

Chalk Paint!


It’s a beautiful day in the neighborhood and I’m so lucky that Reagan LOVES to play outside! I have been eyeing various chalk paint pins on Pinterest and knew that Reagan would be head over heels in love with the idea of being able to paint the driveway! Today seemed like the perfect day to DIY some chalk paint and let Reagan display her artistic talents in a new and exciting way!

We headed to the dollar store to grab some paint brushes and a muffin tin. Pinterest suggested using a muffin tin to hold the paint. We ended up leaving with a coloring book, hot pink plastic plates, a neon yellow bucket, two plastic pink veggie trays, a ball- Reagan is just a bit obsessed with balls at the moment-, foam paint brushes and larger bristle paint brushes. I don’t think that there is a person in this world that can go into the dollar store and not find more than one piece of crap to buy. I bought multiple brushes and two veggie trays, to use instead of muffin tins, in hopes that some of the neighborhood kids would be outside and we could invited them over to play.

The chalk is super easy to make and came off of our clothes rather easily. I would still recommend wearing clothes that you don’t mind ruining, just incase. Reagan participated from start to finish with this project and really seemed to enjoy it. Unfortunately, the actual painting part of the activity didn’t really hold her attention for as long as I had hoped. You see, the chalk paint, when first painted onto the driveway was super light and got darker over time as it dried. This isn’t the best process for an 18 month old that is looking for instant gratification.

After about ten minutes of painting, Reagan ended up collecting rocks in a sand bucket and dipping them into different paint colors. I was ecstatic that Reagan, independently, thought up this extension to the activity that I introduced. She took what she knew about the paints and used the knowledge she had to create something new and different! Woot! Woot!

We cleaned up by washing out tools under the outdoor faucet.

Ingredients
(I tripled this recipe)
1/4 cup corn starch
1/4 cup water
food coloring

Materials
paint brushes
veggie tray, muffin tin, something to hold the paint
Spoon
Medium sized bowl

Mix corn starch and water together until there are no lumps.

Pour into veggie tray spaces.

Add food coloring and stir.

Paint…or dip rocks, whatever works!


This is what we saw looking out Reagan’s bedroom window before nap time!

Peanut Butter Energy Bites

Life as a stay-at-home mom to a three year old and four month old is…busy!! Add to that training for a marathon and some may call me crazy. There truly are not enough hours in the day for a mom to fit in everything that needs to be done. Trying to squeeze workouts in means sometimes training in the wee hours of the morning or late at night after the kids are in bed. I’m typing this post now at 10:30 p.m. after just finishing a ten mile tempo run…ouch. Like many moms to little ones, my meals sometimes consist of whatever my son doesn’t finish. Peanut butter and jelly sandwich crusts, half a banana or partially eaten yogurt. Not exactly the stuff to provide the energy I need to keep up with nursing a baby or chasing after a toddler. These energy bites are the perfect pick-me-up! I love them as a snack throughout the day or even pre or post workout.

photo(7)

Ingredients

2 cups rolled oats
1 cup Peanut Butter
1/3 cup Agave nectar
1 tbs. Chia seeds
2 tbs. ground Flax seed
1 scoop Protein powder
1/2 cup (or more!) chocolate chips

These ingredients are extremely flexible. If you don’t have agave nectar, use honey. If you are sharing with the little ones you probably want to skip the protein powder. I will find any way to sneak flax seed into my family’s diet and usually try to include it in most of our baked goods. It adds a powerful punch of Omega-3s and dietary fiber. You could even add coconut flakes, raisins or nuts.

photo(8)

photo(9)

Place all ingredients in a bowl and stir. The batter will be very thick. Roll into tablespoon size balls and place in the fridge to chill. Store balls in an air tight container in the fridge. I promise they won’t last long!

Clean that Microfiber!


I’m embarrassed to admit that I had no idea how disgusting it was underneath the arms of my couch. One afternoon, Reagan had to turn her body to get between a chair and the couch, because I had yet to move the couch back to its original spot after vacccuming, and she came through with a dirty shoulder. YUCK! And the culprit…yup, Colby. Colby must rub his head against the underneath of the couch arm when he goes to look out the family room window. After 4 years of rubbing his sweet little hairy head, a very dirty underarm has developed.

Pinterest came to the rescue once again, with this super easy microfiber cleaning trick.

Materials
Spray bottle containing Rubbing Alcohol (as much rubbing alcohol as you think you will need. I used an empty window cleaner bottle that I rinsed out with hot water and filled with 1/2 cup of alcohol.)
White bristle brush
White sponge or a sponge similar in color to the microfiber color

USE WHITE OR A SIMILAR COLOR TO THE MICROFIBER FOR BOTH THE SPONGE AND BRISTLE BRUSH–IF USING A DIFFERENT COLOR THE COLOR MAY TRANSFER ONTO THE COUCH, WHICH WOULD DEFEAT THE ENTIRE PURPOSE OF CLEANING IT!

These are picutes of the underneath of the couch arms…I know, right.

Saturate spot with alcohol. Do not drench, just spray so that the entire area is wet and covered. Open a window or two so that the alcohol smell is not bothersome to you.

Using your sponge, rub the spot until the dirt is removed. Use some elbow grease and really rub hard. I used two sponges, one for each arm. Here is a picture of a dirty sponge, next to a clean sponge. Water stains microfiber, so I’m not sure that it would be super brilliant to rinse sponge and then use right away.

Allow the spot to dry. After about 20 minutes both of the areas that I sprayed were dry.

With the bristle brush, in a circular motion, rebuff the area that was just cleaned.

I am super pleased and can’t wait to clean other areas of the couch where Reagan’s sippy cups and snack filled hands have been.