
I struggle to find things that Reagan will eat. We offer her everything that we eat and she just isn’t interested in anything a majority of the time. Her diet consists of breast milk, pasta, fruit, wheat bread, peas, yogurt, cheese and snacks (such things as Auntie Anne’s crackers, goldfish crackers, and raisins). Reagan’s pediatrician said that as long as she continues to gain weight and is still breast-feeding, she’s fine and is getting what she needs. Finding different ways to present food to Reagan, that she actually likes, has been a process. I’m trying to make eating fun, I want her to enjoy it…but not too much.
After seeing these Grilled Cheese Rolls (http://www.recipebyphoto.com/grilled-cheese-rolls/) I just had to try them for my little dipper! They would be the perfect size for her little fingers to pick up and dip, dip.
Ingredients
(FOR 2 SANDWICHES)
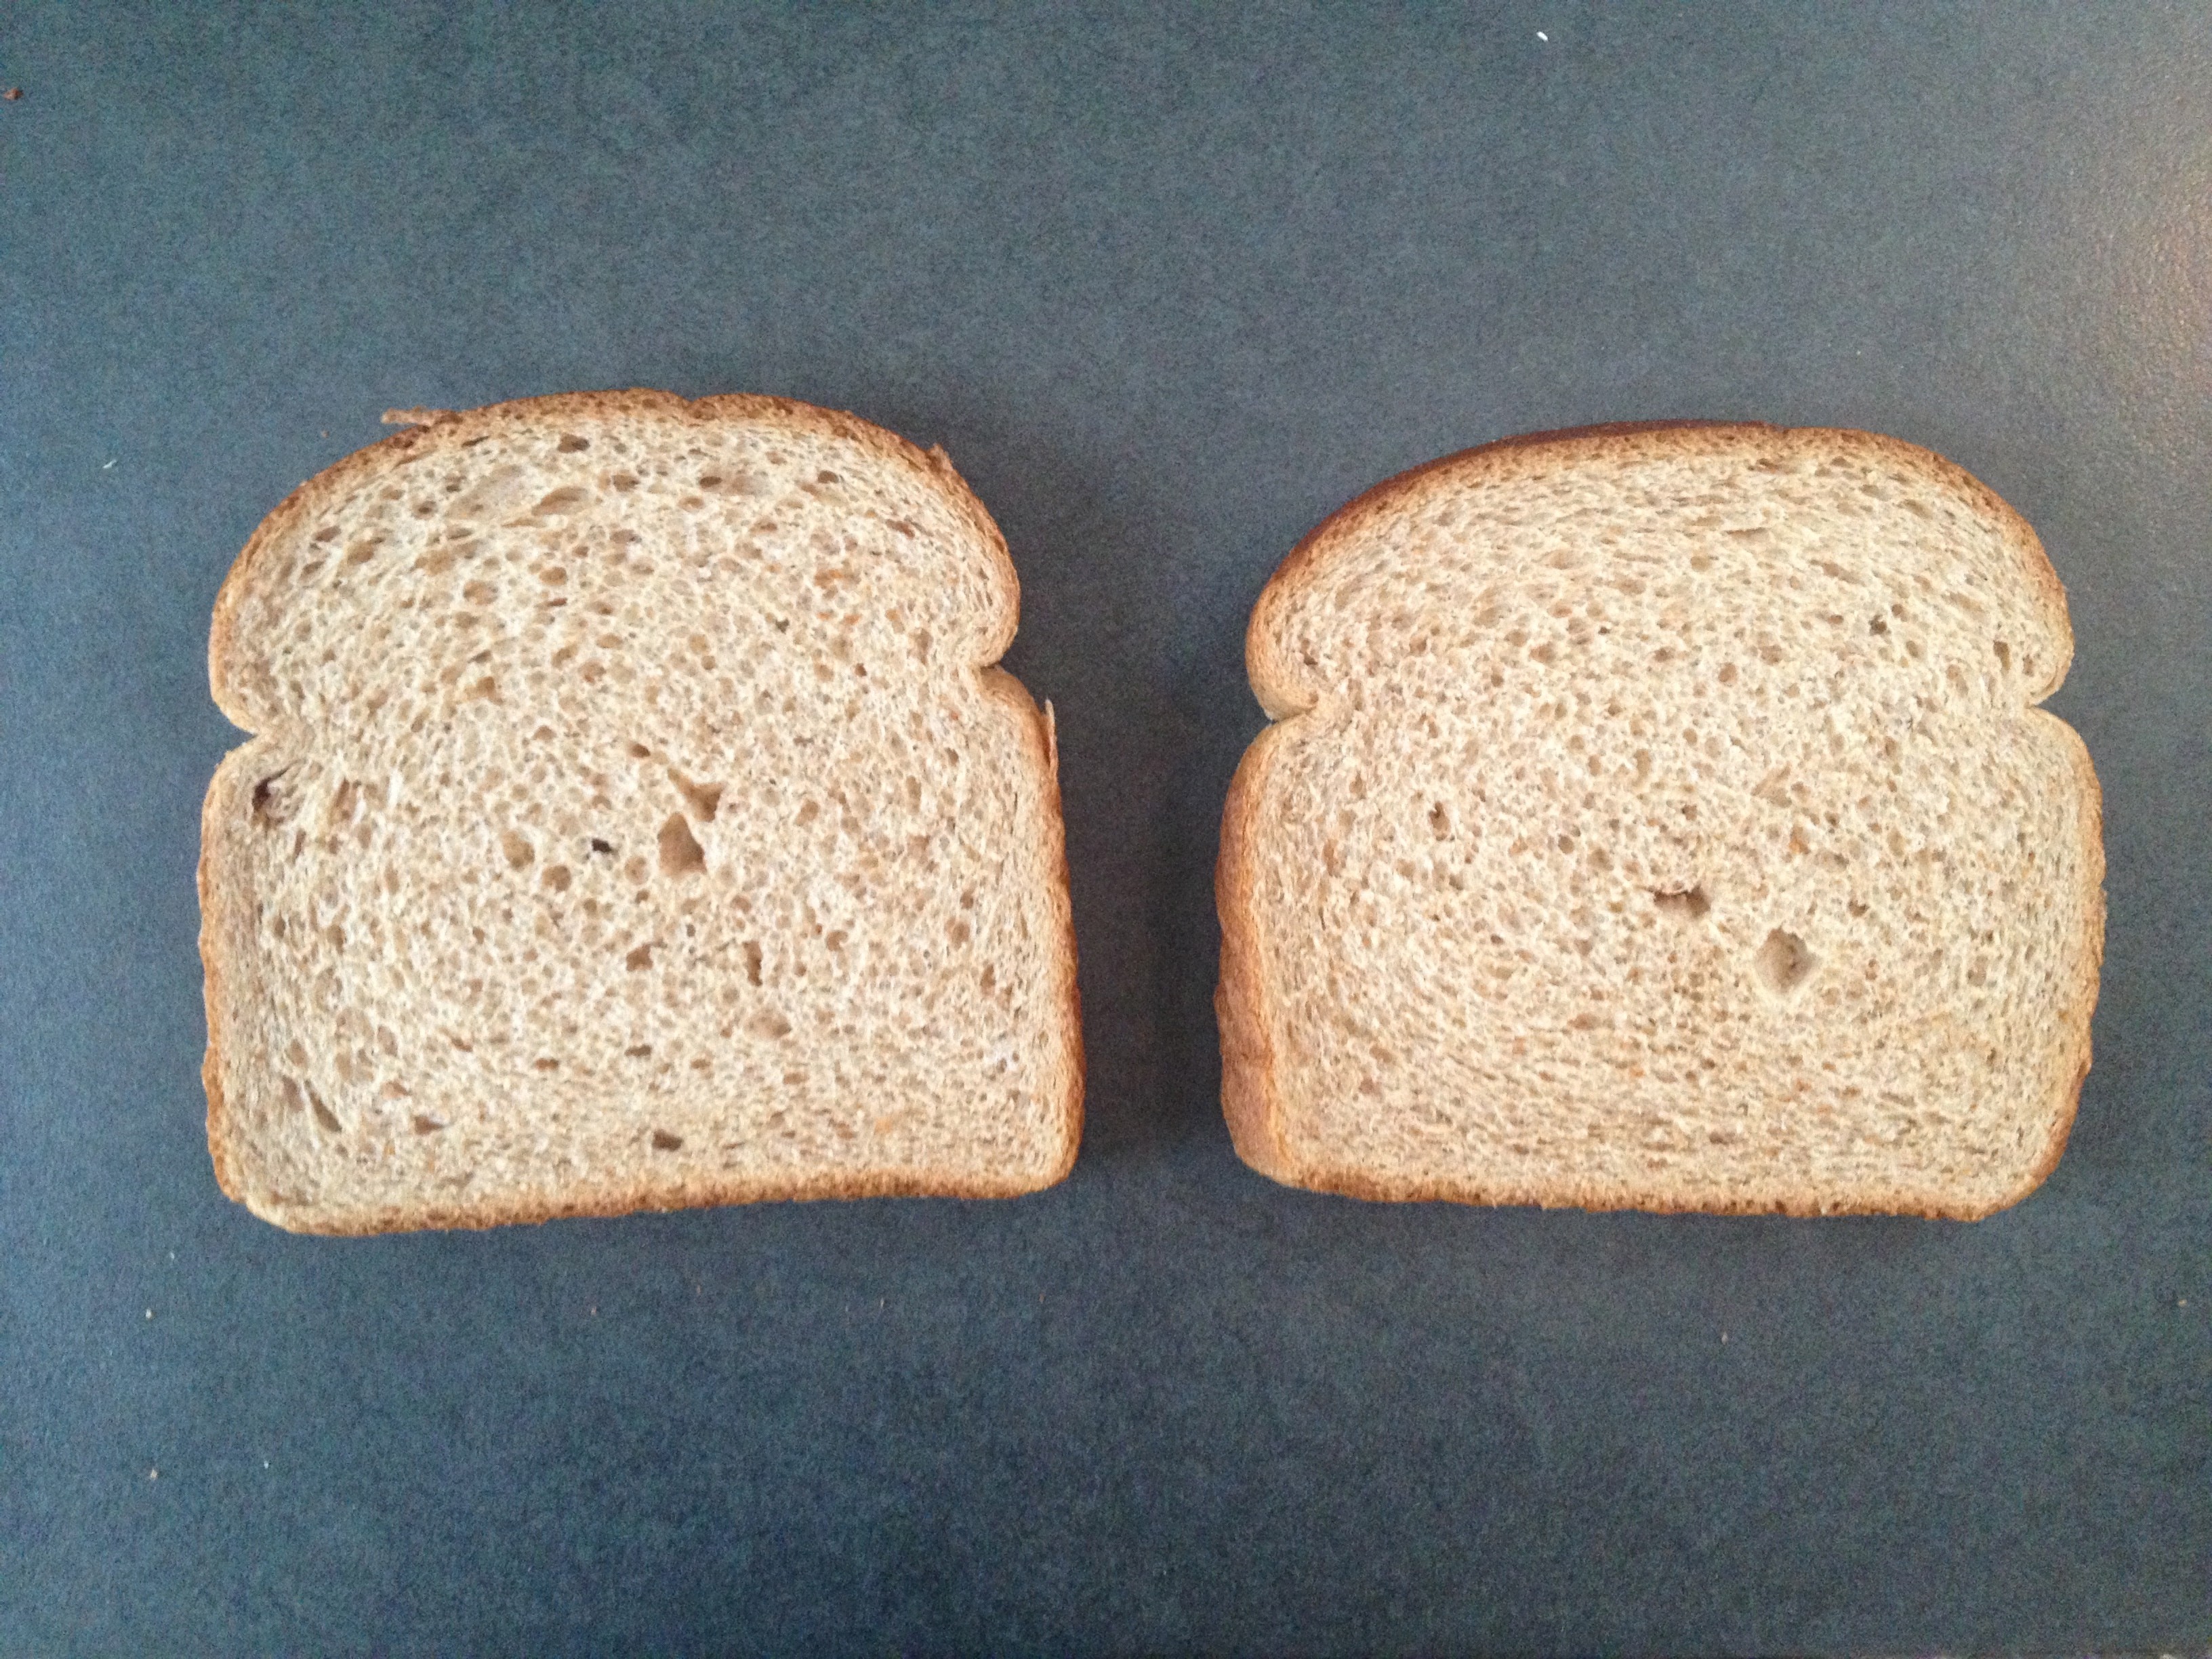
2 pieces of bread
2 slices of cheese
butter
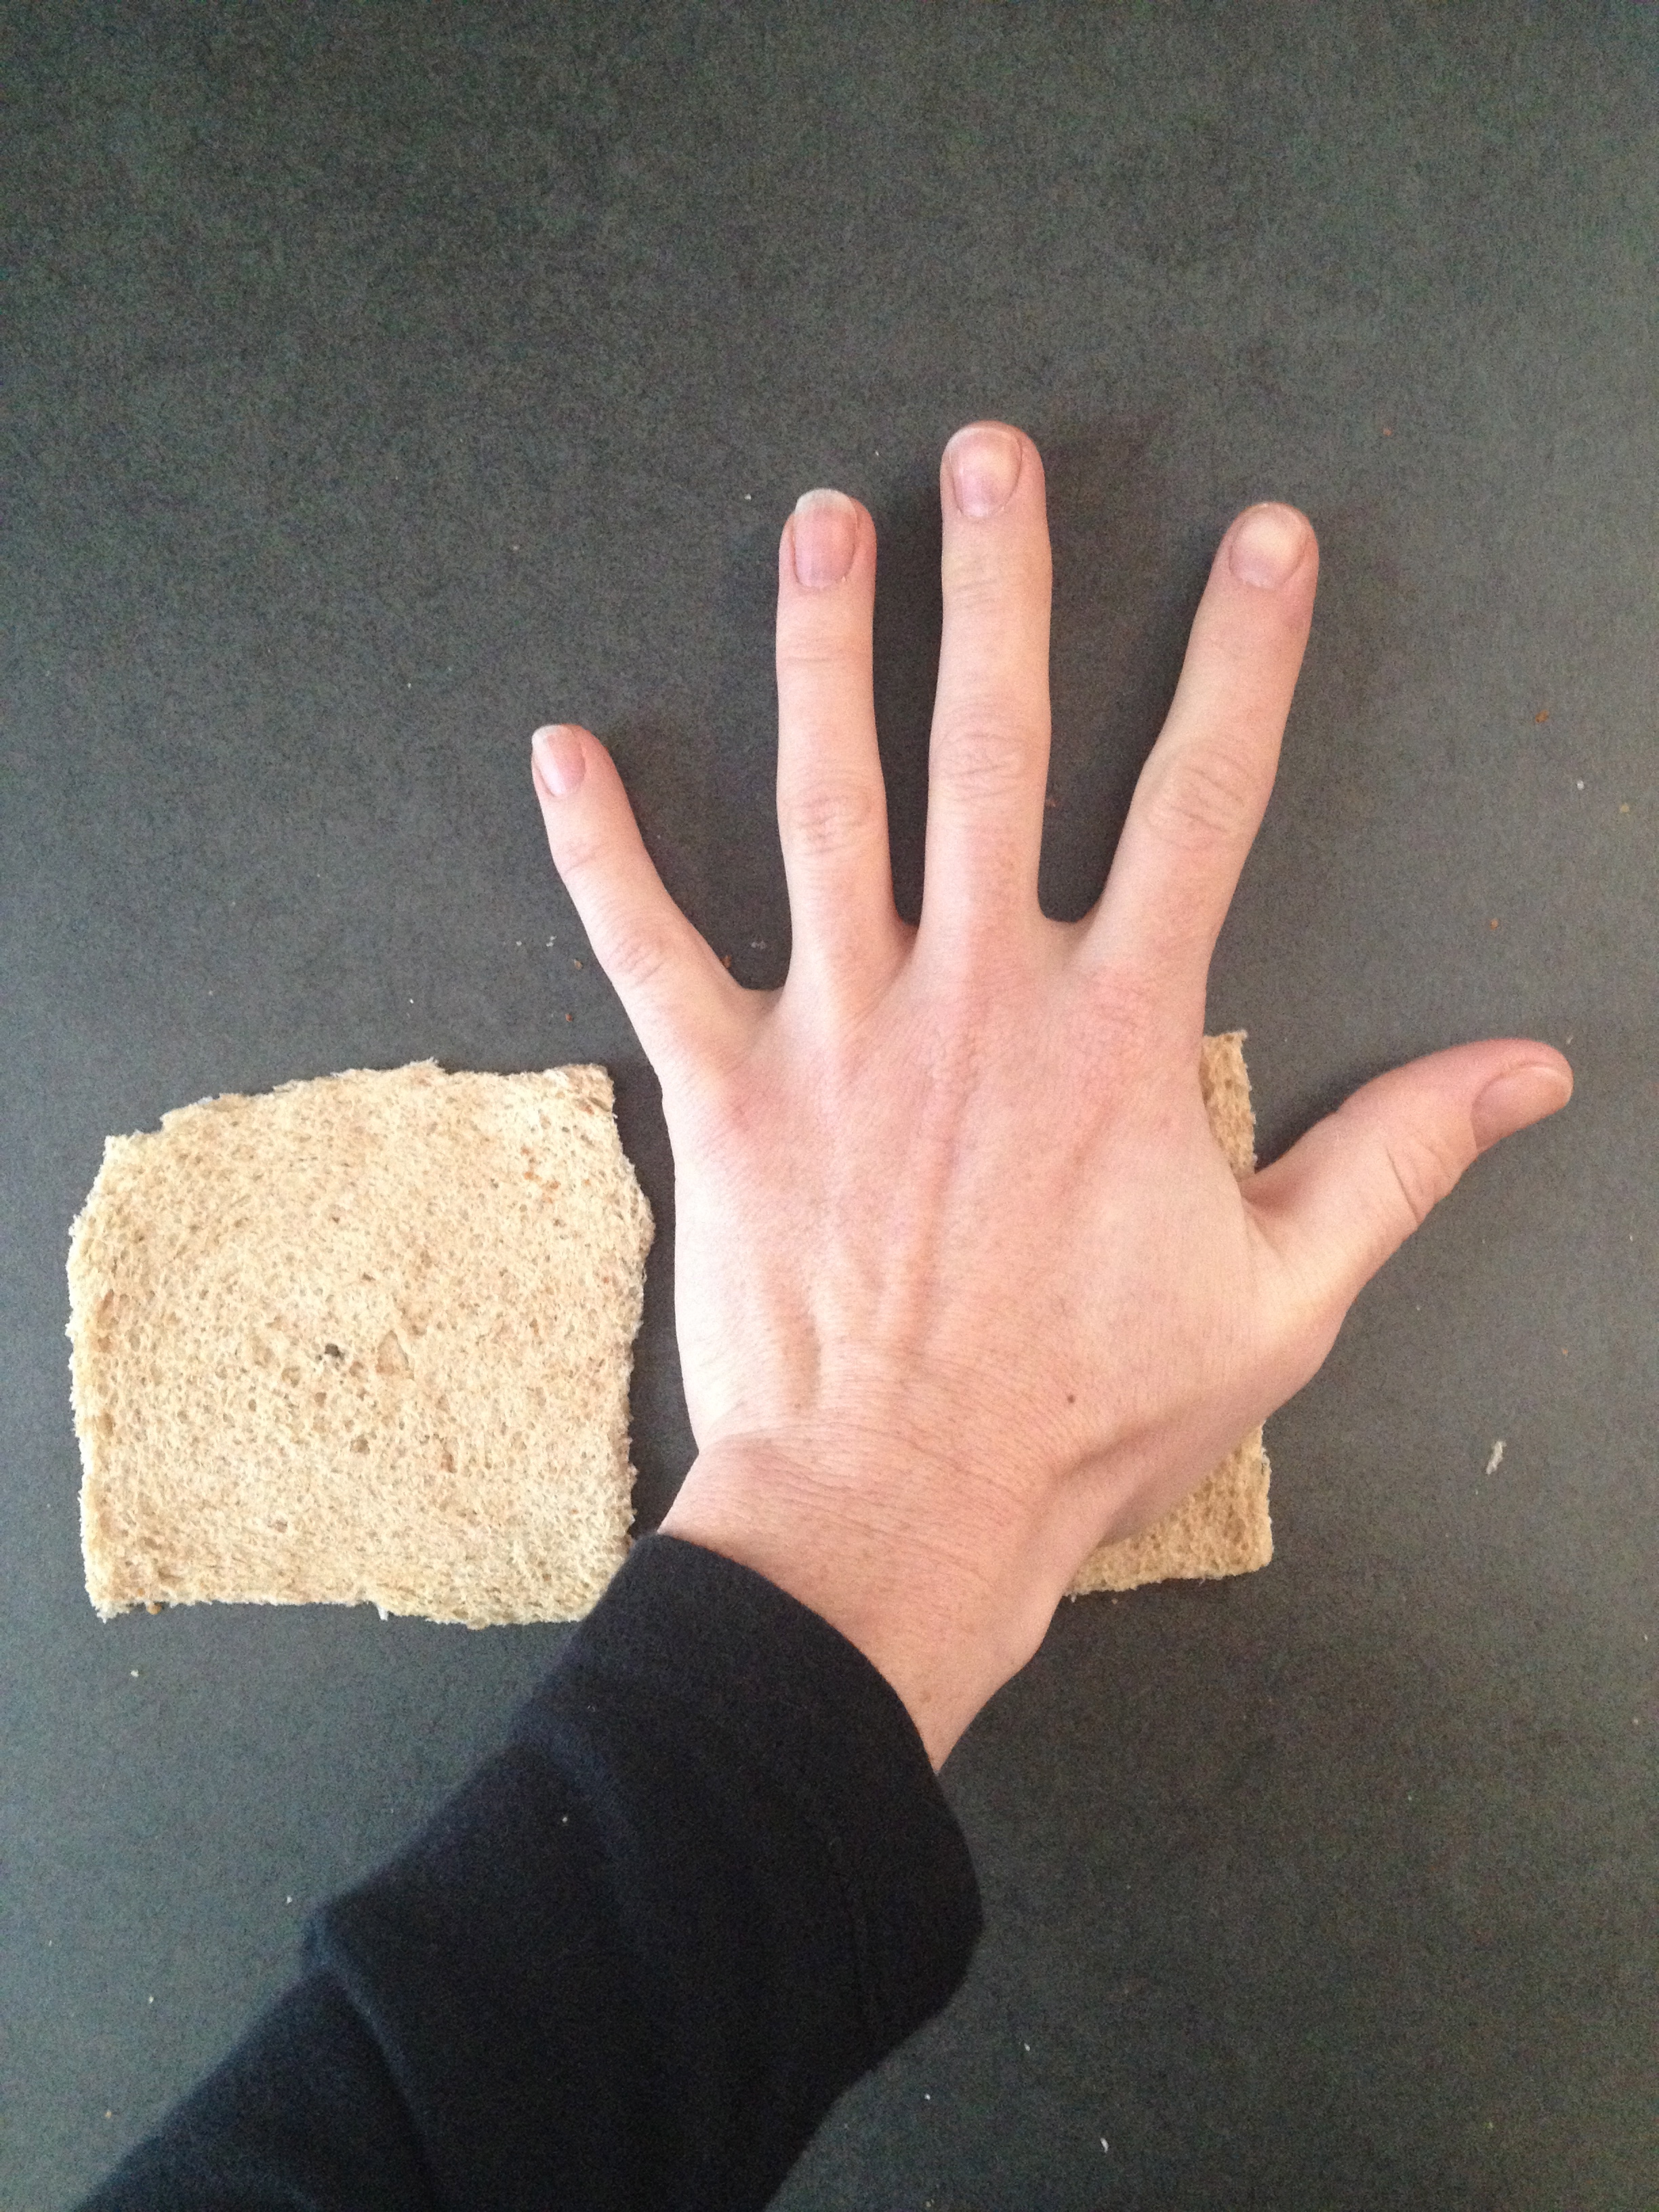
Cut crusts off of bread.


Flatten bread by pressing firmly down with hand.

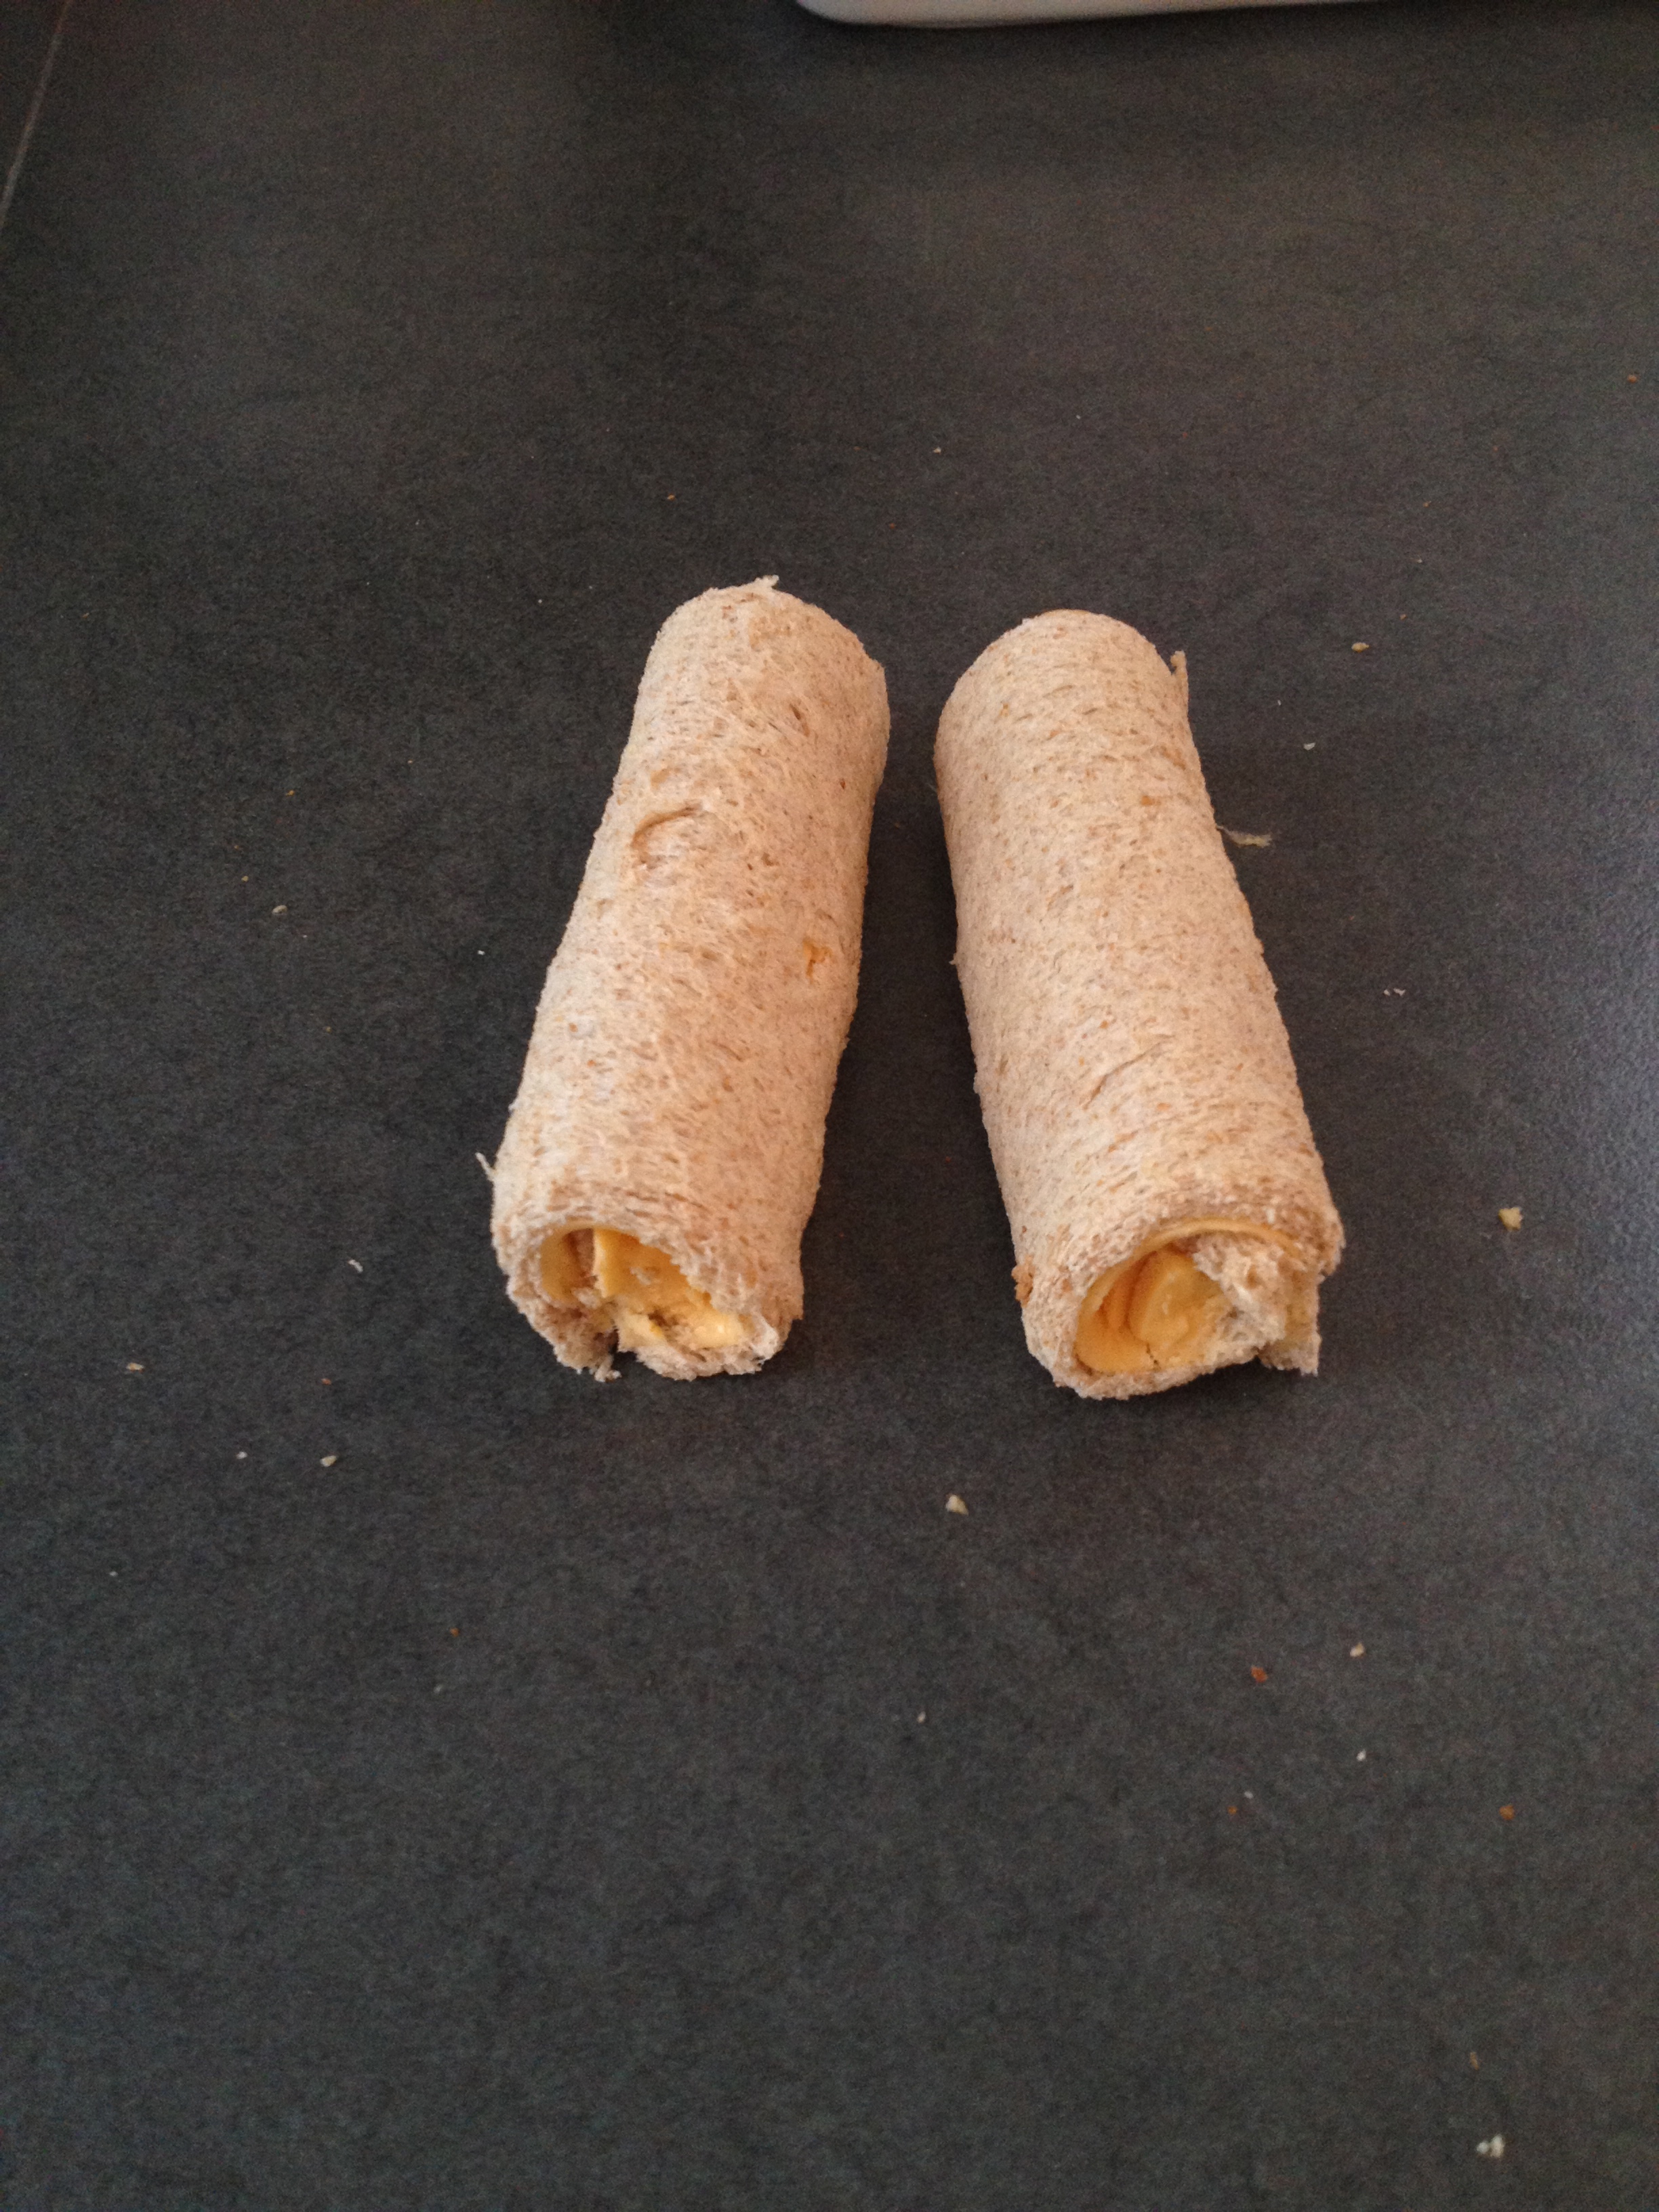
Top bread with one slice of cheese. I have found that if you add too much cheese it’s very hard to roll the bread and the cheese hangs out the sides and burns to the pan when cooking. I actually tore off edges of the cheese slices that were hanging out of the bread roll.

Roll the bread topped with cheese up and pinch the seam to secure the closing.


Melt a small amount of butter in a frying pan over medium heat and once melted place the sandwich roll seam side down to begin cooking. Press sandwich roll to secure seam.

Turn sandwich roll to cook all sides. Pressing down with a spatial.


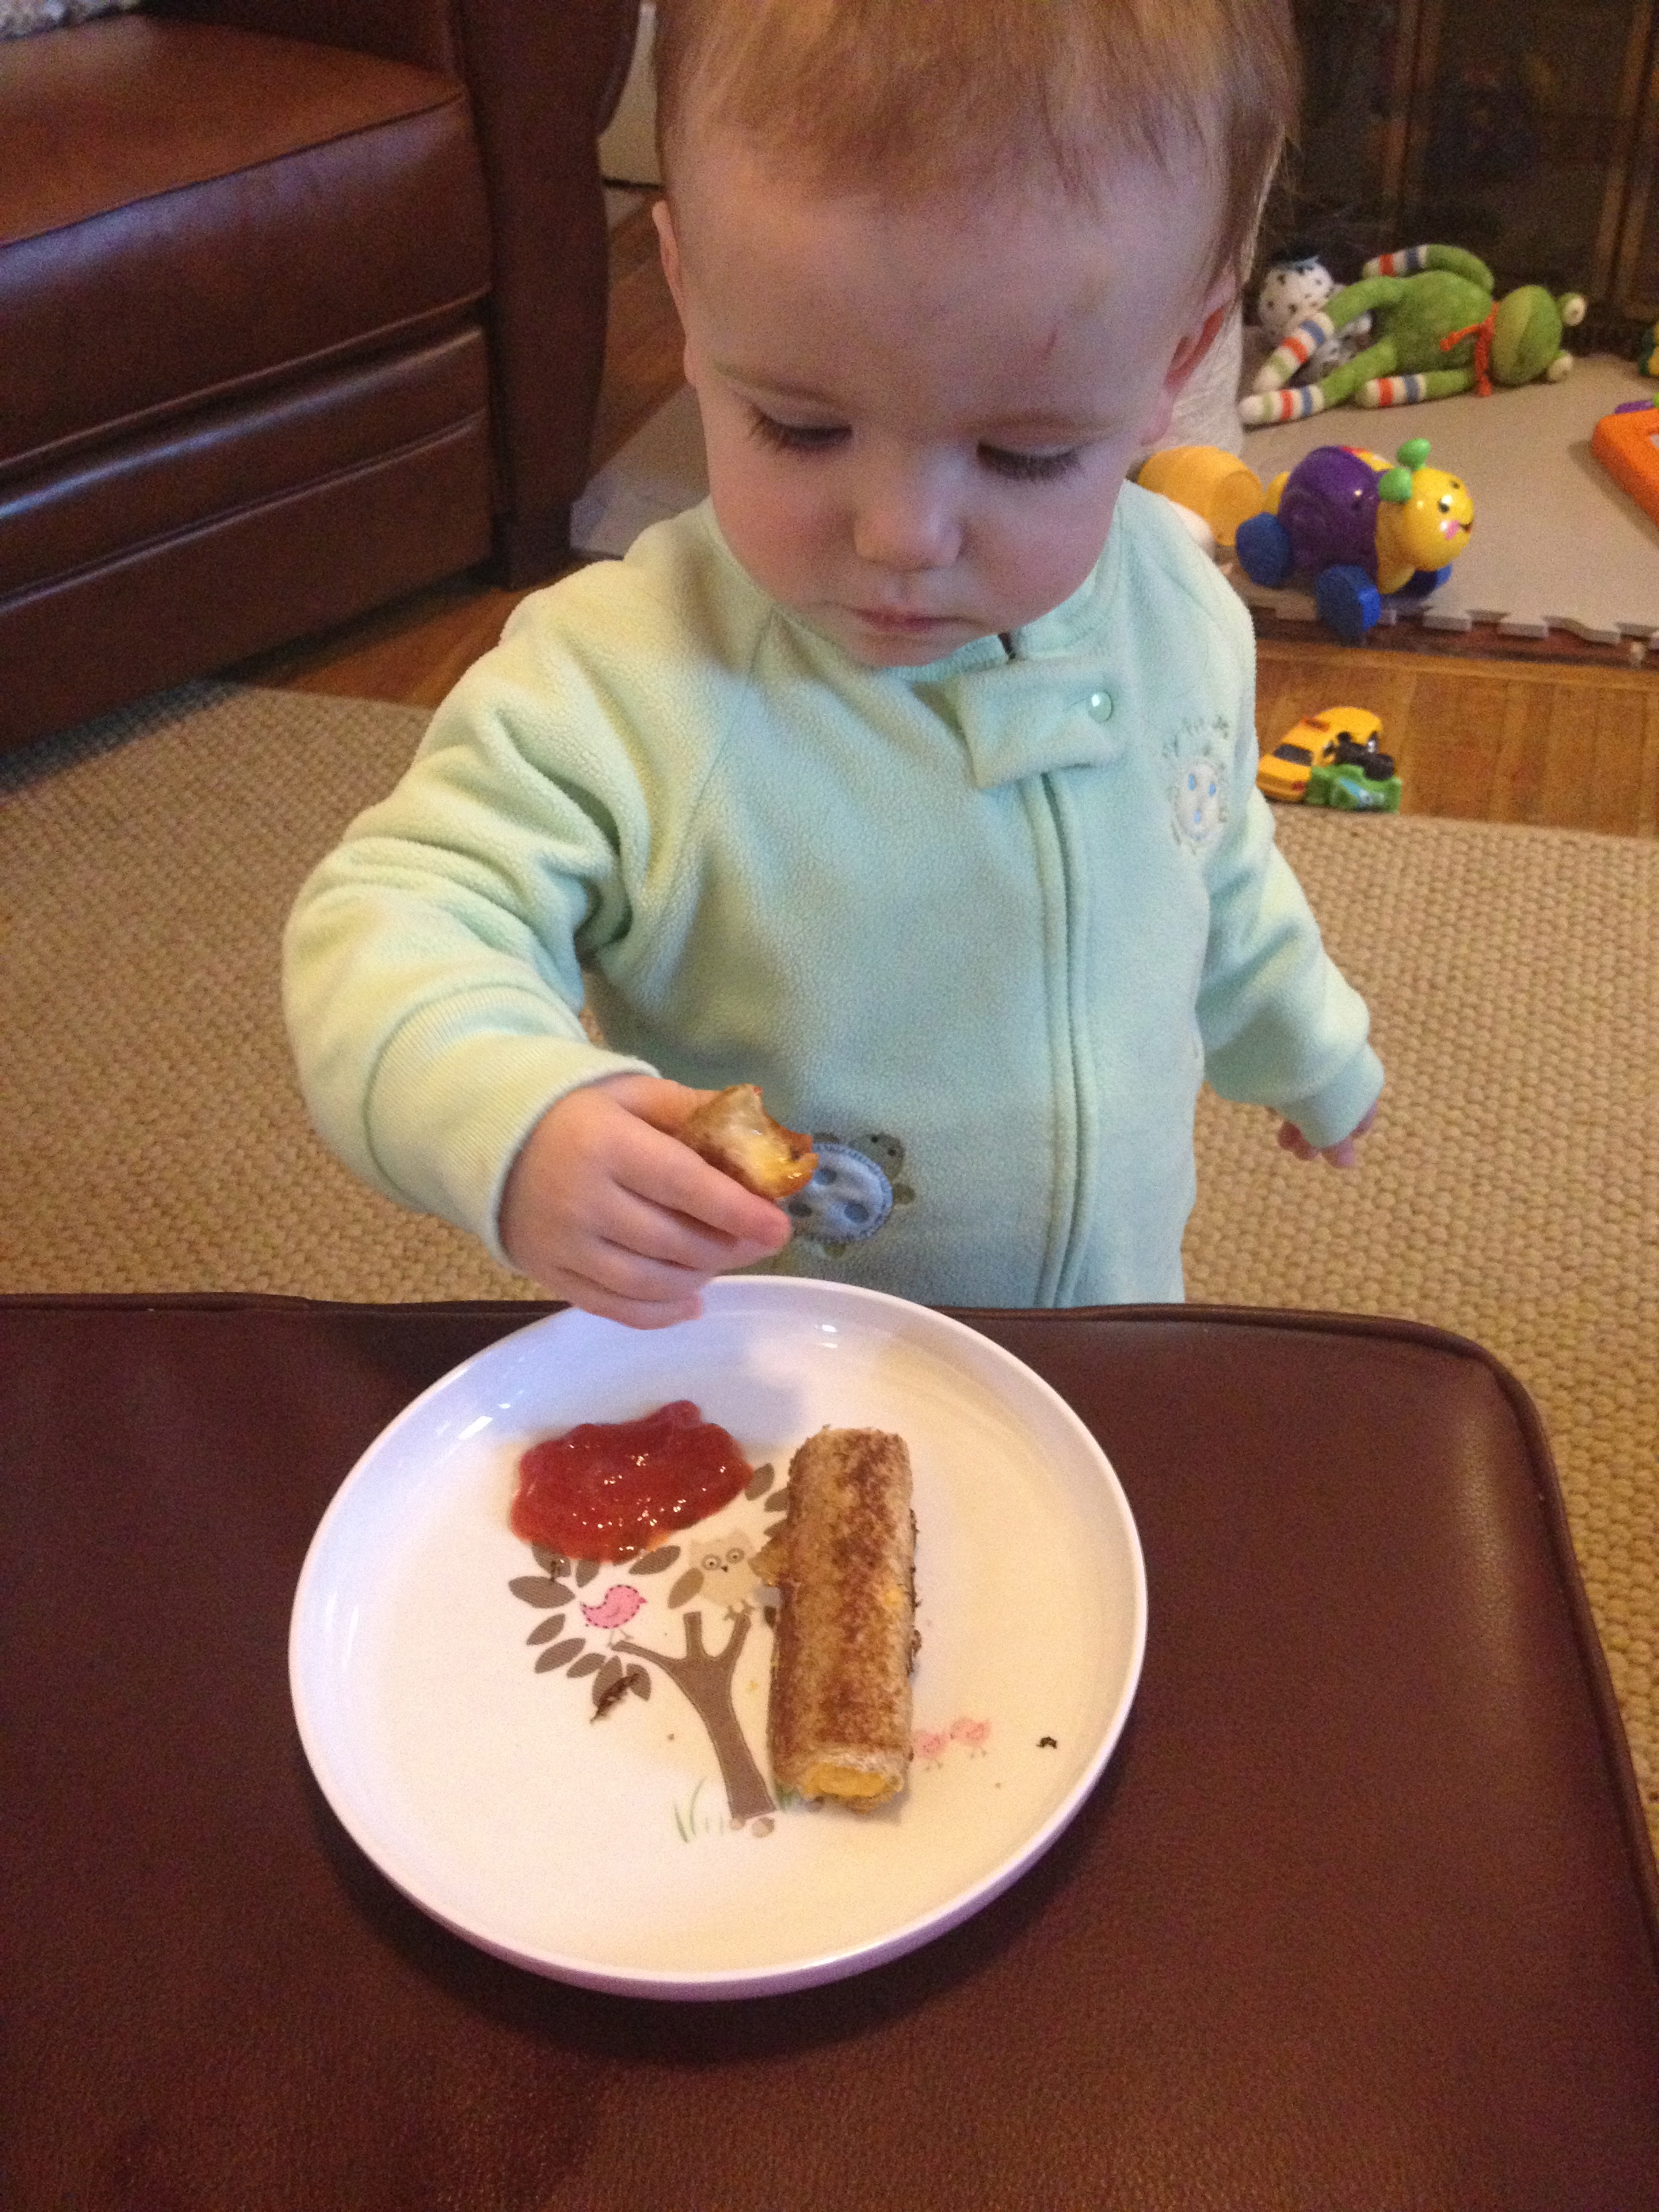
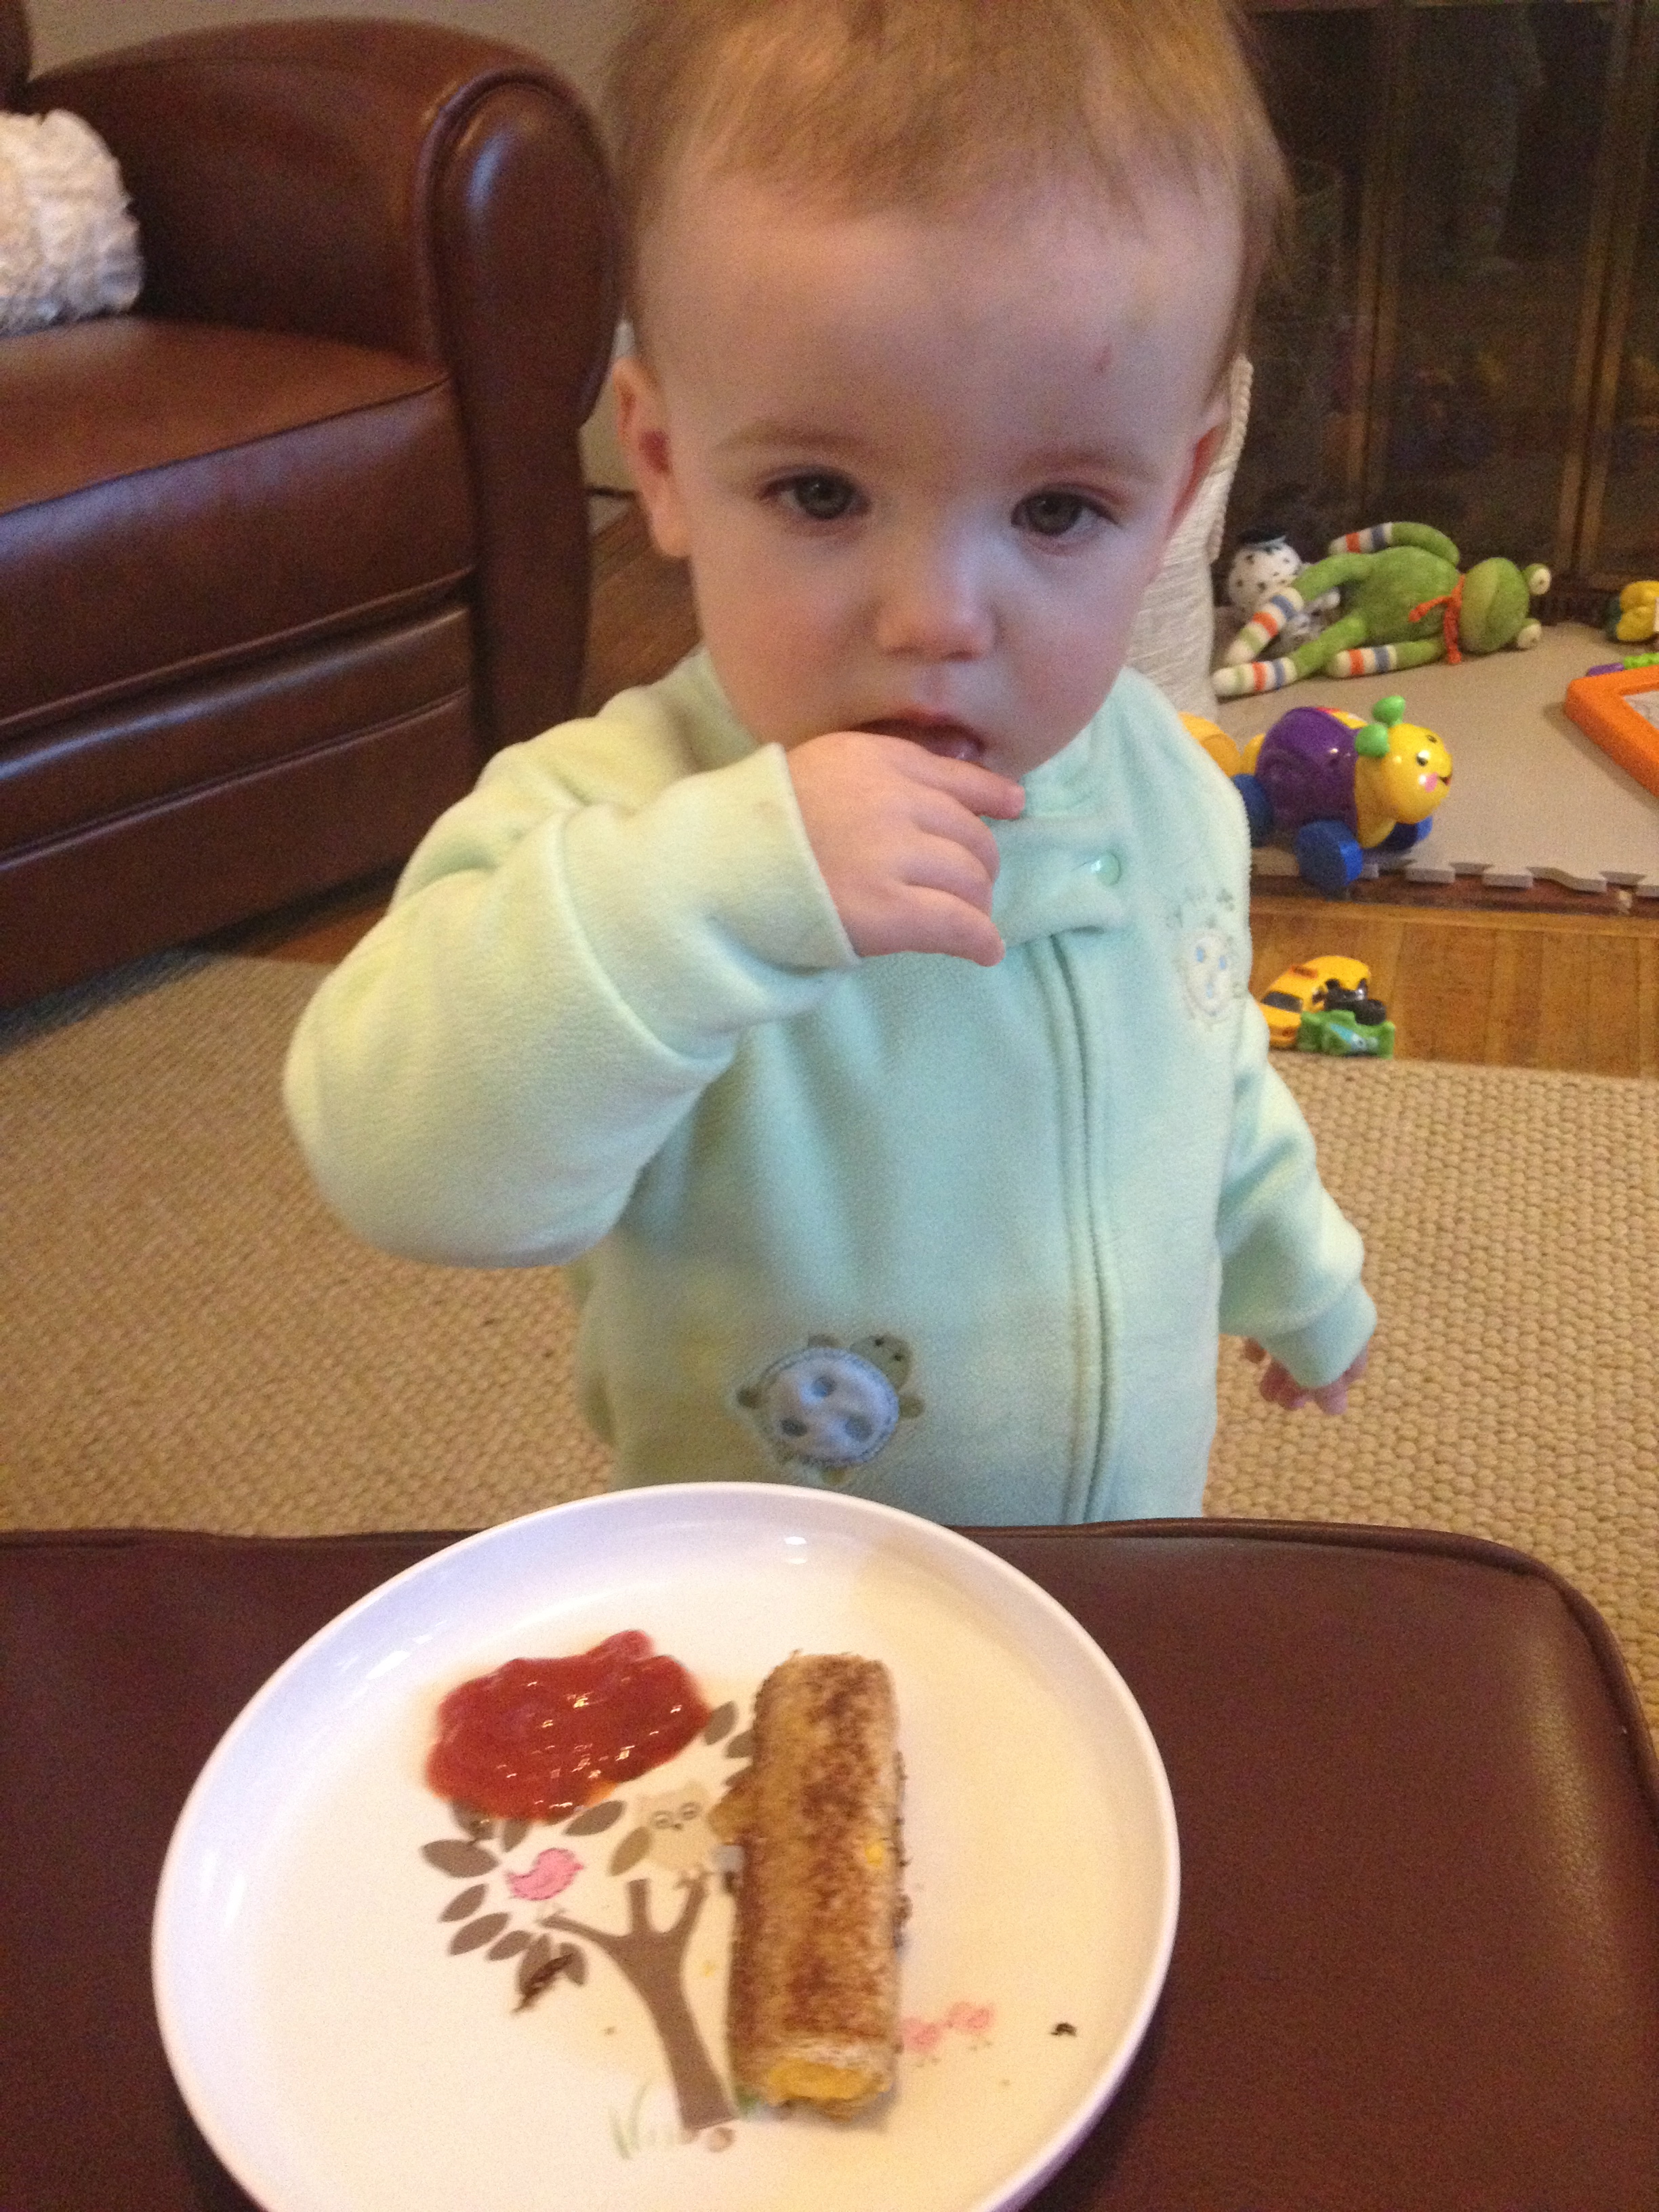
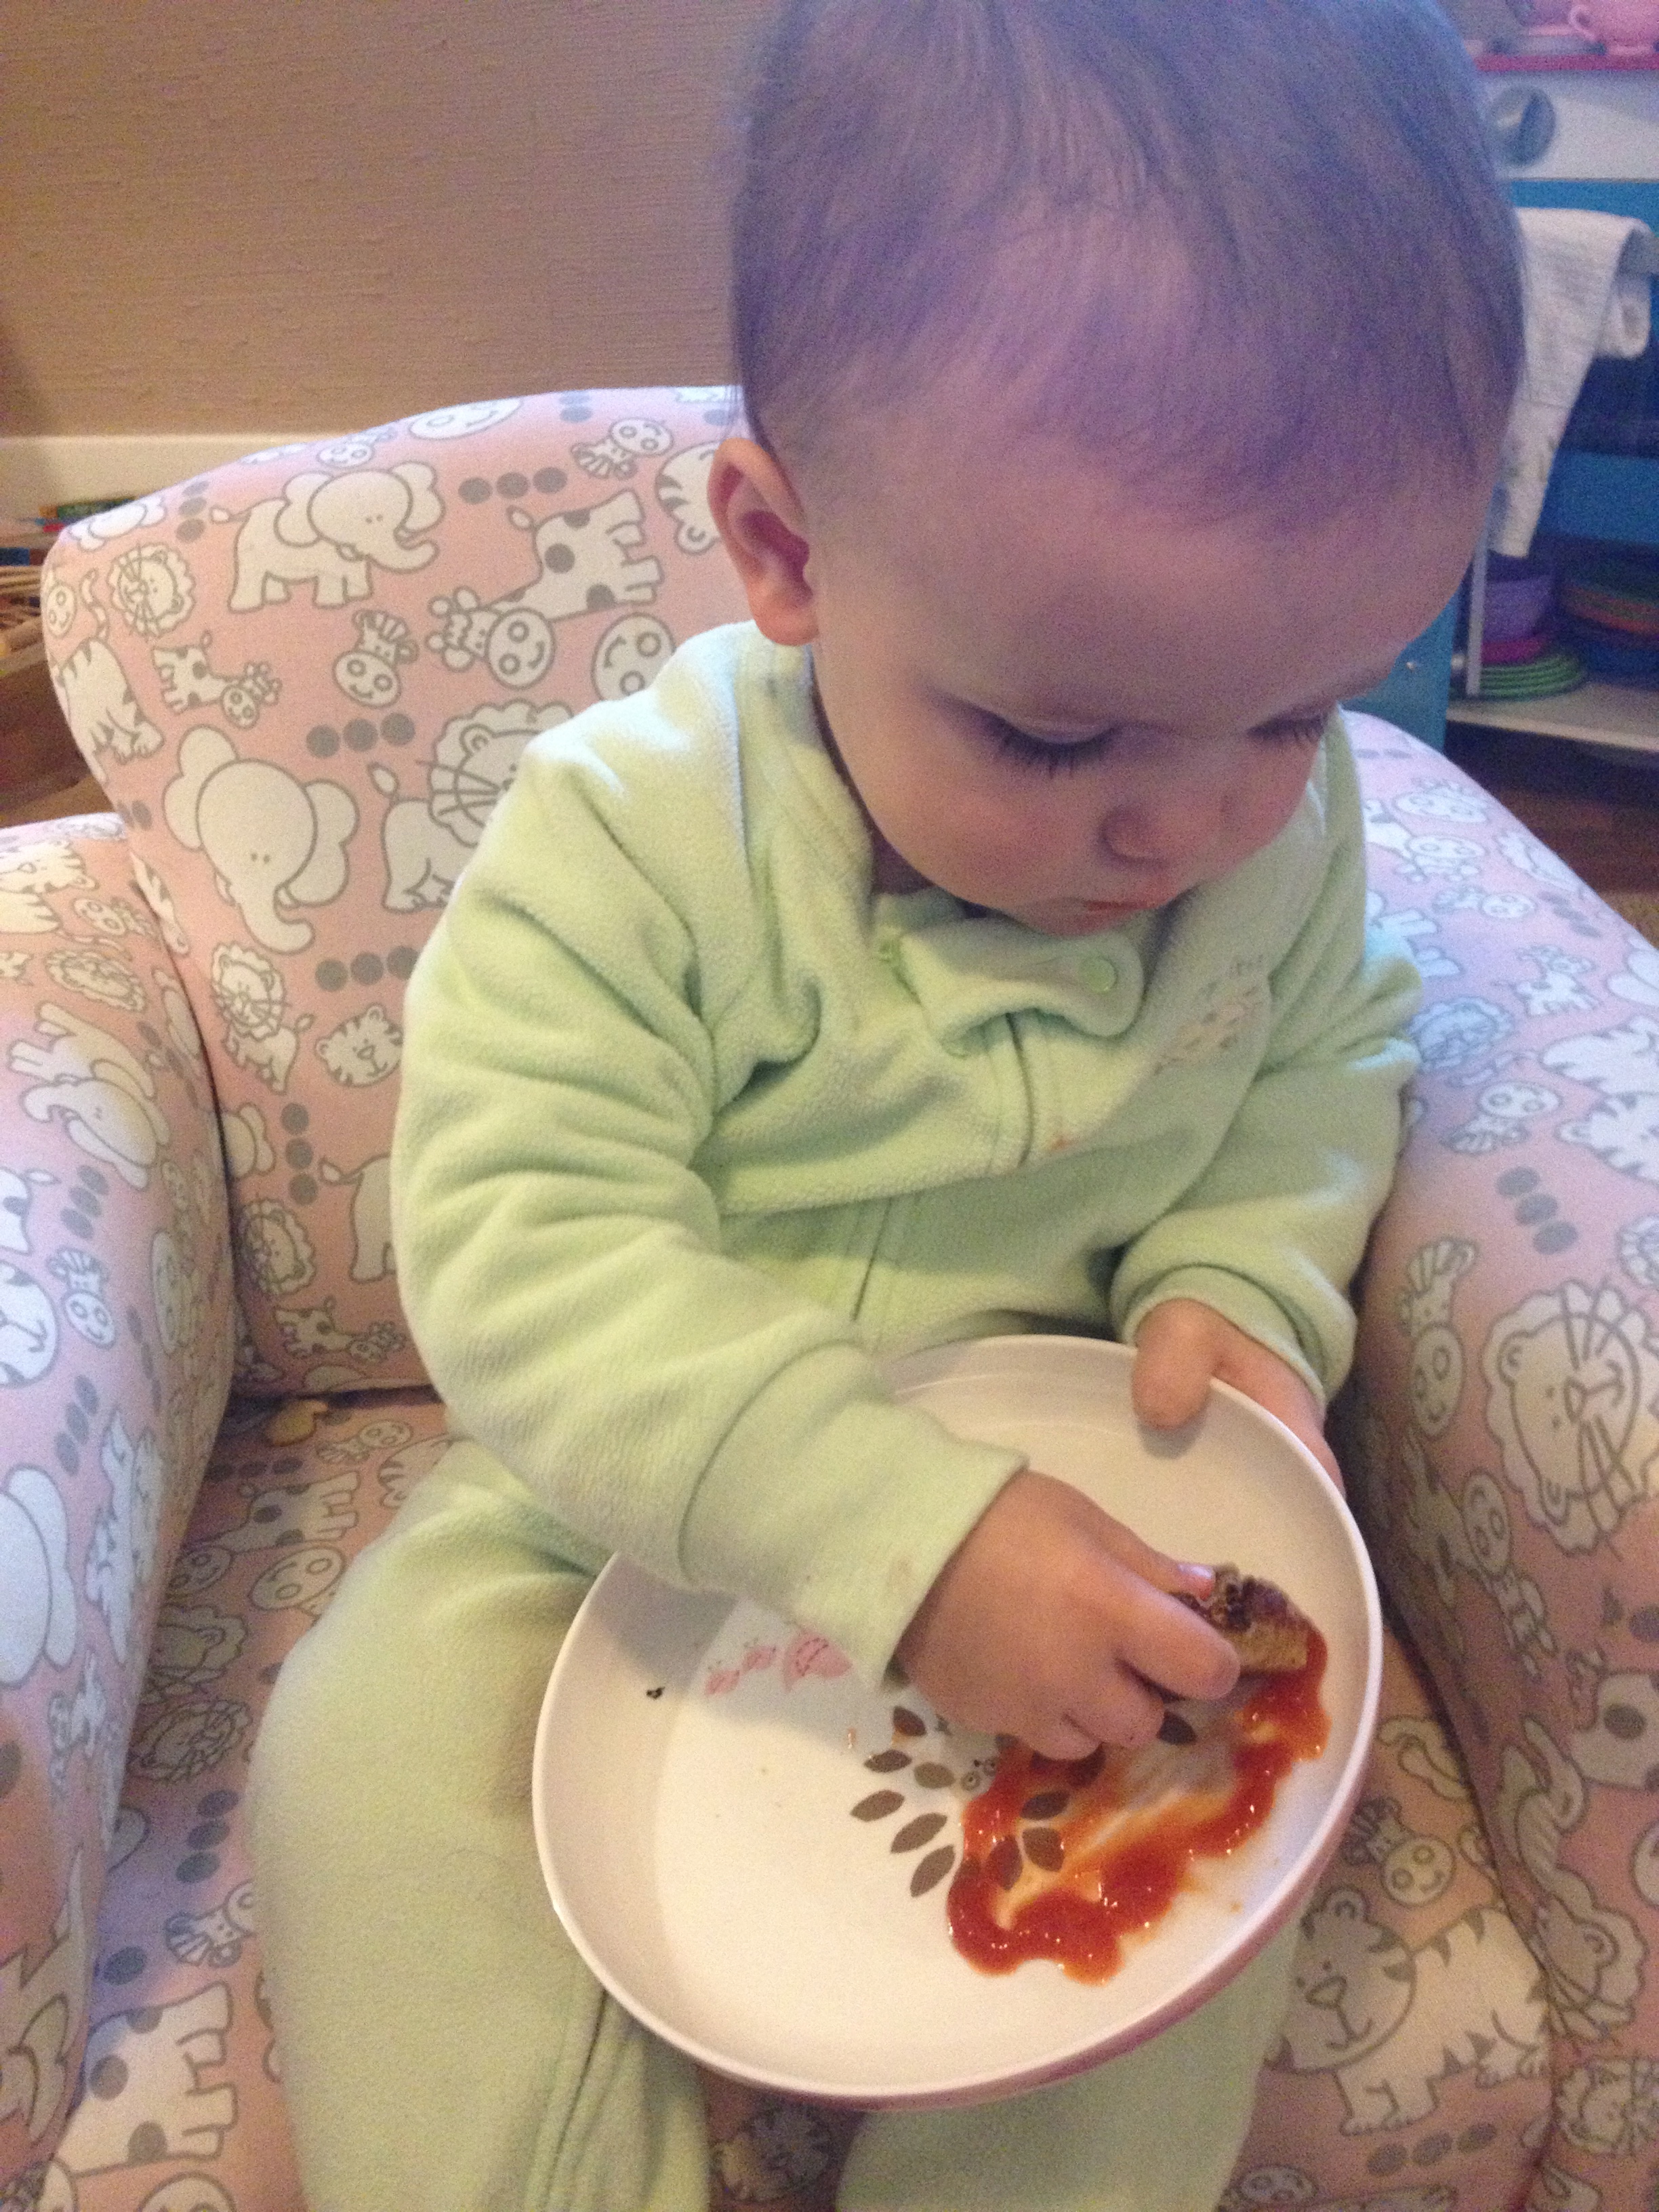
Serve with ketchup for dipping!
Score! She loved the roll!


