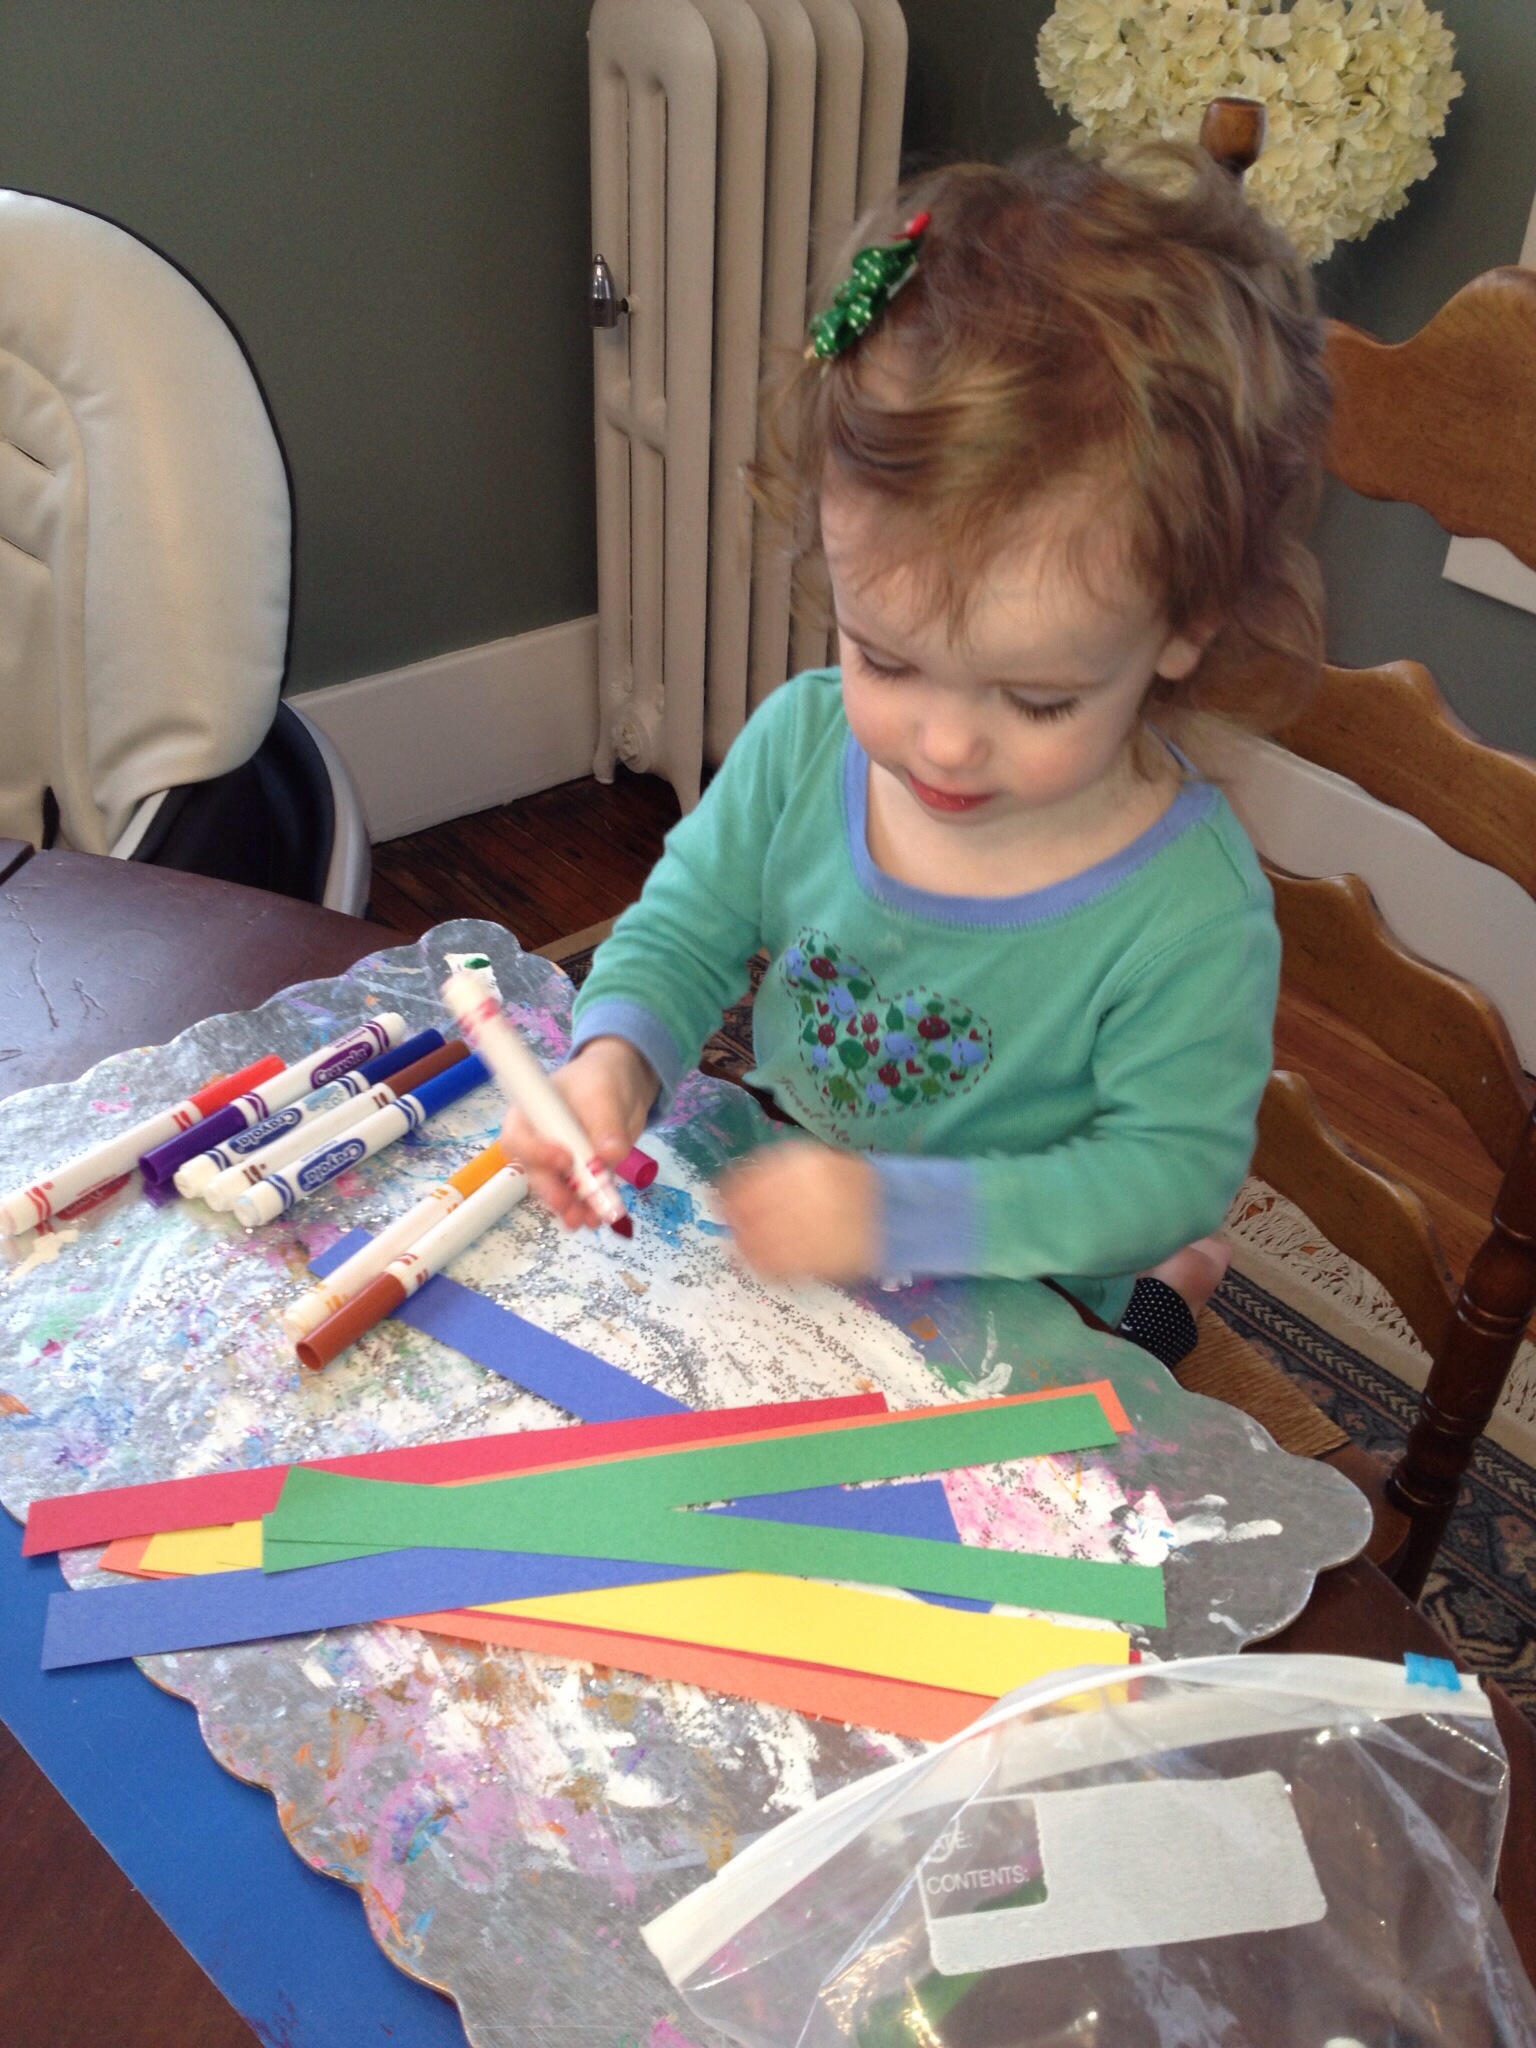
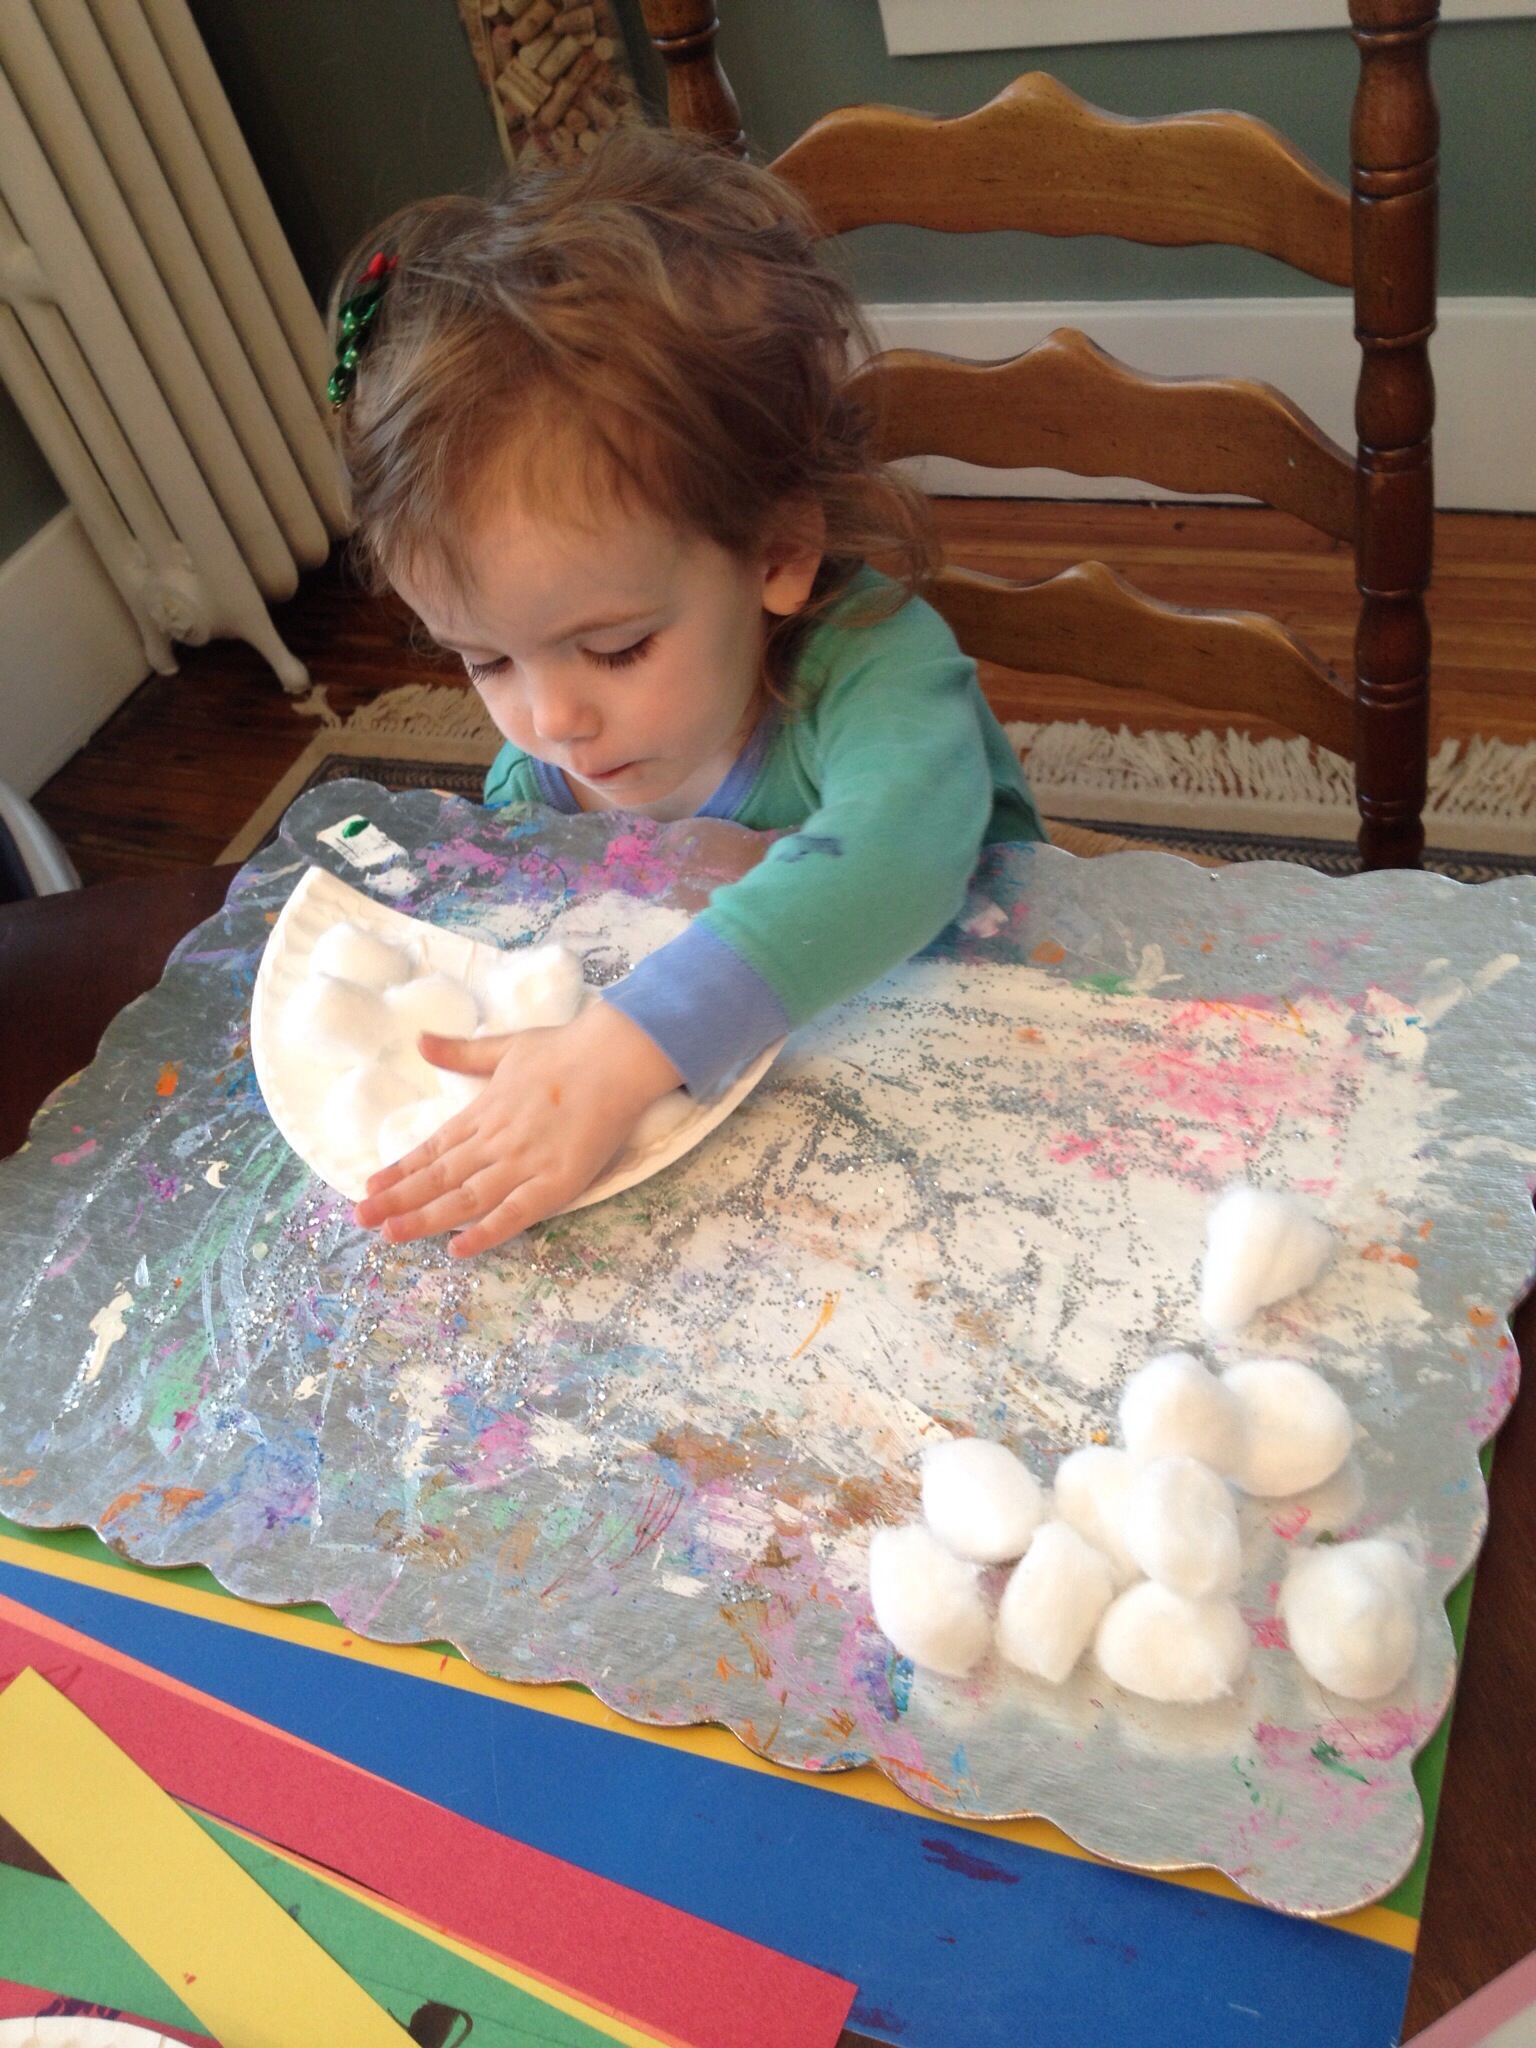
Reagan is always ready to paint! Color identification, color recognition and fine motor skills are all put to good use throughout this craft!
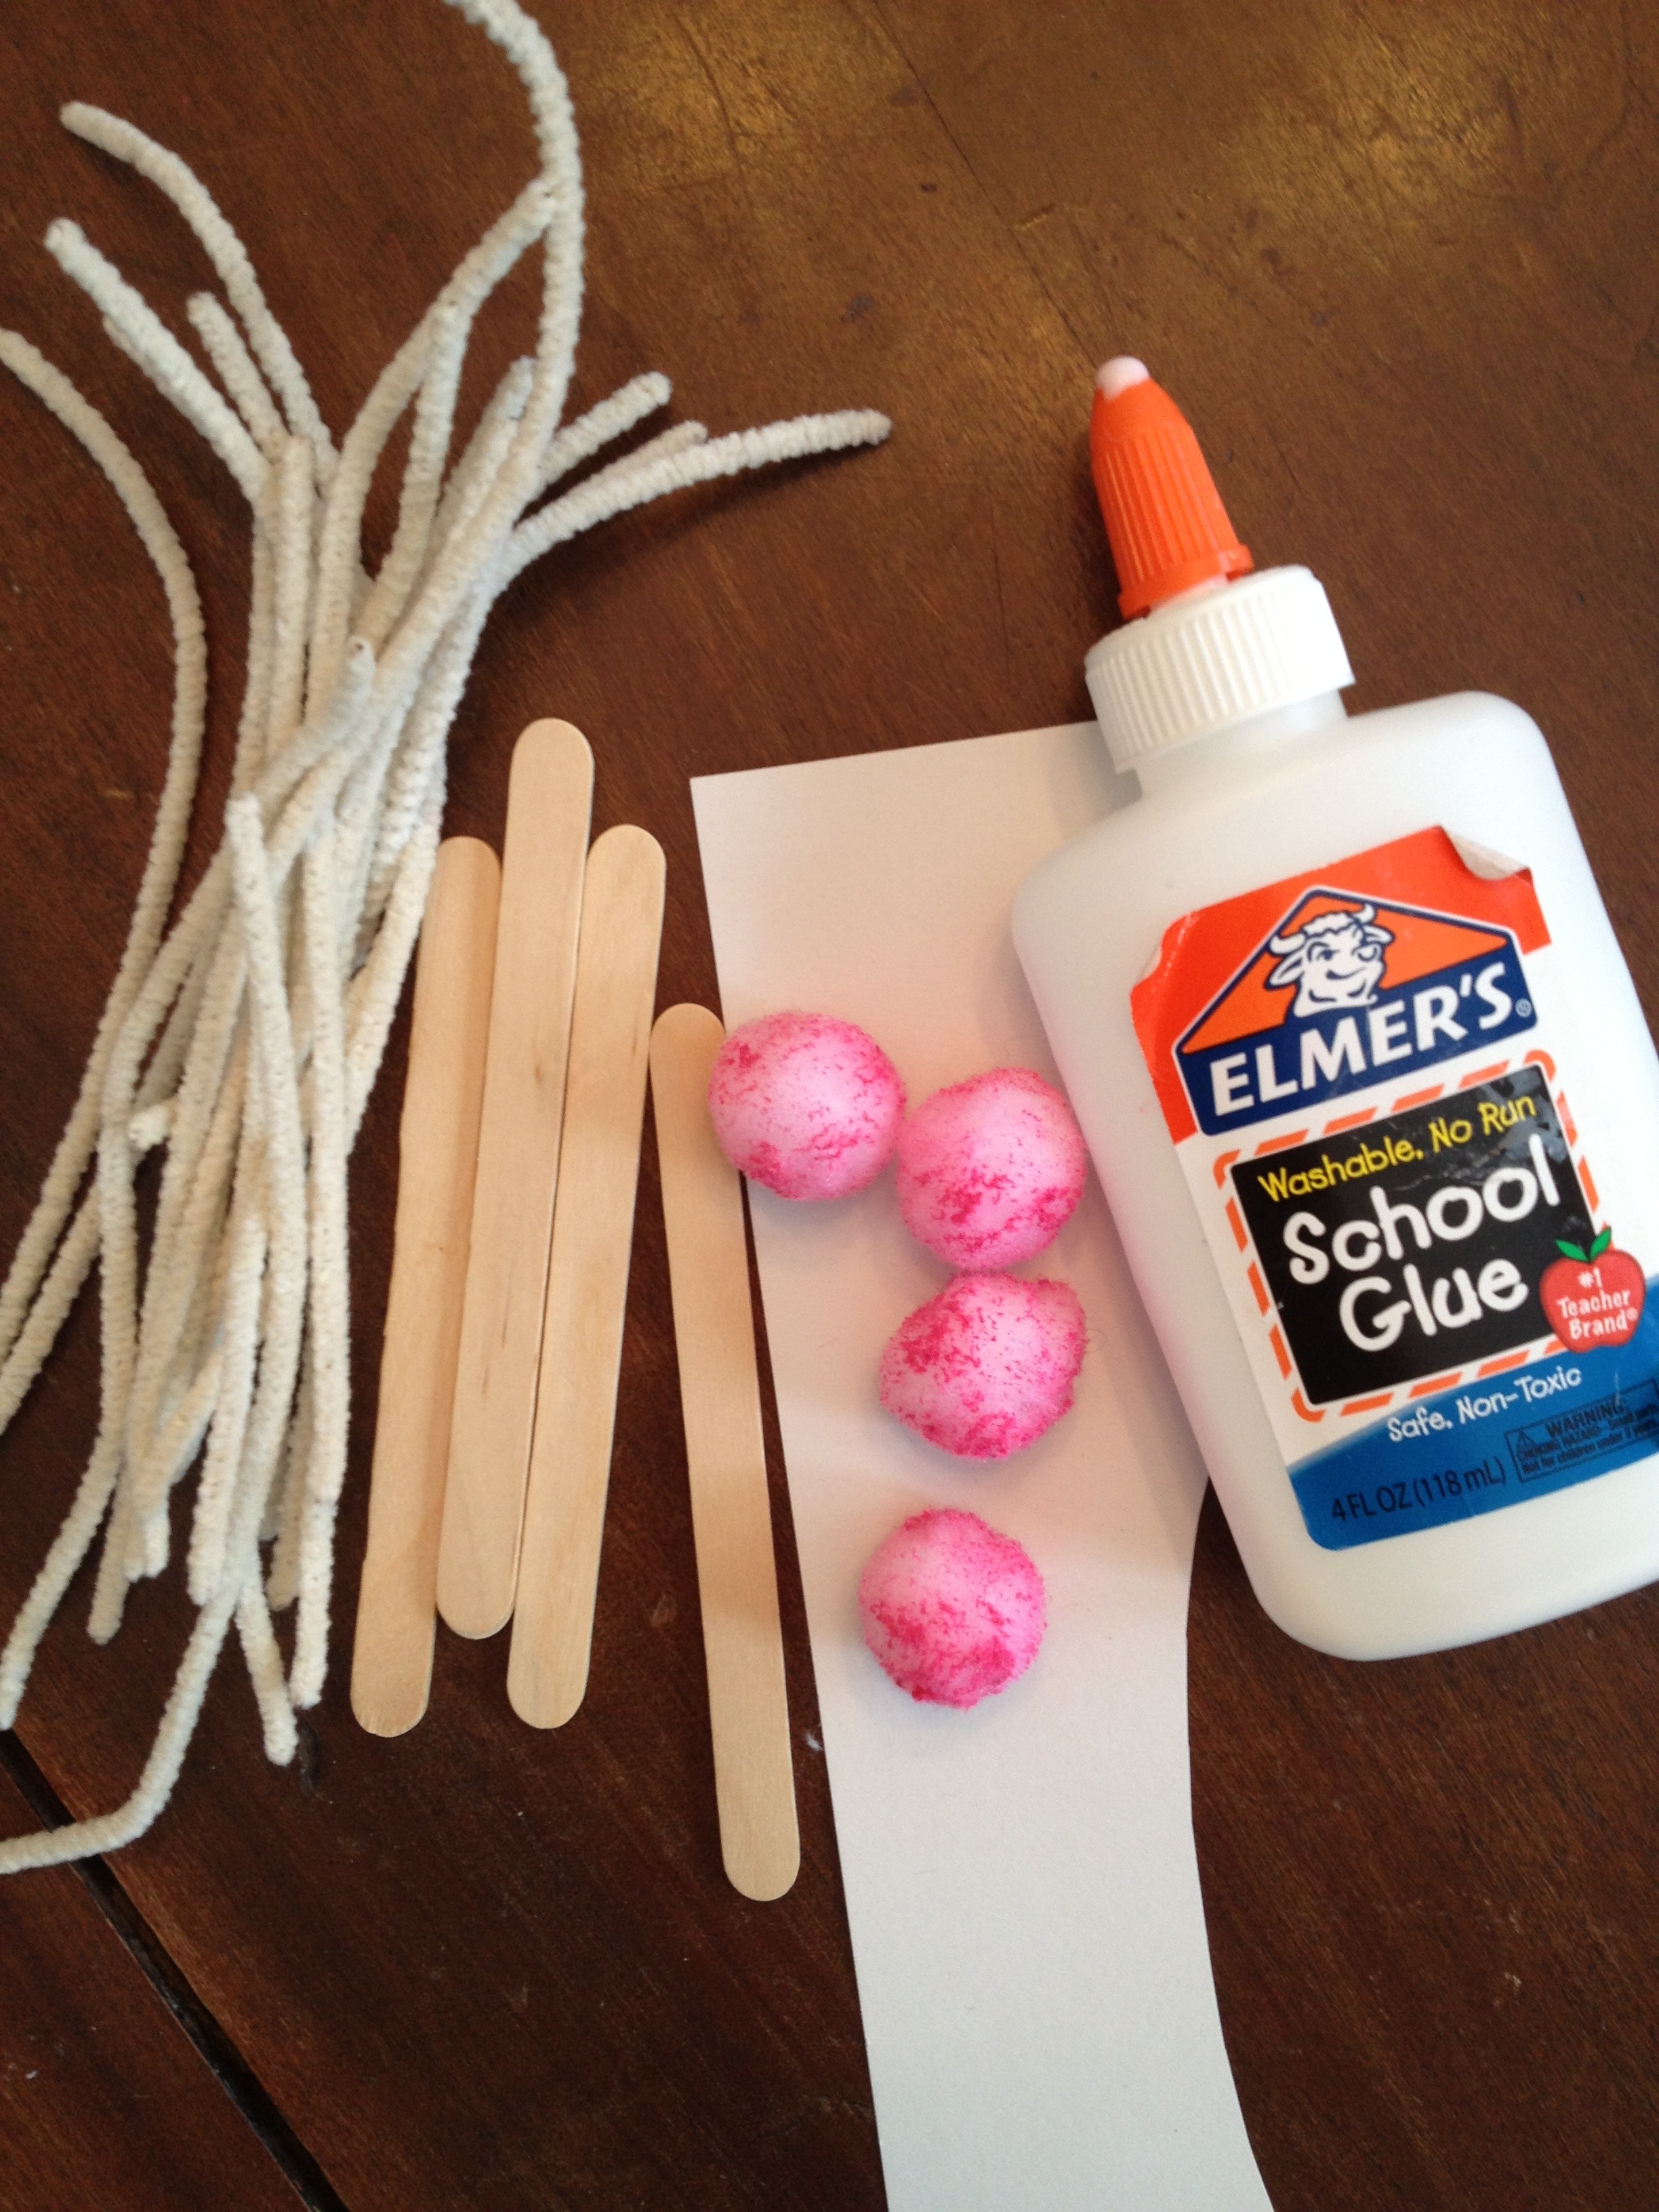
Materials

Various colors of paint
Clothes pins
Pom Pom balls
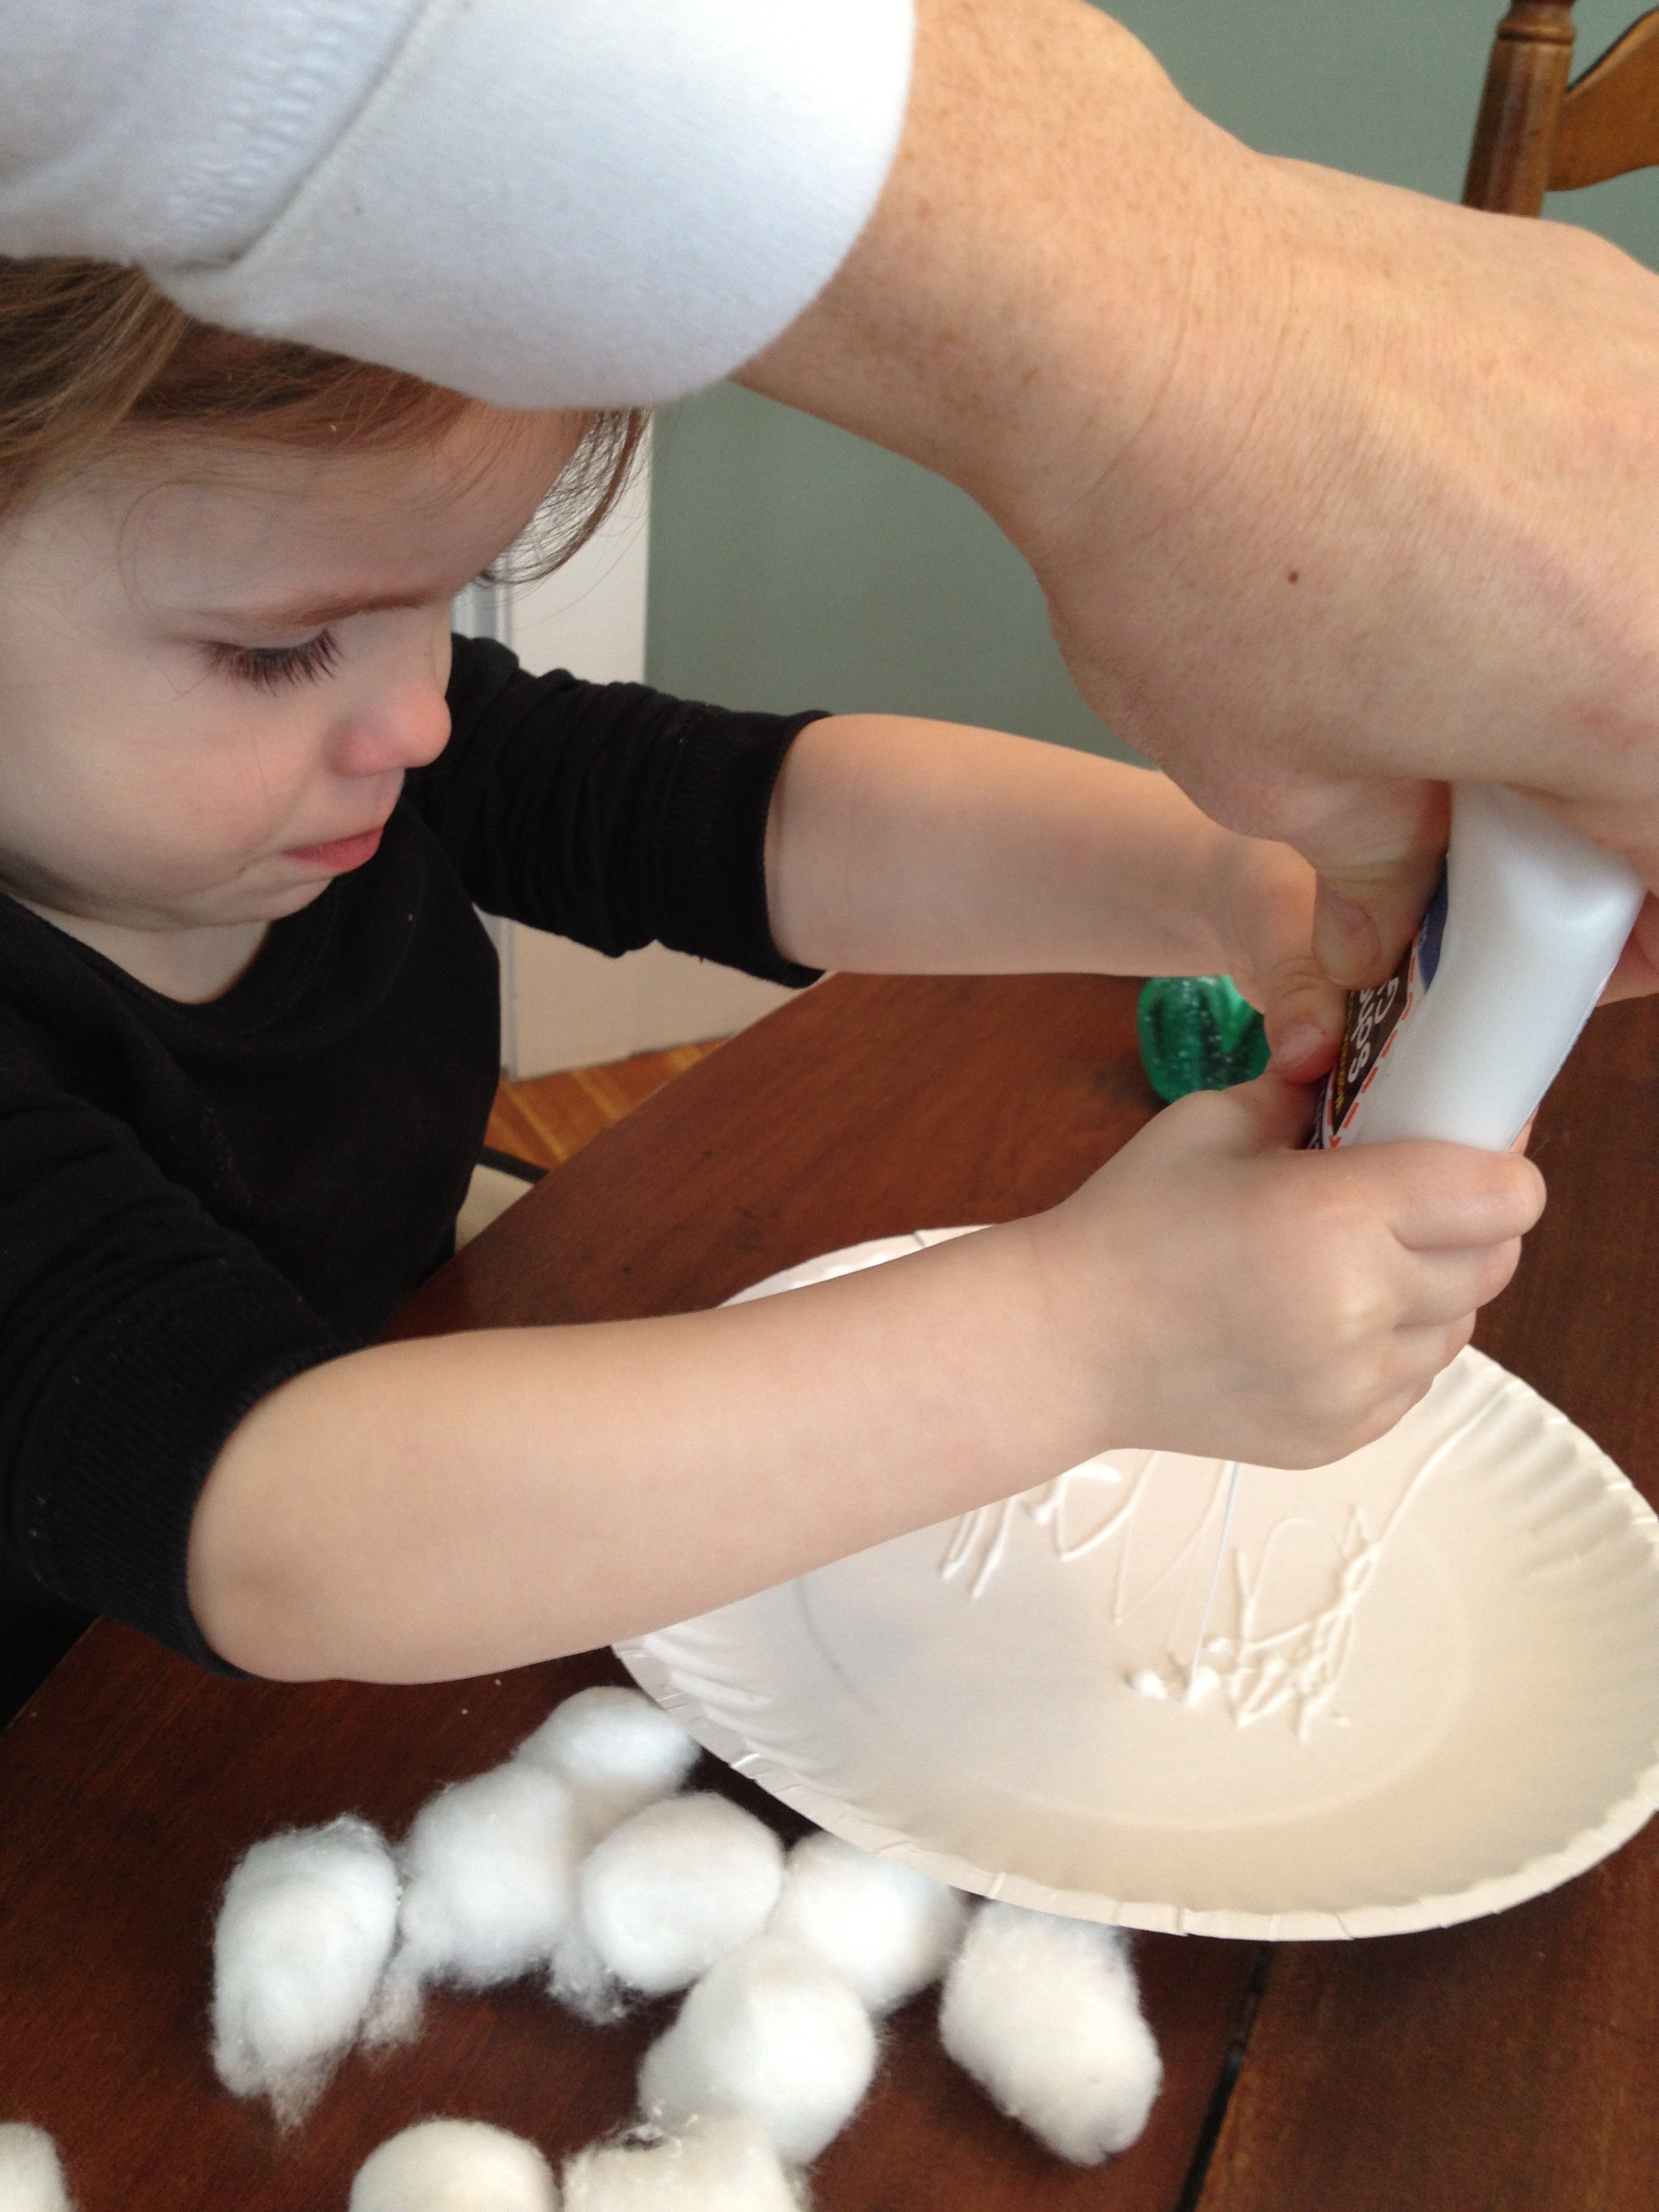
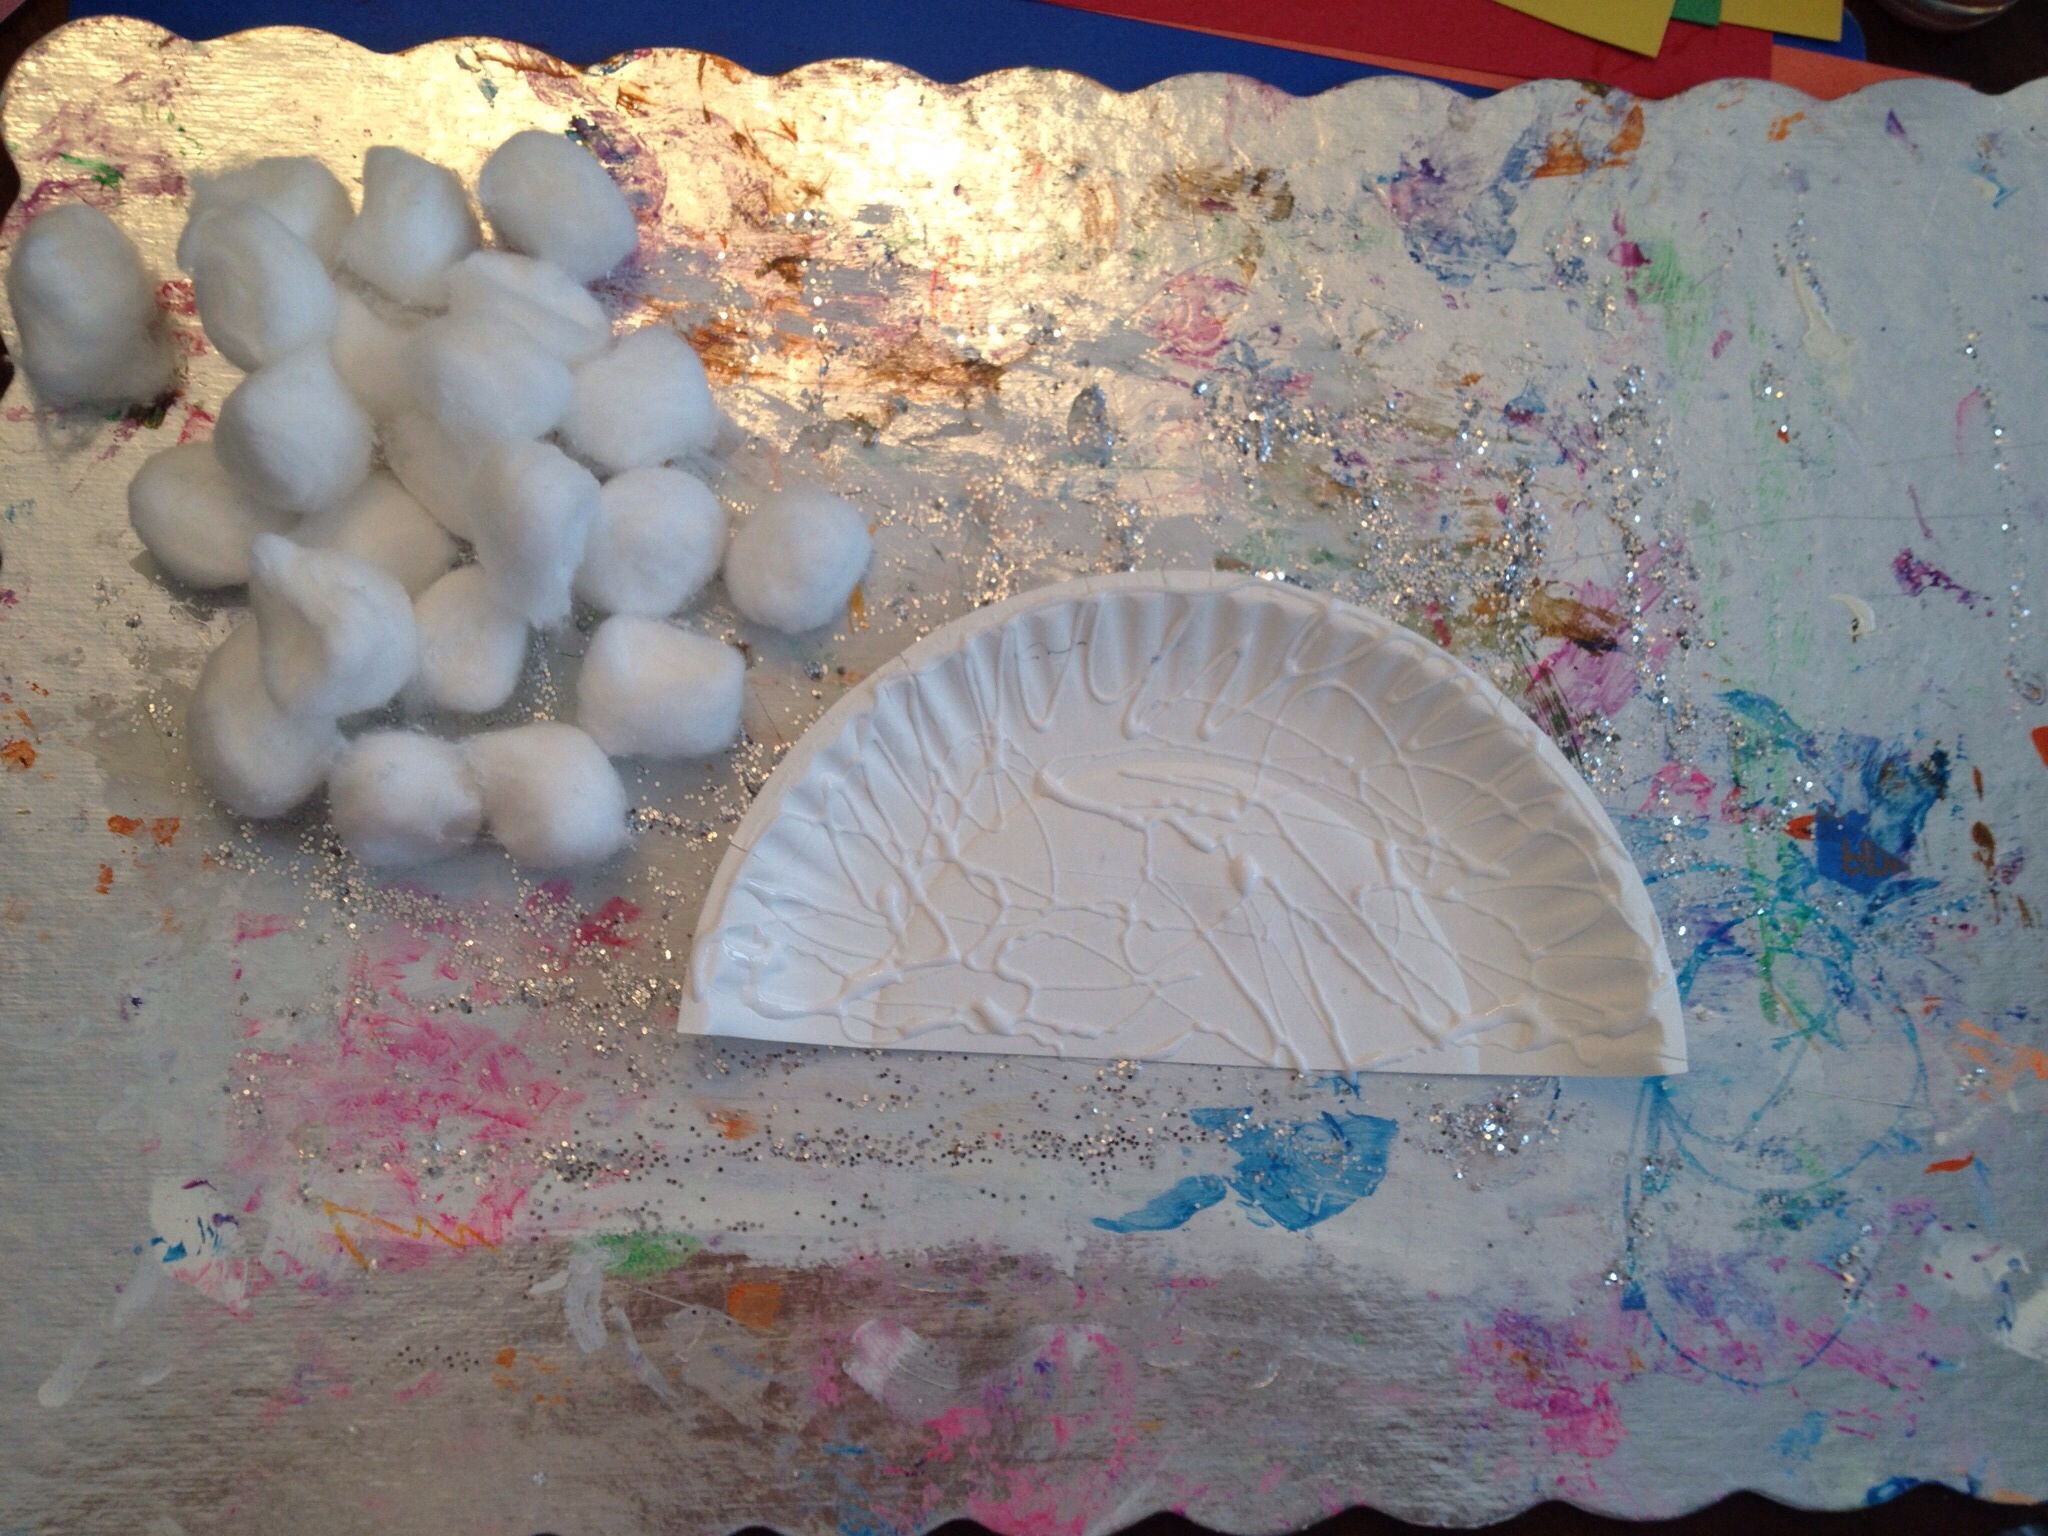
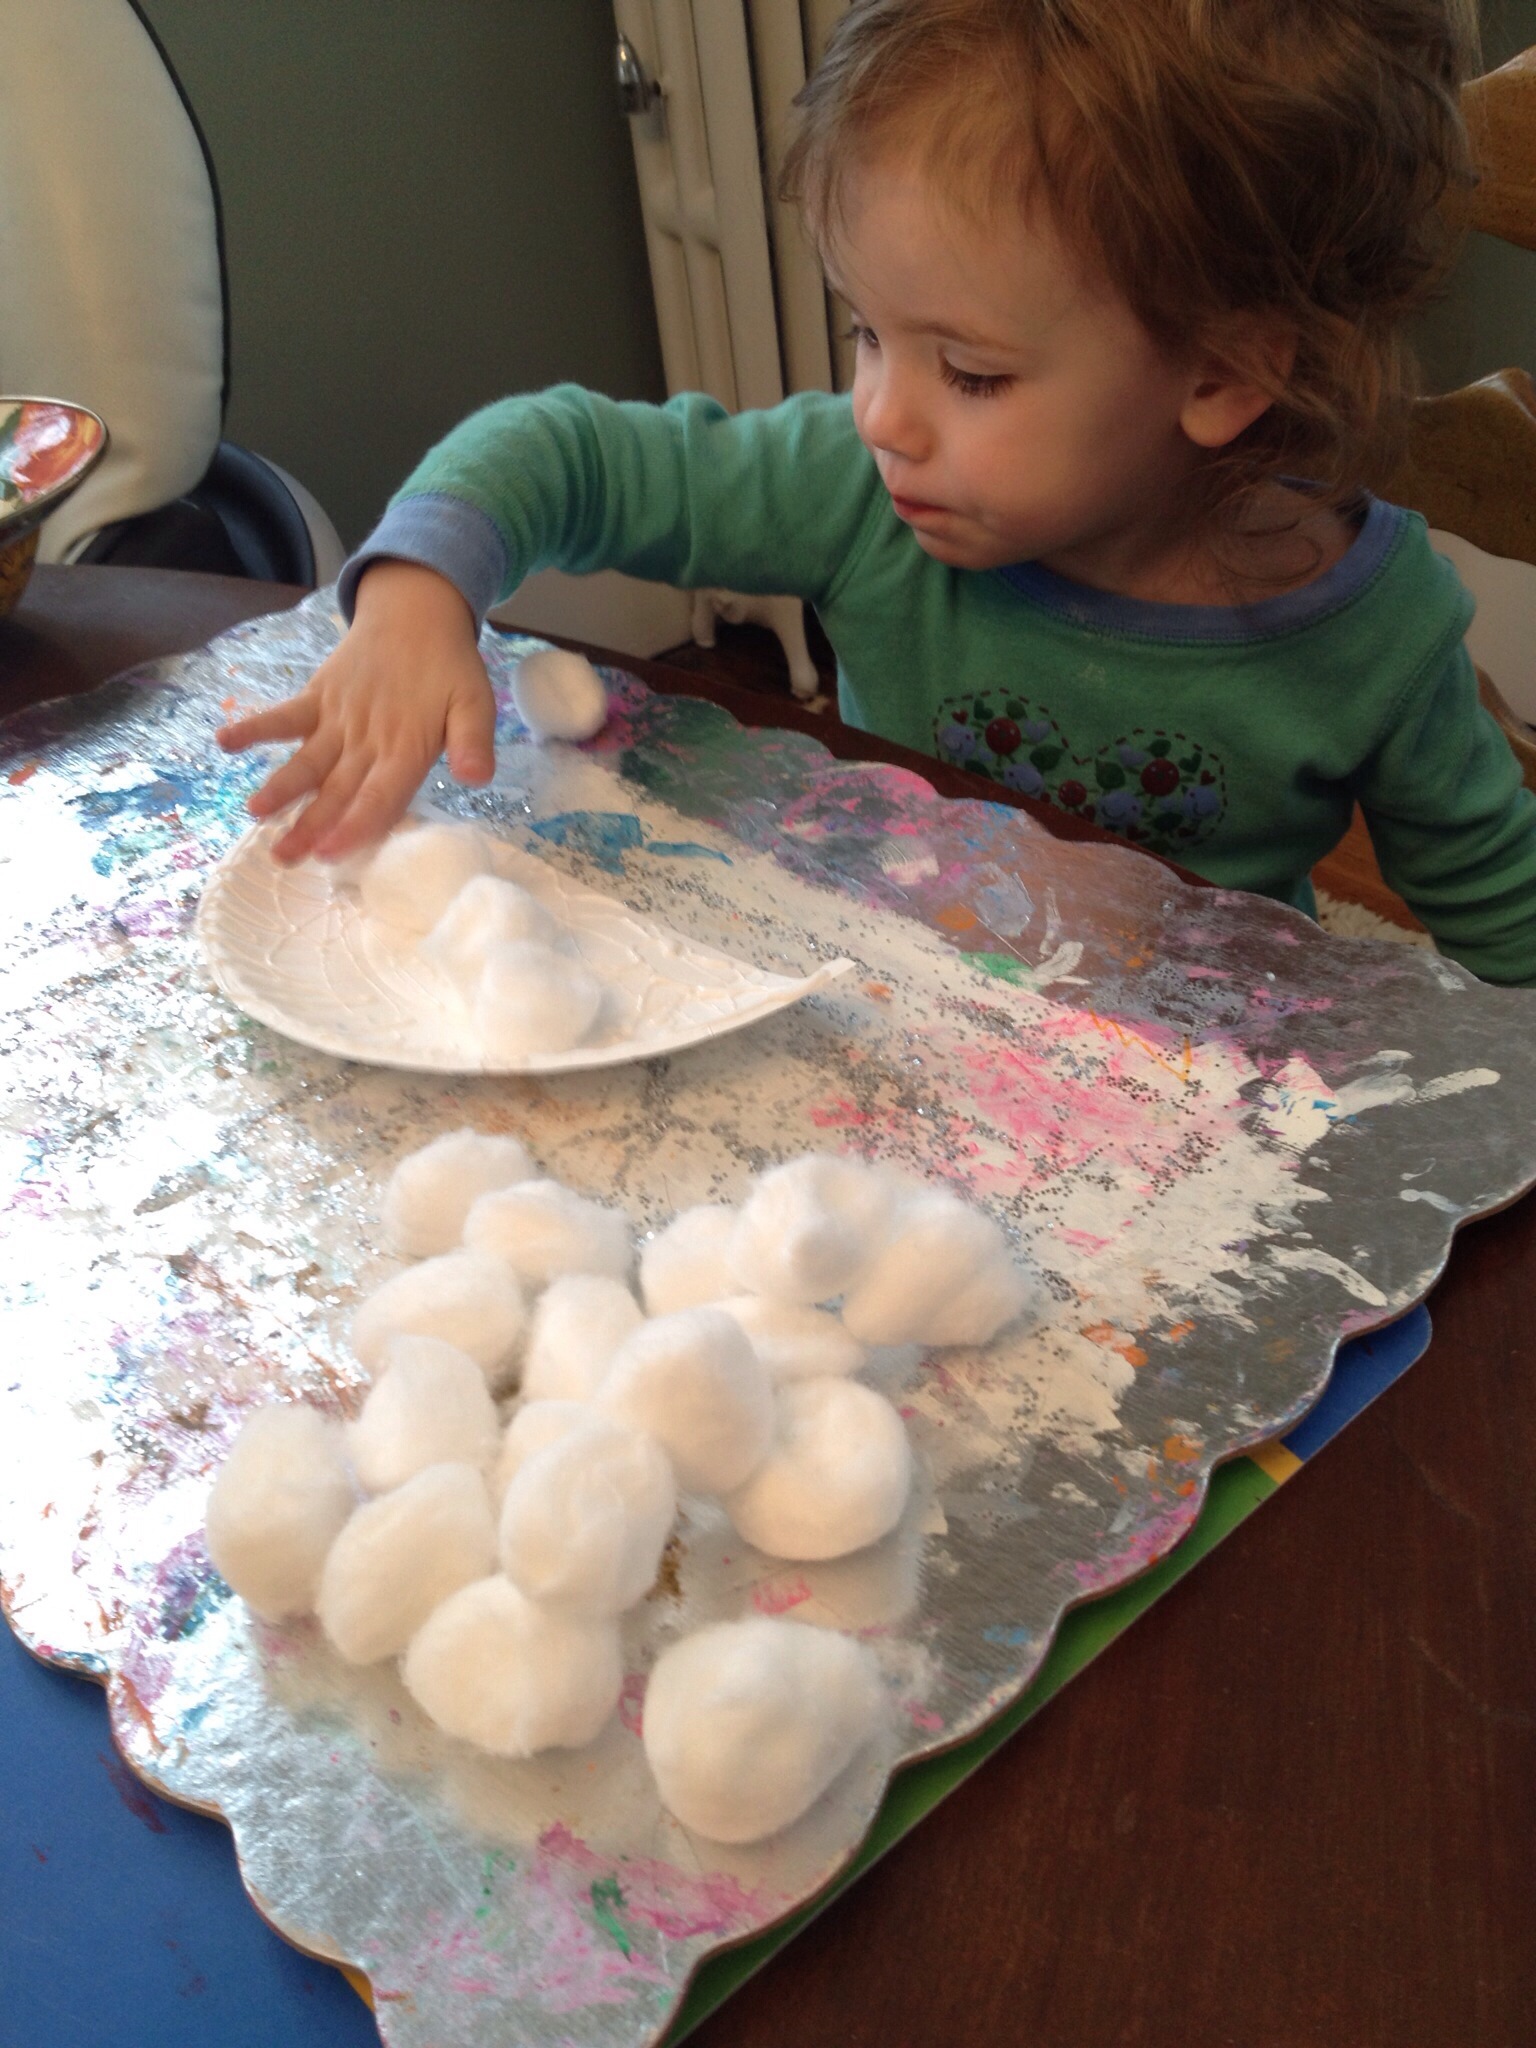
Cotton balls
Large white sheet of paper
Construction paper
Scissors
Egg carton
Directions
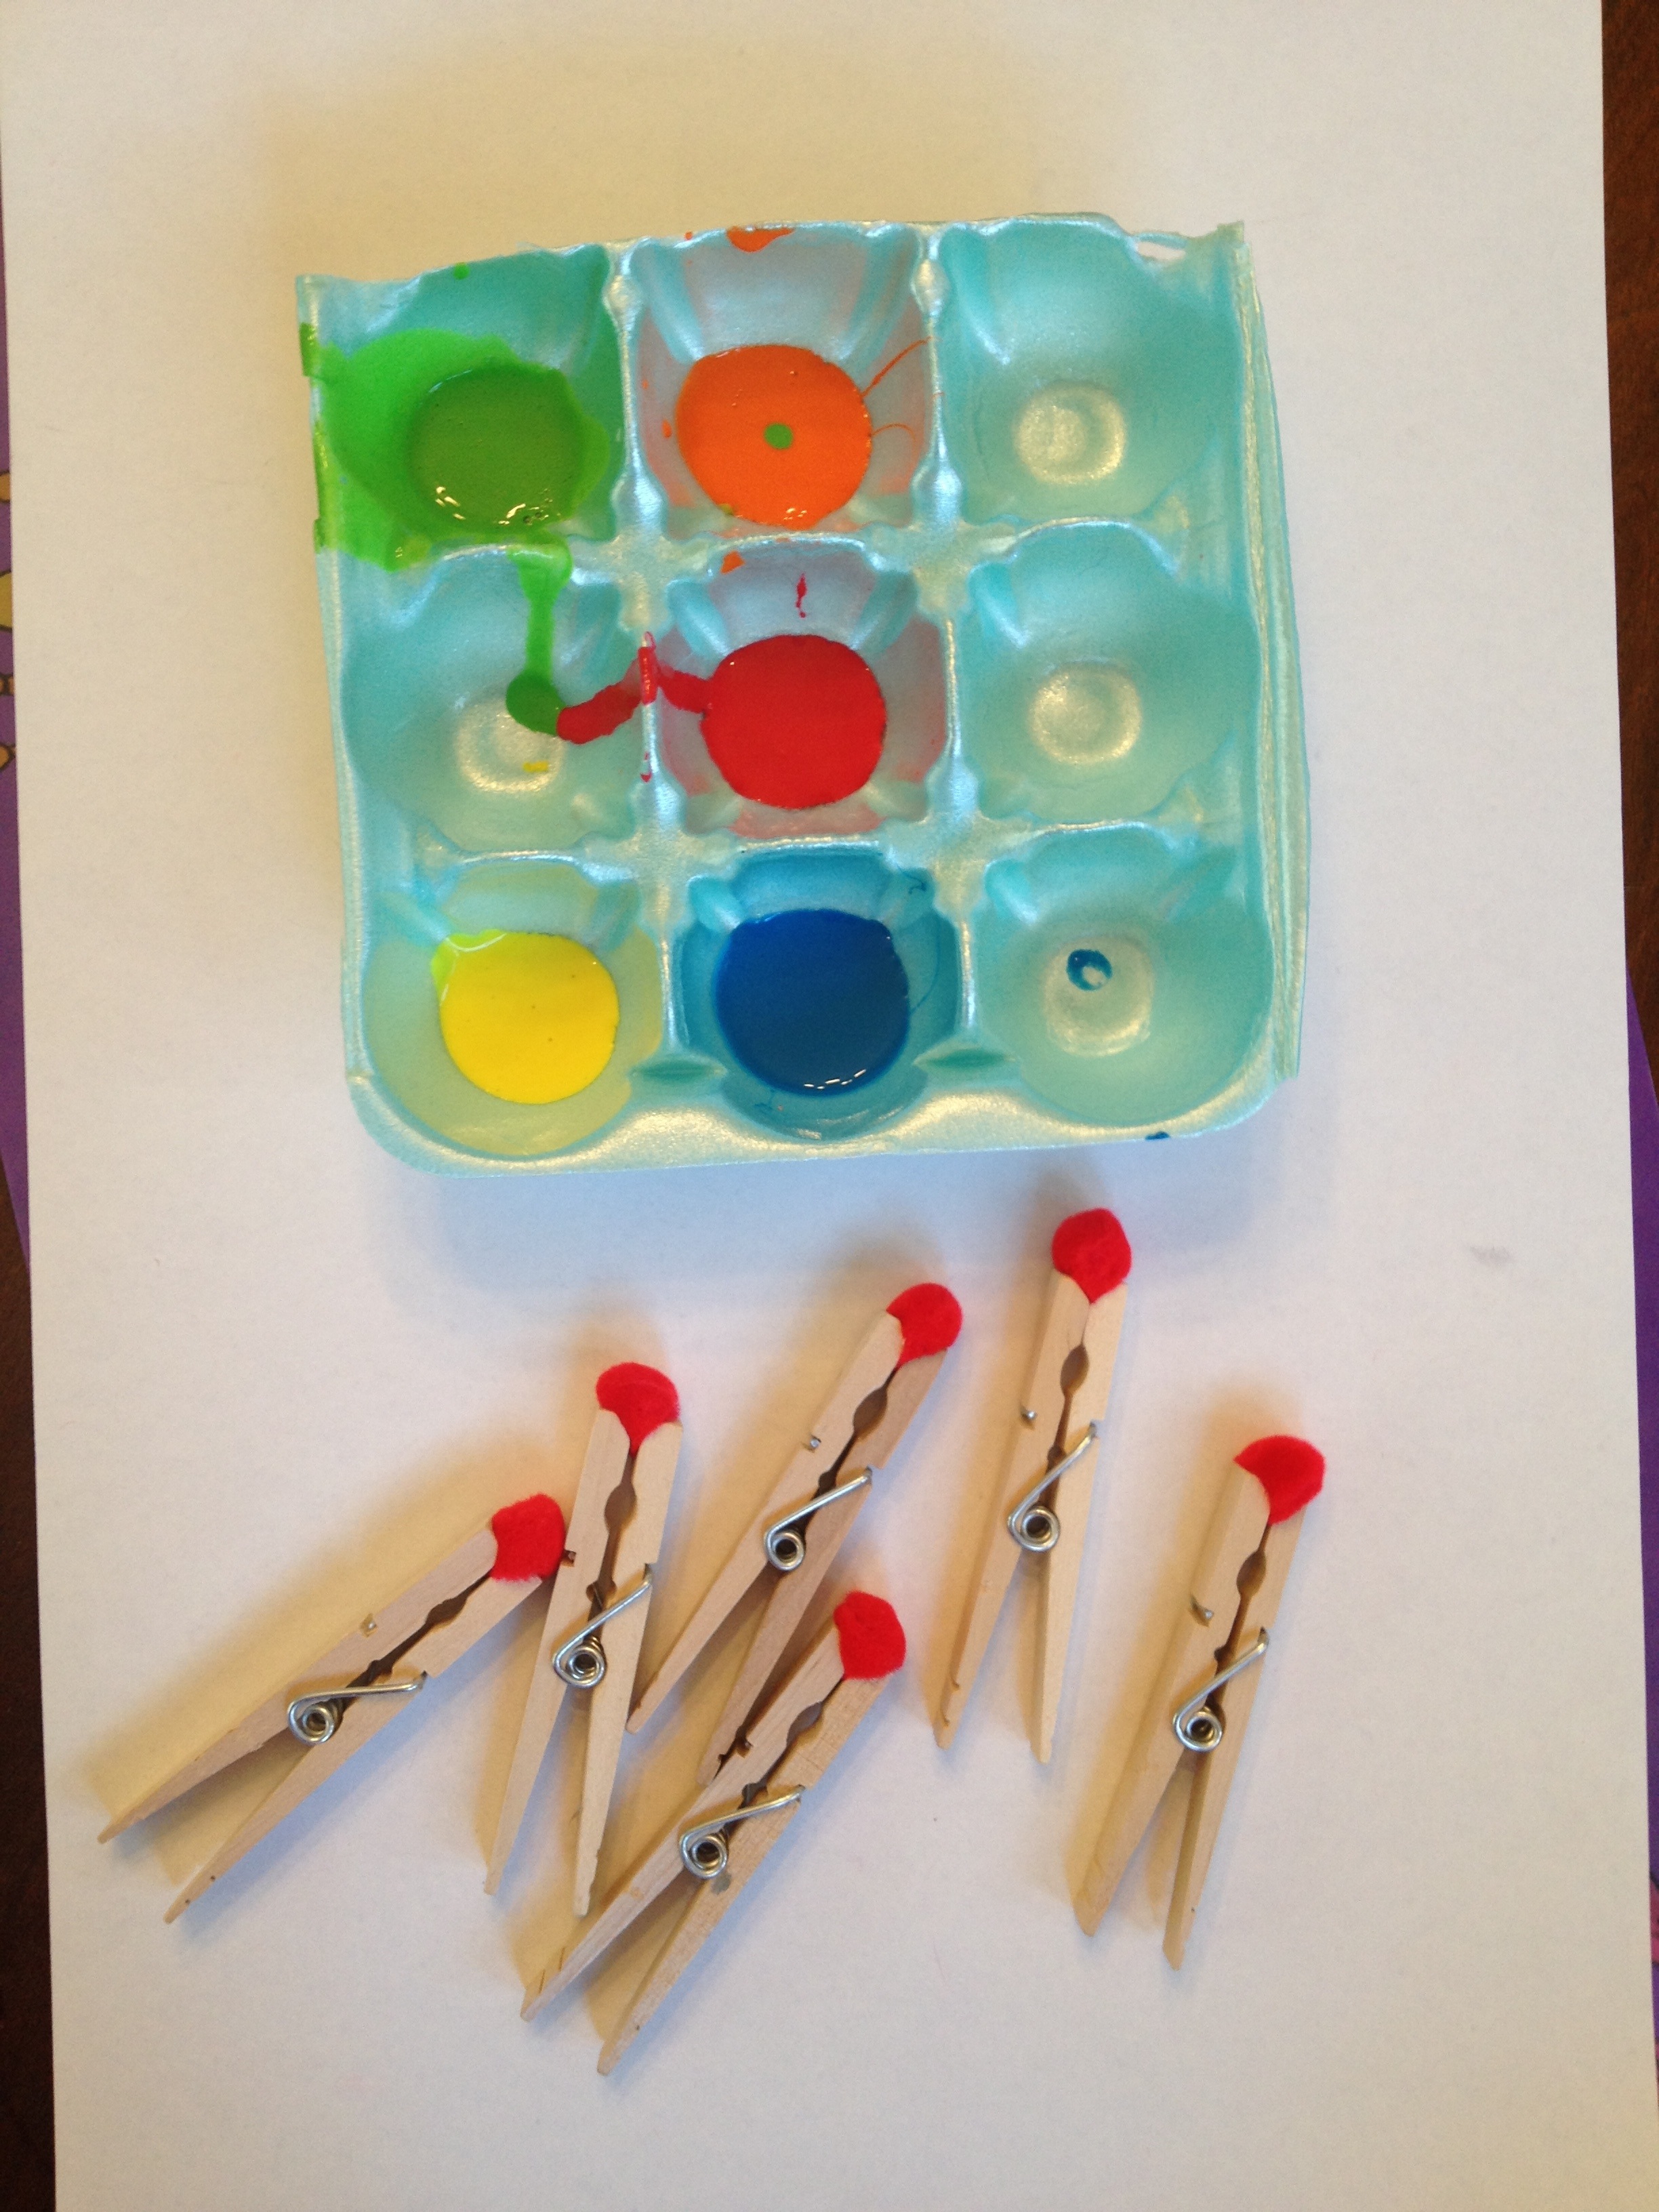

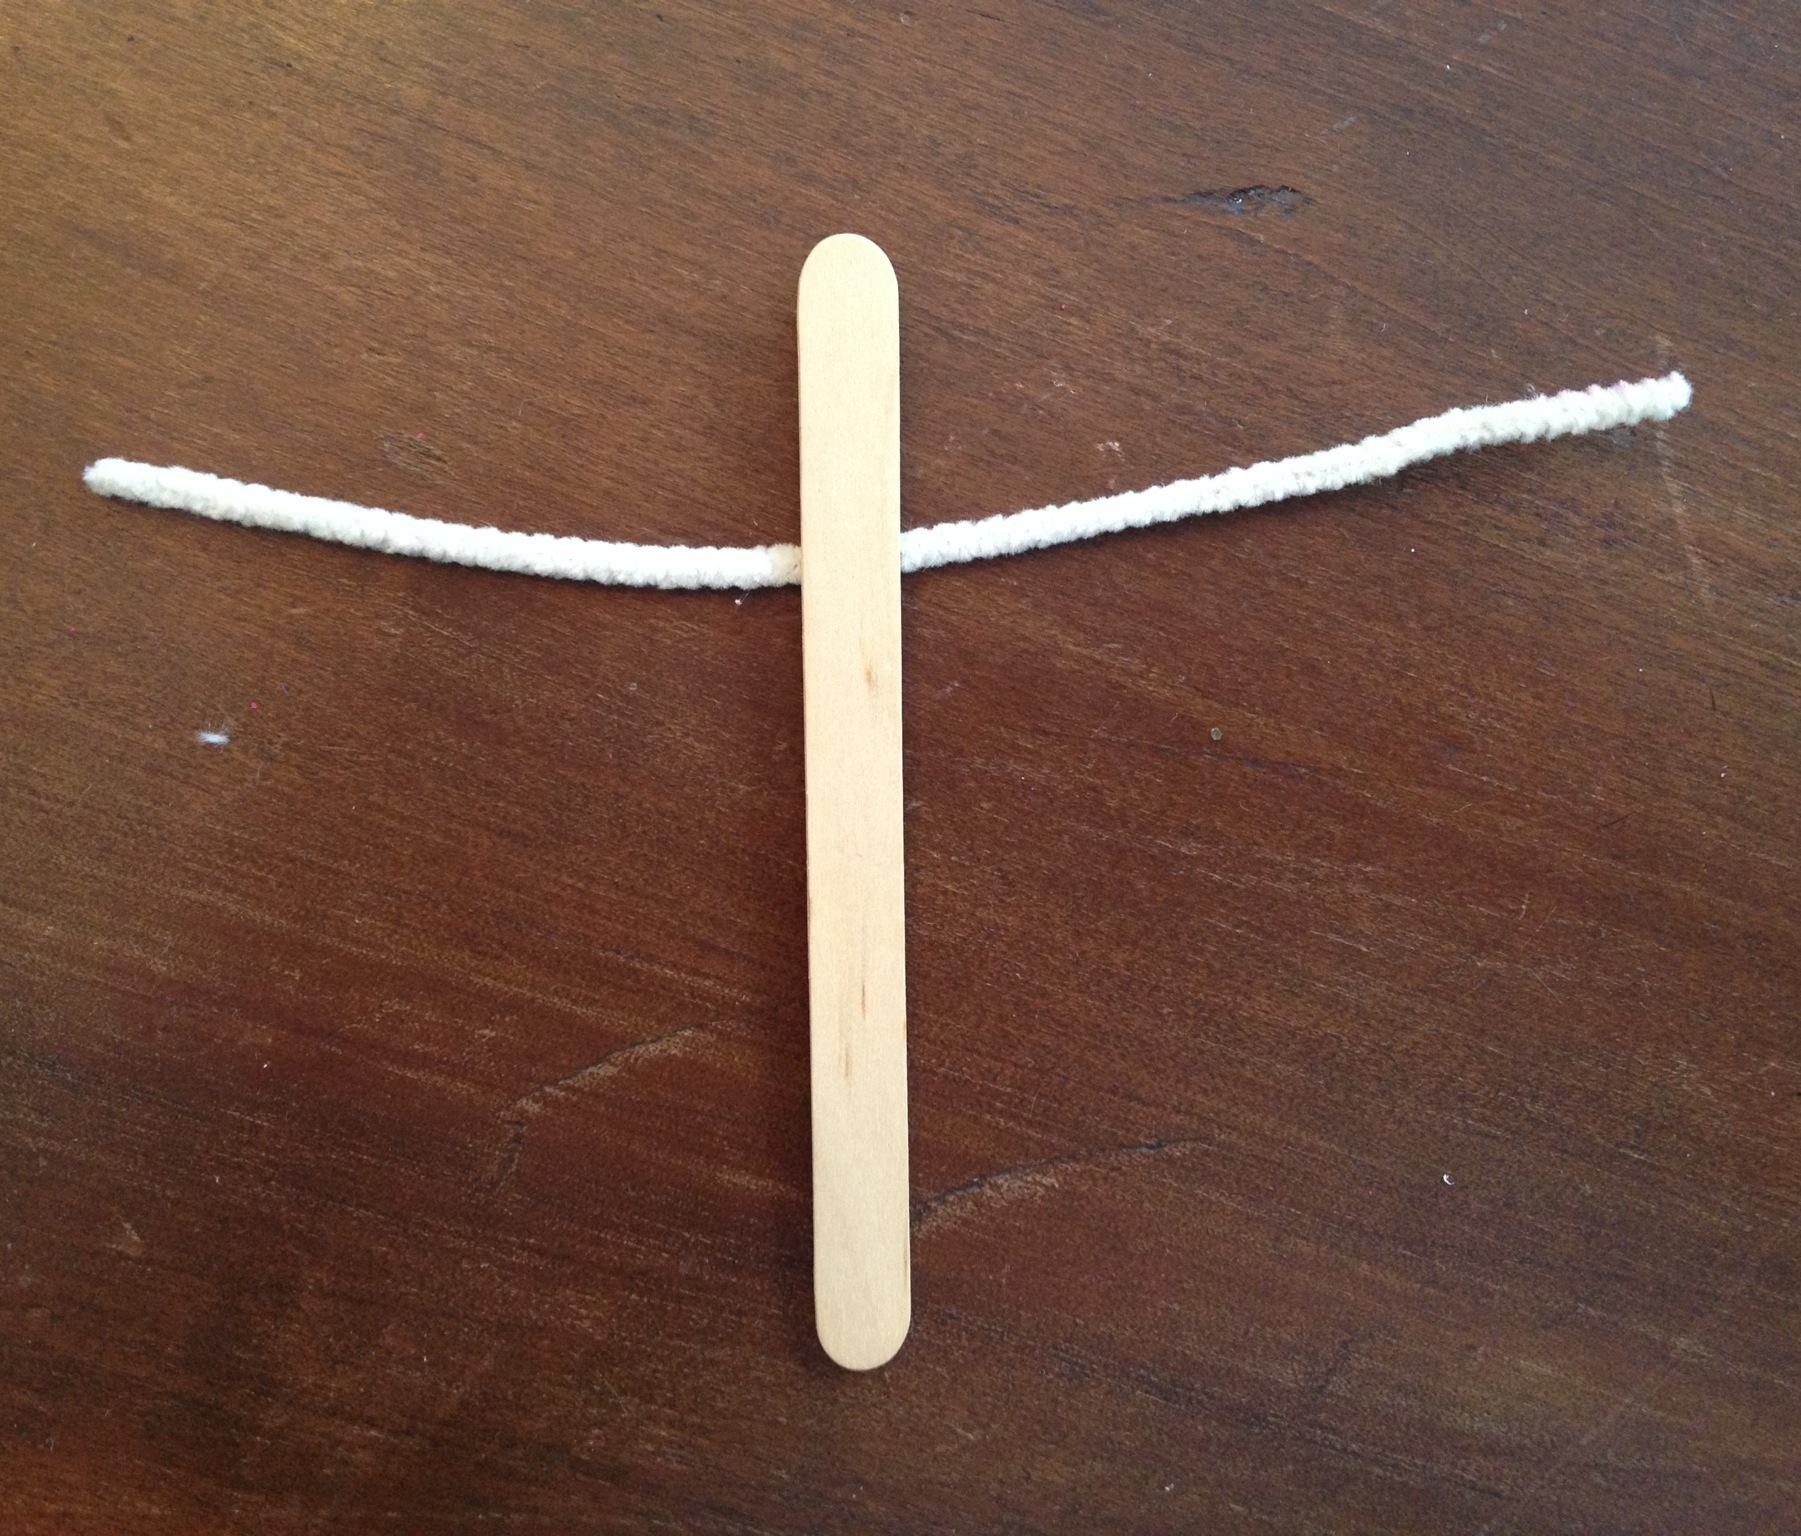
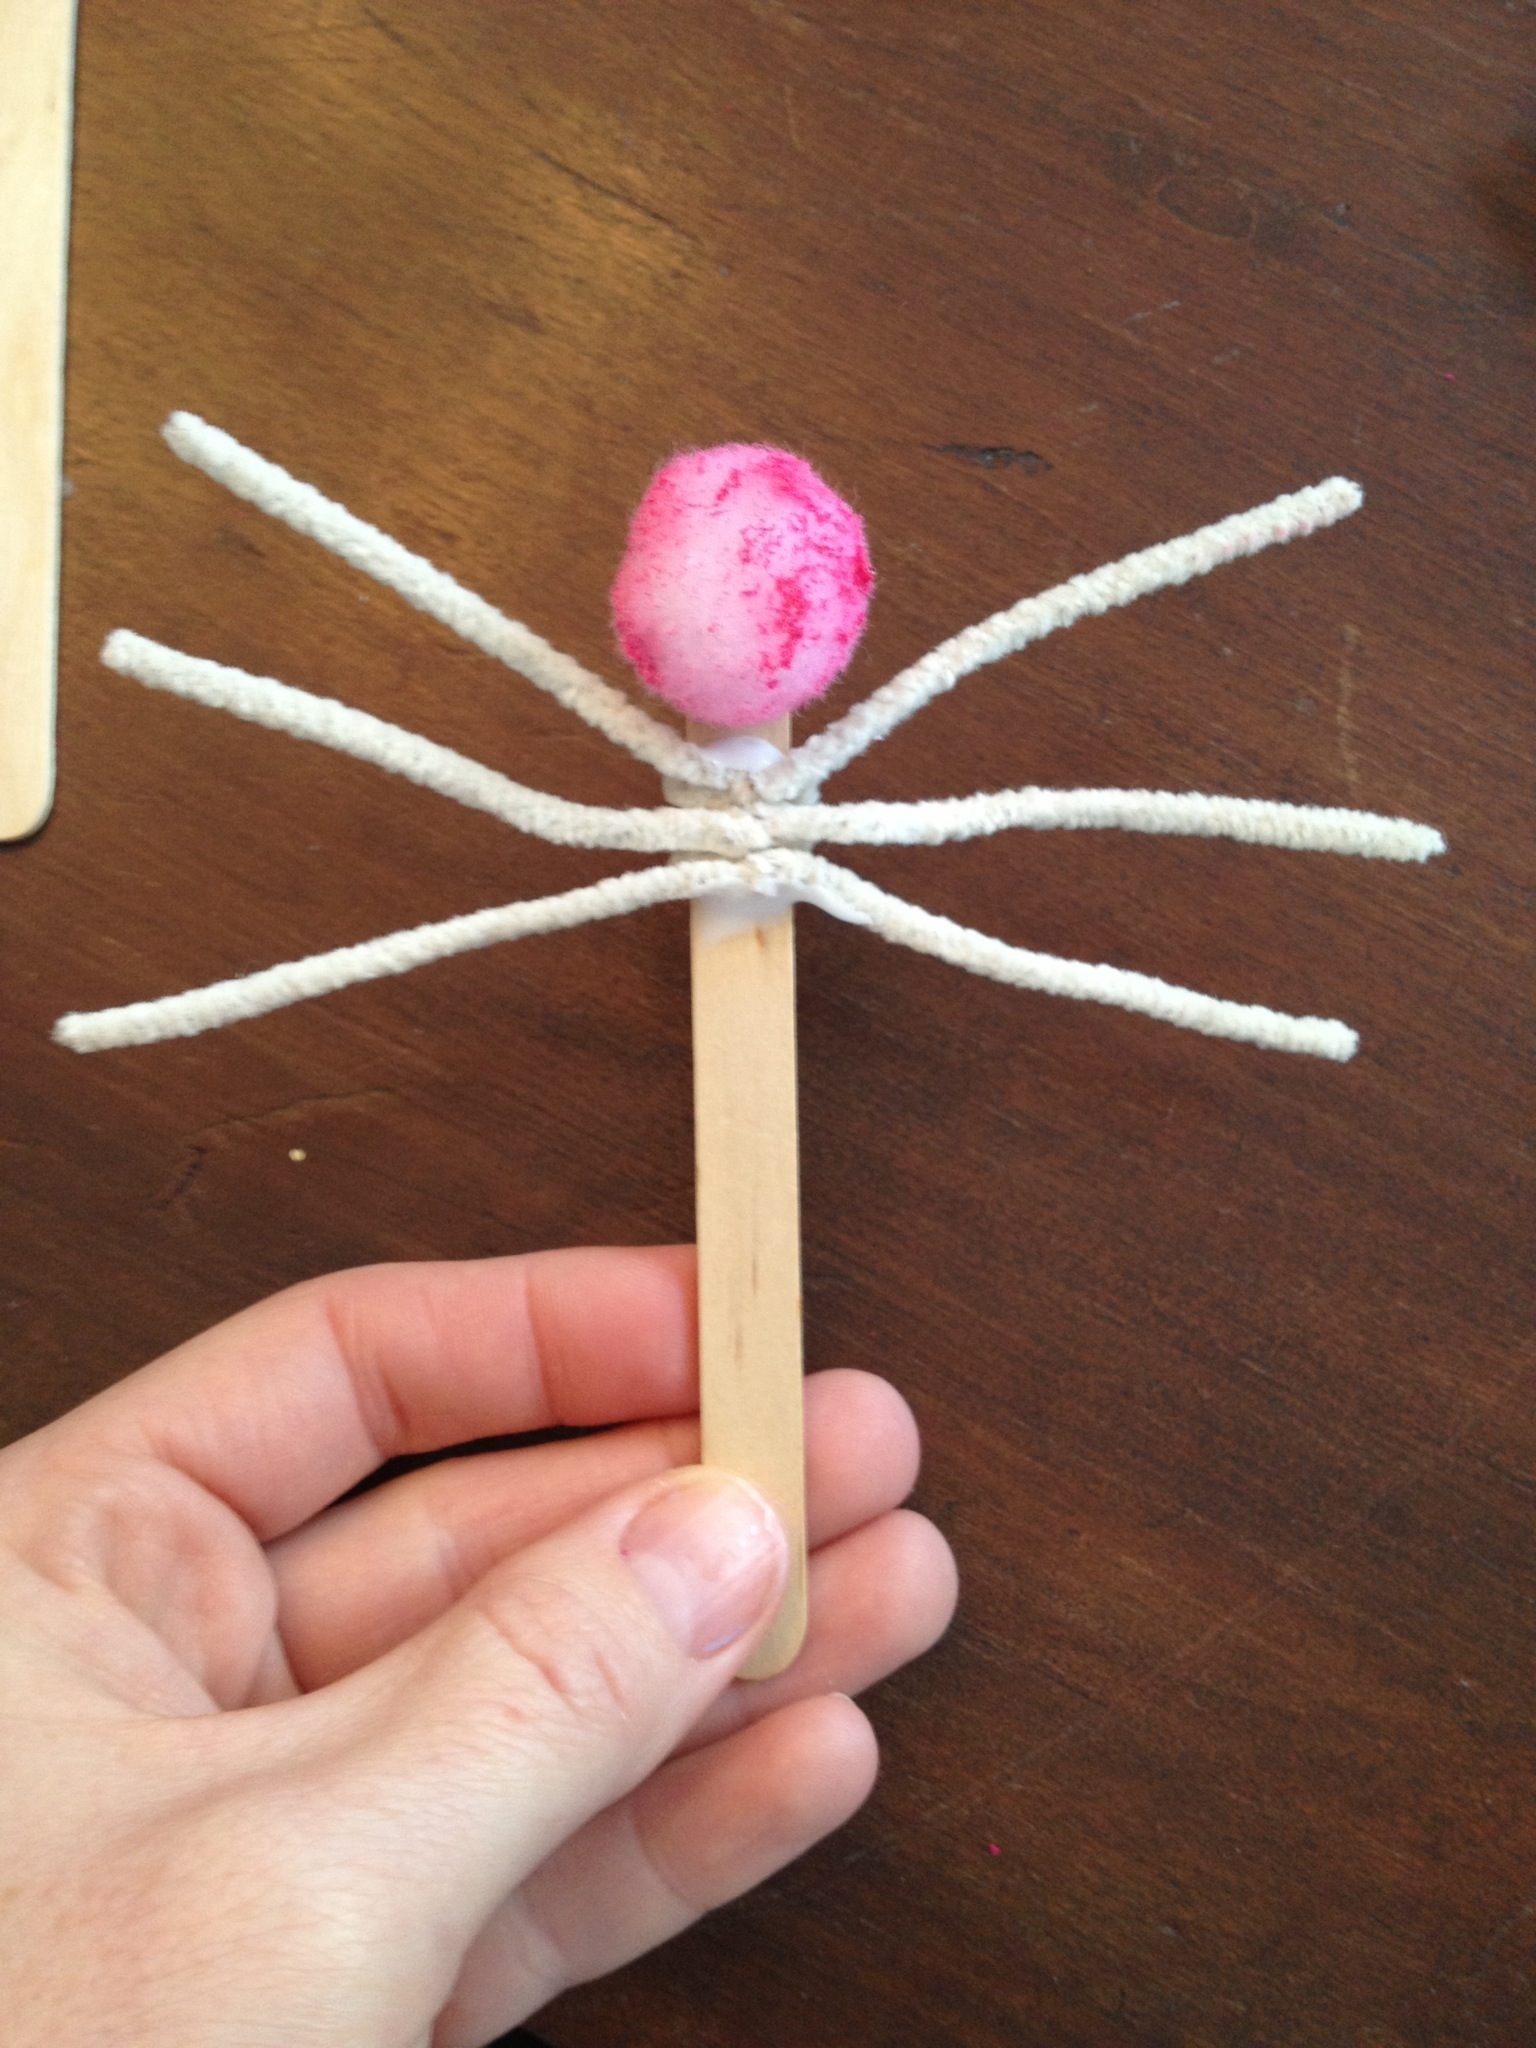
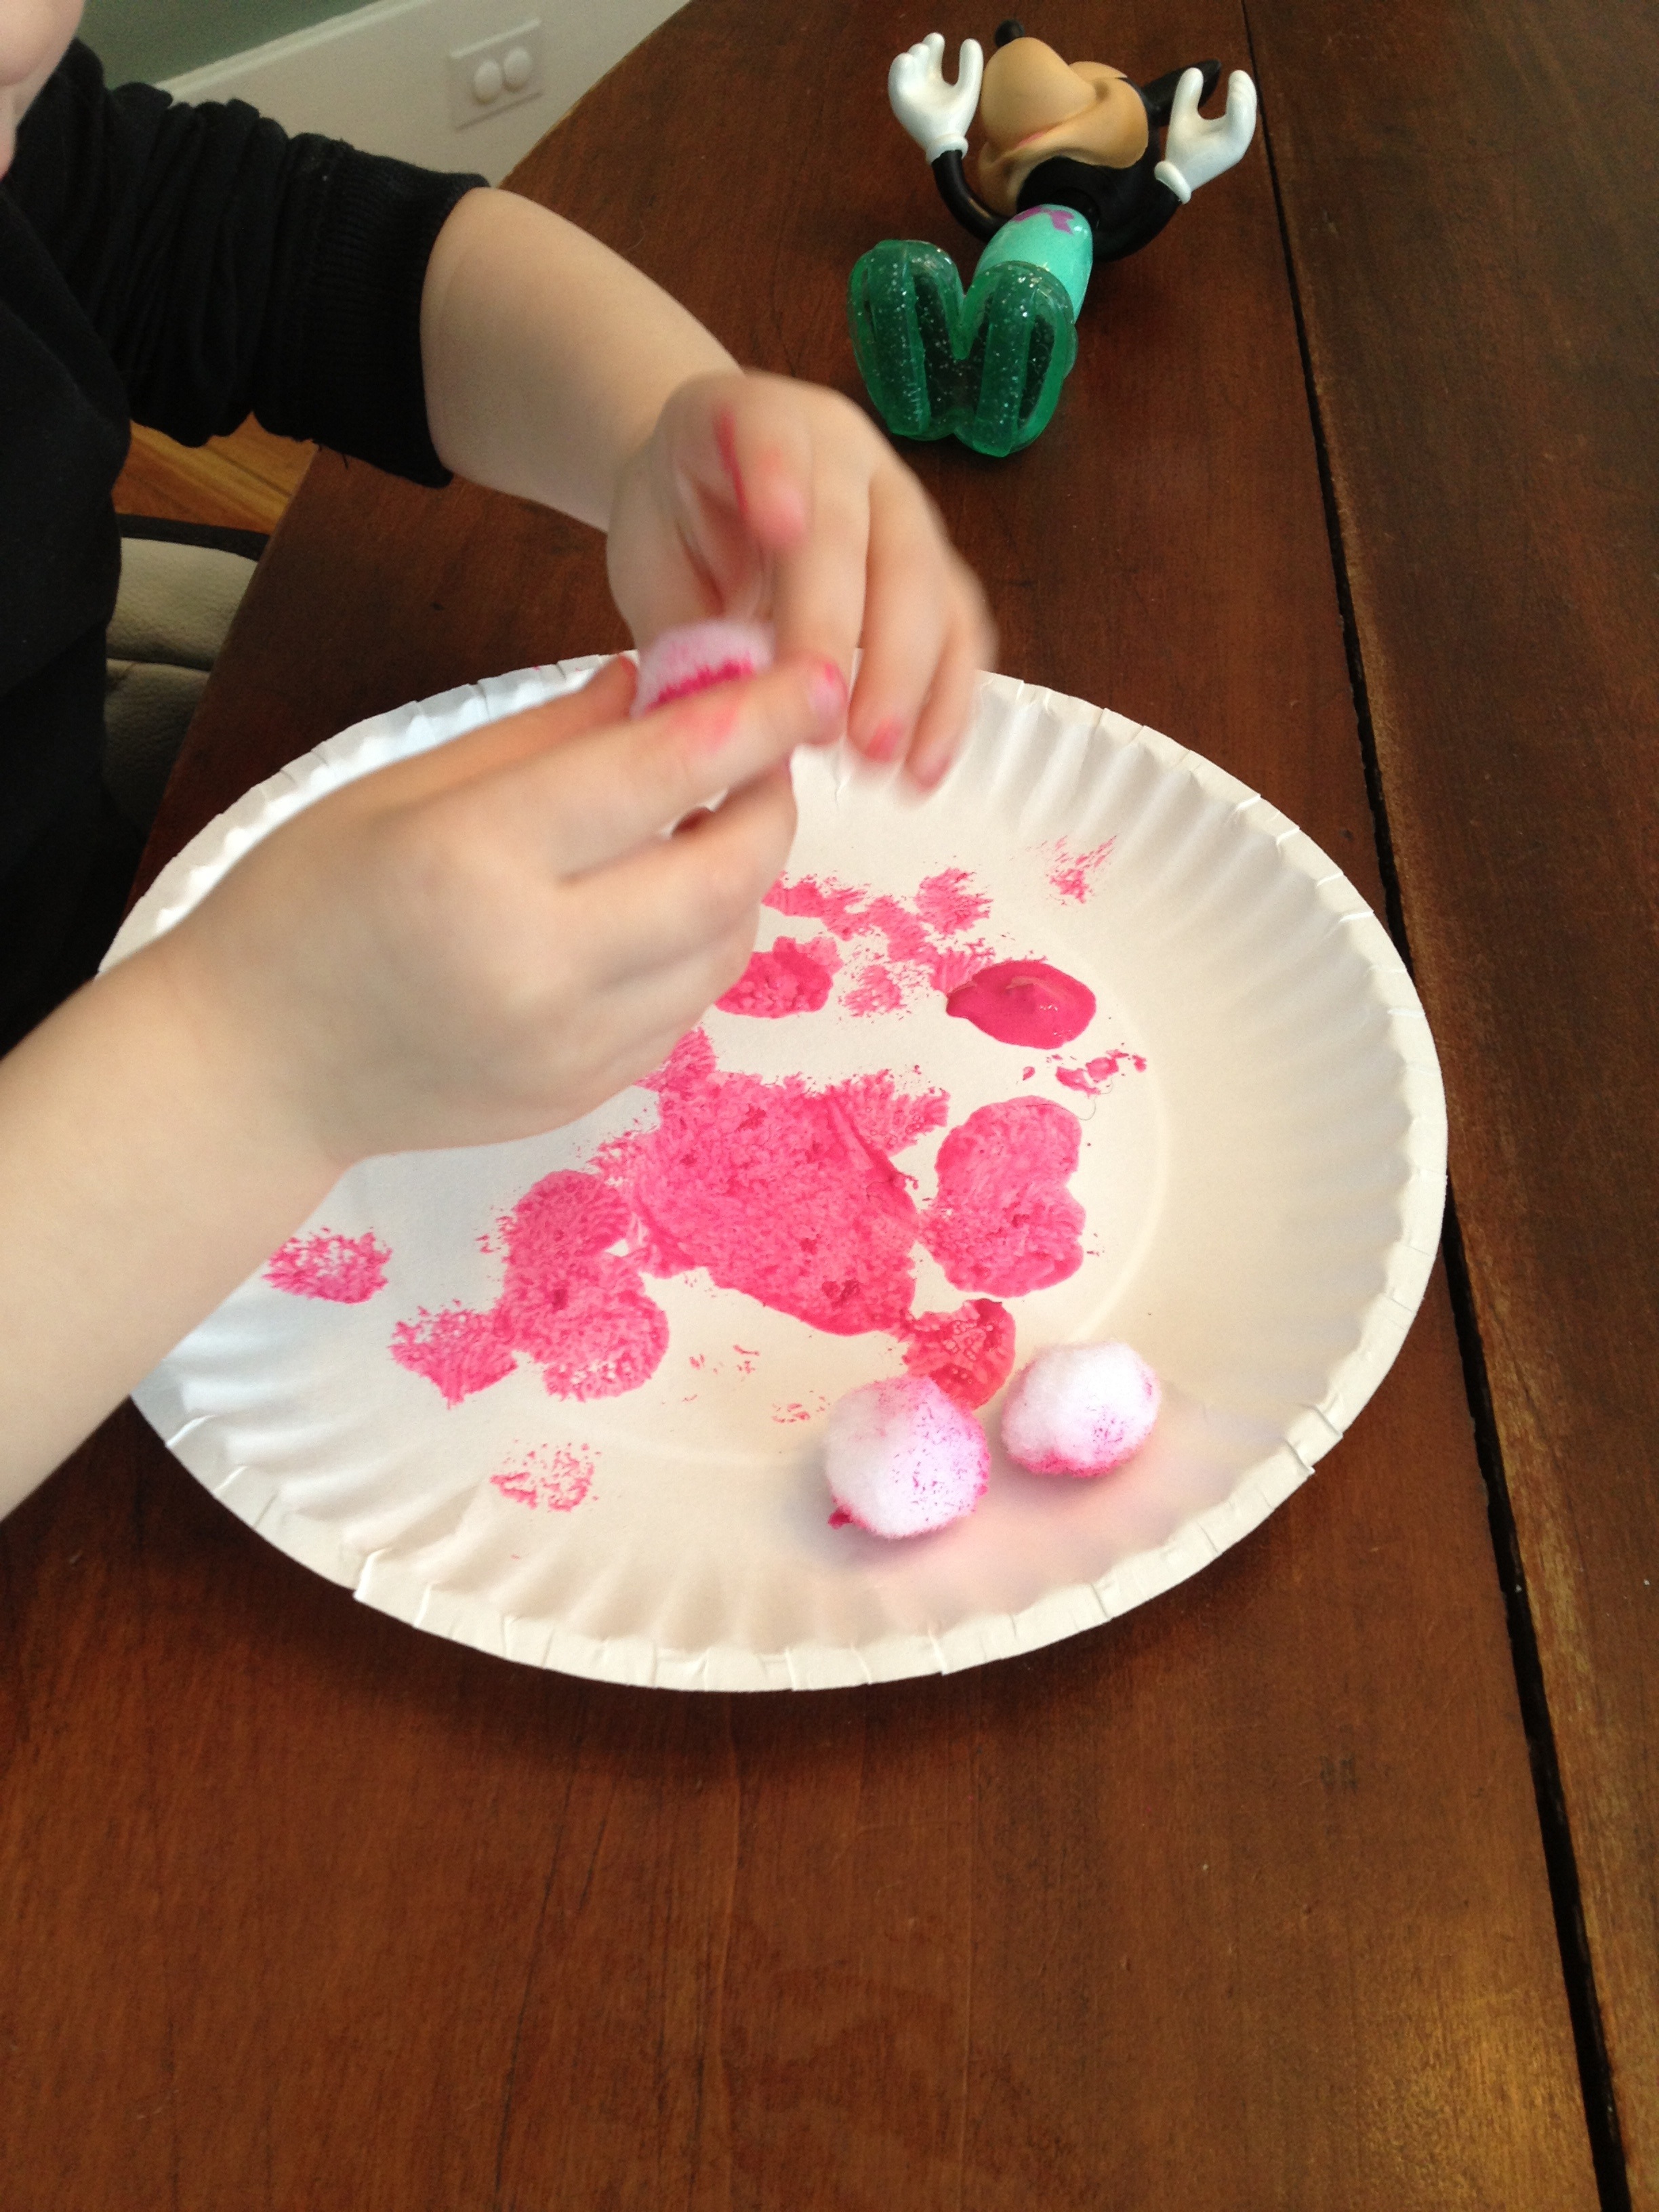
Pinch Pom Pom ball and/or cotton ball with clothes pin.
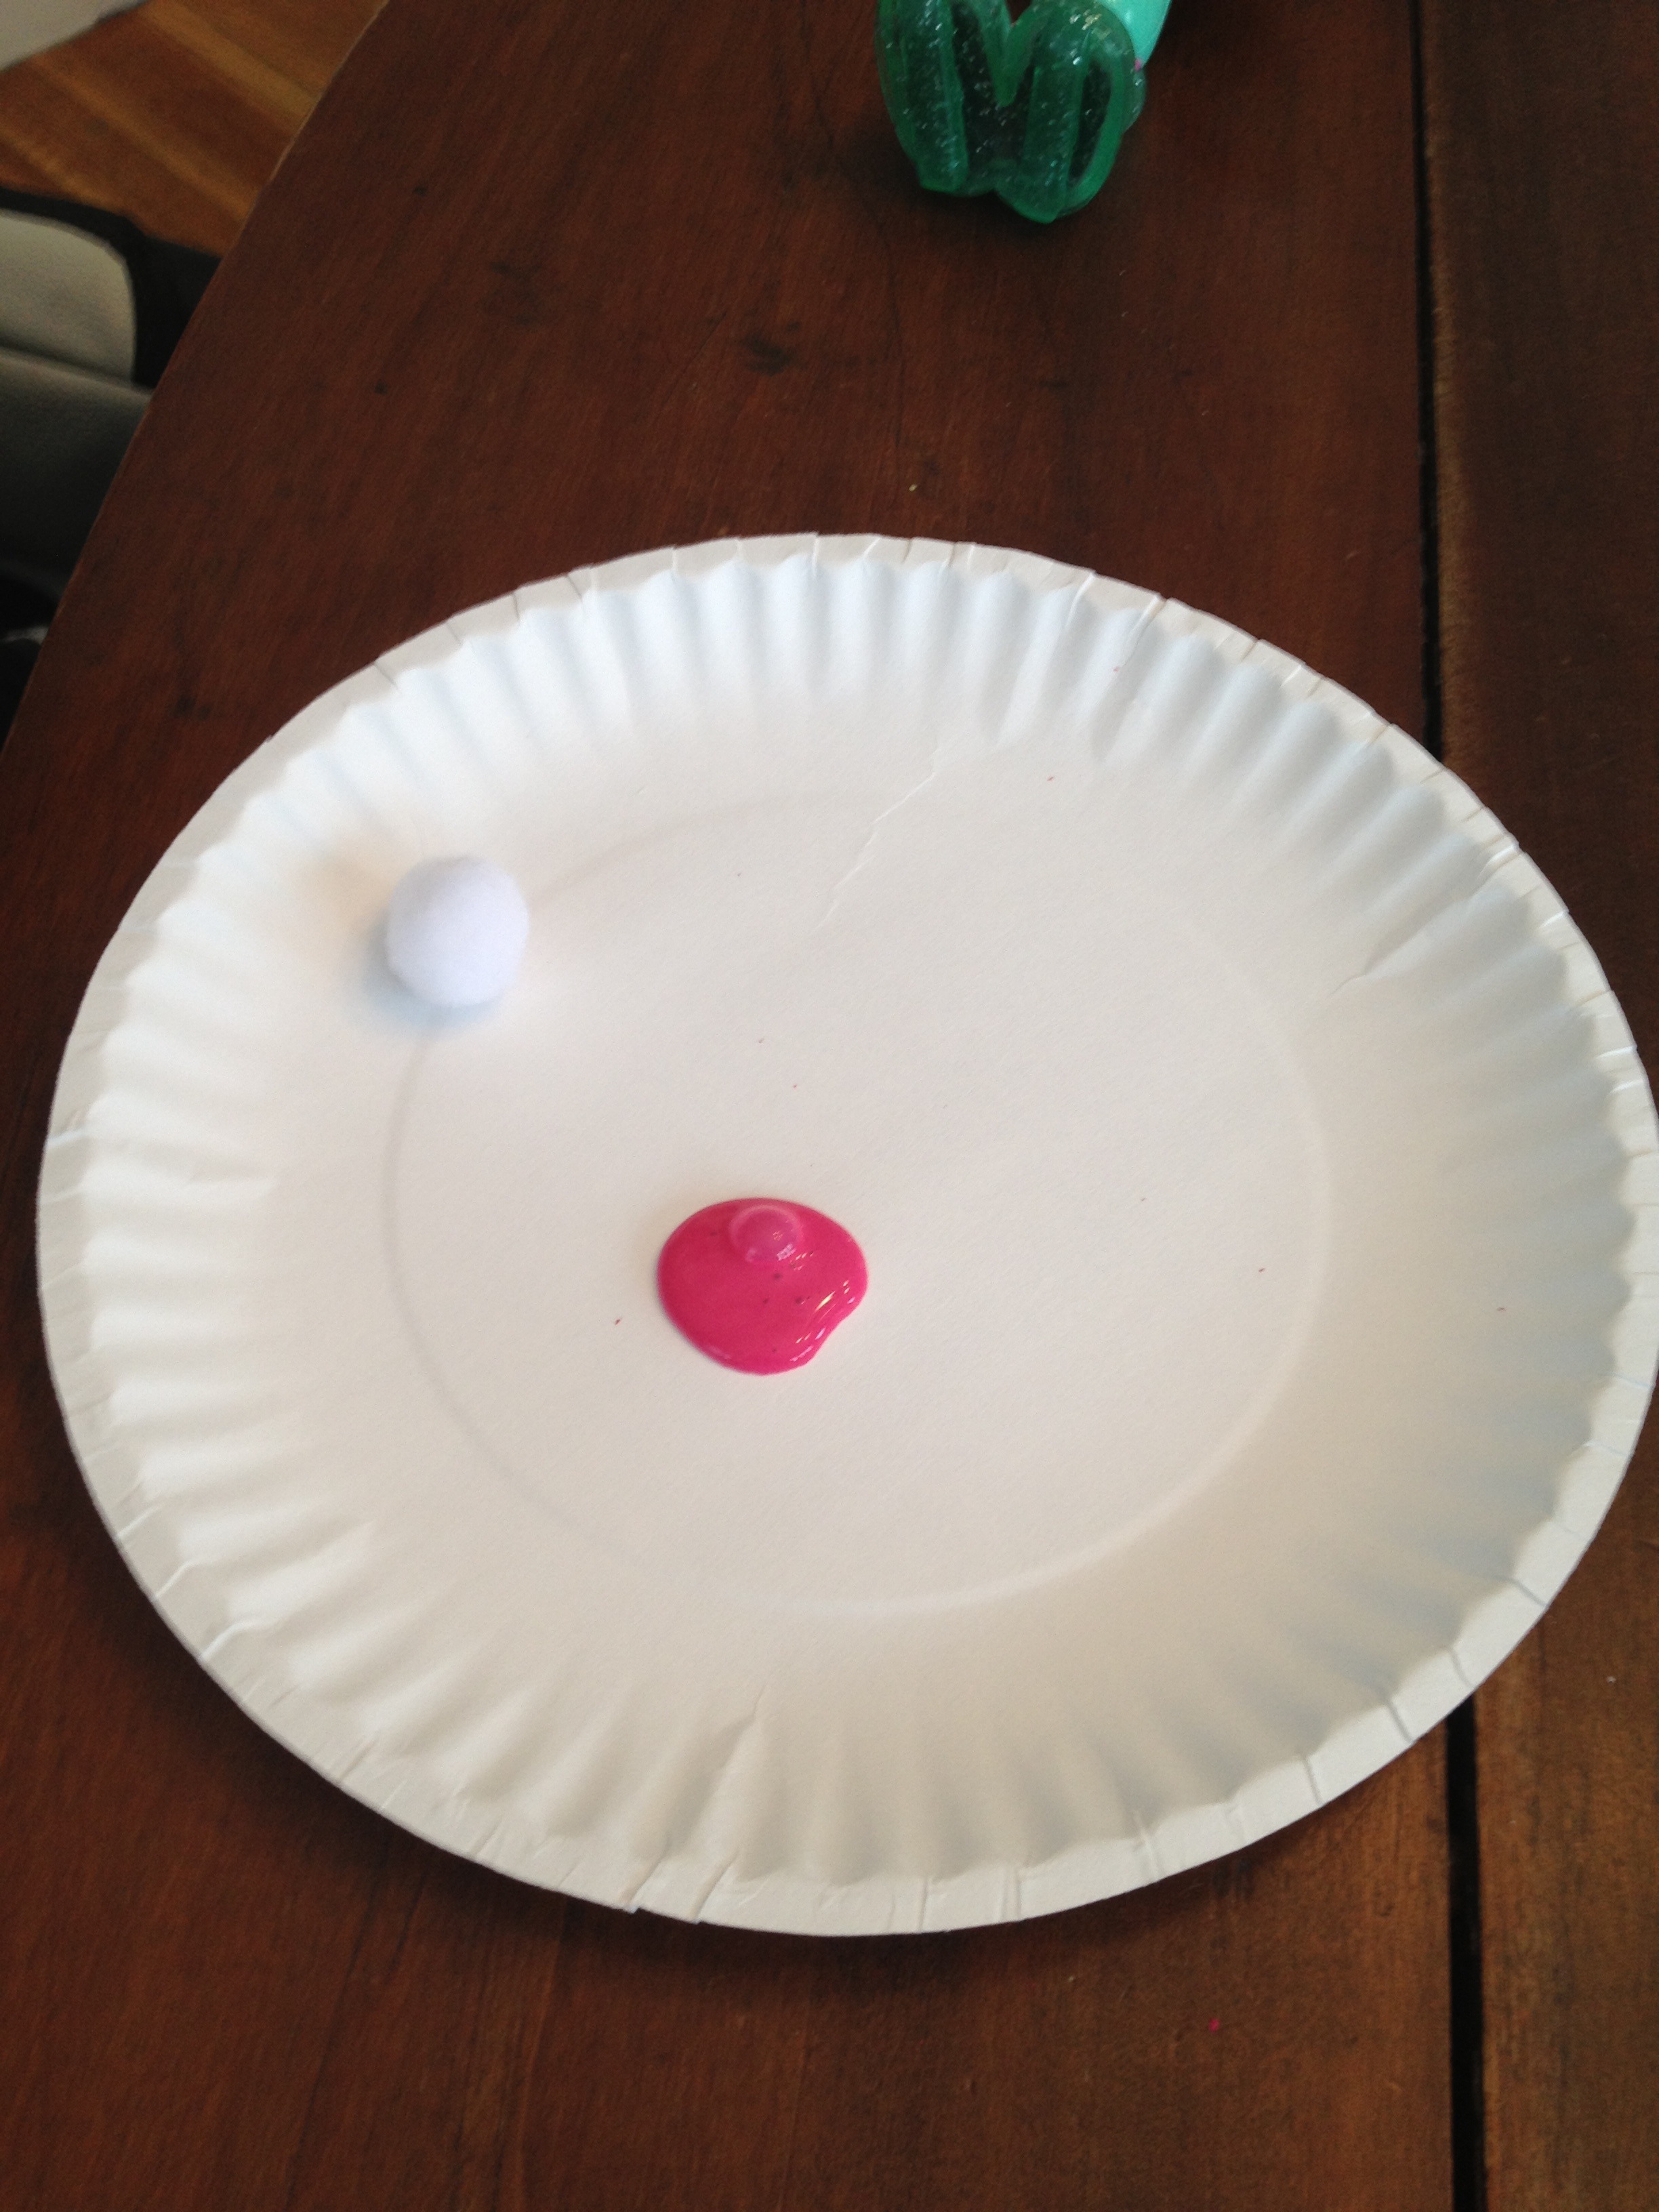
Squeeze different colored paint into separate egg shell carton sections.
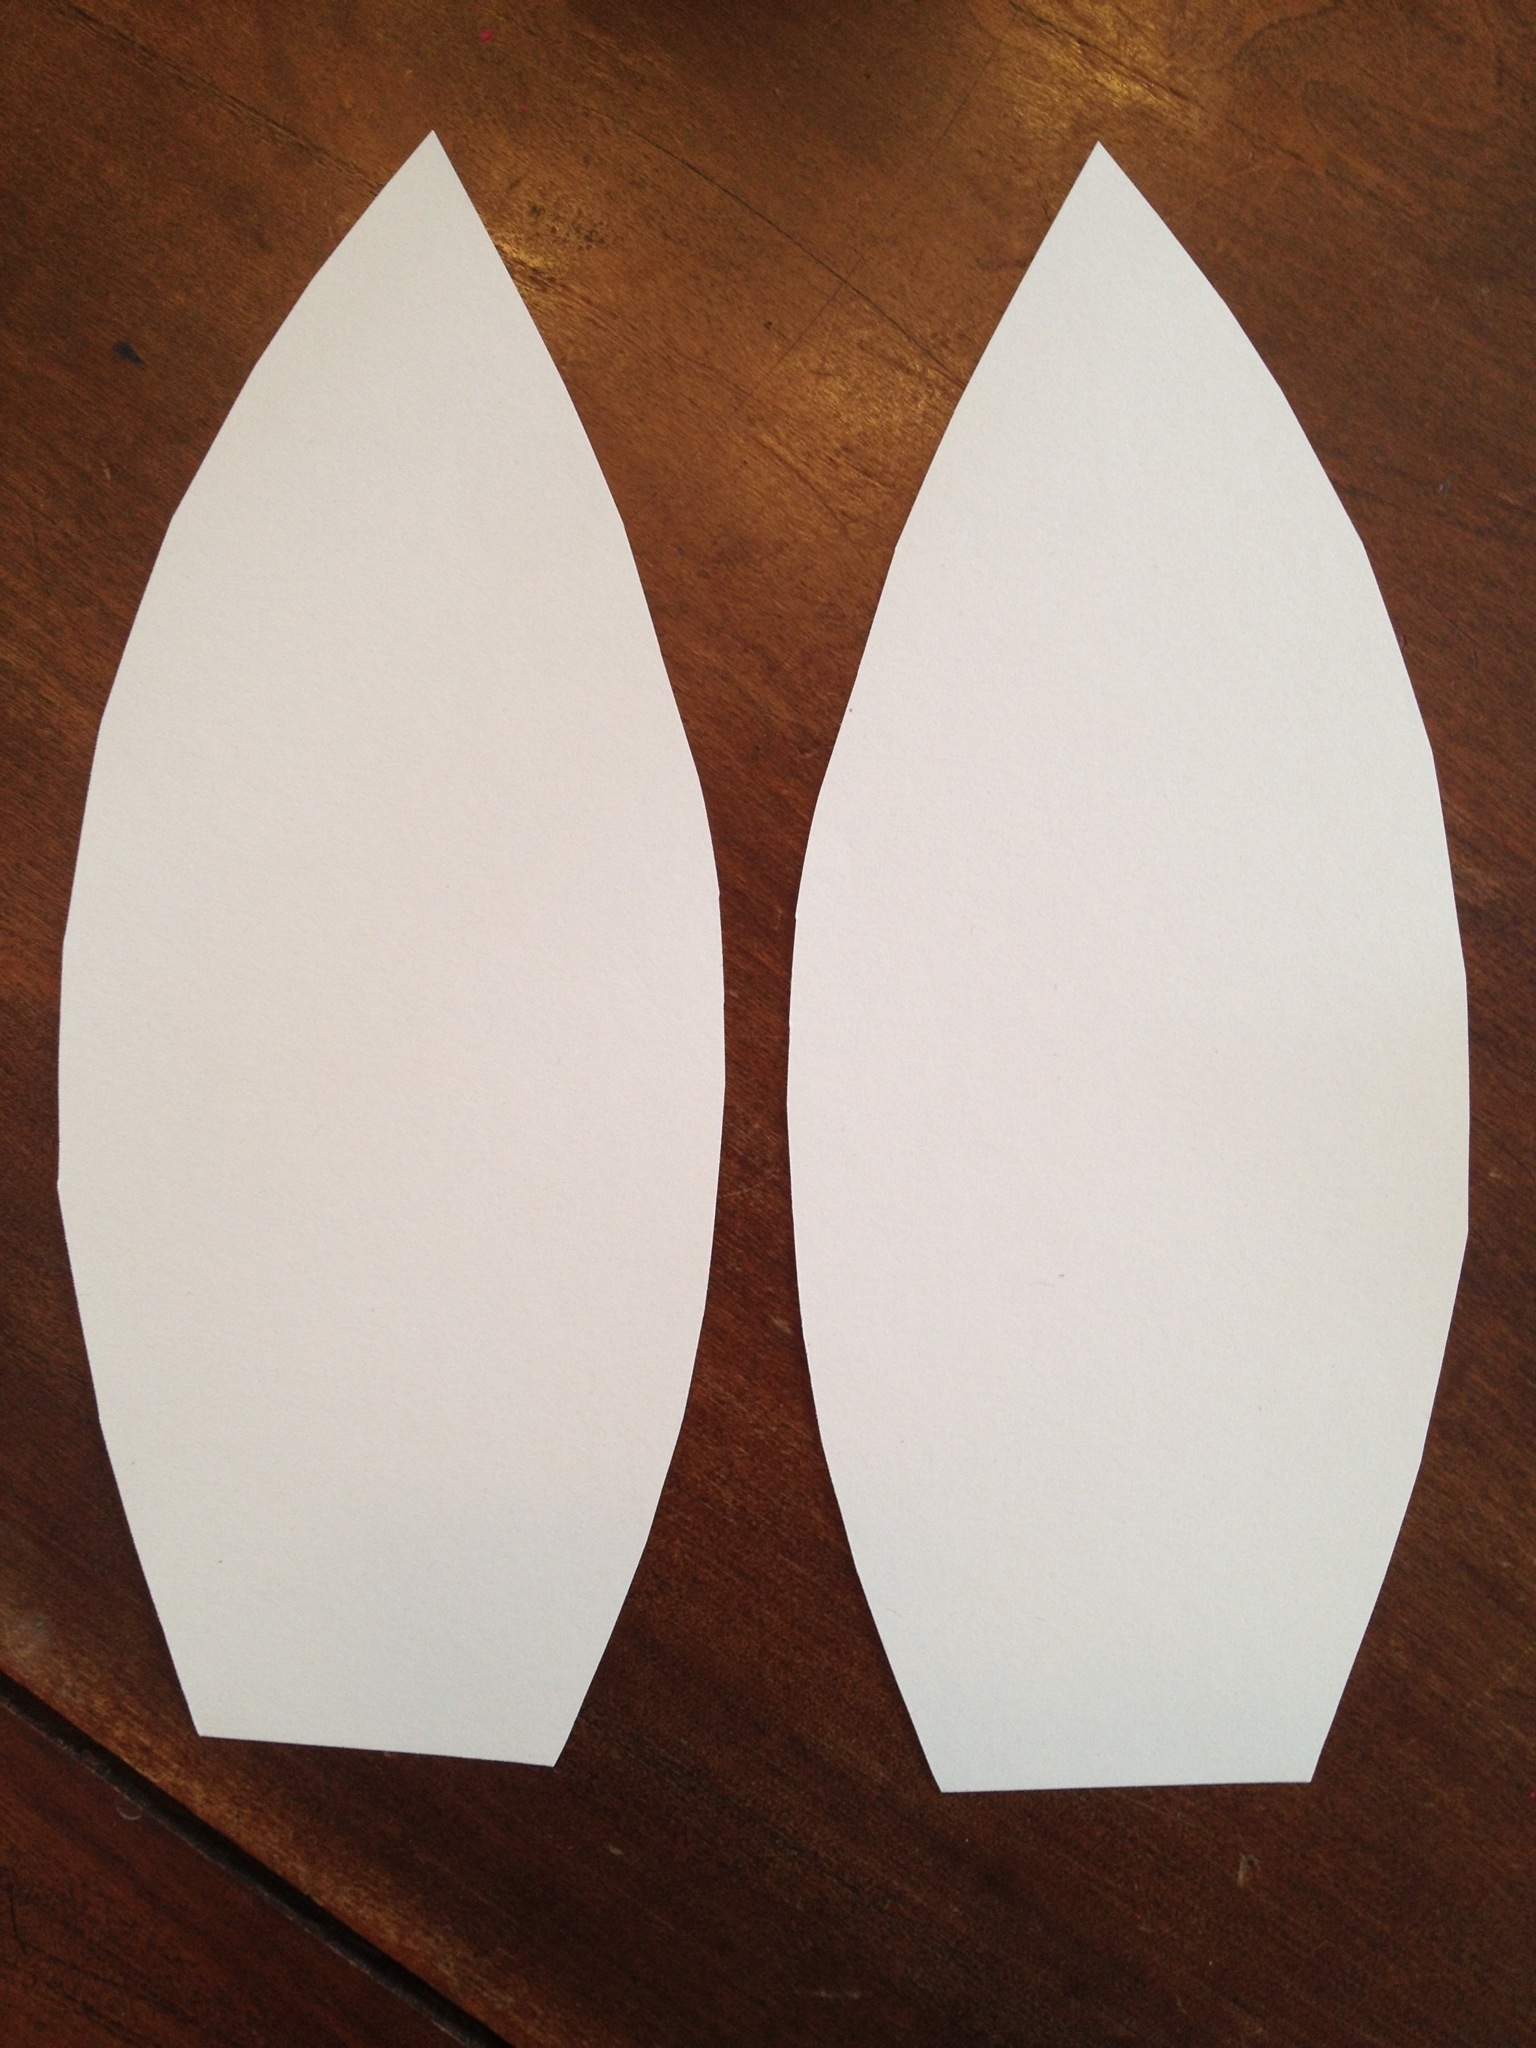
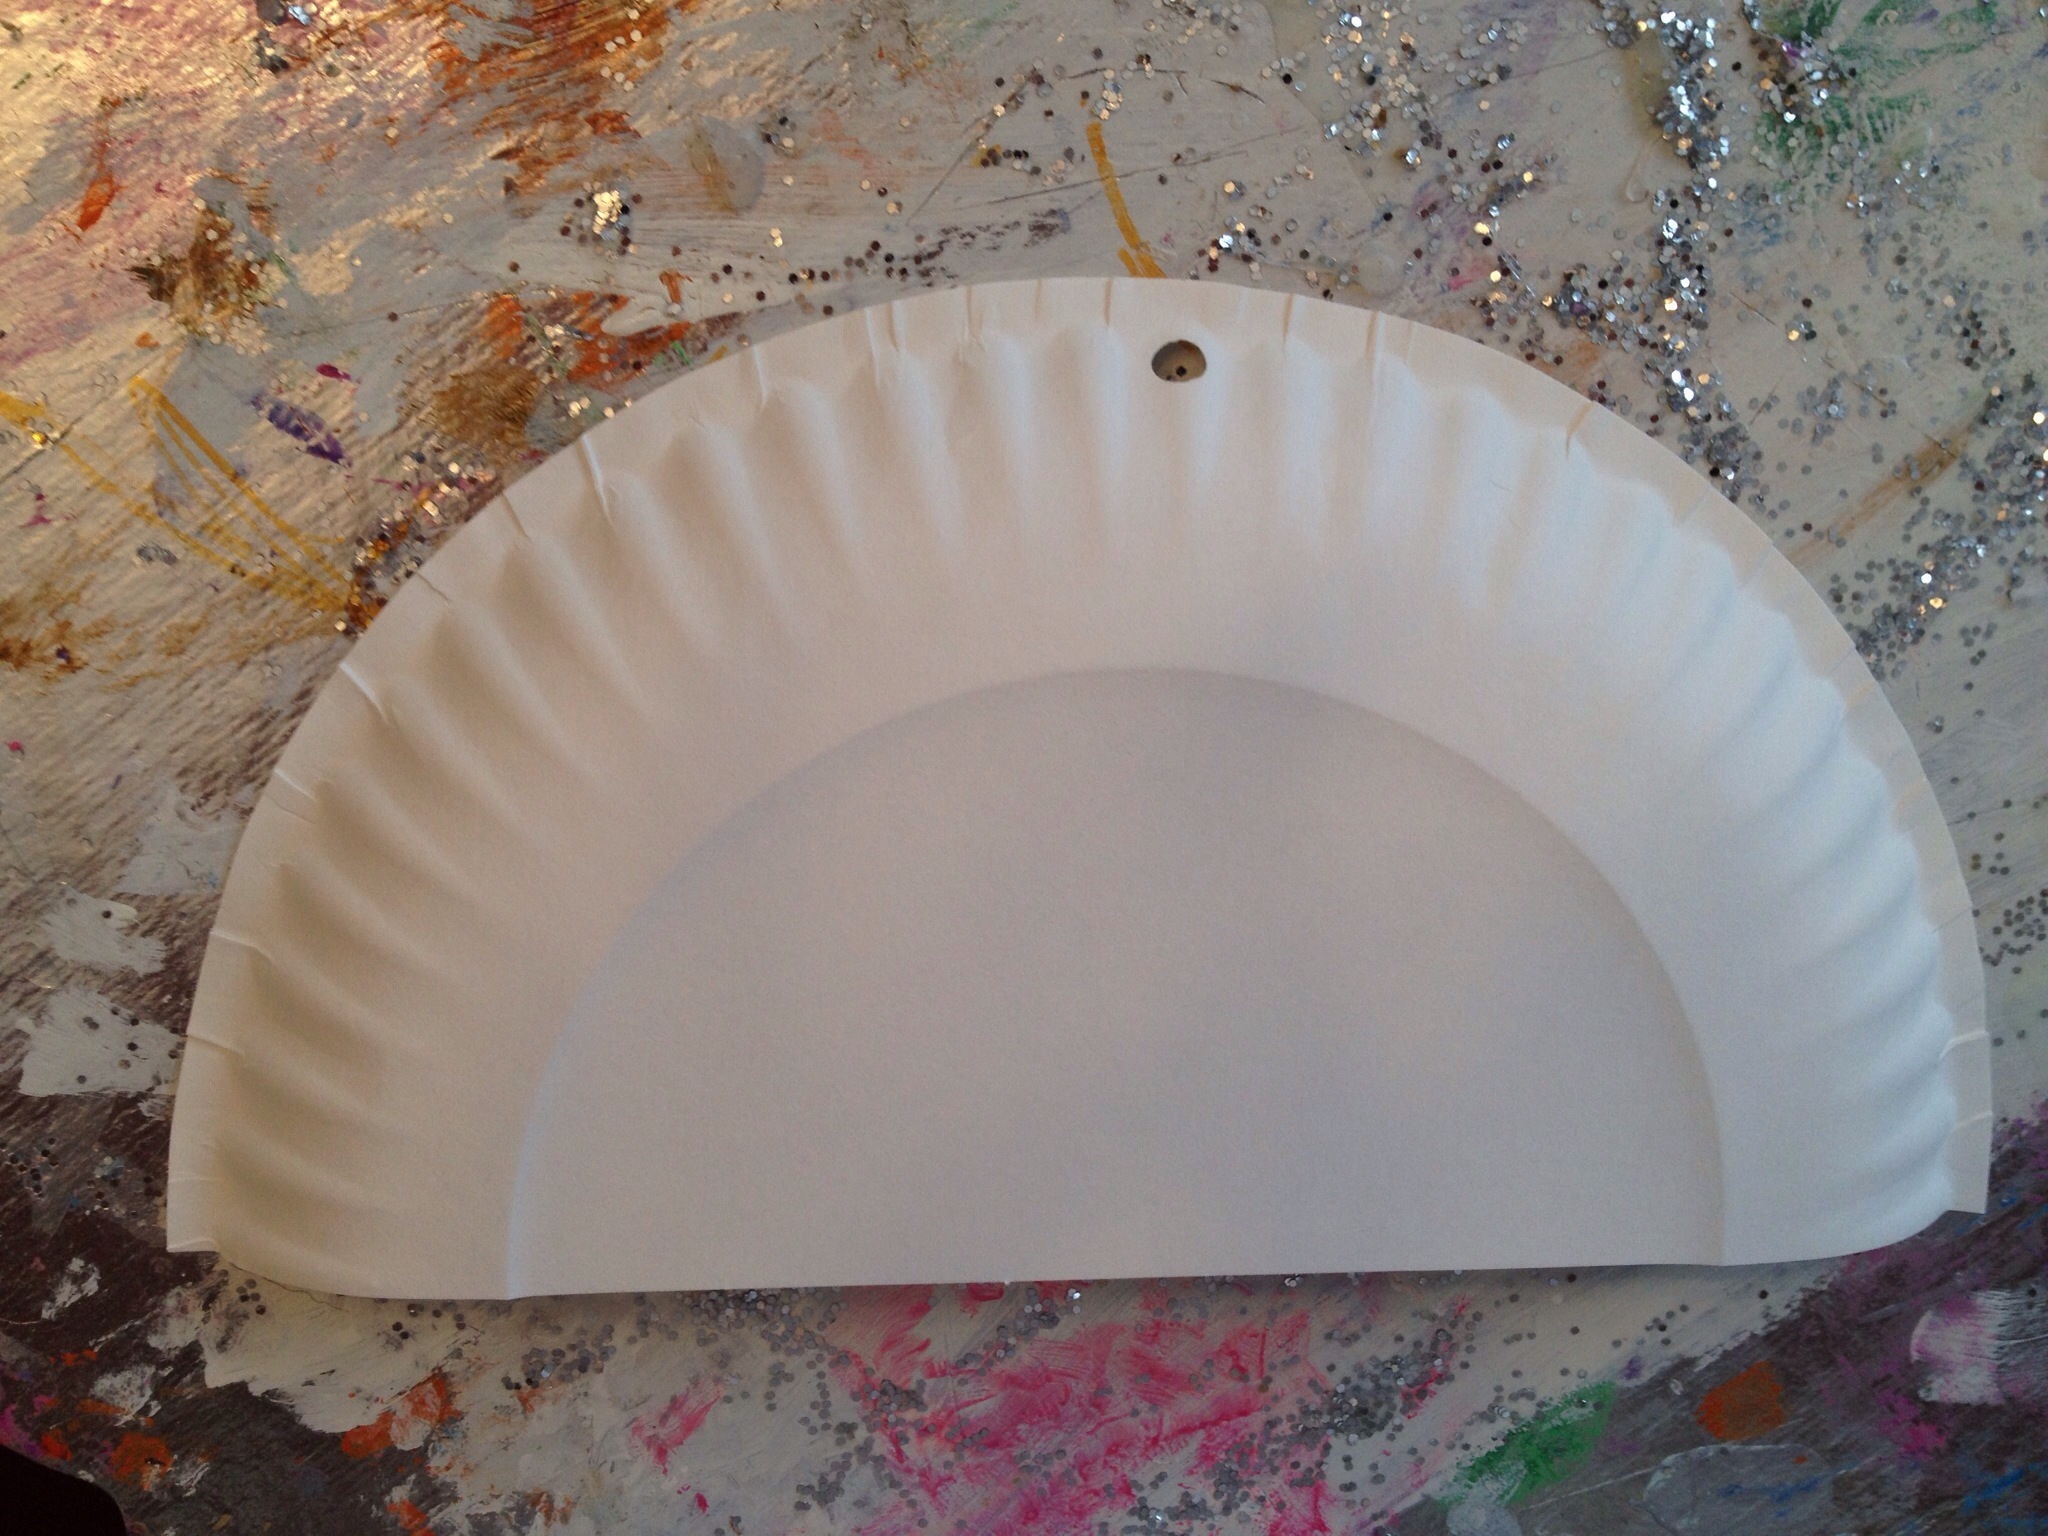
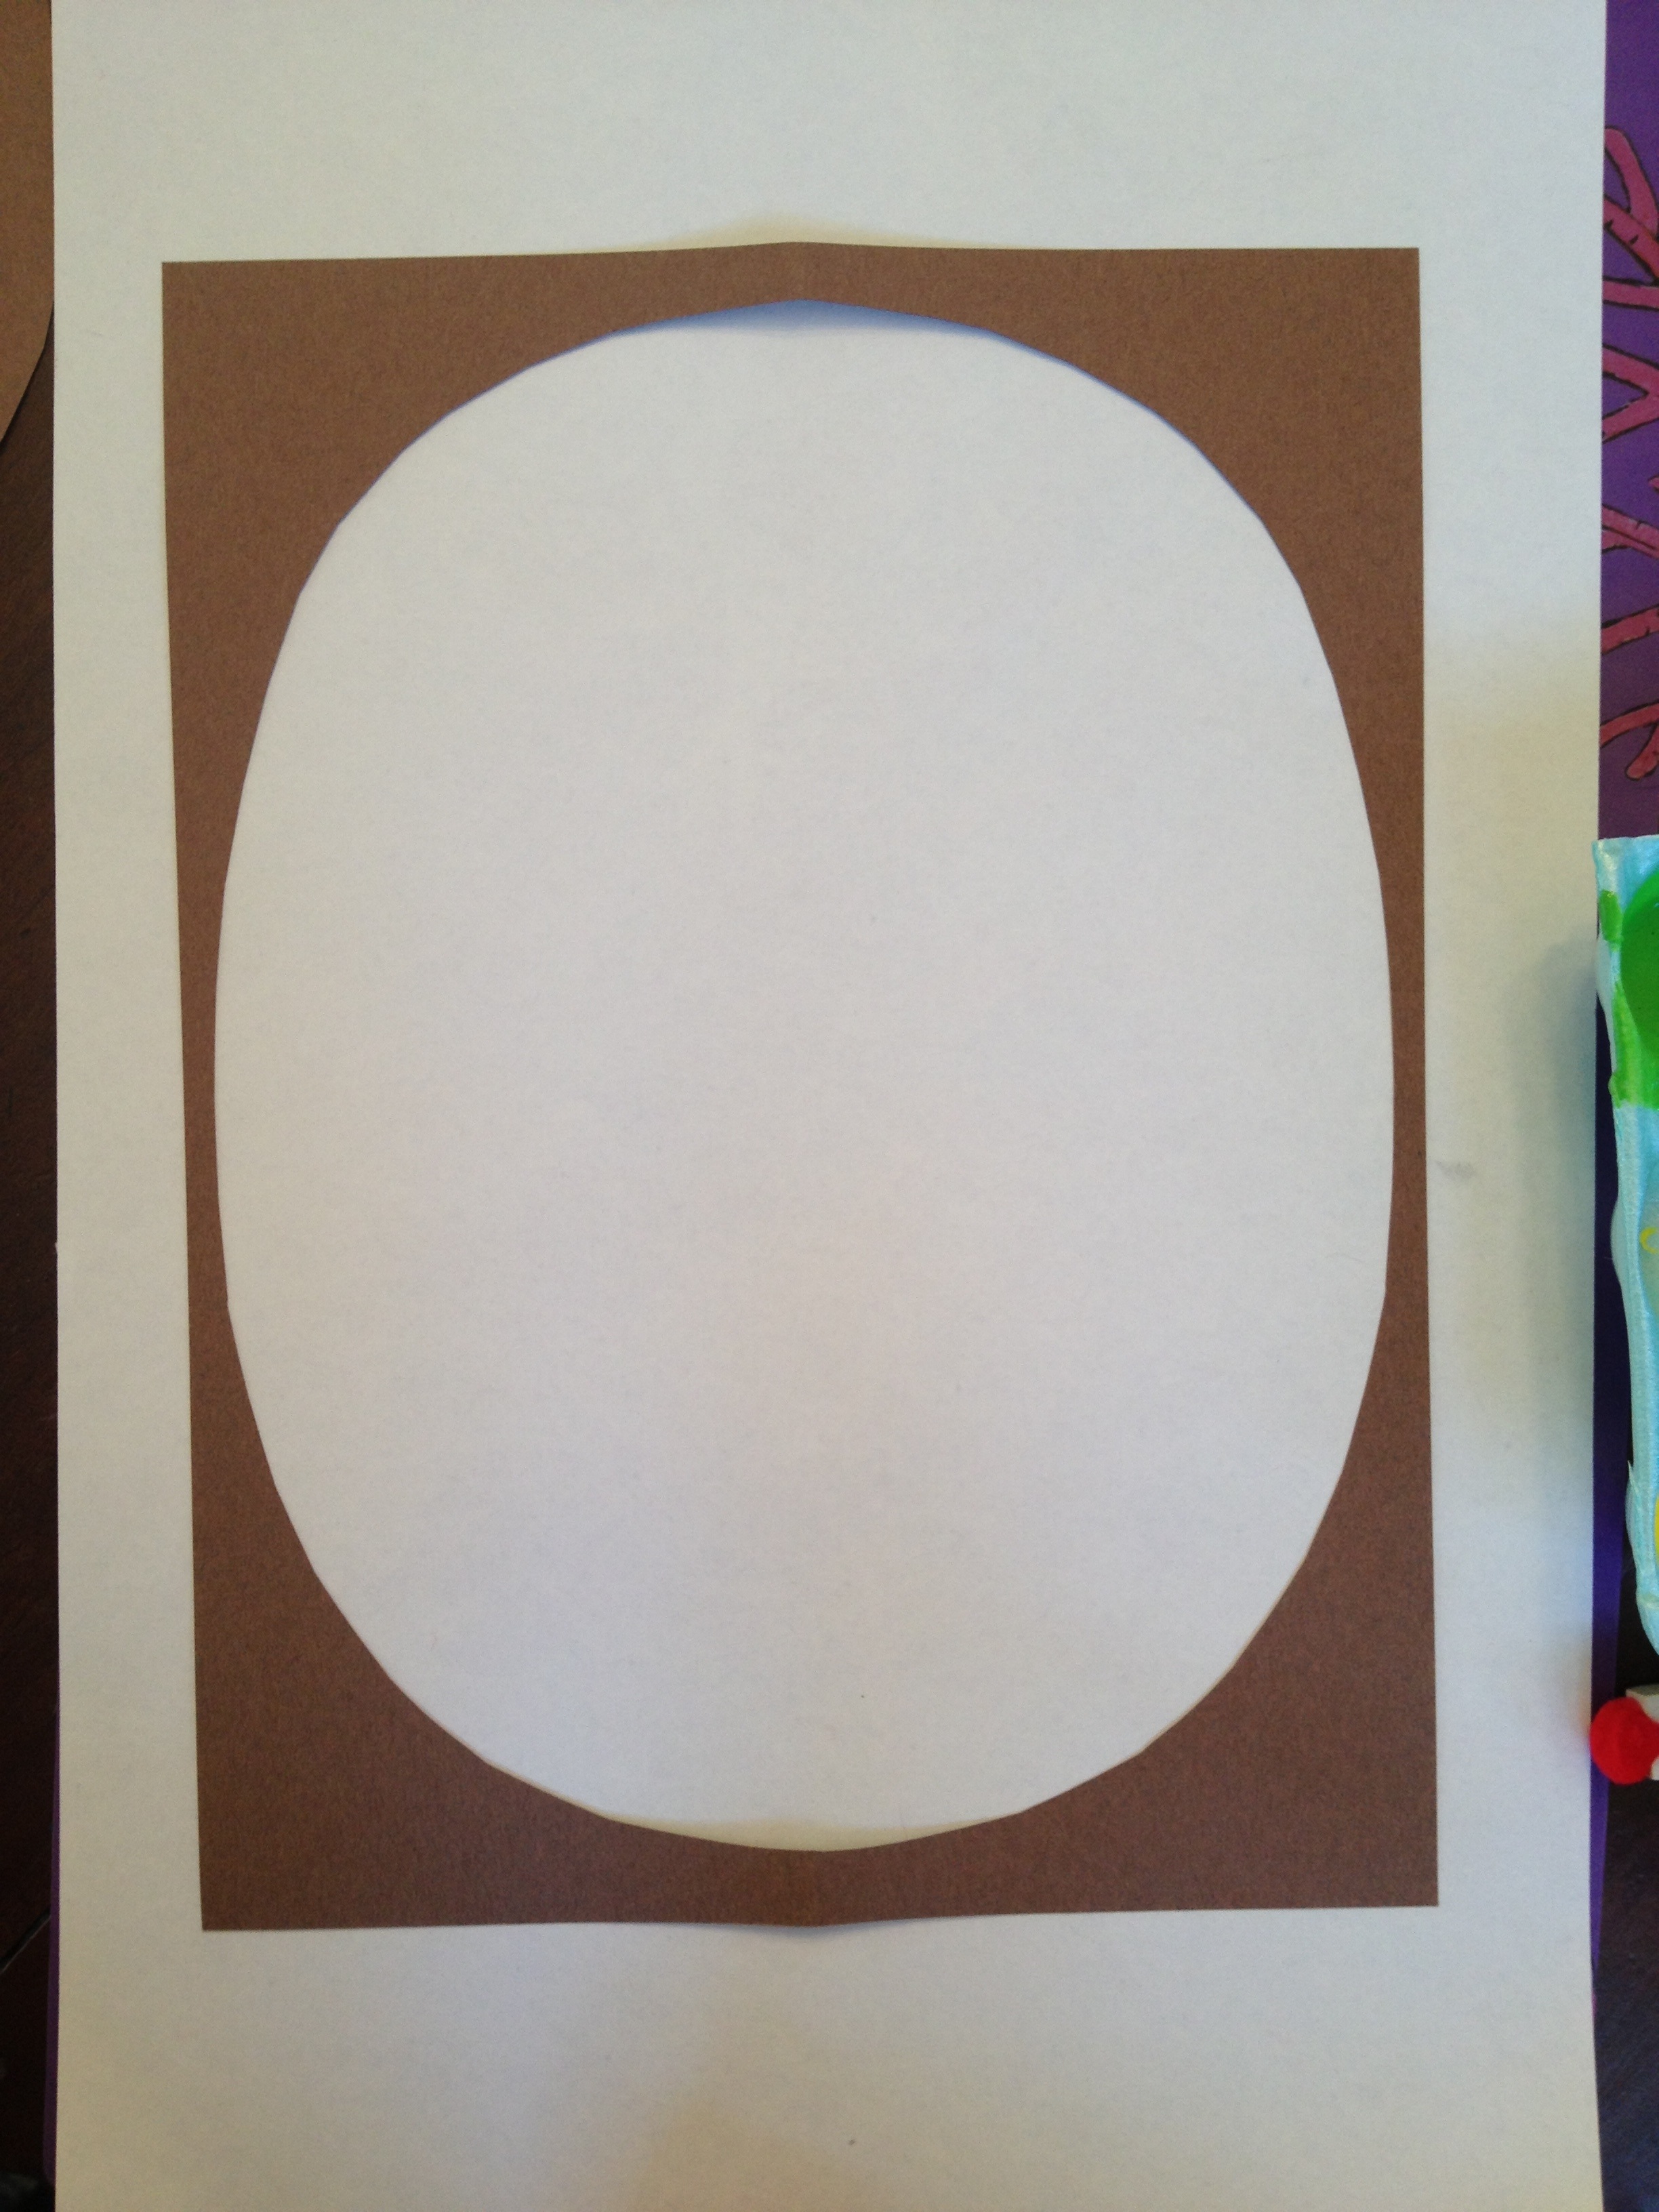
Fold a piece of construction paper in half and free hand cut out the shape of half an egg. Hold the cut out against a piece of larger white paper.


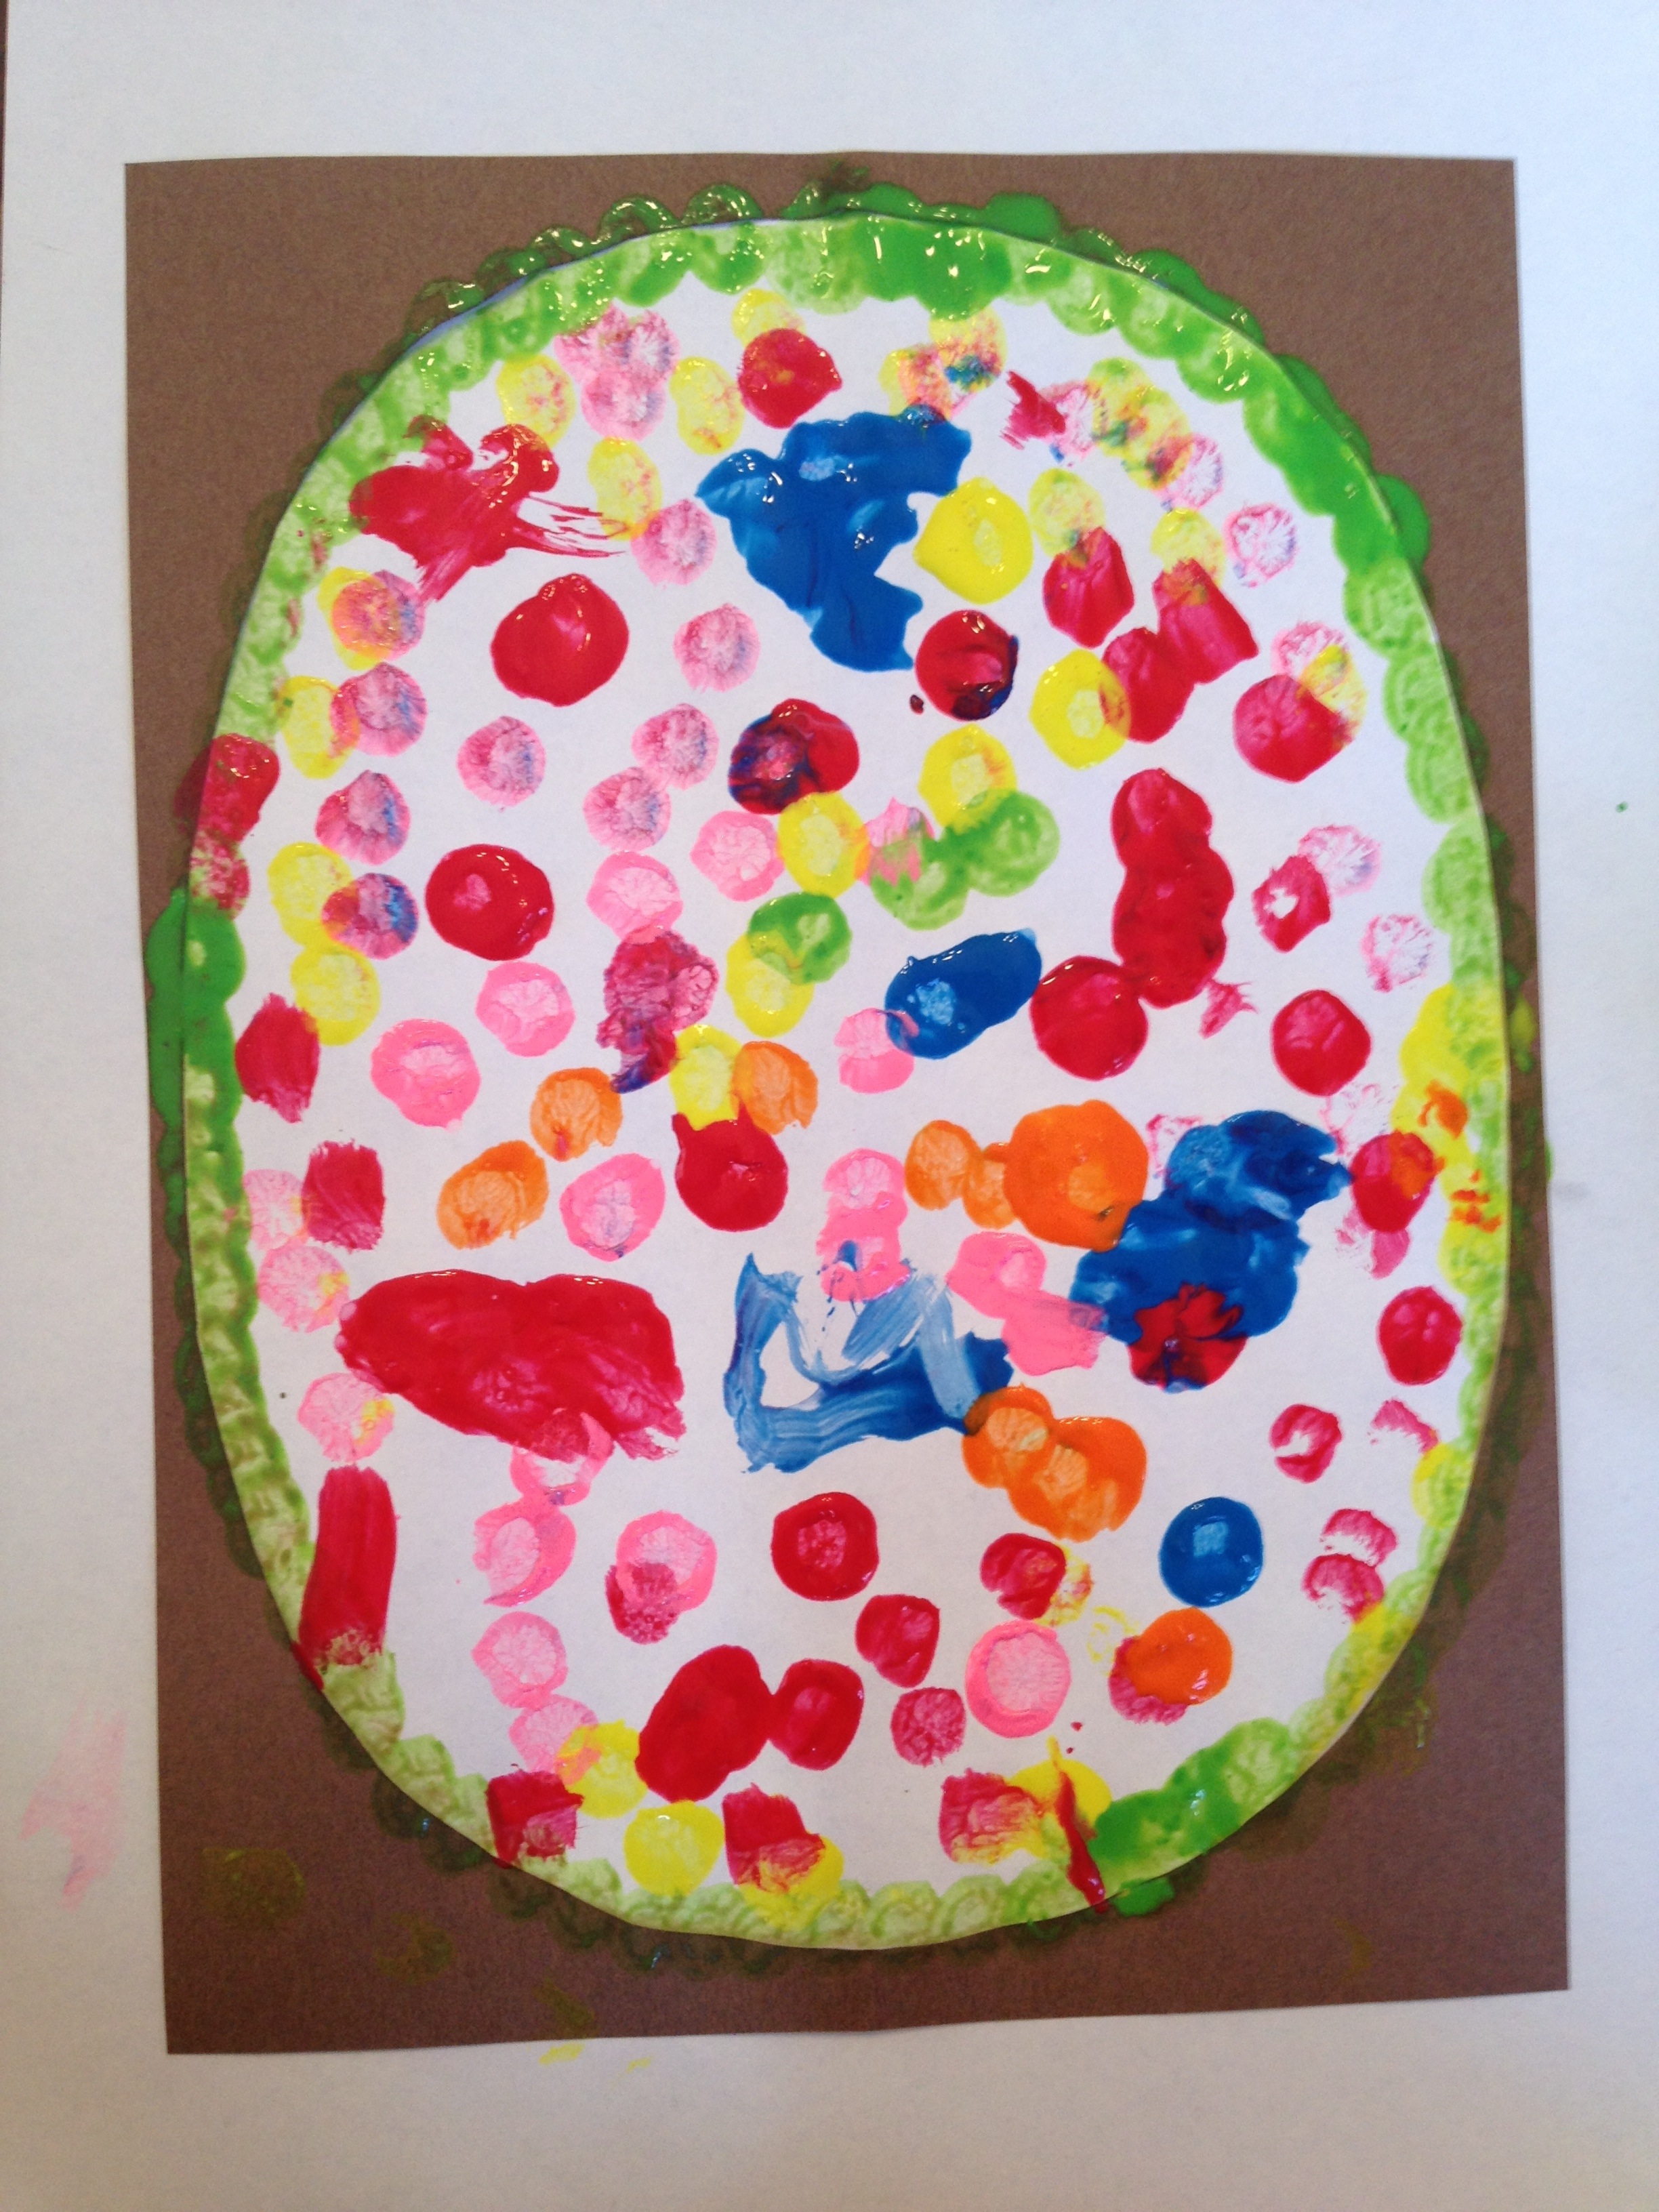
Designate one clothes pinned Pom for each color, which probably won’t last for long- Reagan was mixing colors within the first few minutes.
Assist your child in making dots, swirls, and whatever other designs they can create with the pinned Pom. I found that I needed to create a boarder around the edge of the construction paper because Reagan wasn’t completely filling in the egg.
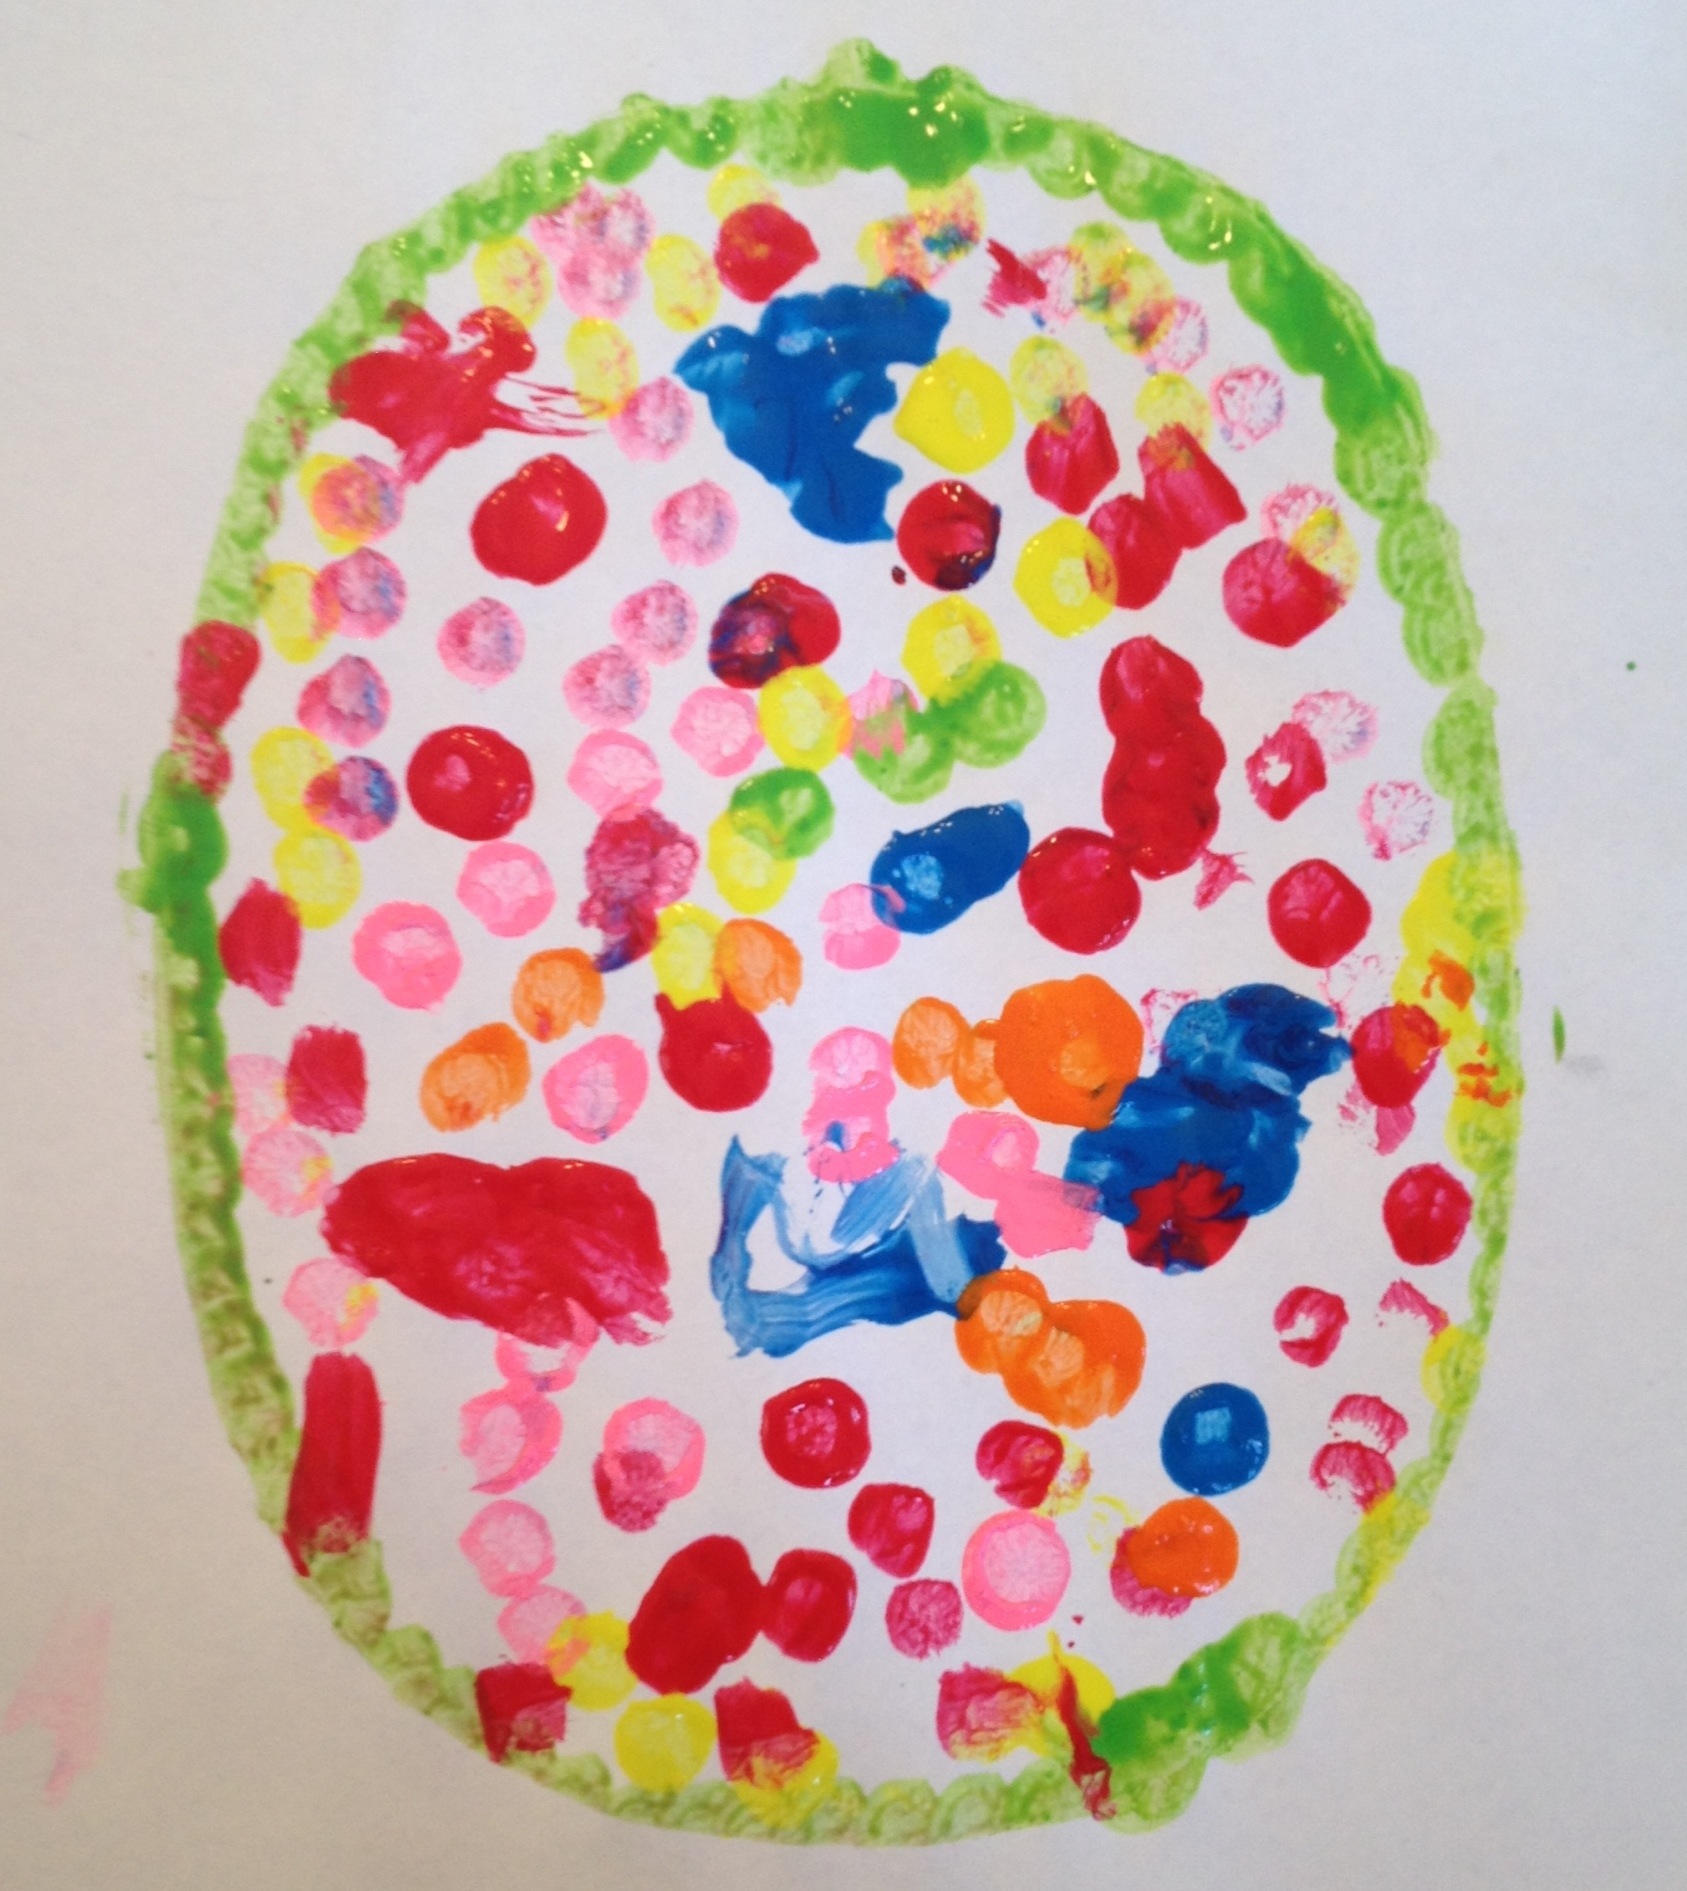
When they have finished painting, lift off the construction paper stencil and allow the egg to dry!