Painted Pumpkins!

20130930-135906.jpg

Reagan loves to paint and asks to do so on a daily basis. She picked out a few pumpkins at a local market the other day and was super eager to ‘make them pretty’! I’m all about skipping the carving and adorning the pumpkins with bright beautiful colors instead.

materials

20130930-134909.jpg

20130930-135411.jpg

Pumpkins
Paint (I always try to use washable)
Stickers
Egg carton
Paint brushes
Something to cover your work space

directions
Reagan picked out three pumpkins and decided to sticker and paint two, while leaving stickers off the third.
Wipe dirt off pumpkins.
Ask your child which colors they want to use and where they would like the color placed within the egg carton.
If using stickers; stick them to the pumpkin before painting.
Have them use the color names when asking for more of a specific color.
Involve your child with the clean-up process.
GET CREATIVE!!!

20130930-134921.jpg

20130930-134931.jpg

20130930-134944.jpg

20130930-134954.jpg

20130930-135856.jpg

Advertisement

Baby Banner

20130927-094556.jpg

Totally in LOVE with pictures from my families childhood. I love looking through pictures of my husband and his siblings from when they were younger; the family resemblance is uncanny and my daughter is looking more and more like her father everyday.

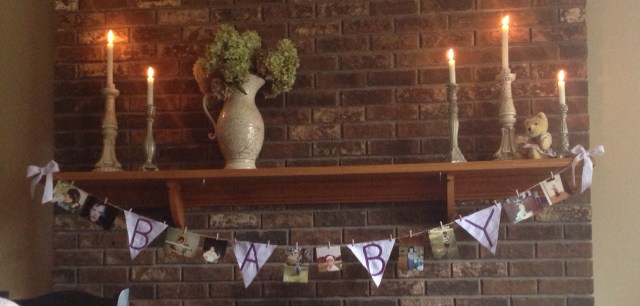
In between each letter; I attached pictures of my brother-in-law and sister-in-law. I asked both of their mothers for a few pictures from birth to around age one and true to mothers everywhere; I got TONS of pictures! I picked similar pictures of each person to clip next to each other (ie- eating in a high chair, playing outside, in the tubbie, etc.). I wish that I had a close up picture of the banner, but with the hustle and bustle of hosting a baby shower, I didn’t get the chance:(

materials
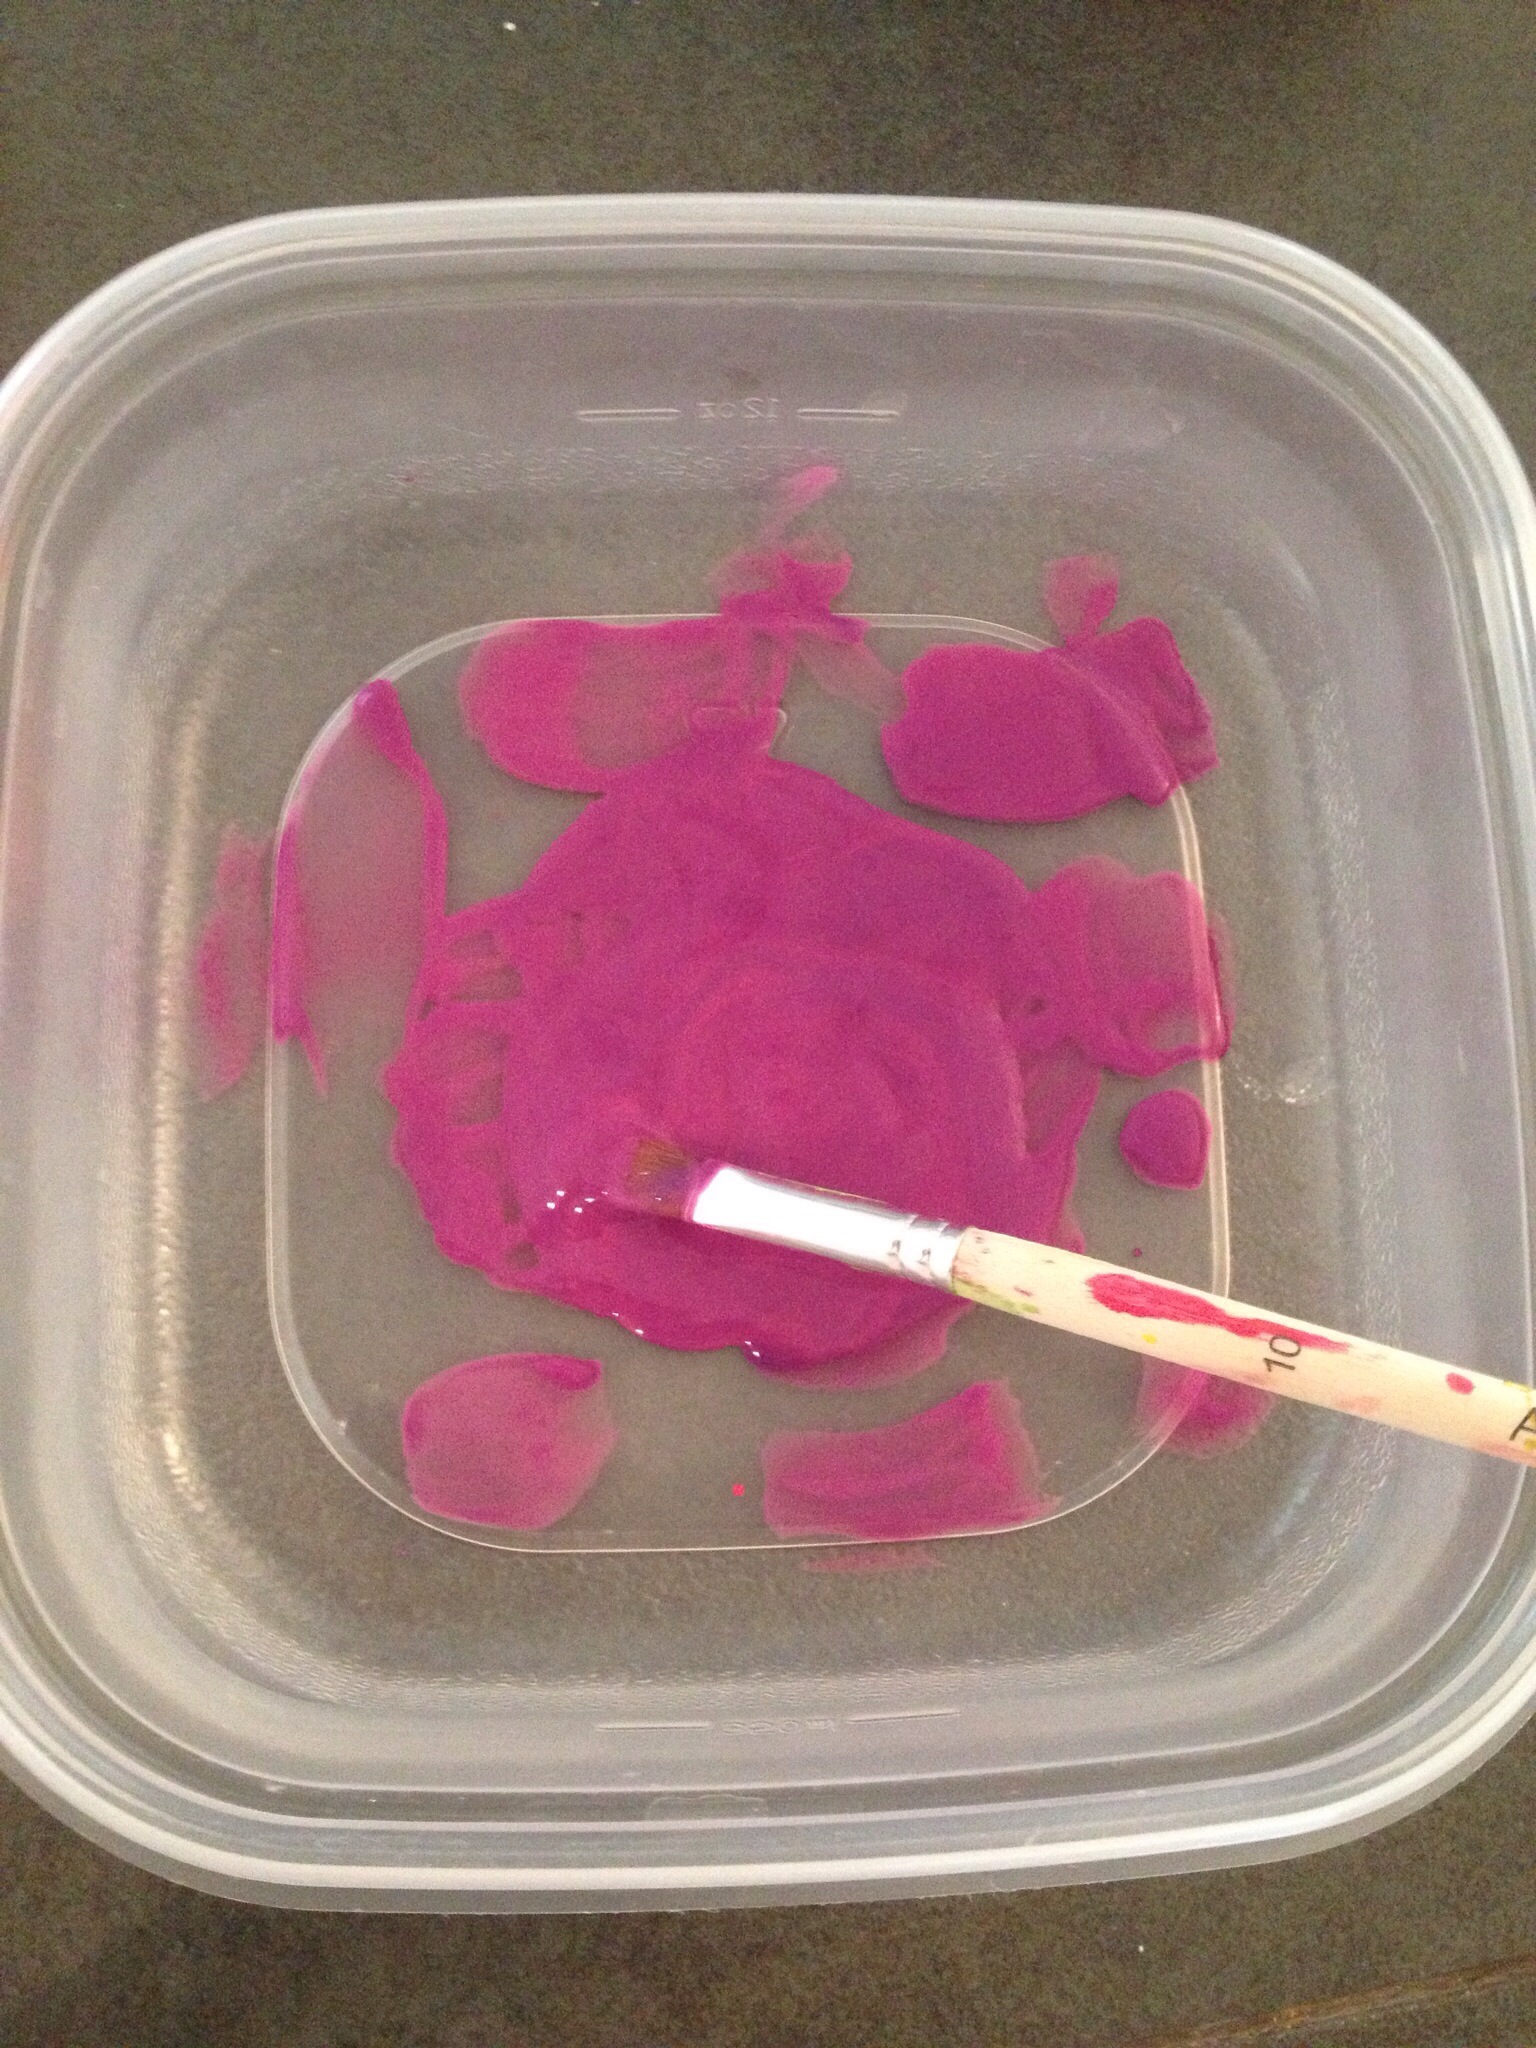
Paint for letters ( I didn’t have purple paint, so I mixed pink and blue to make purple)
Paint brush
Fabric
Ruler
Scissors
Pencil
Paper for making a flag pattern
Bakers twine
Mini clothes pins
Two small nails
directions

20131003-125601.jpg

20131003-125613.jpg
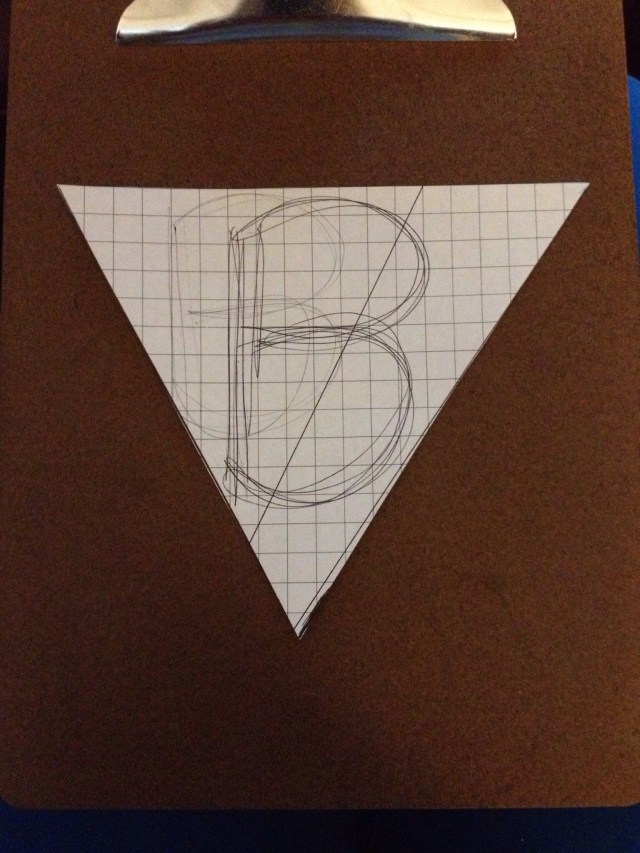
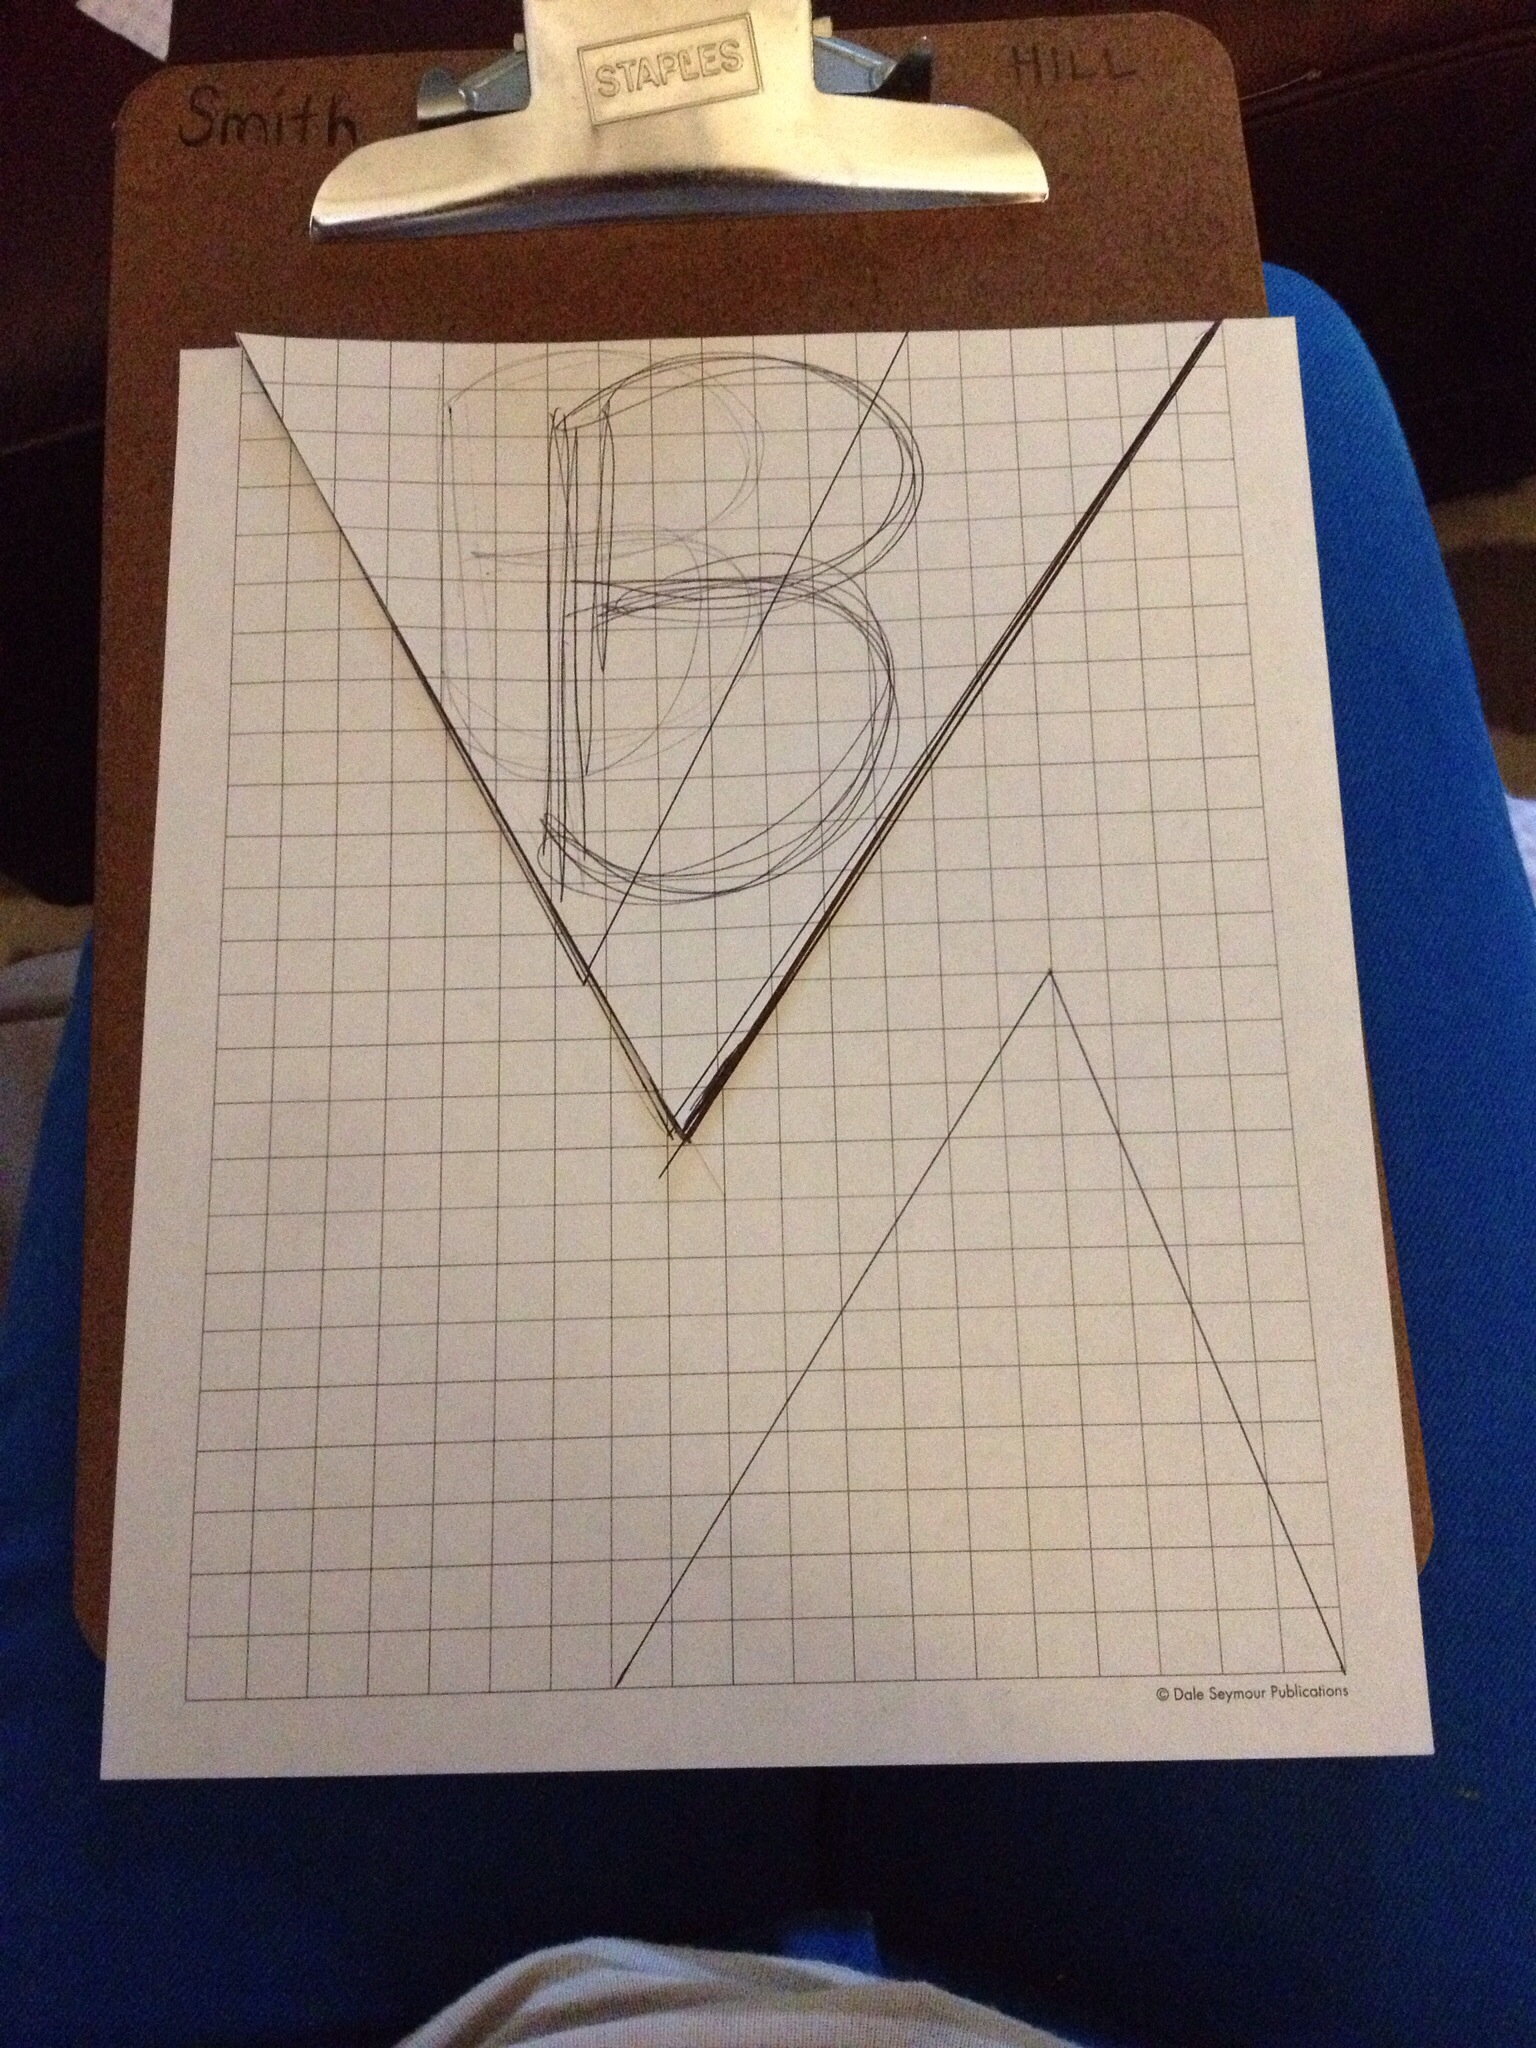
Using a piece of paper, measure out the size of the flag that you want. My flags had 8 inch sides. Draw the flag on the piece of paper and then cut it out so that you have a pattern to trace on your chosen fabric. I wrote the letter ‘B’ in my cut out pattern to make sure that the size of the letters that I wanted fit inside my flag.

20131003-125820.jpg

20131003-125815.jpg

20131003-125803.jpg

20131003-125755.jpg
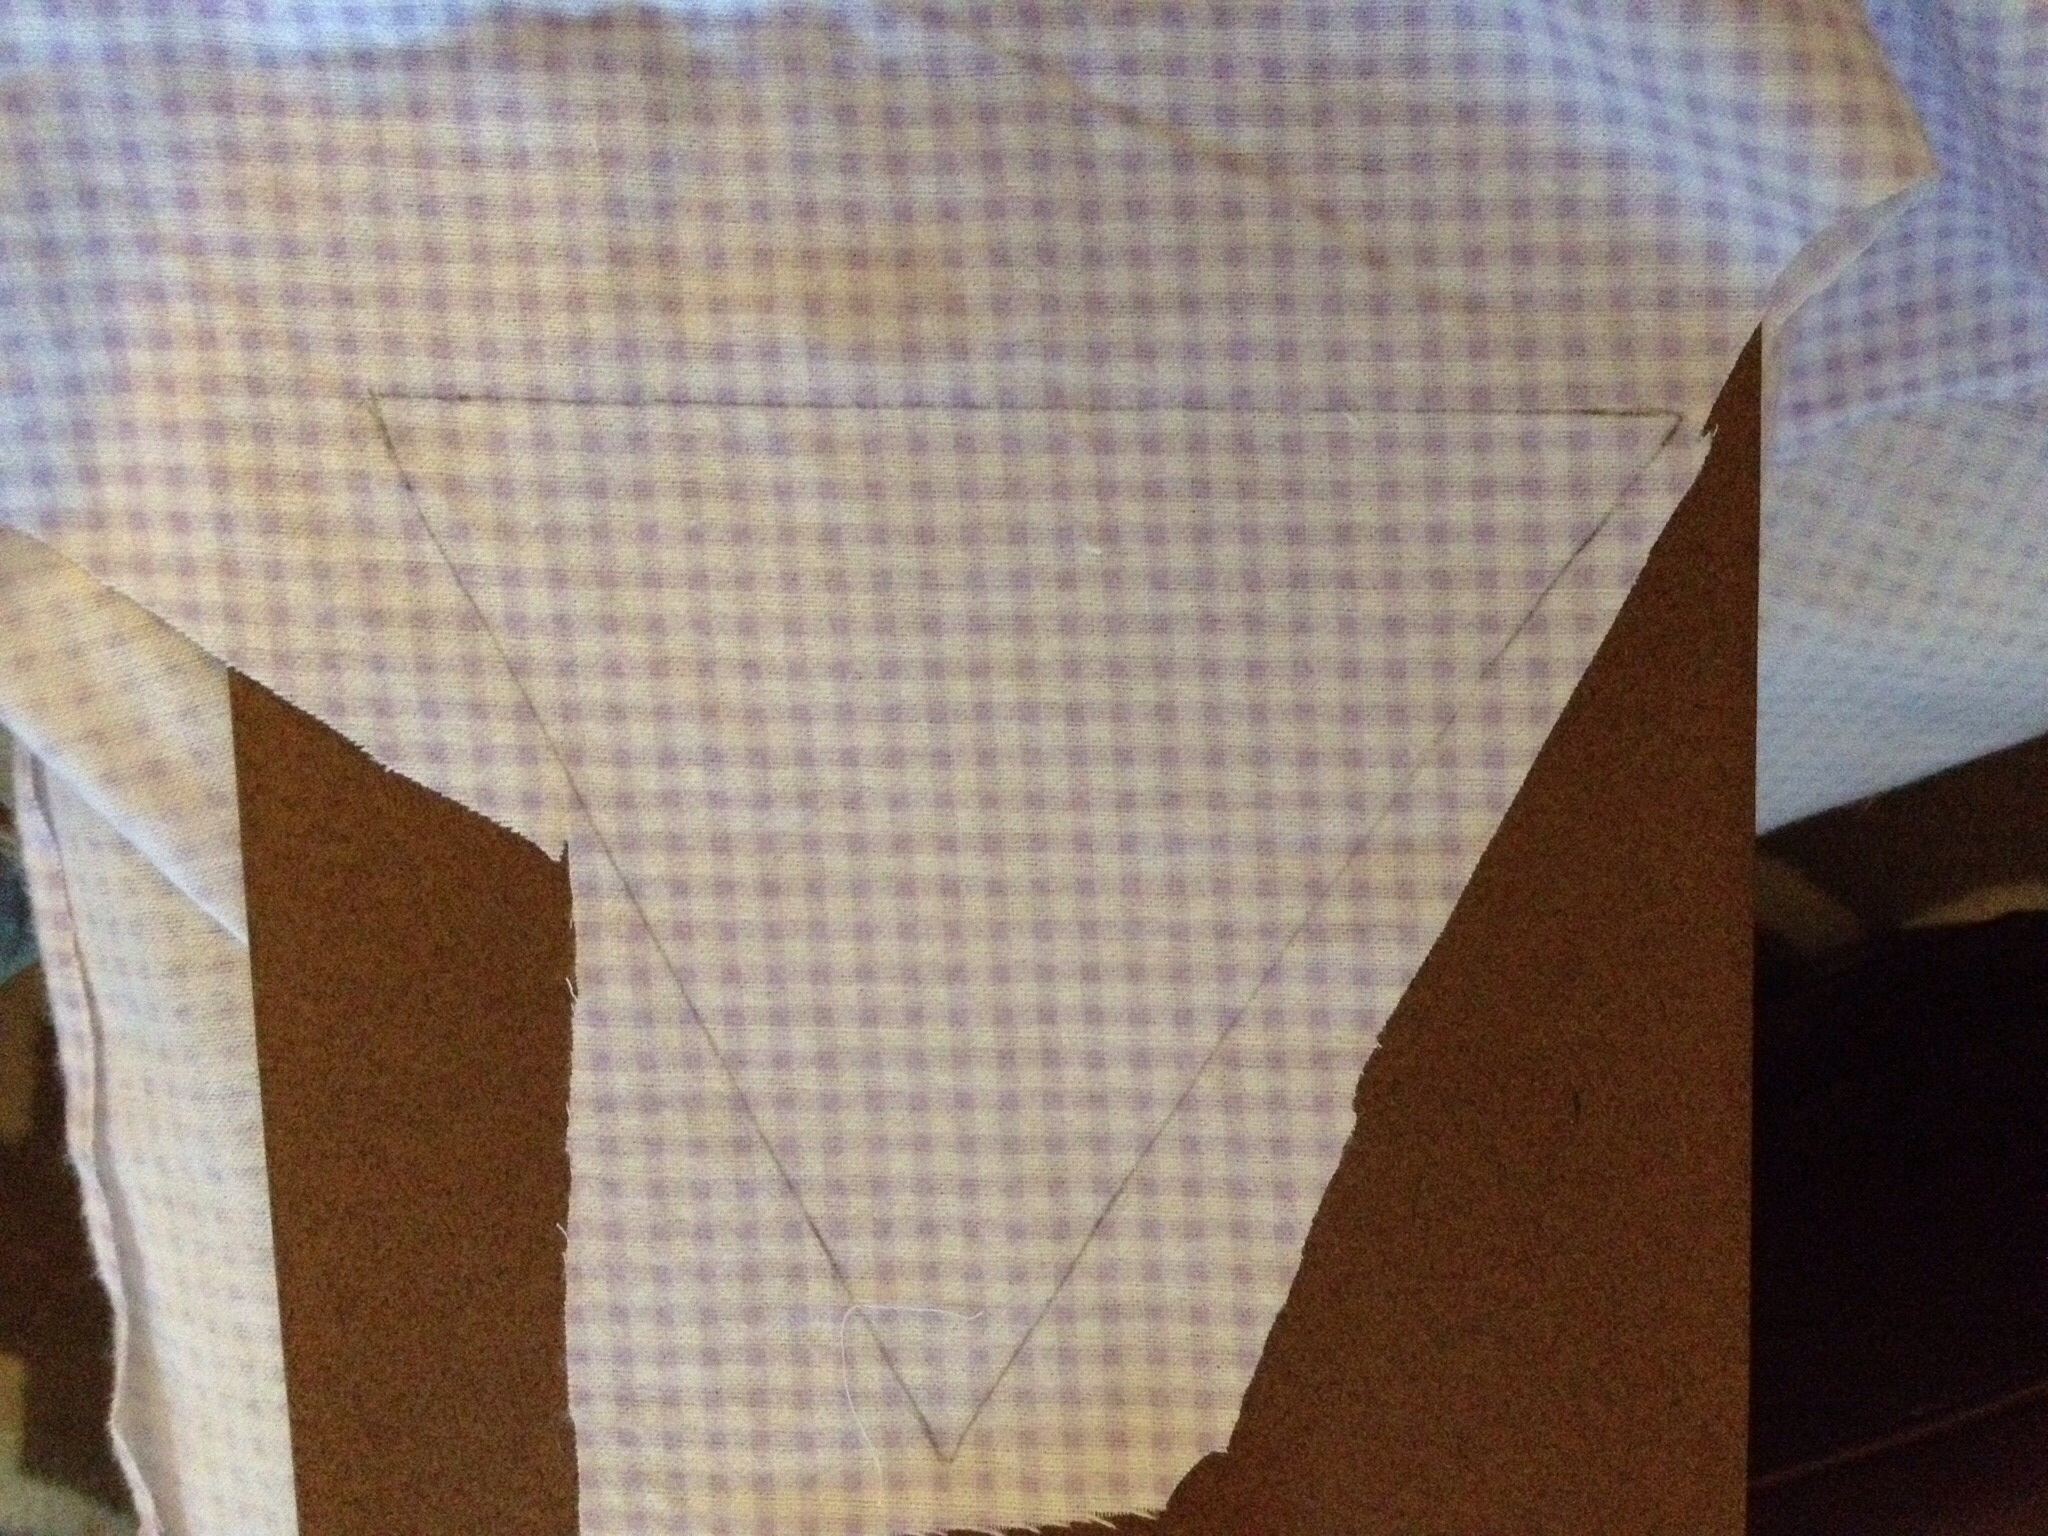
Trace your flag shape onto your chosen fabric. Cut out your flag and write the chosen letter onto the fabric. I free handed my letters, but using a ruler would leave you with straighter lines.

20131003-125726.jpg

20131003-125745.jpg

20131003-125827.jpg
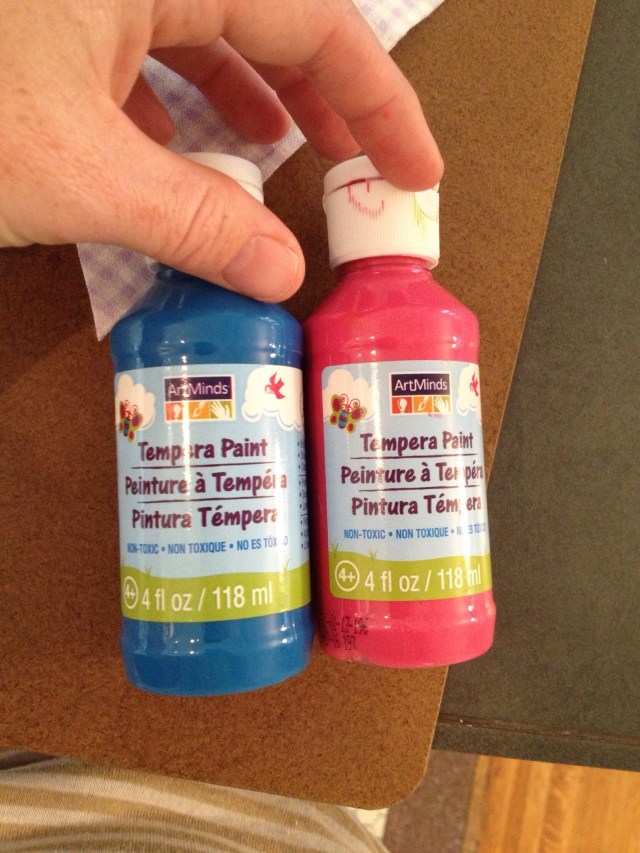
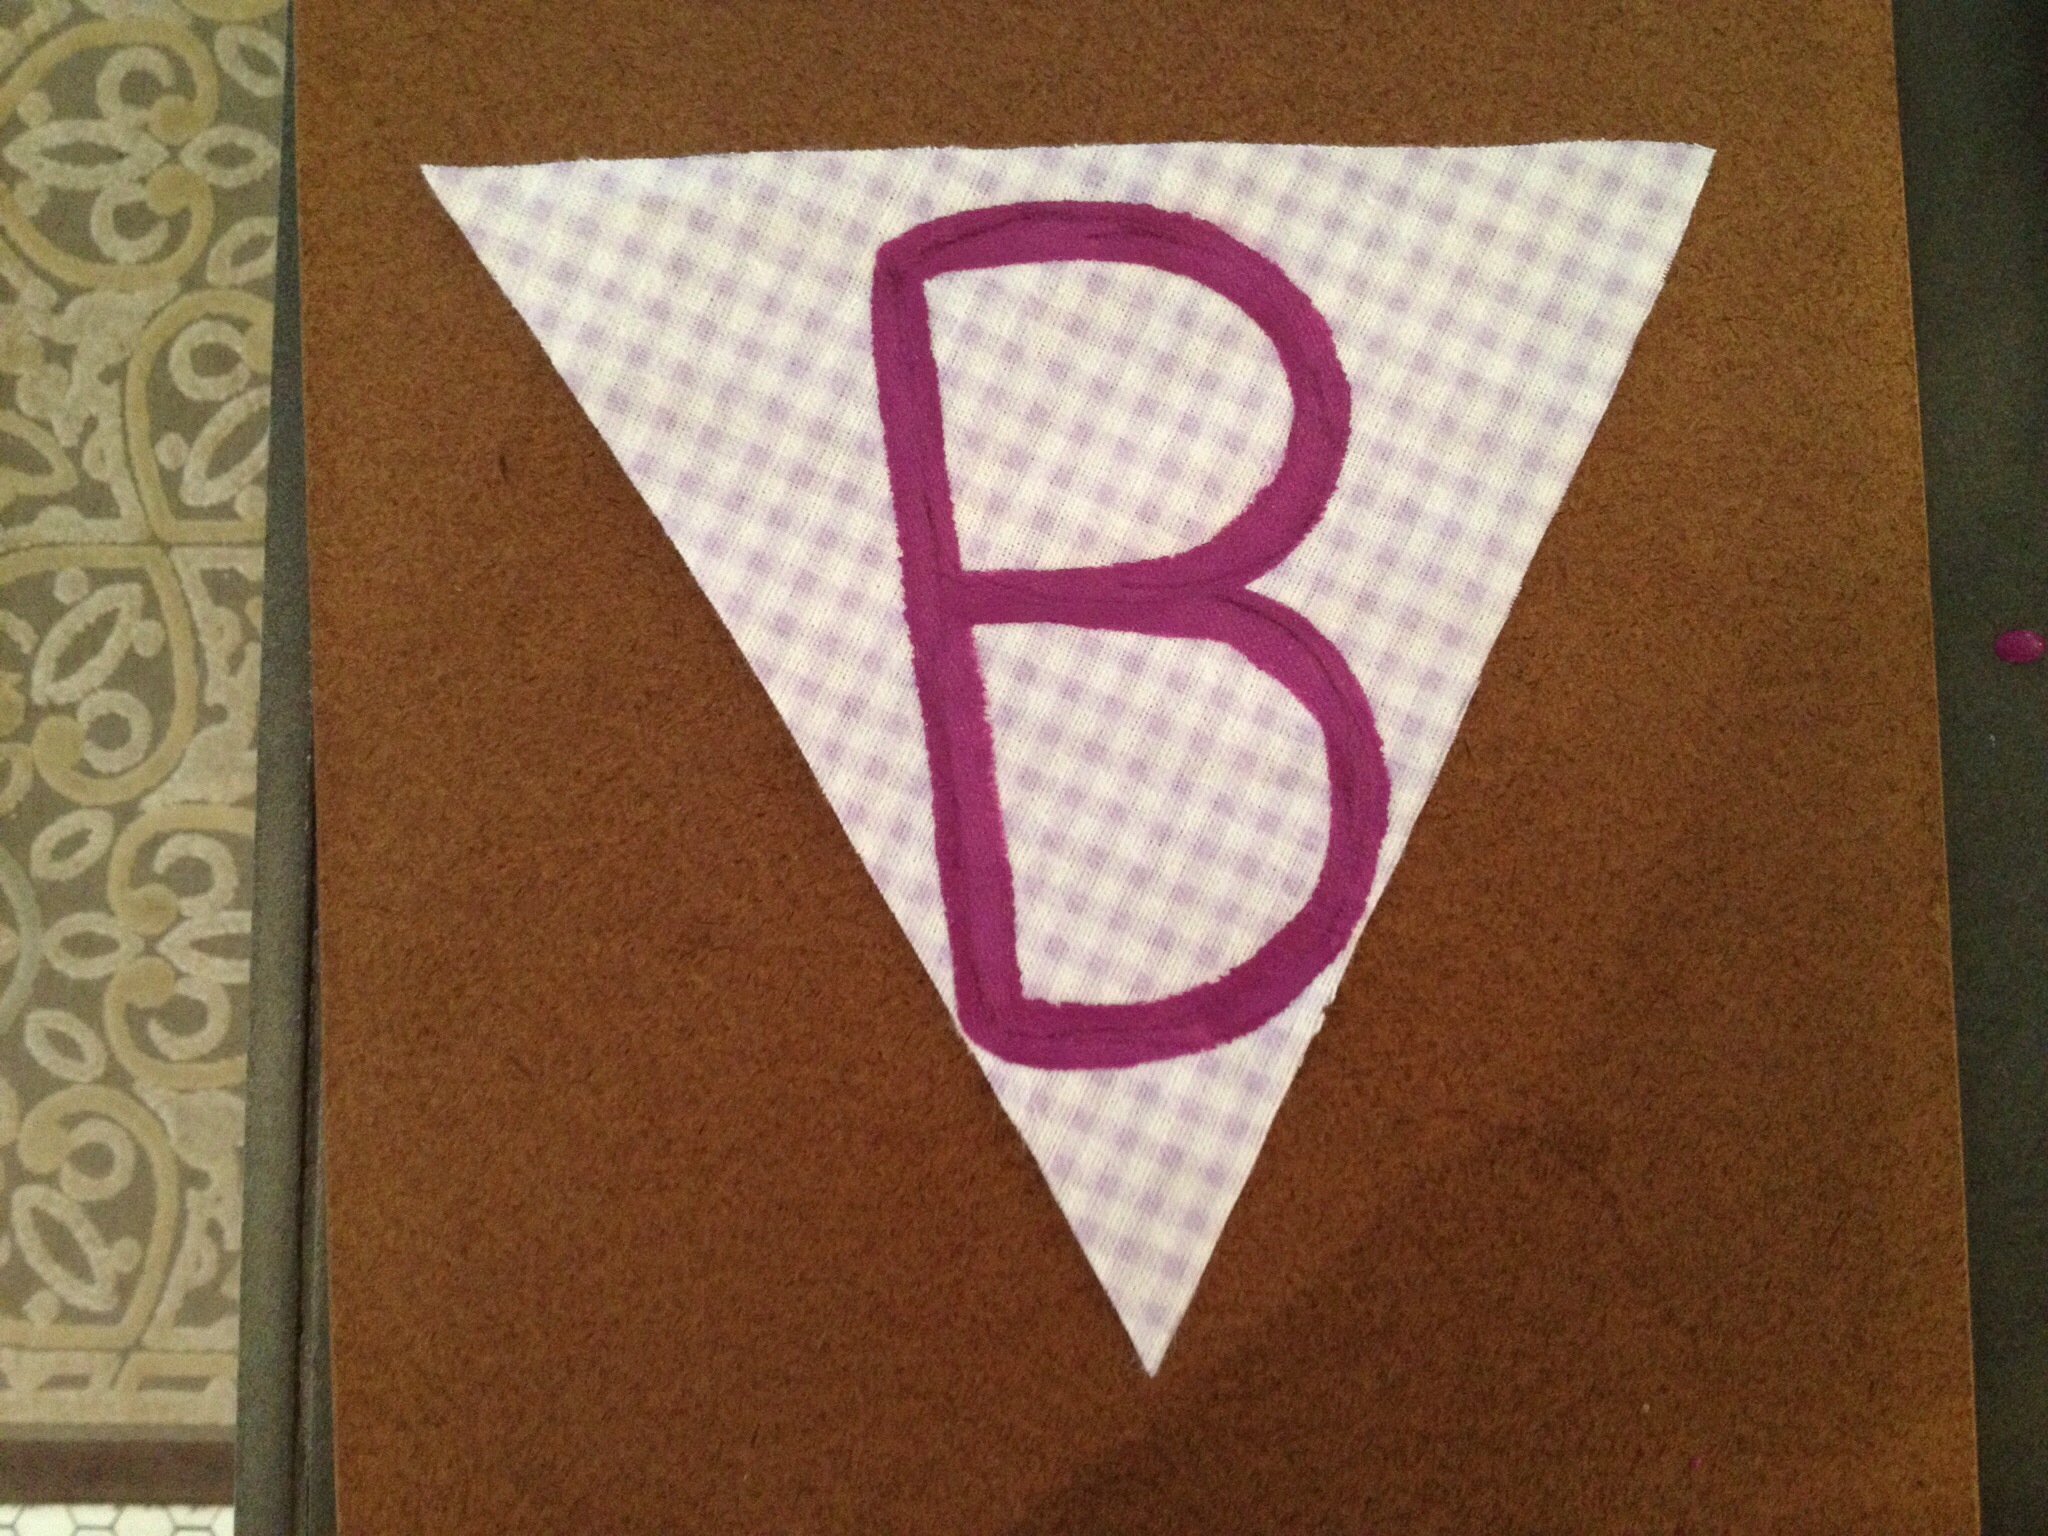
I didn’t have purple paint, so I mixed blue and pink until I came up with a purple that I was happy with. Paint your traced letter on your fabric flag. I did two coats of paint, allowing the first to dry completely before applying the second.

I used mini clothes pins, found at a craft store, to attach the pictures and flags to a piece of bakers twine. I cut strips of left over fabric to tie bows at the ends of the banner. The banner hung from two small nails that were inserted into the top of the mantle. No one will ever notice the holes, unless they are 10 feet tall and have super vision.
The end result was adorable! The lit candles added the perfect touch.

20131003-133710.jpg

Dressing Up Plasticware

20130926-133332.jpg

Plasticware at a casual party is so much easier than silverware. Who wants to worry about having to wash all of those forks… Dressing up the plasticware can make all the difference! I made these plasticware and napkin wraps for my sister-in-laws baby shower. They dressed up the plasticware and fit perfectly into a MacKenzie Child’s dish.

Materials

20130926-130910.jpg
1 yard of chosen fabric ( joann fabrics seems to always has a coupon available! http://www.joann.com/coupon/?icn=homeslot5
Scissors
Plasticware
Napkins
<1 yard of chosen fabric ( joann fabrics seems to always has a coupon available! http://www.joann.com/coupon/?icn=homeslot5
Scissors

Directions

20130926-132018.jpg
Cut a piece of fabric, one inch wide and 16 inches long. The length and width depends on the size of the bow that you want. I played around with different sizes until I found the one that I liked.

20130926-130925.jpg

20130926-130919.jpg
Lay the fork on top of the knife and place the plasticware on the end of the napkin that has all of the loose ends; make sure to also have the folded, closed part, of the napkin at the top.

20130926-130931.jpg
Tightly roll plasticware.

20130926-130938.jpg

20130926-130944.jpg

20130926-130900.jpgPlace rolled plastic ware in the middle of the cur piece of fabric. Make sure both sides of the fabric are the same length. Tie a tight knot,to keep the plasticware in place, and then tie a pretty bow!

20130926-133339.jpg

20130926-133347.jpg
Cut the loose fabric at an angle.

20130926-130950.jpg
Arrange plasticware in a pretty dish!

I made 40 rolls and still had fabric left over.

Water Bottle Diapers

20130923-081857.jpg

Super simple and super cute! These diapers added the perfect touch of white among the purples and florals that adorned the shower.

Materials

20130923-081906.jpg
1 yard white fabric- (I purchased white fabric on sale from JoAnne Fabrics for $2.99 a yard and used a 40% off coupon that they continually have on their site http://www.joann.com/coupon/)
Scissors
Ruler
Safety Pins
Water Bottles
( the yard of tule made 10 bottle diapers)

Directions

20130923-081831.jpg
Remove label from bottle.
Fold yard of tule in half.
Cut a piece of tule that is about 12 inches long and 4 inches wide.( you should have a double layer, with the fold included)

20130923-081825.jpg
Place bottle on cut piece of fabric ( you may want to use a small piece of scotch tape to secure fabric to bottle). Roll bottle to tightly wrap fabric around the bottle. I wrapped the bottle where you would hold it while drinking.

20130923-081838.jpg
Secure fabric with safety pin.

20130923-081817.jpg
And there you have it! An adorable touch for a girl or boy baby shower!
The ‘diapers’ that didn’t end up in the trash, I removed from the bottles and stored away for the next baby shower!

Water Bottle TuTus

20130921-083900.jpg

These tutus definitely gave me a run for my money, which is why I only ended up making six, instead of the intended 15. They are super cute, and were a huge hit, but my fingers weren’t very happy with the hundreds of small knots that they tied. I made these at night, while watching Pretty Little Liars. I have to admit that I’m addicted to what my husband calls a ‘teeny bopper’ show. But, it’s a step up from Caillou, which Reagan is currently obsessing over during the day.
If you have time and your fingers need a workout, these are definitely adorable! The two that didn’t get taken home by shower guests, became the perfect tutus for my nieces Piglet doll and Reagan’s baby doll.

Materials

20130921-083643.jpg
1 yard tule
Scissors
Rubber Bands-large enough to fit on your bottle, but small enough not to slip off
Water Bottles

Directions

20130921-083714.jpg

20130921-083709.jpg
Fold tule in half and then continue to fold in half until you have a width that is about 2/2.5 inches long. The length of the pieces that you cut will determine the length of your tutu. I wanted a short and puffy tutu, so I cut shorter pieces.

20130921-084317.jpg
Cut off inch wide pieces of tule.

20130921-084328.jpg

20130921-083722.jpg
Your pieces will need to be cut at the tops of the loops; this is where your tule was folded.
Depending on the number of times that you folded your tule will depend on the number of pieces you end up with- the more folds, the more pieces.

20130921-083658.jpg

20130921-083802.jpg

20130921-083814.jpg
Tie individual pieces of tule to the rubber band. Make sure that the pieces of tule are tied close to each other, so that the rubber band cannot be seen. Continue around the entire rubber band.

20130921-083826.jpg

20130921-083850.jpg
Remove label from water bottles!!!
Trim, with scissors, around your tutu, until you achieve the shape that you want.

20130921-082301.jpg

20130921-083840.jpg
Super cute, right?

20130921-085058.jpg
A perfect tutu for Piglet!