Somewhere Over the Rainbow

20140309-233242.jpg

With Saint Patrick’s Day right around the corner, Reagan and I decided to get into the spirt of things by making a delicious rainbow!
Color identification and sorting skills are definitely utilized and strengthened throughout this activity.

Materials

20140309-232713.jpg
Fruit Loops
Glue
Paper
Cotton Balls
6 Cups

Directions
Place each color of fruit loop in front of your child. Have your child identify each color and place each different colored fruit loop into its own cup.

20140309-232808.jpg
Place a handful of fruit loops in front of your child and have them sort the loops into corresponding cups.

20140309-232958.jpg

20140309-233011.jpg
Draw an arch with the glue. Allow your child to choose the color that they would like to use first. Model how to place the fruit loops onto the glue. After the first arch color is done, continue underneath until all colors are used.

20140309-233108.jpg

20140309-233117.jpg

20140309-233133.jpg

20140309-233147.jpg

20140309-233159.jpg
Using the glue, swirl a cloud of glue at the bottom of each side of your child’s rainbow. Model how to stick the white cotton ball to the glue.

20140309-233211.jpg

20140309-233224.jpg
The simplest activities can be used to strengthen such important skills!

A Little LOVE for your Loves

20140201-161927.jpg

Reagan and I have been busy getting ready for Valentine’s Day by creating some sweet decorations for our home and special gifts for our friends.
How fabulous it is that my daughter has so much love in her heart; we could all learn a thing or two from this amazing toddler!
Here are our favorites for the month that’s dedicated to love. Make sure to check back Saturday to see what we’ve been working on for our friends and family!

20140202-211042.jpg
No Time for Flashcard’s Coffee Filter Hearts are absolutely adorable and simple enough for my marker loving toddler!

20140202-211556.jpg
With no shortage of wine corks in the house, these Love Bugs from No Time for Flashcard’s are a definite must make!

20140202-212146.jpg
The Yoda inspired Valentine from design. wash. rinse. repeat… couldn’t be any cuter for your Star Wars lovin kiddo. Added bonus- a free printable!!!

20140202-213424.jpg
Mom’s by Heart is offering up this fabulous and FREE printable! Who doesn’t love glow sticks?

20140202-214008.jpg
Reagan finds Whoopie Cushions to be hilarious; she seriously can’t get enough! the Taylor house is rocking it with these awesome Valentine’s and tops them off with a FREE printable!

20140202-214512.jpg
Even though this Valentine isn’t rocking a free printable, it is still super cute and perfect for a few special friends! bellaellaboutique, on etsy, created this Wheelie Cool Valentine!

20140202-215724.jpg
I’m loving Jacolyn Murphy’s All is Fair in Love and War Valentine’s. These would definitely be a favorite with an older crowd!

A look back at last years Valentine’s:

20140203-071258.jpg
We created A Little Love for our family.

20140203-071304.jpg
These were the Sweetest Sayings!

How simple it is to help your child show their love!

Are You Ready for some Football…Crafts?!

20140126-171015.jpg
Football is a pretty big deal around here. Even though we see our favorite team lose more than win, the boys still love to watch. I’m not sure if we will see the Buffalo Bills make it to the Super Bowl again in our lifetime :). Regardless of who is playing, the Super Bowl is always guaranteed to be a good time. The snacks, commercials and halftime show just add to the excitement!

Big H and I thought it would be fun to do a couple of crafts to get us ready for the big day. Unfortunately when it comes to crafts he has the attention span of well…a three year old! Therefore, the crafts need to be simple and quick to keep him interested. Plus it always seems that the days we want to do a special activity our little sidekick decides he doesn’t want to take a nap. We thought it would be a good idea to distract him with a chocolate chip cookie…

20140126-171314.jpg
Paper Stuffed Footballs

20140126-171504.jpg
Supplies

Brown construction paper

Newspaper, shredded

White yarn

Scissors

Single hole punch

Glue

Directions

20140126-171722.jpg
1. Rip up several pieces of newspaper. Big H loved this part!

20140126-171915.jpg

2. Draw a large oval on one piece of paper. You can also use a football template if you would like. Then place a second piece of paper behind the first and cut it out. You will need two identical ovals to make the football.

20140126-172159.jpg
3. Punch holes around the perimeter of the oval. Be careful not to make the holes too close to the edge. My helper insisted on punching many more than were necessary!

4. Tie the yarn around one of the holes and continue to thread it around the oval. Make sure to stop before it is completely threaded.

20140126-172506.jpg
5. Stuff the football with shredded newspaper until it is full and then finish threading and tie off!

More Football Fun

We also made some Popsicle stick goal posts and had some fun with our football stamp!

20140126-205357.jpg

20140126-205446.jpg

Thanksgiving Themed Crafts

We have a blast crafting and when it’s an idea that Reagan came up with; it’s even more fun! We’ve been reading various Thanksgiving themed books preparing for the upcoming holiday. There are several pictures that Reagan points out time after time and the other day she asked if we could make our own turkey and a baby in a bunting ( remember the nursery rhyme : Bye,Bye Baby Bunting). After searching through the craft supplies we found some great pieces to make some fabulously colorful crafts!

Our first craft started a couple days back and can be found here.

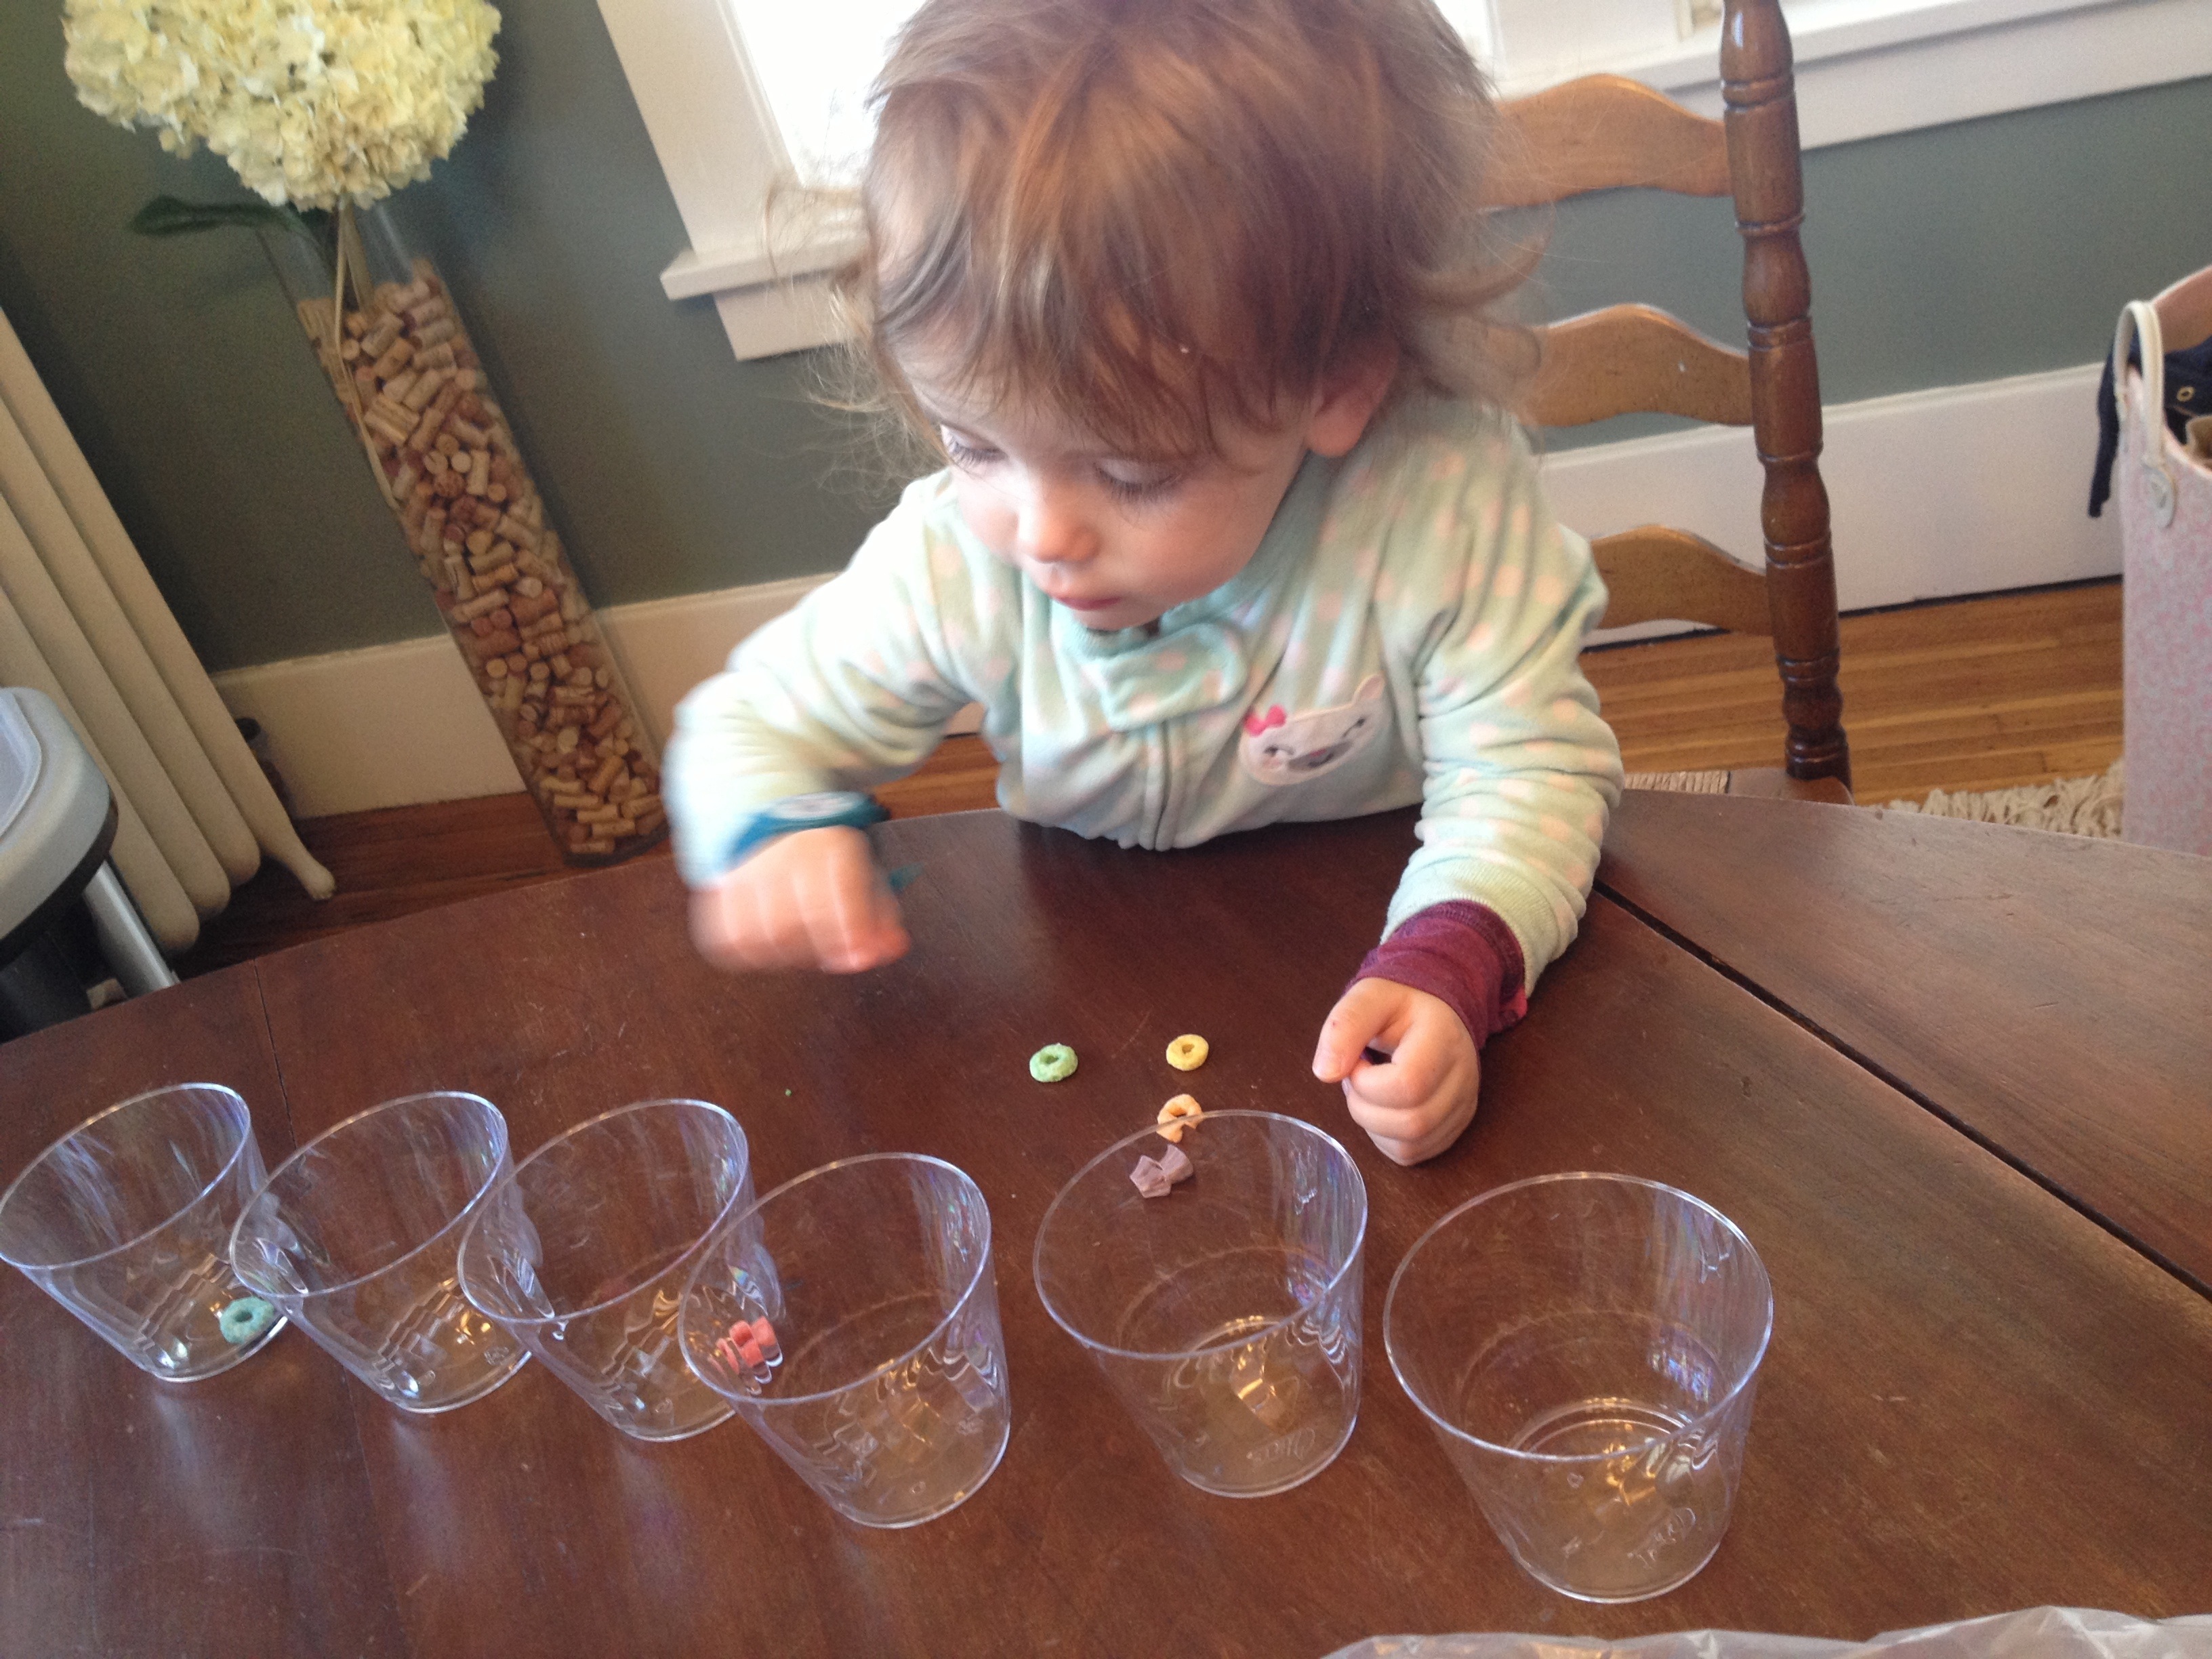
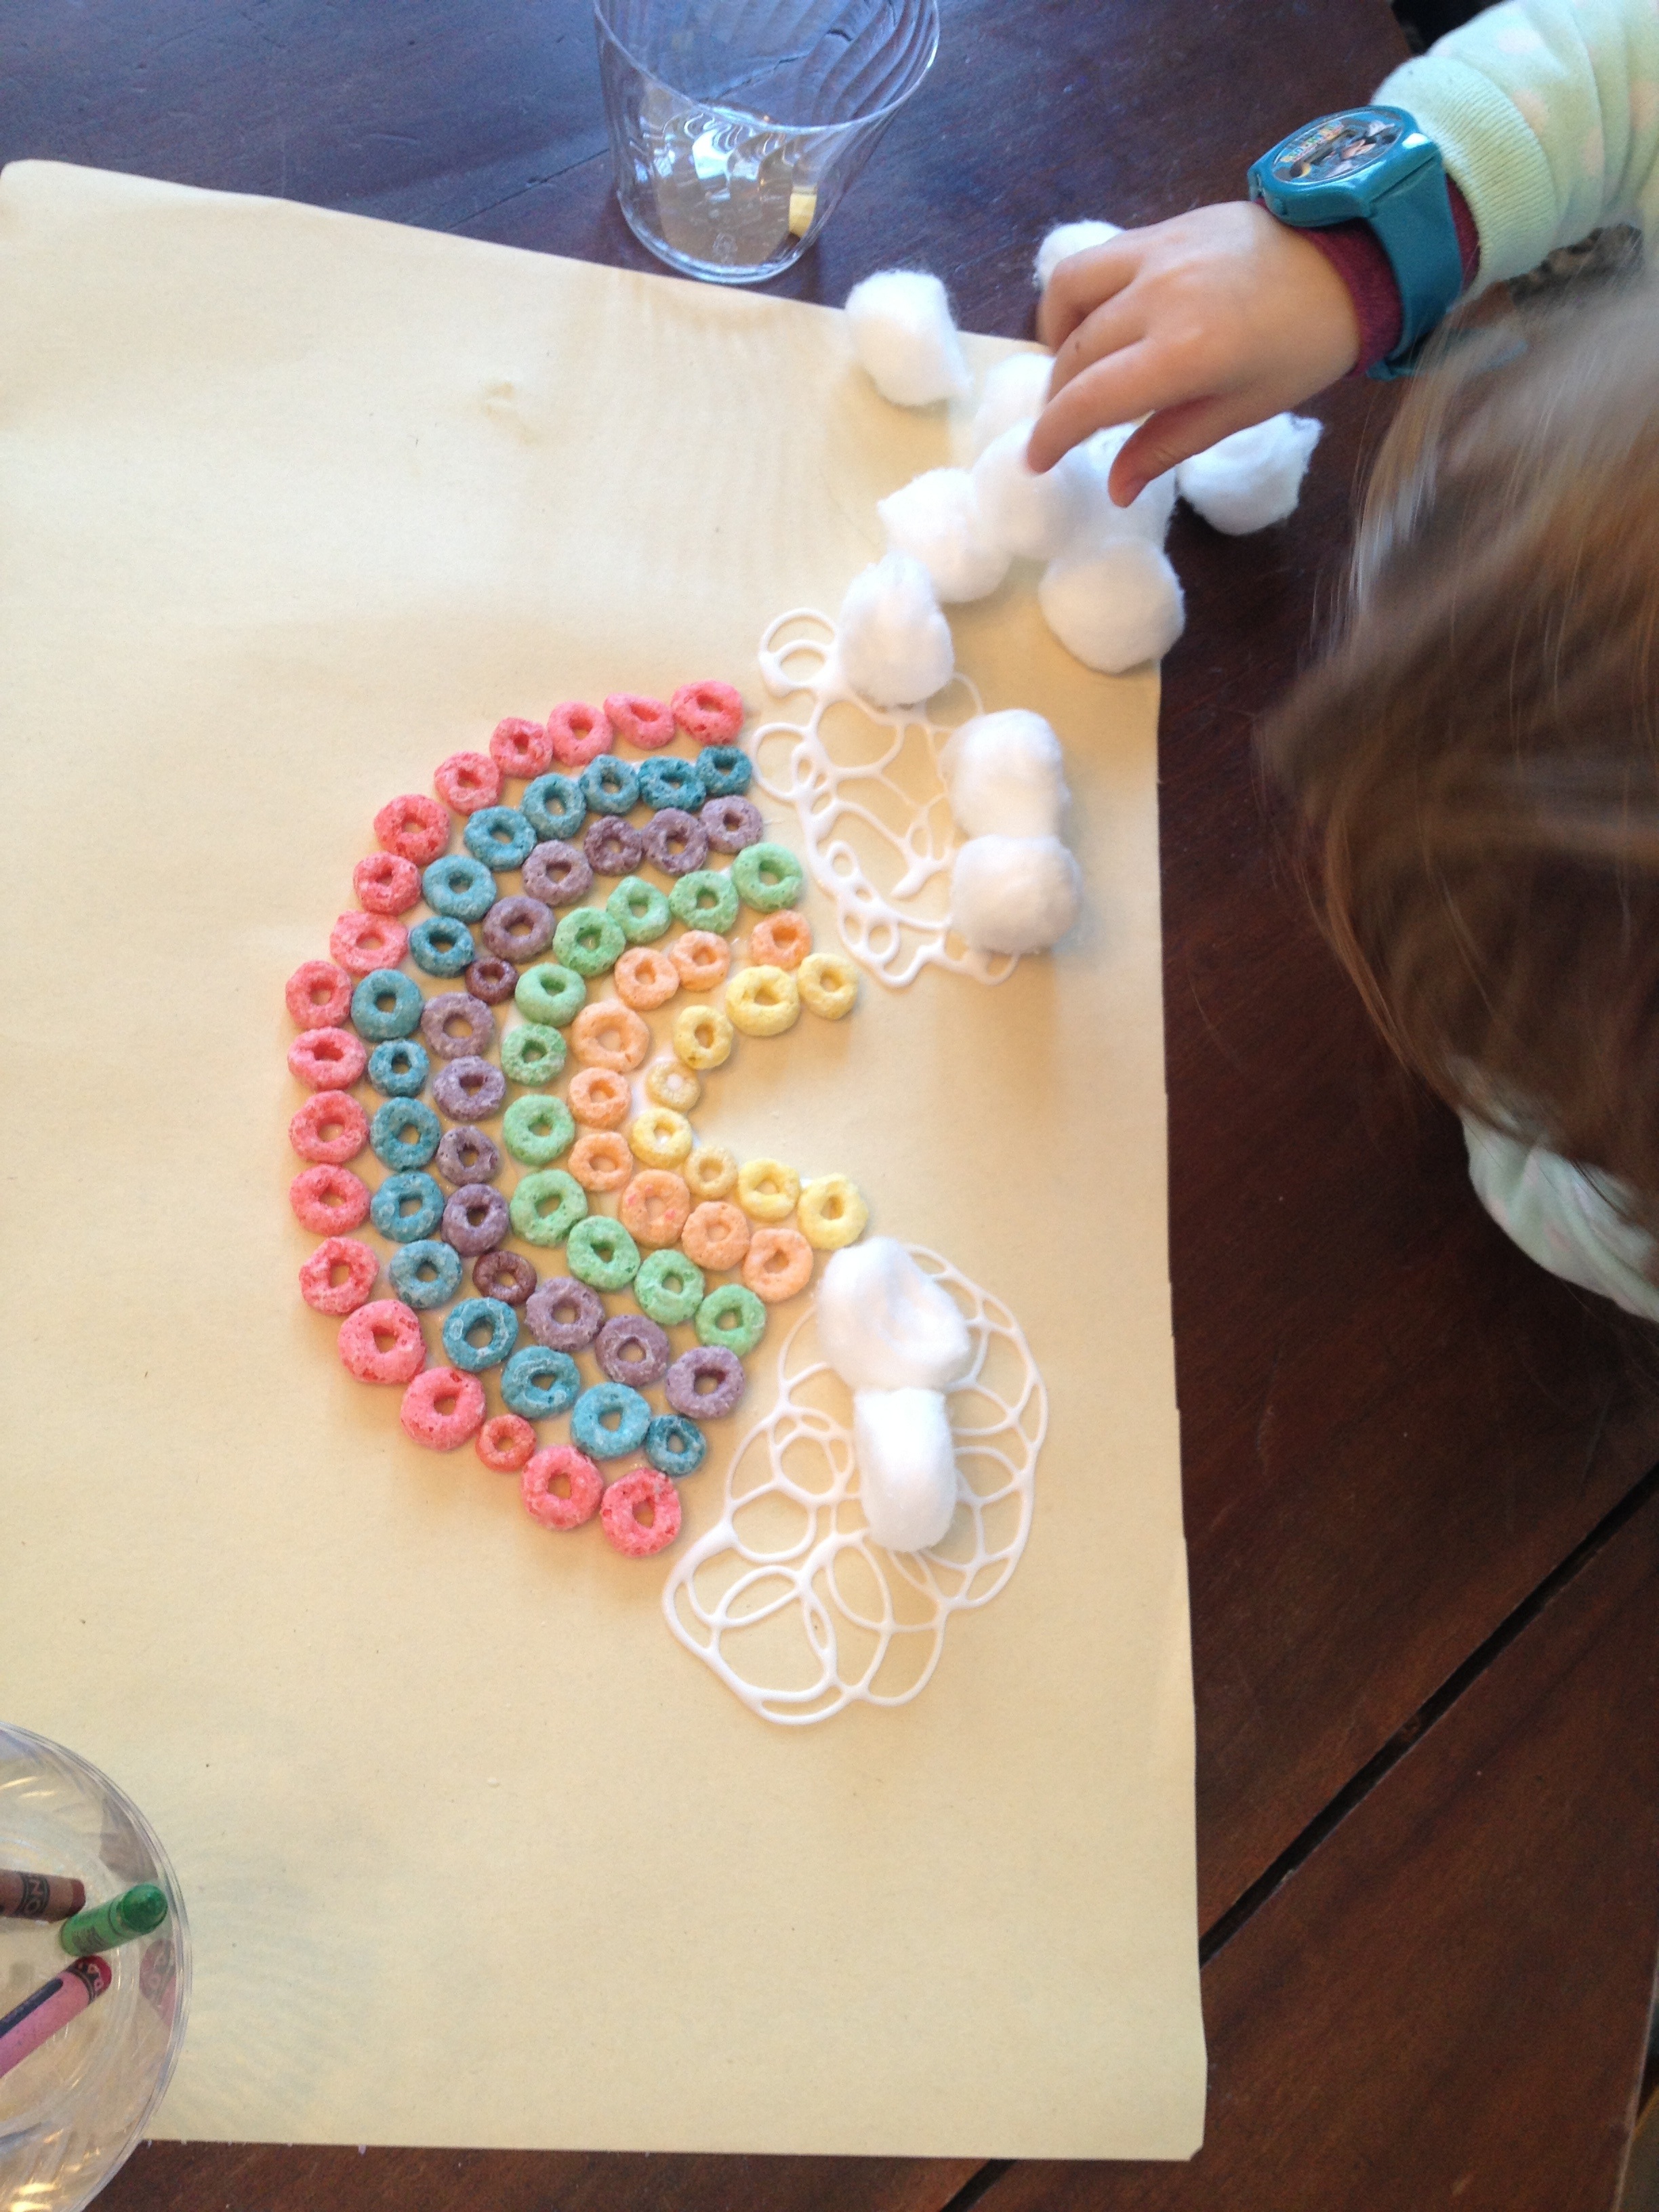
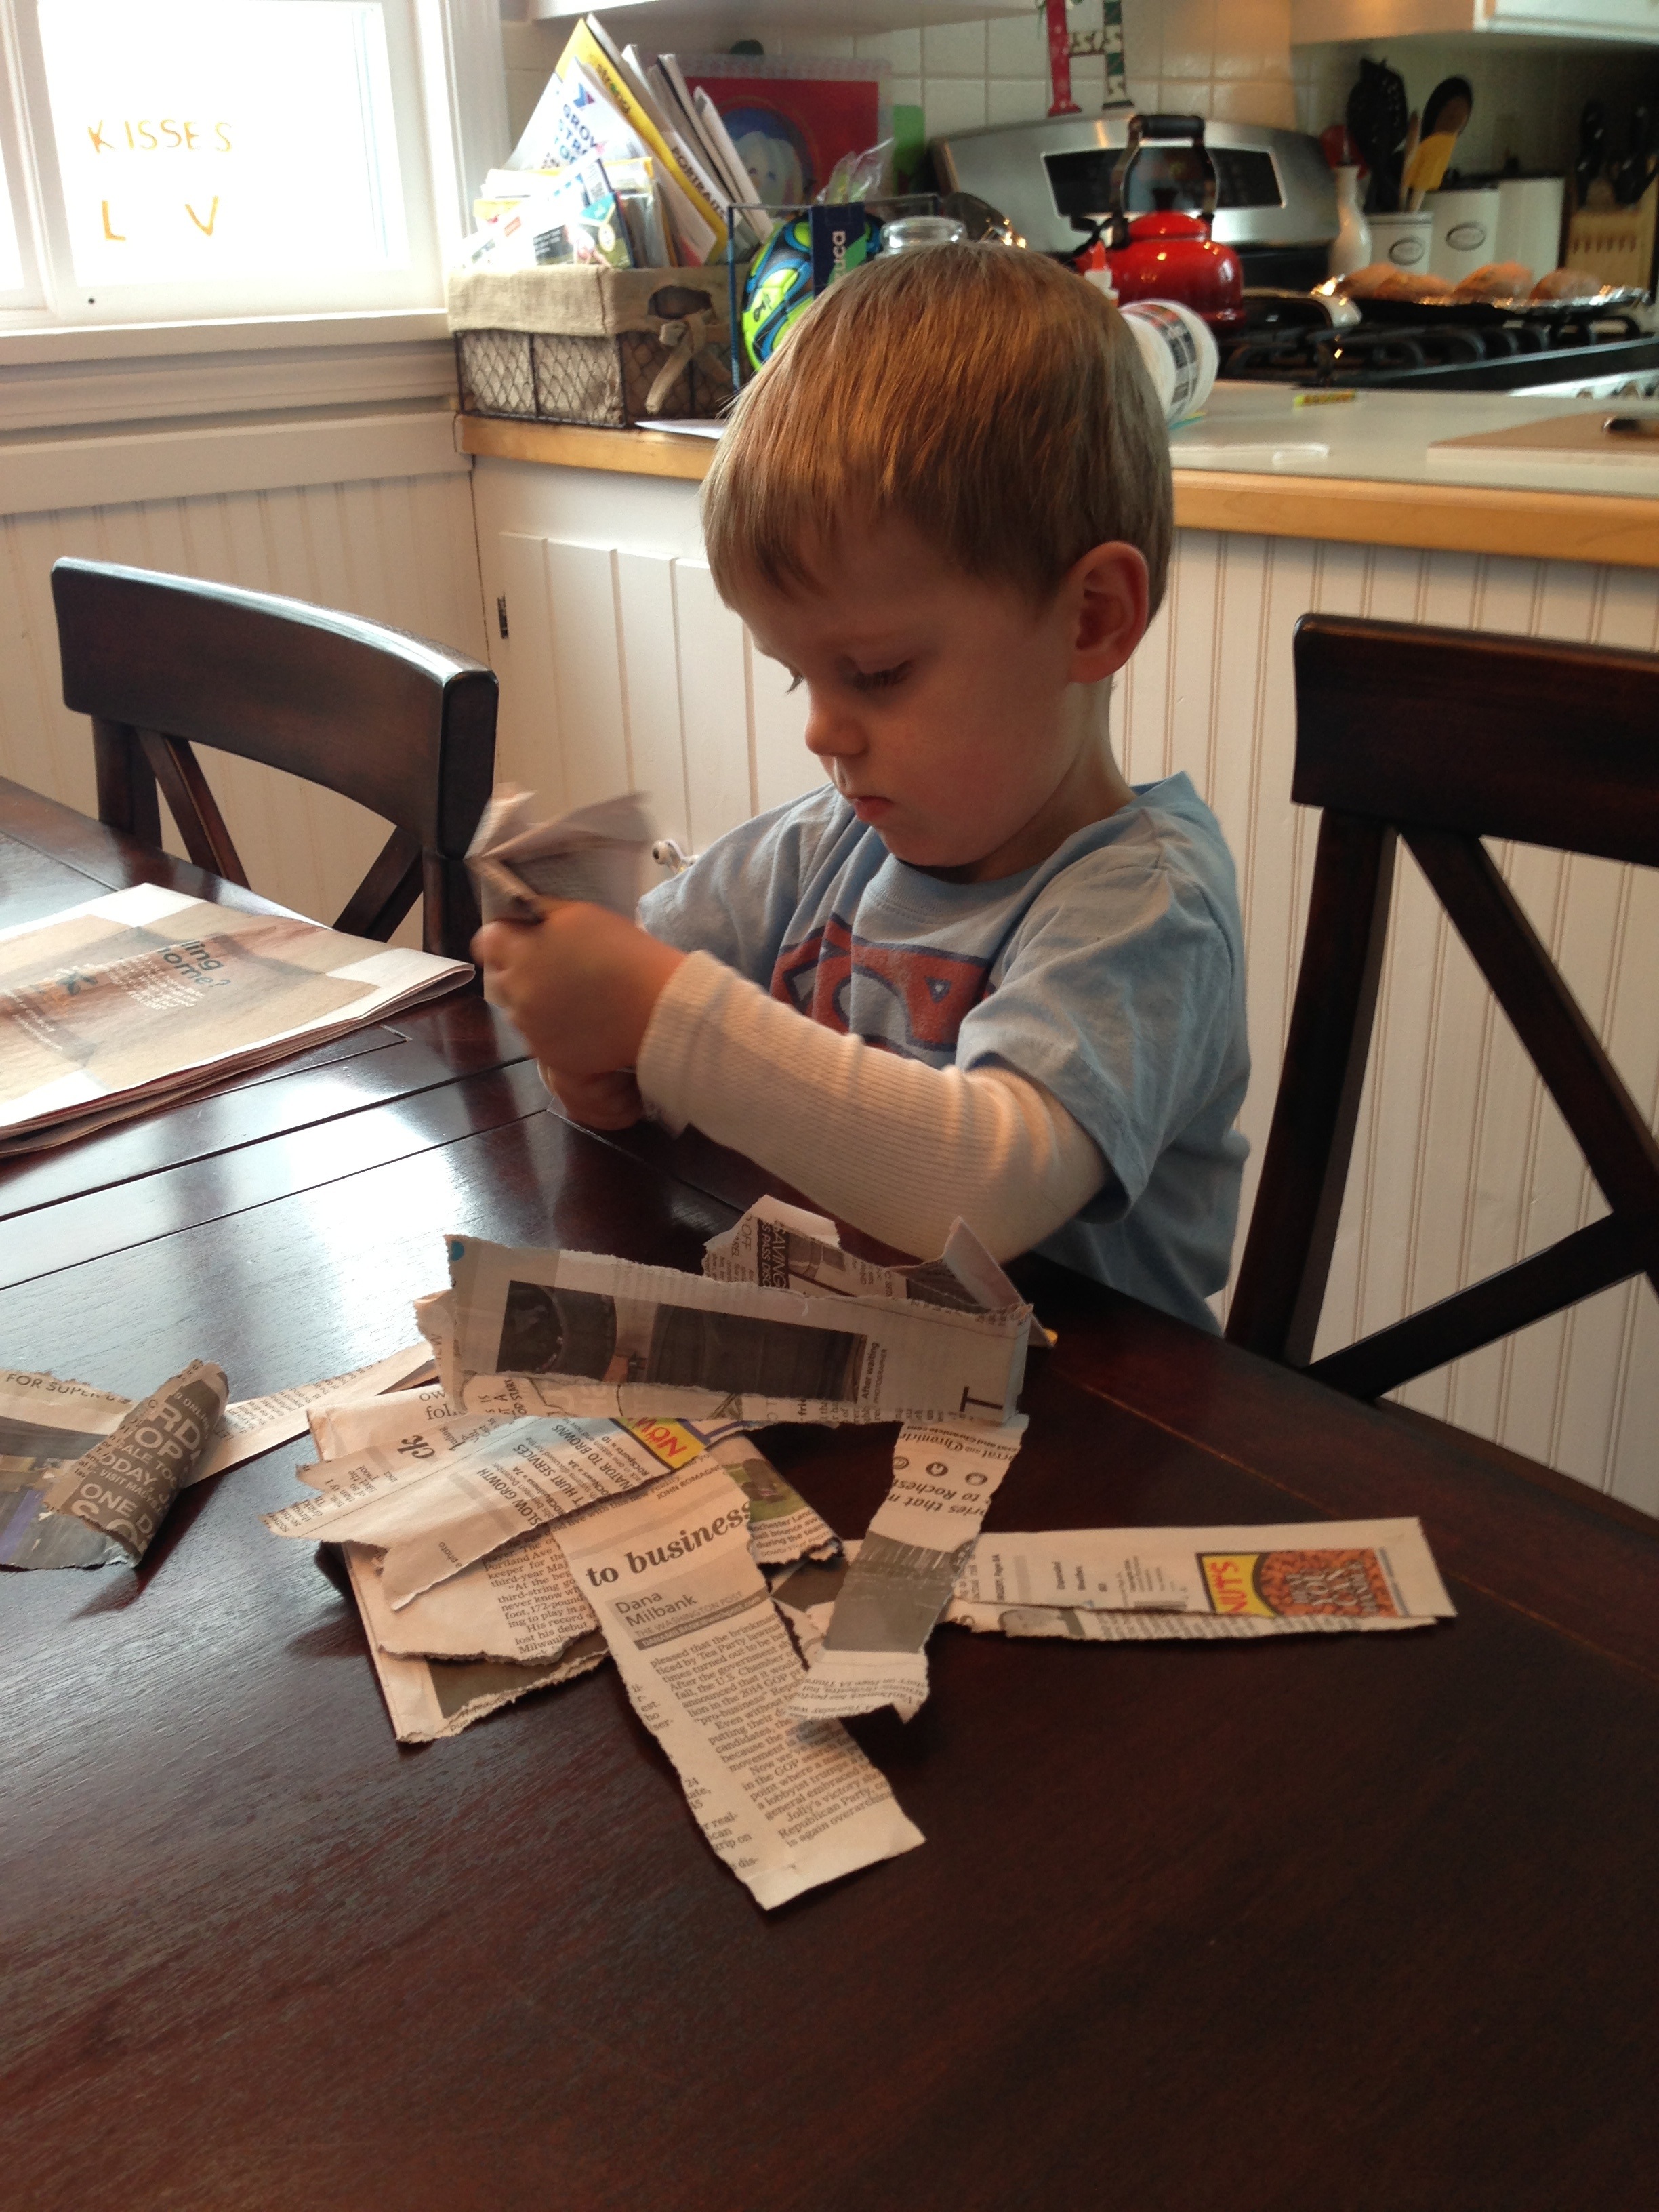
These are great fine motor and color identification skill activities!
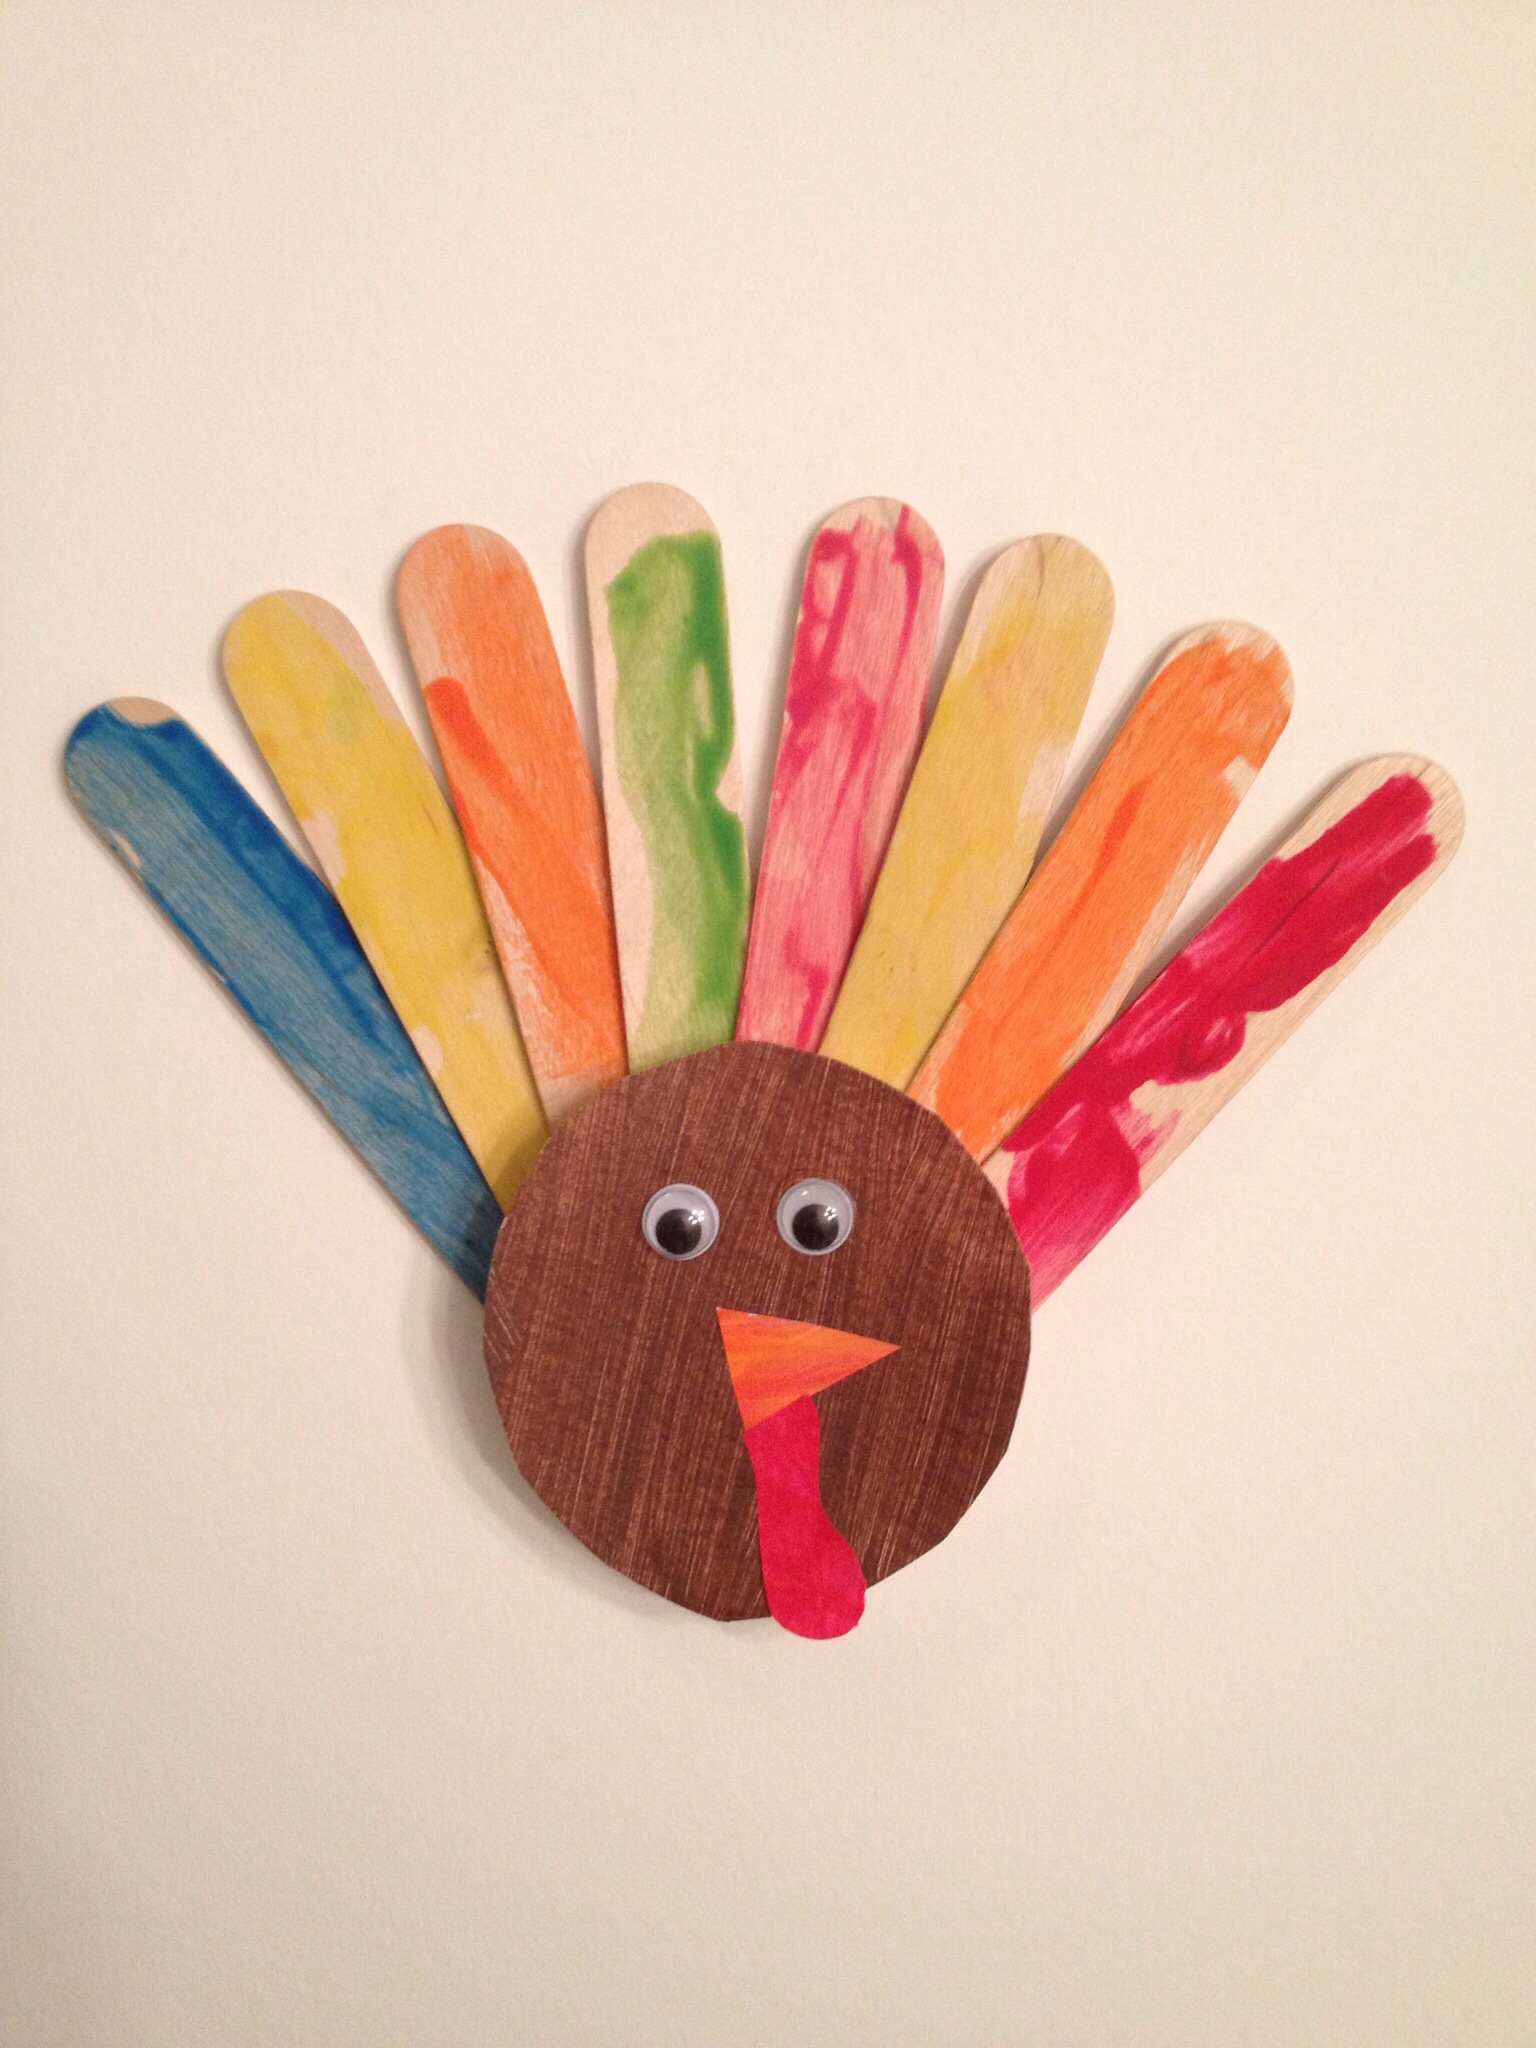
Popsicle Turkey

20131114-074403.jpg
Materials
Several Popsicle Sticks -we used 8 wide sticks
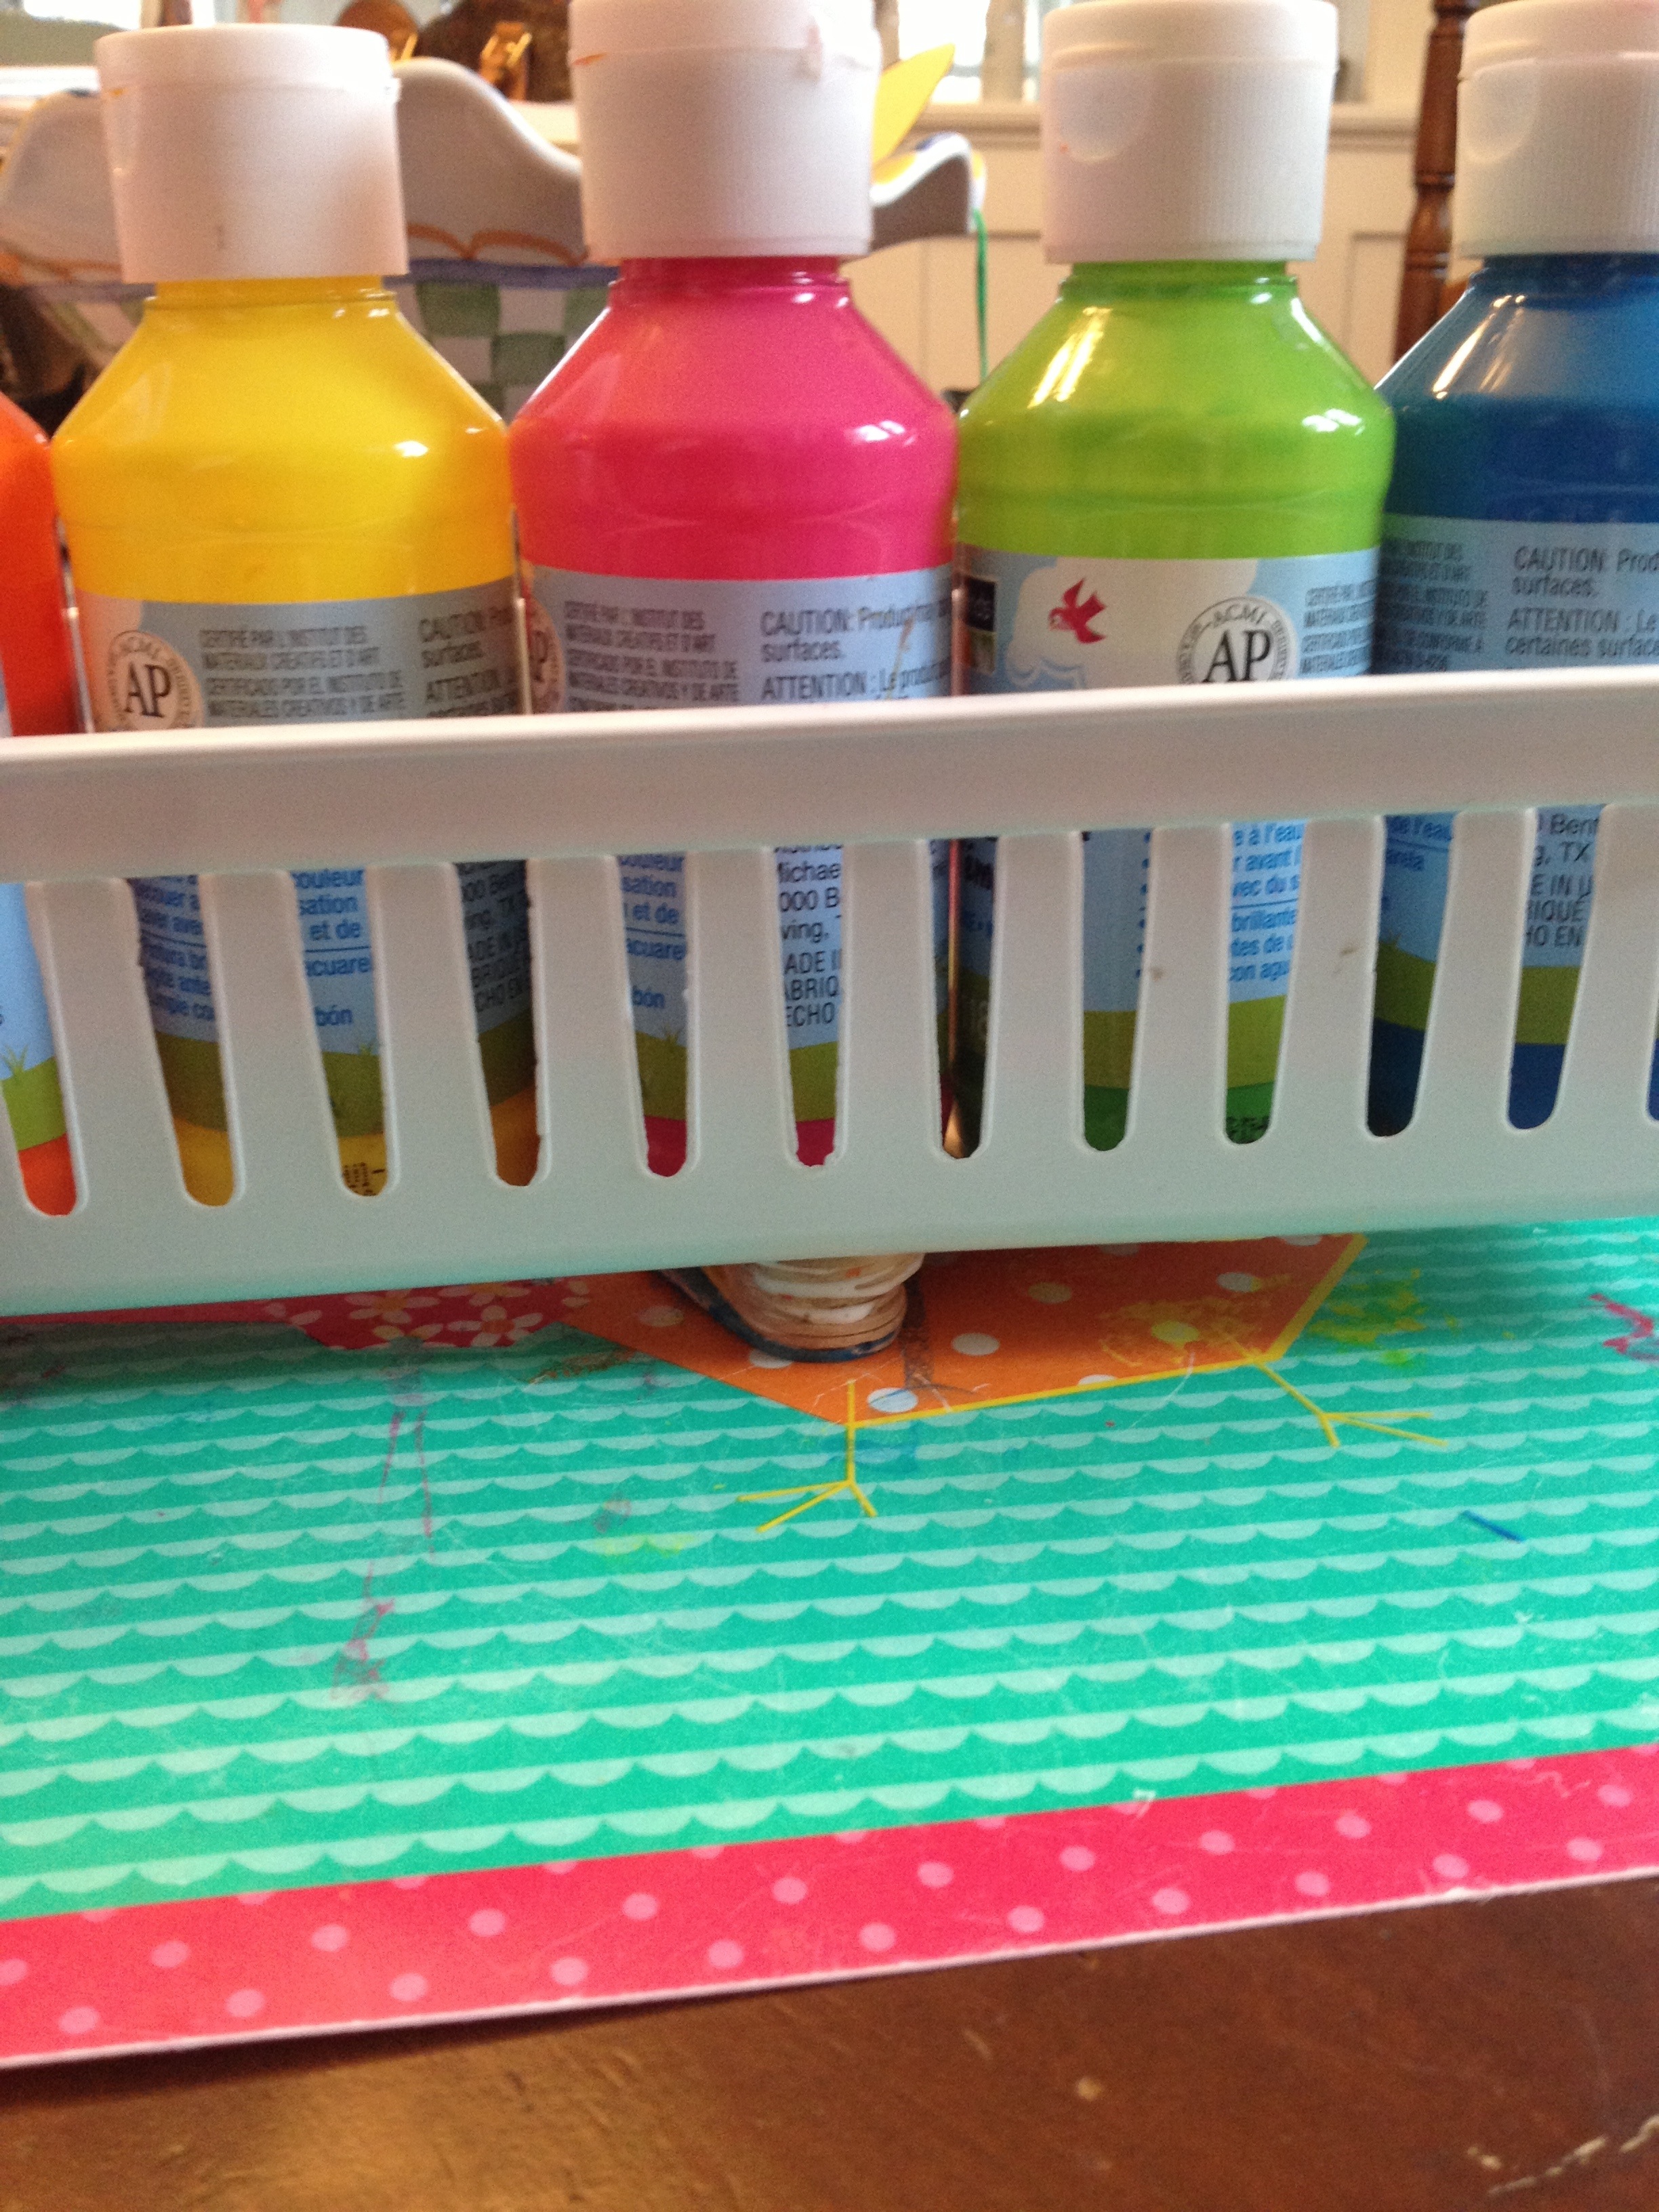
Paint- I try to stick with washable
Paint Brushes
Cups for Paint
Paper- water color paper is thick and holds up well
Scissors
Glue- we used modge Podge
Two google eyes
Brown paper
Orange paper
Red paper

Directions

20131114-074939.jpg

20131114-074954.jpg

20131114-075023.jpg
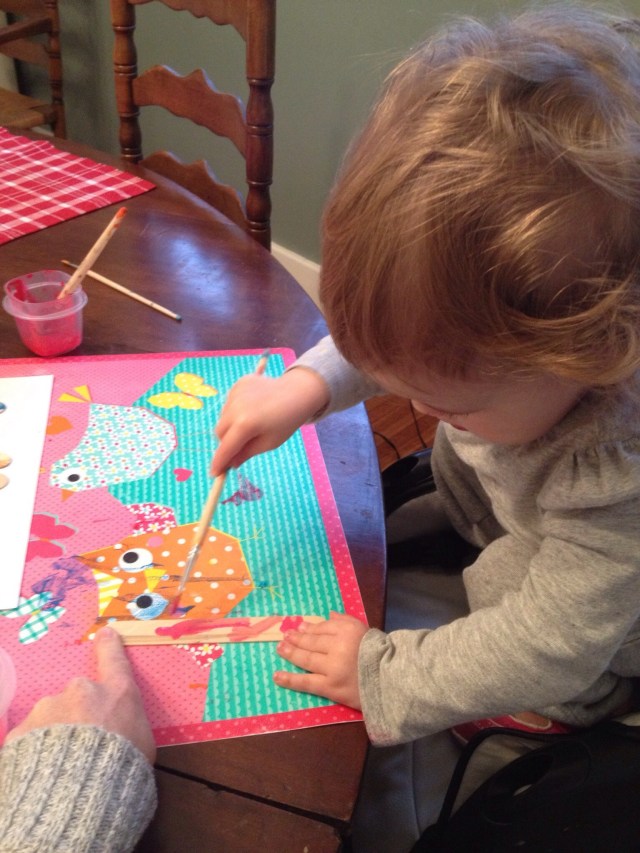
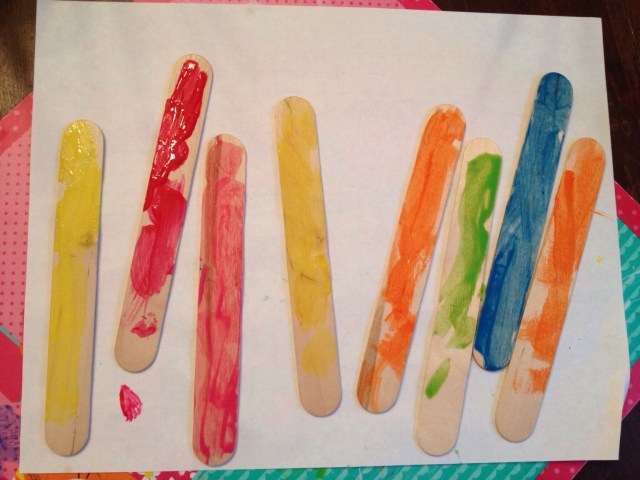
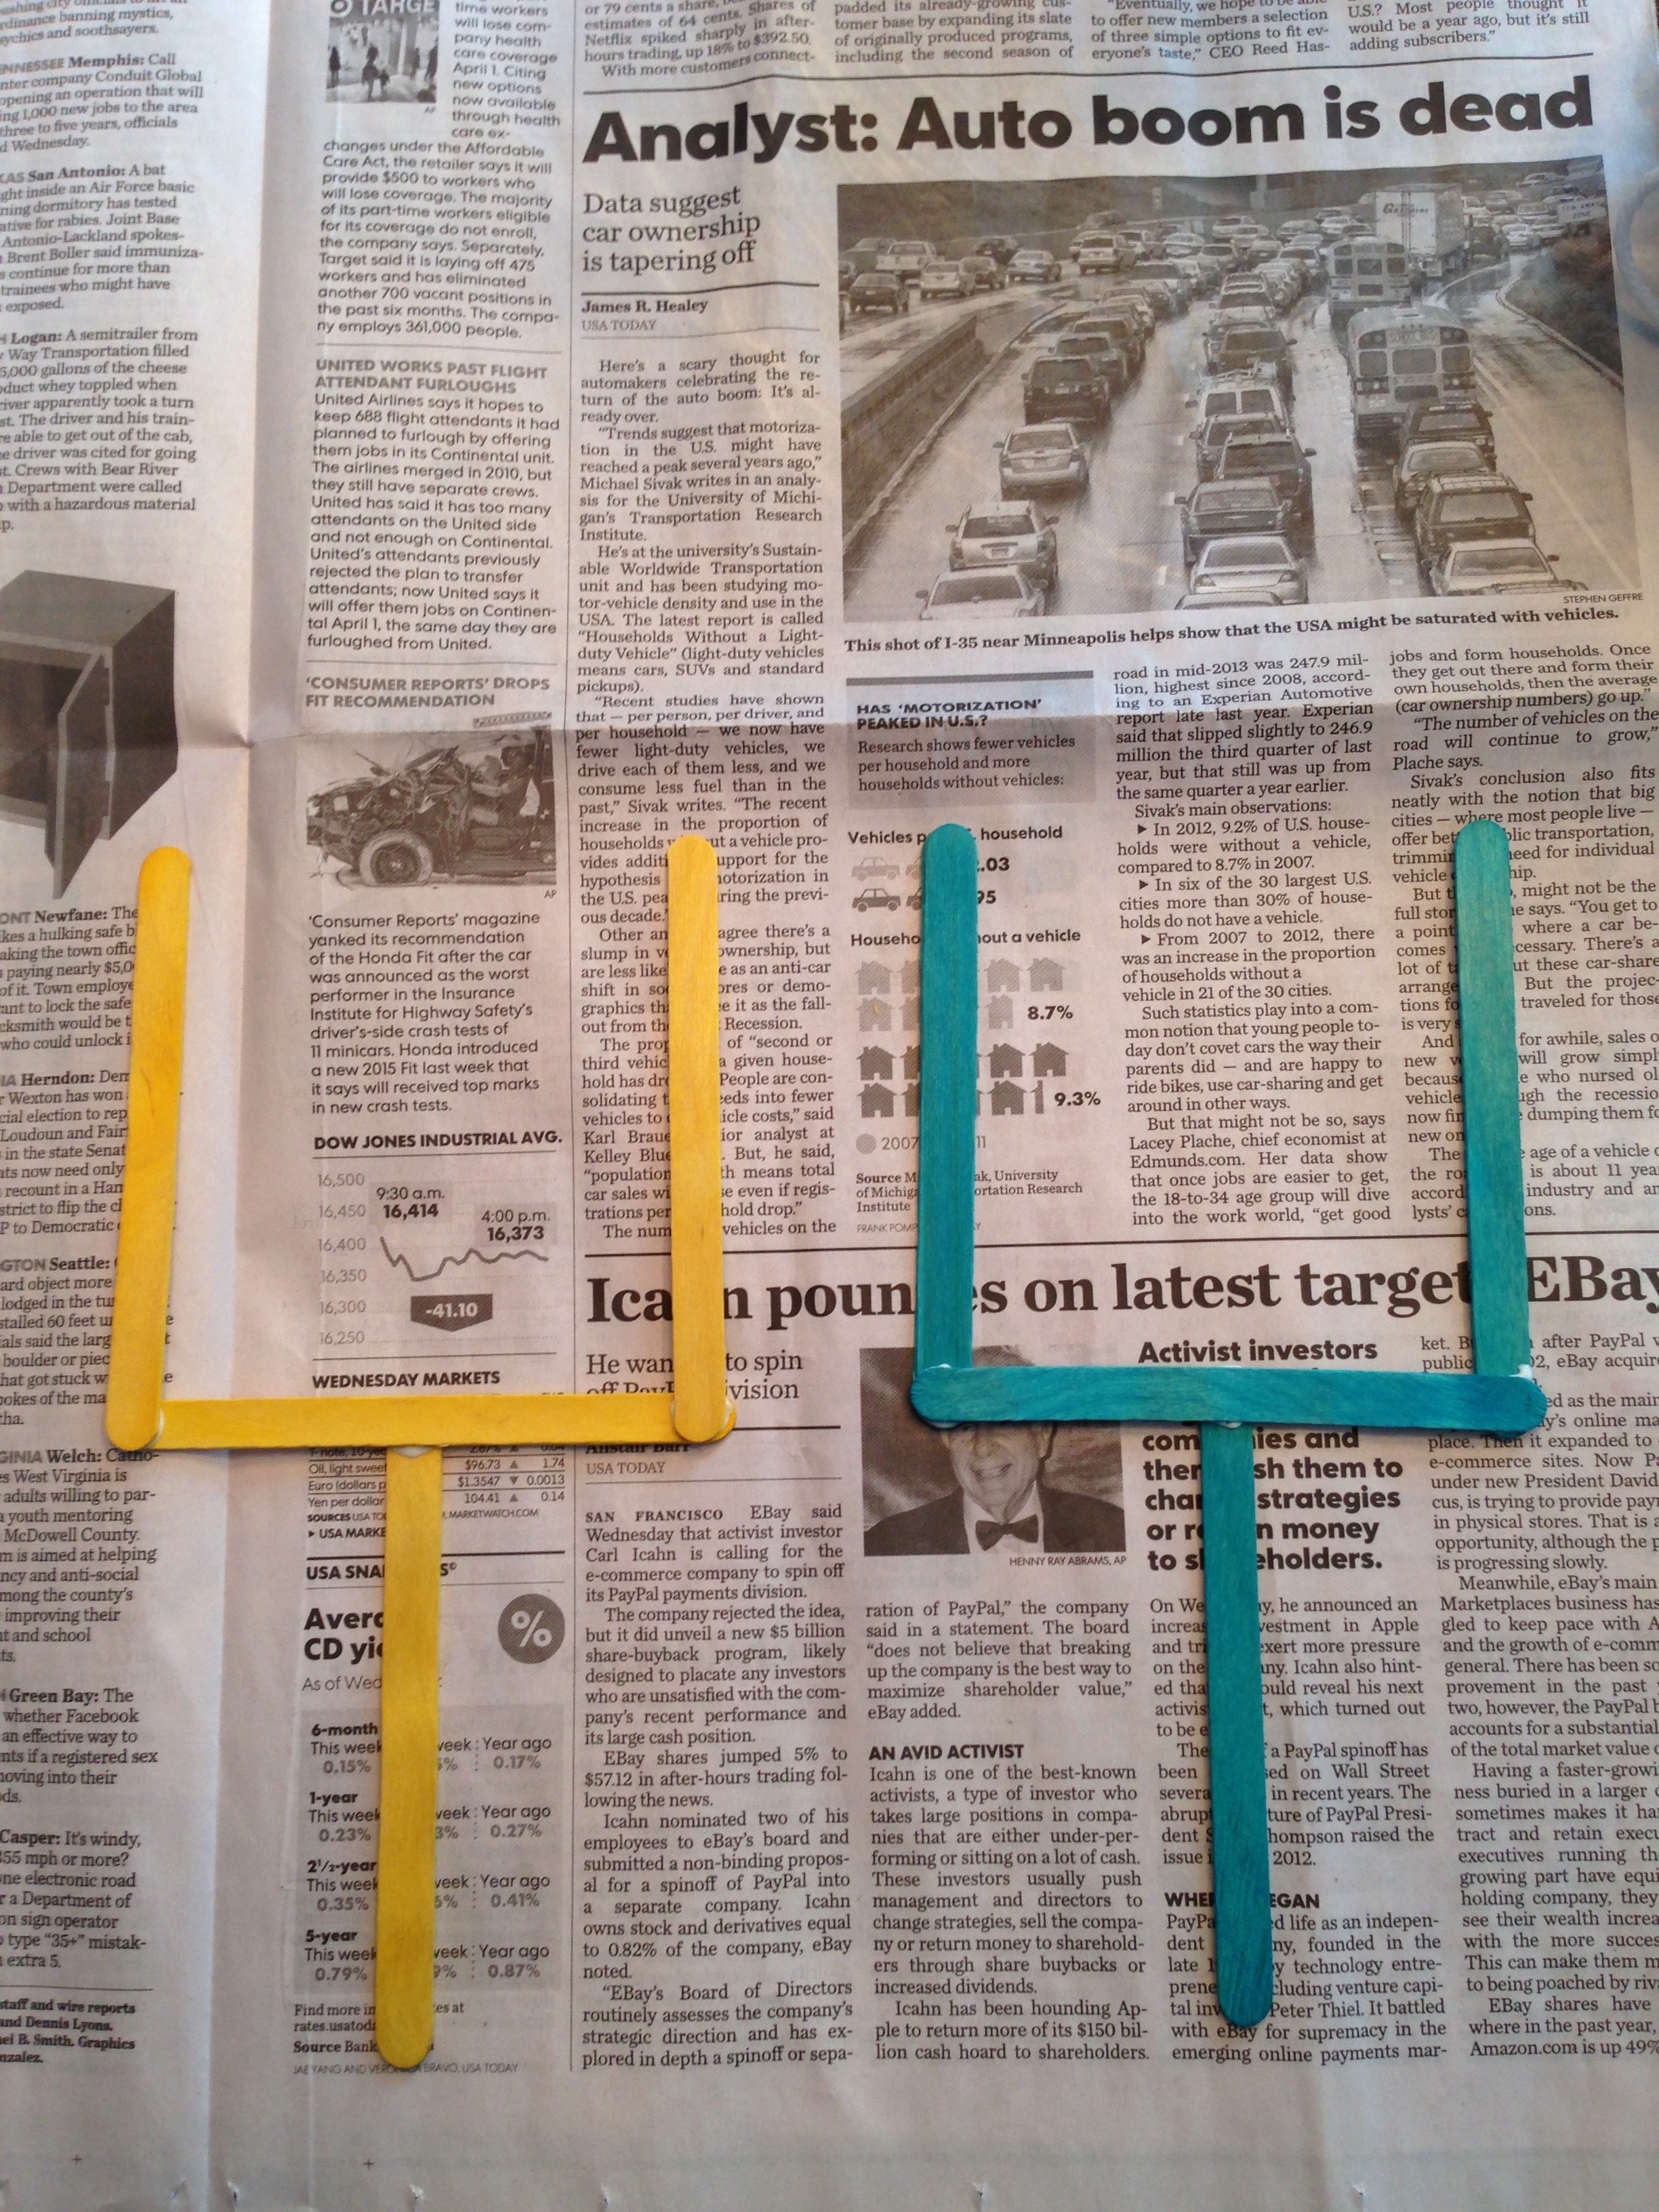
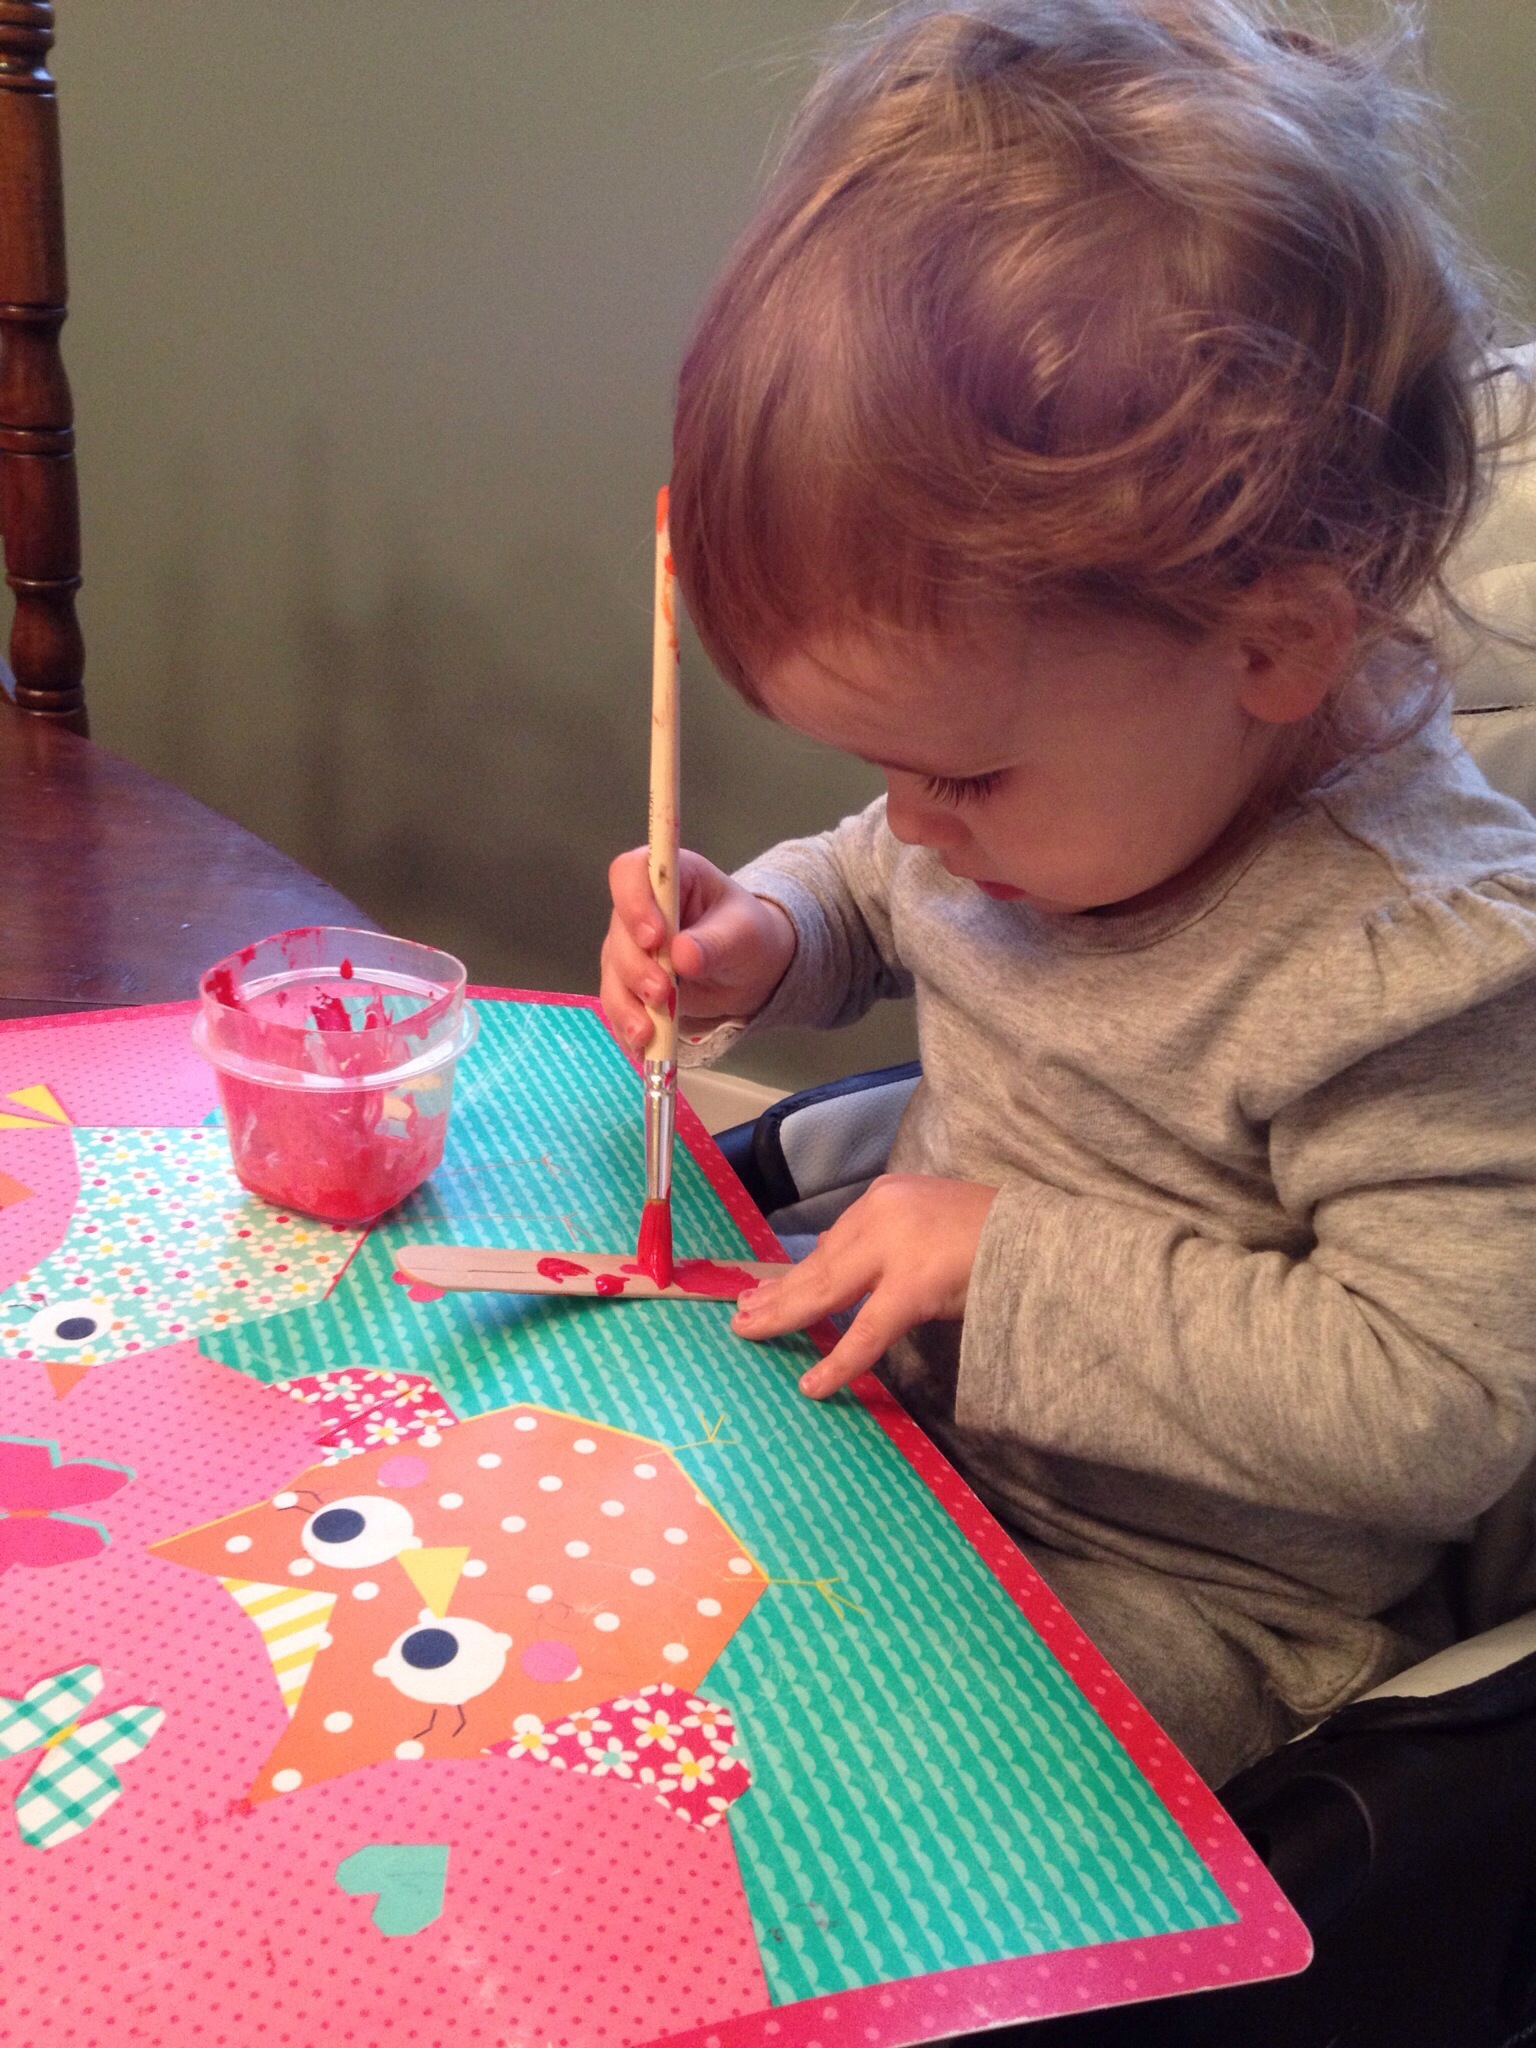
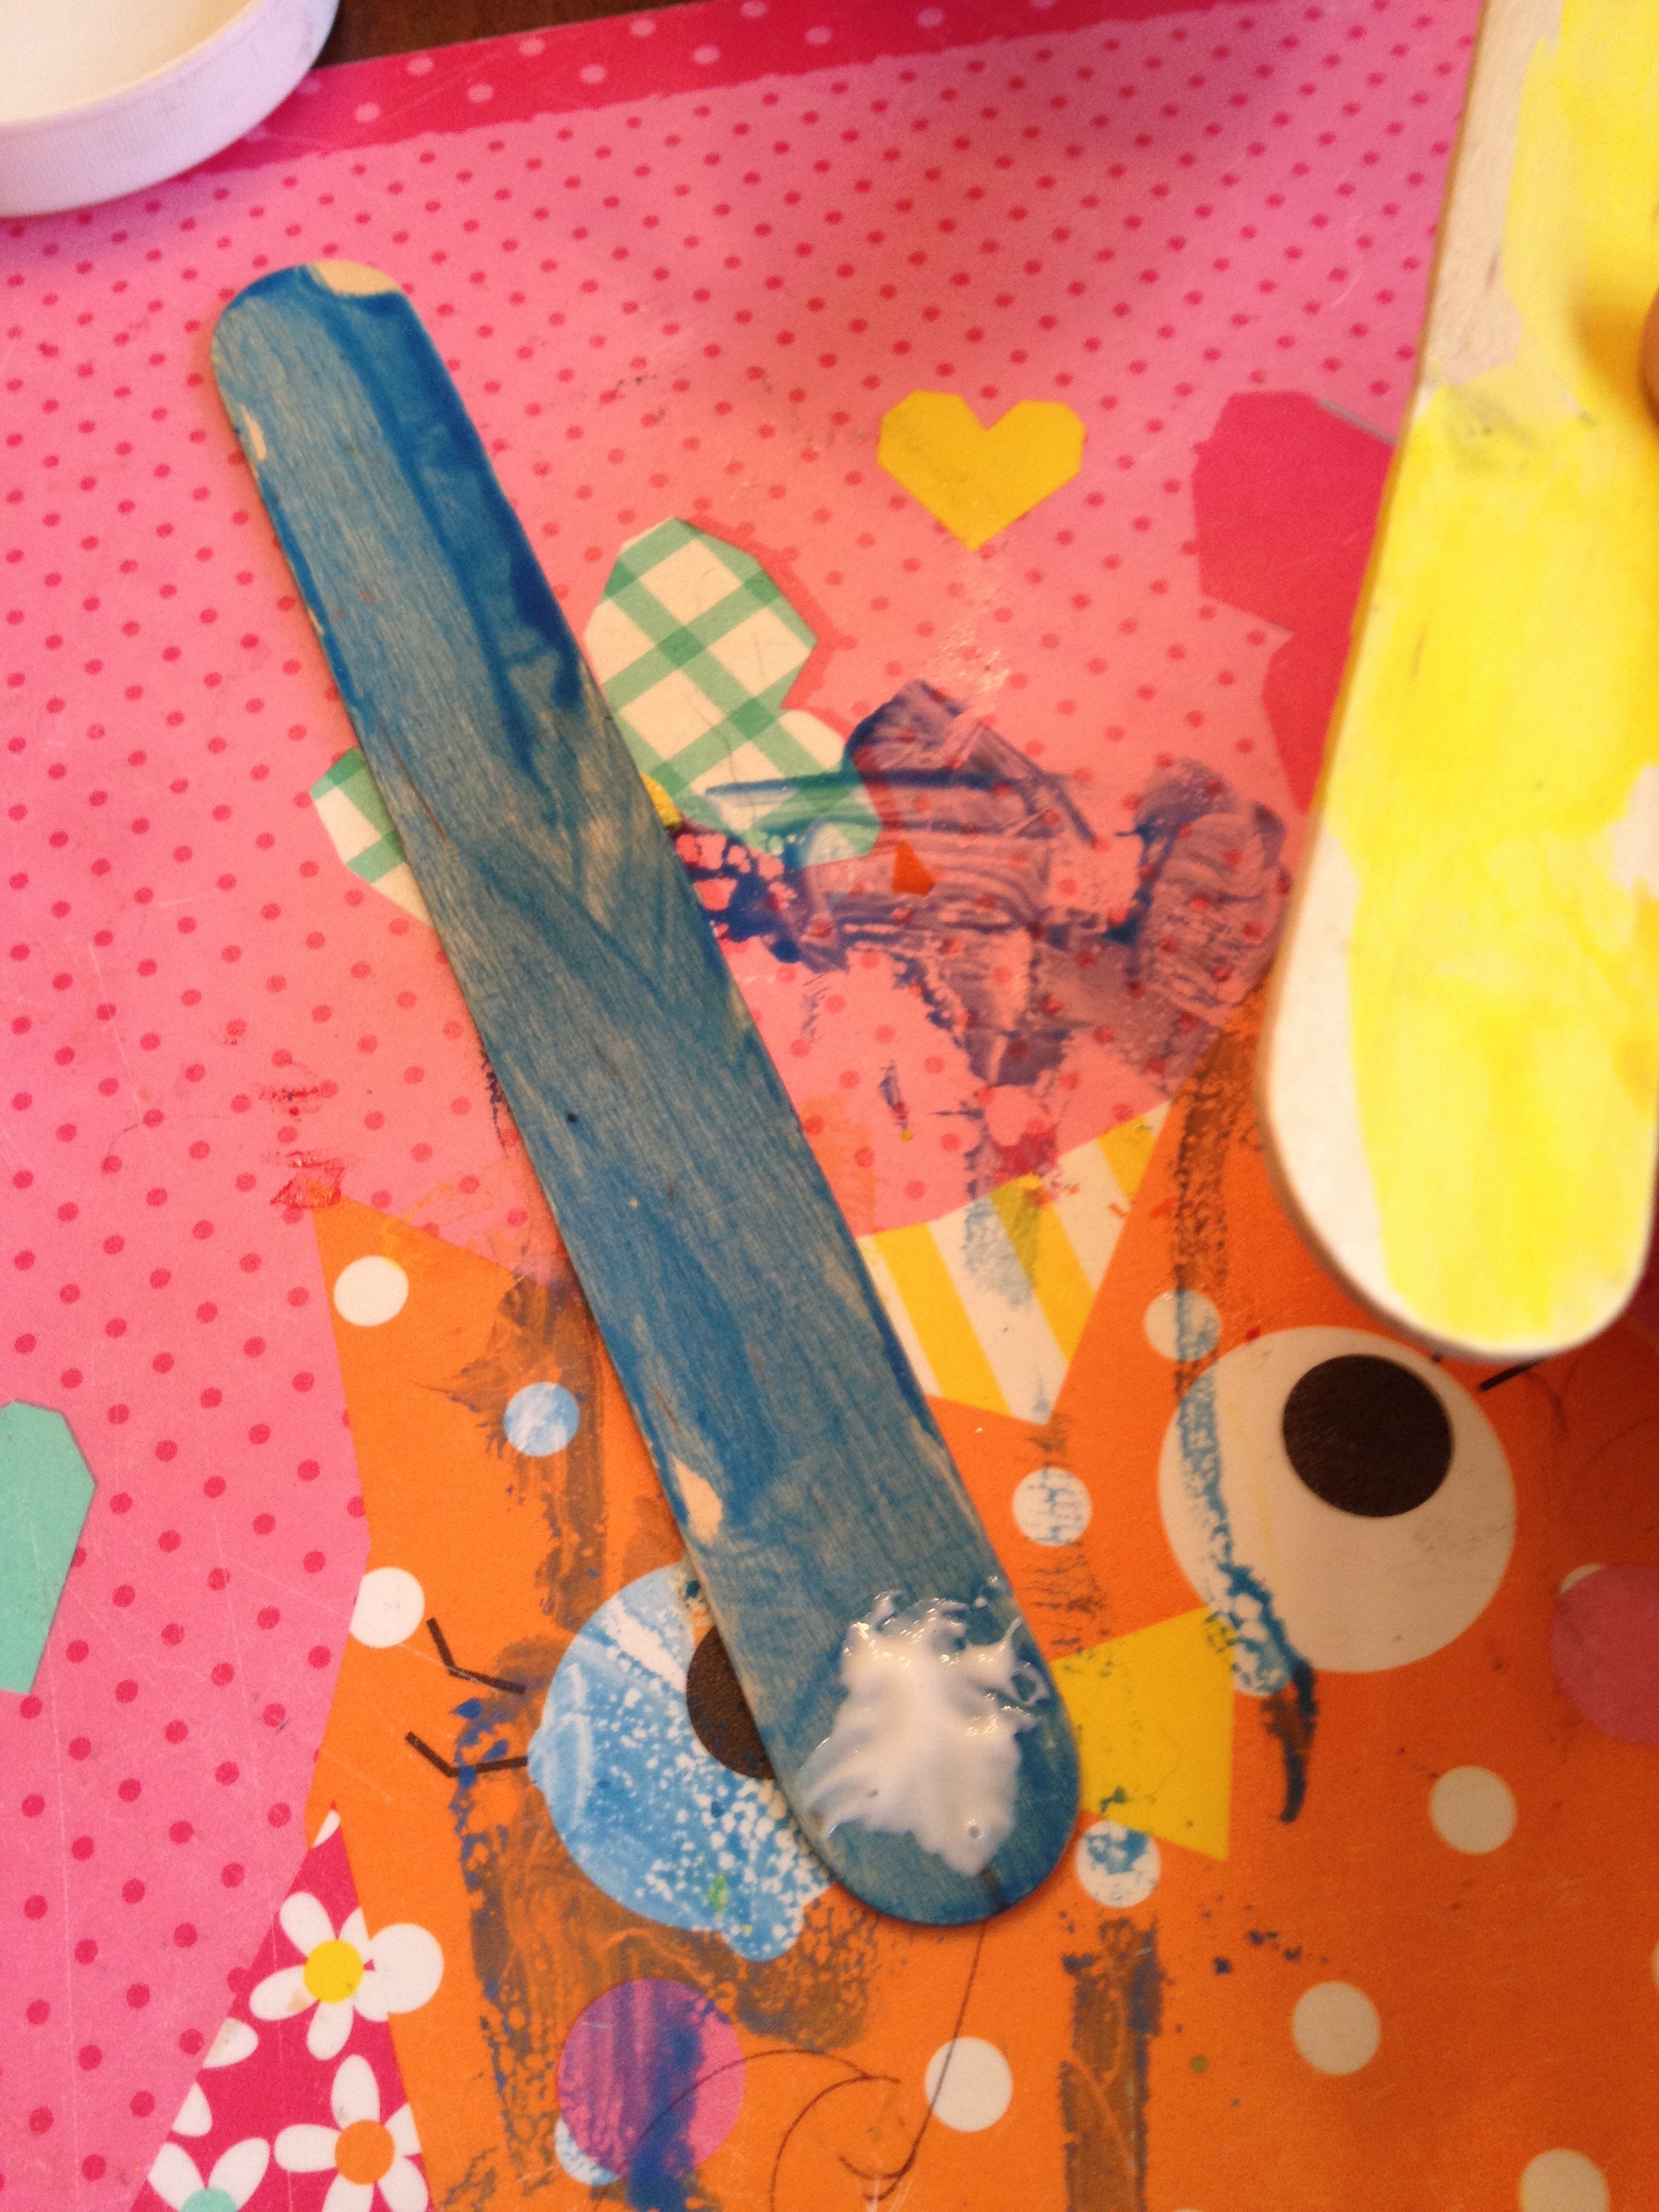
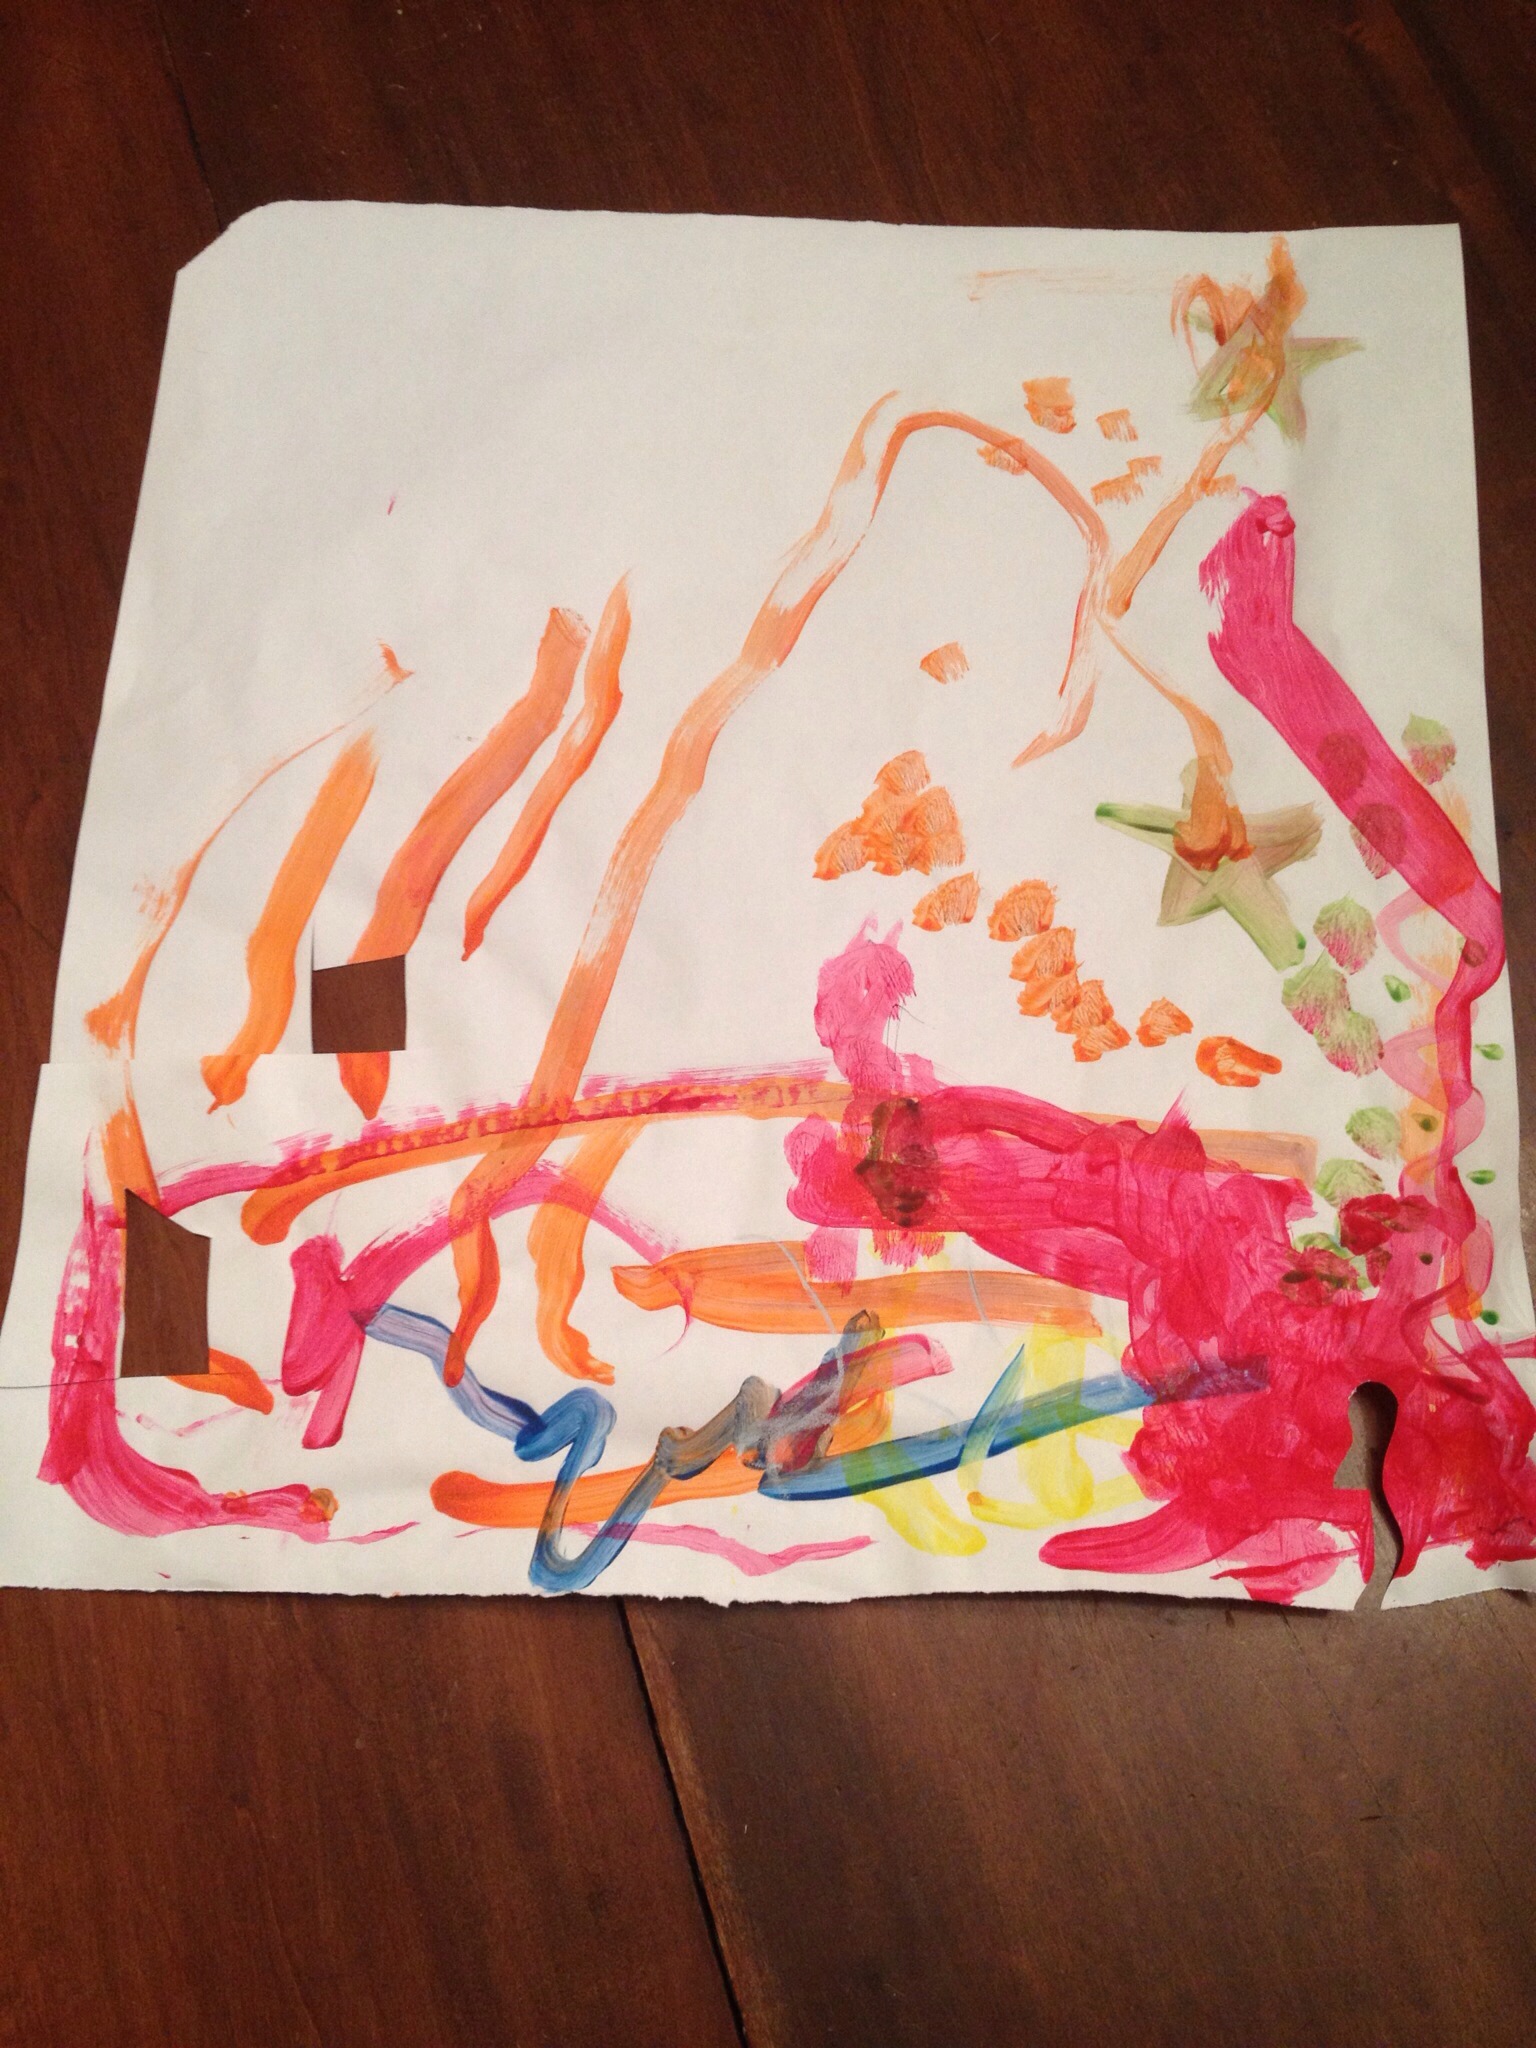
Paint one side of each popsicle stick the color of your choosing. Allow to dry.

20131114-090632.jpg

20131114-090720.jpg

20131114-090731.jpg

20131114-090744.jpg

20131114-090758.jpg
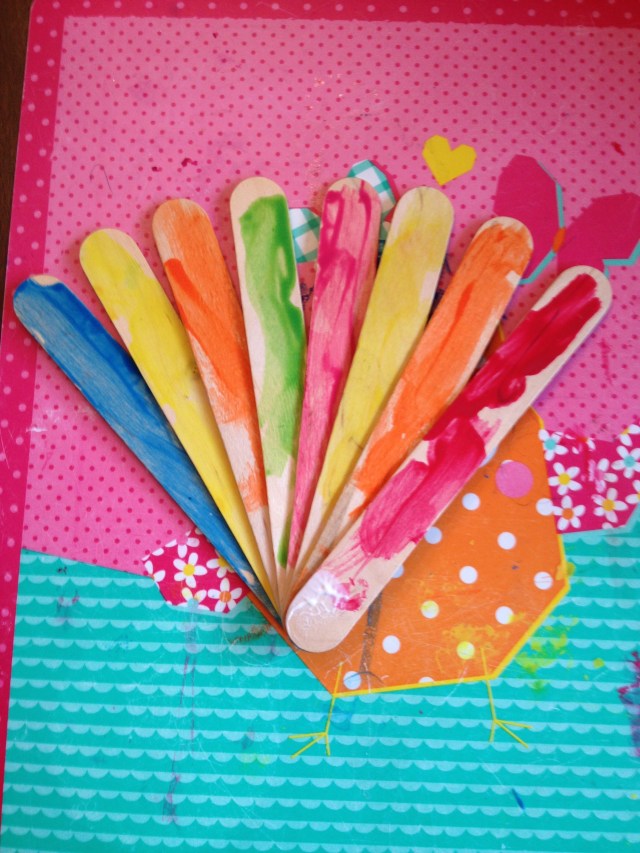
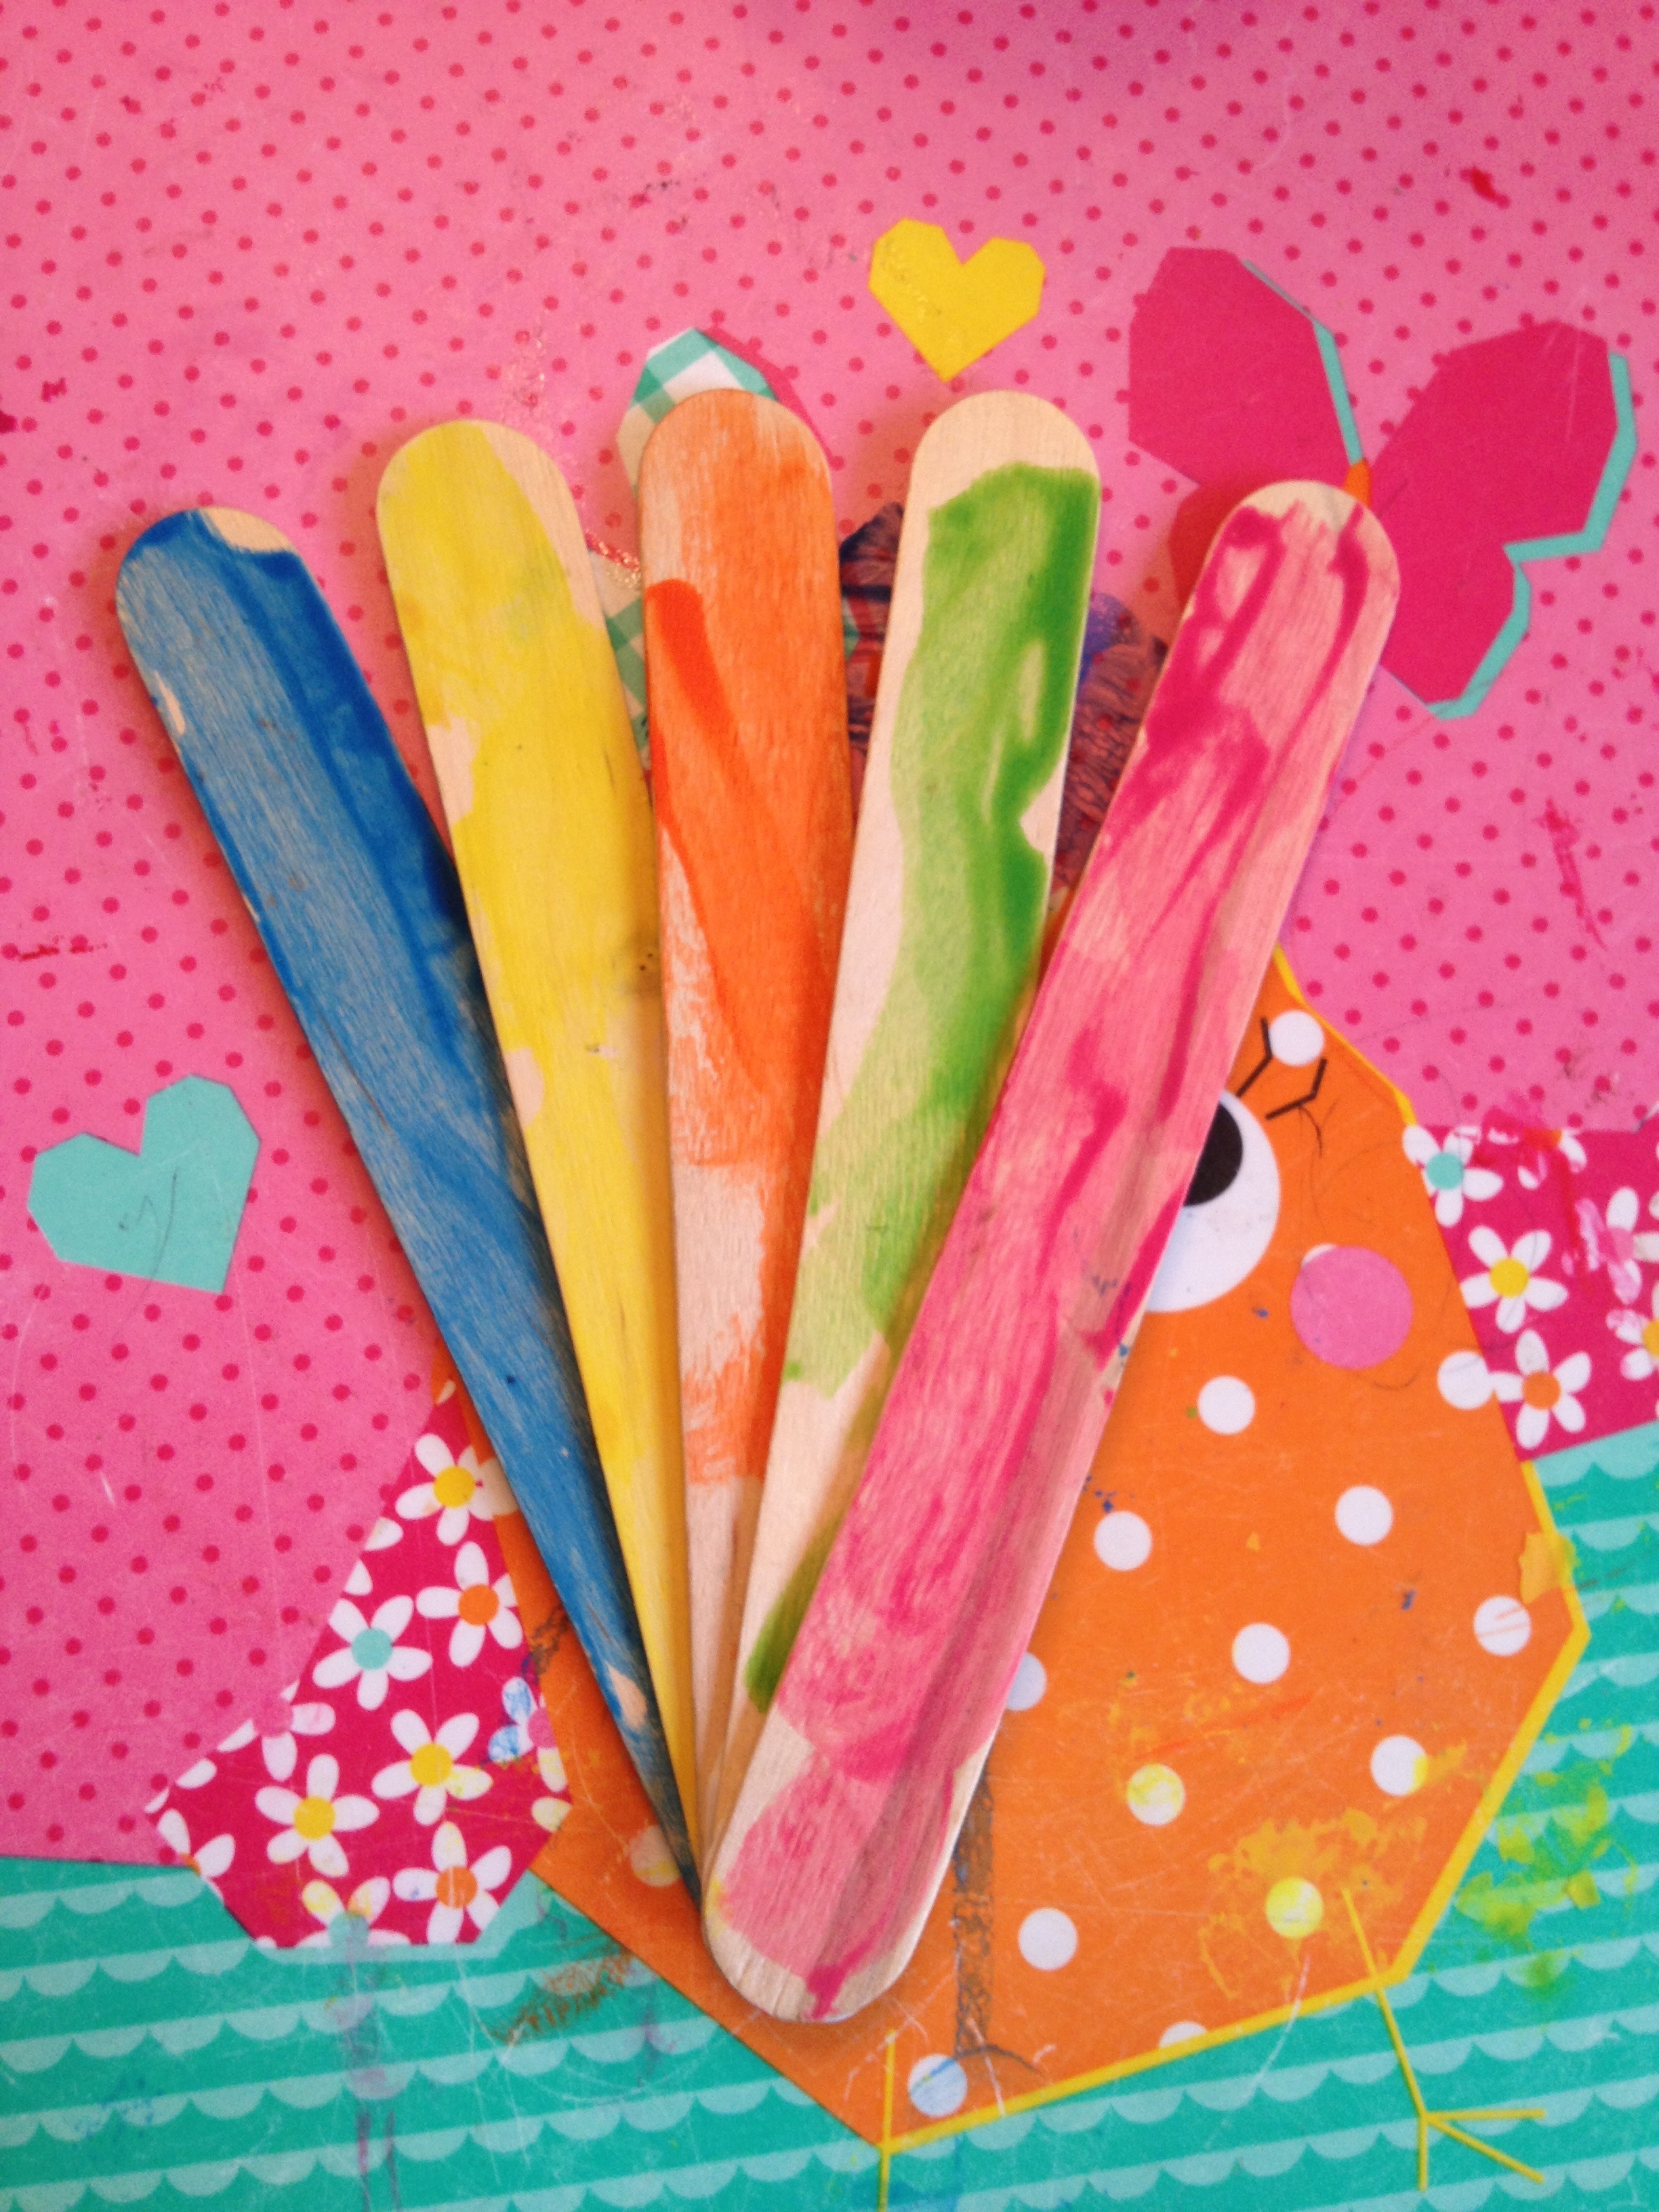
Place a dab of glue at the bottom of one Popsicle stick. Place another Popsicle stick on top of the first, fanning the second out from the first. Continue this pattern until you’ve used all sticks. I placed something with some weight to it, on top of the sticks to hold them together while drying.

20131114-091401.jpg

20131114-091549.jpg
We didn’t have any brown paper, so Reagan painted white water color paper brown, for the turkeys face.
Cut out a brown circle, for the turkeys face and glue on two google eyes.

20131114-123916.jpg

20131114-123902.jpg

20131114-123930.jpg
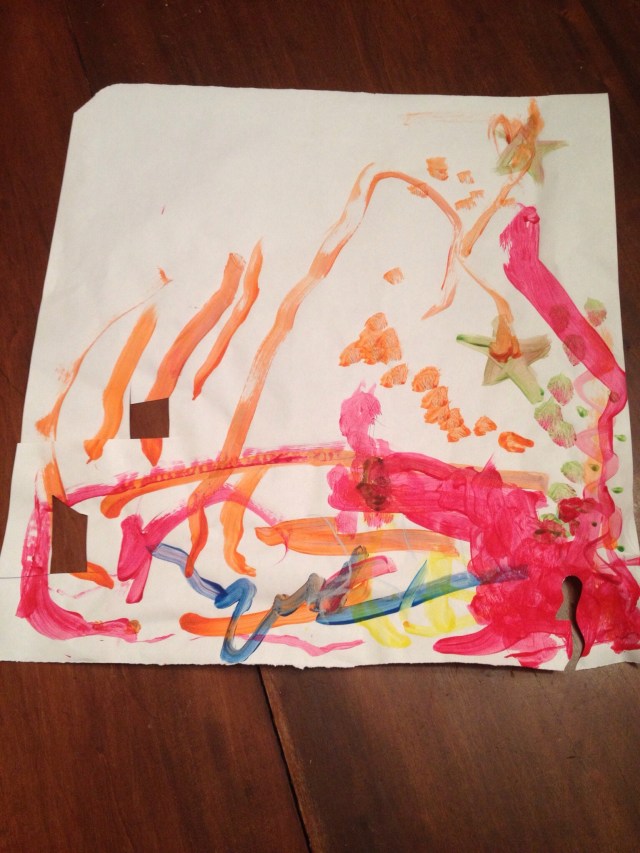
Using a piece of paper that Reagan painted on earlier that day ( you can use orange and red construction paper); we cut out a beak and a gobble. Using glue, attach both to brown circle. Glue face or the bottom of the top Popsicle stick.
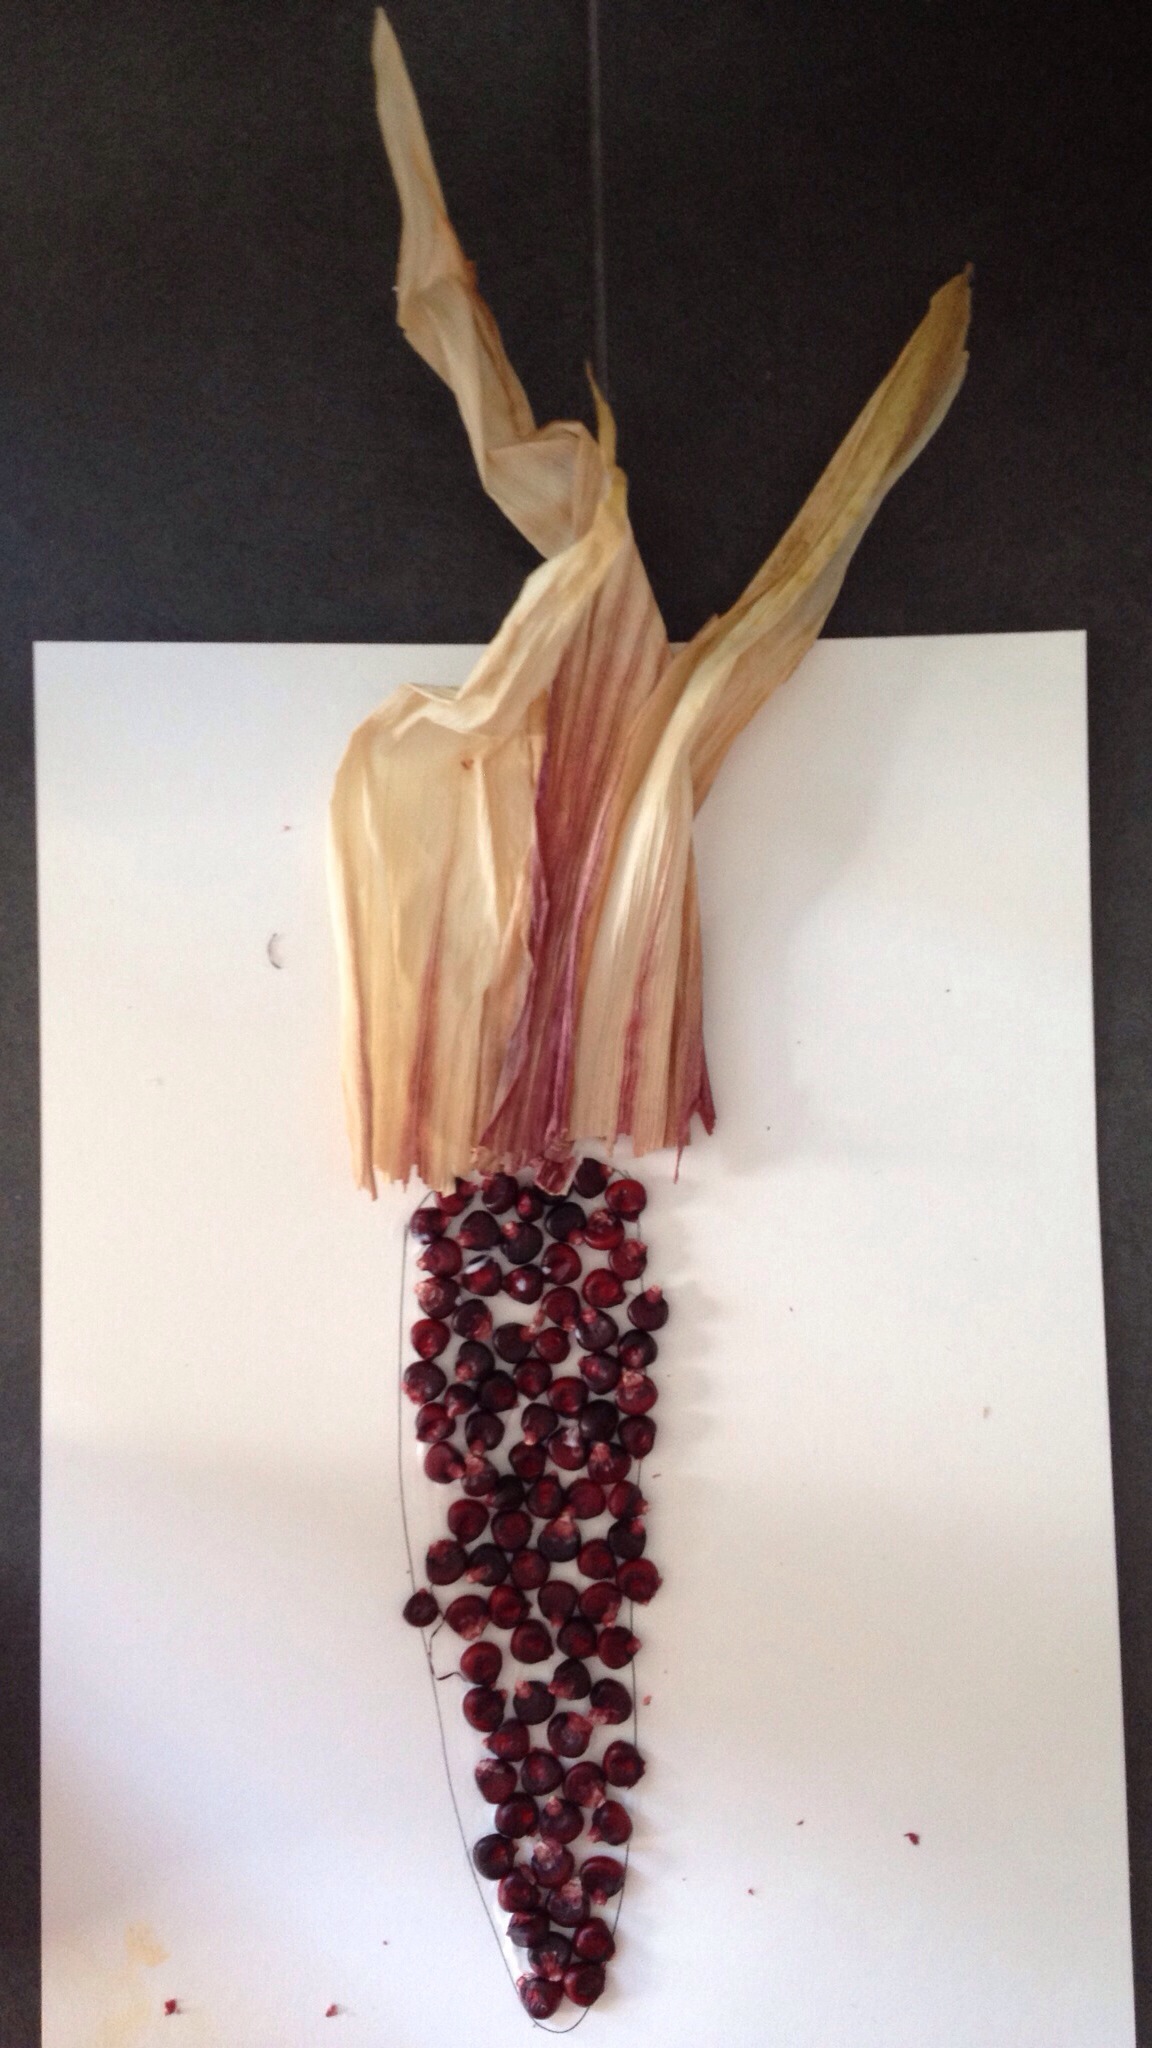
Corn Husk

Reagan was given a fabulous deep red & deep purple corn husk when her class went on their pumpkin patch field trip in the middle of October. Using her fine motor skills; Reagan created this wonderful corn husk!
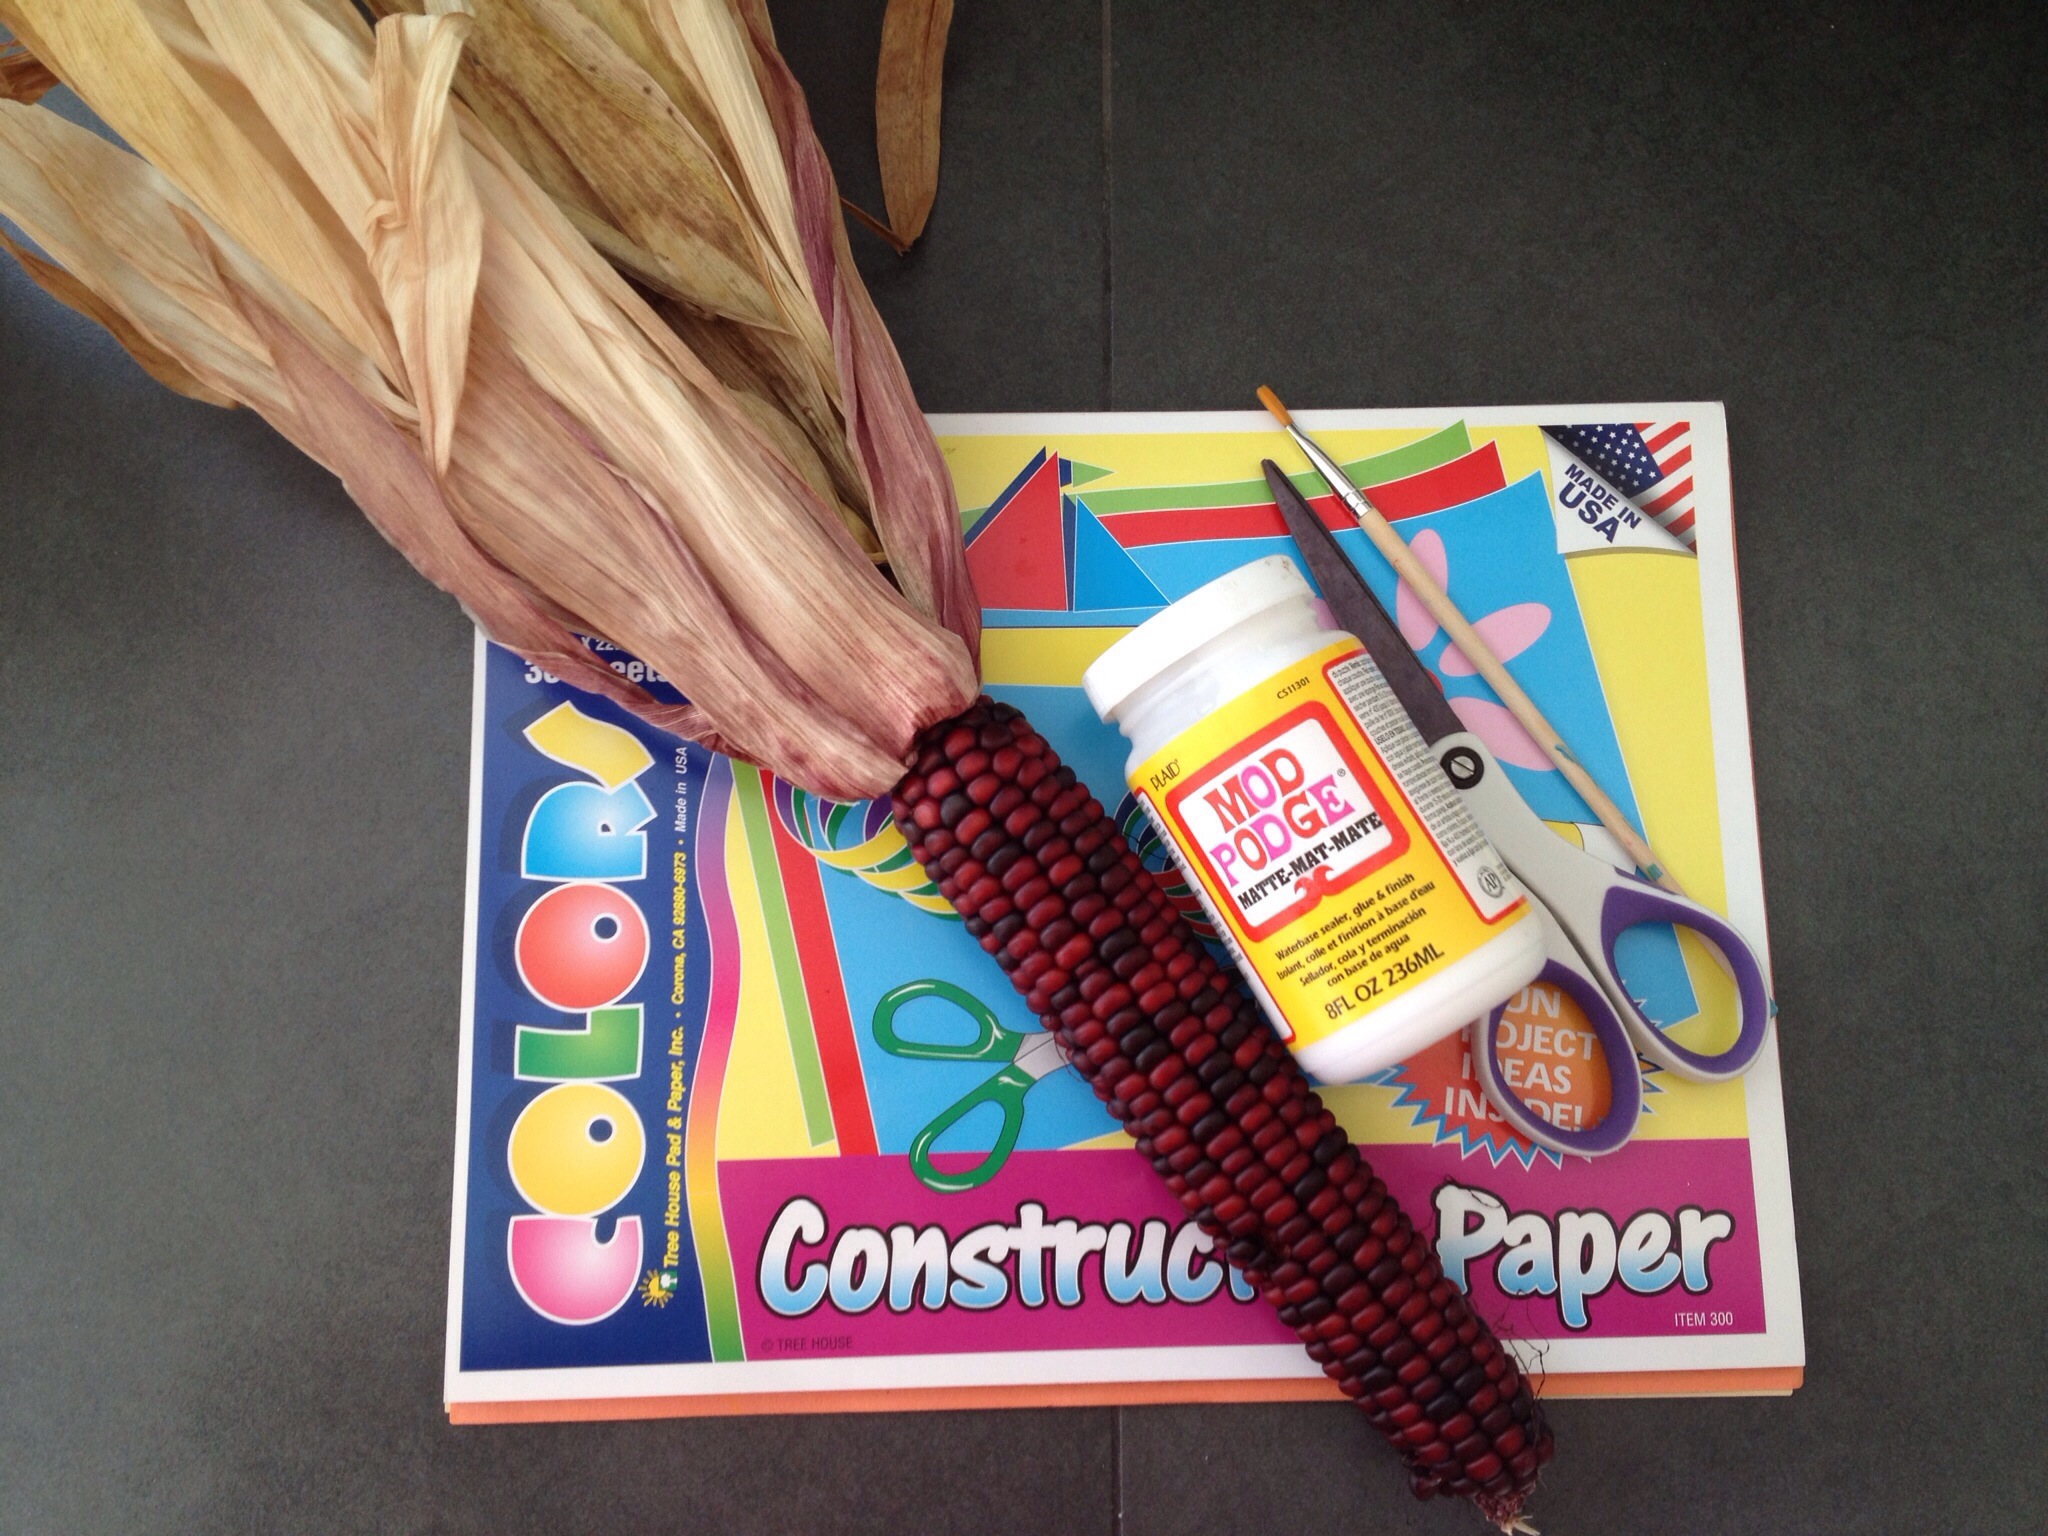
20131114-124743.jpg
Materials

20131114-125248.jpg
Dried Corn Husk
Glue
Paper
Pen
Bowl
Scissors
Paint Brush

Directions

20131114-125006.jpg

20131114-125015.jpg
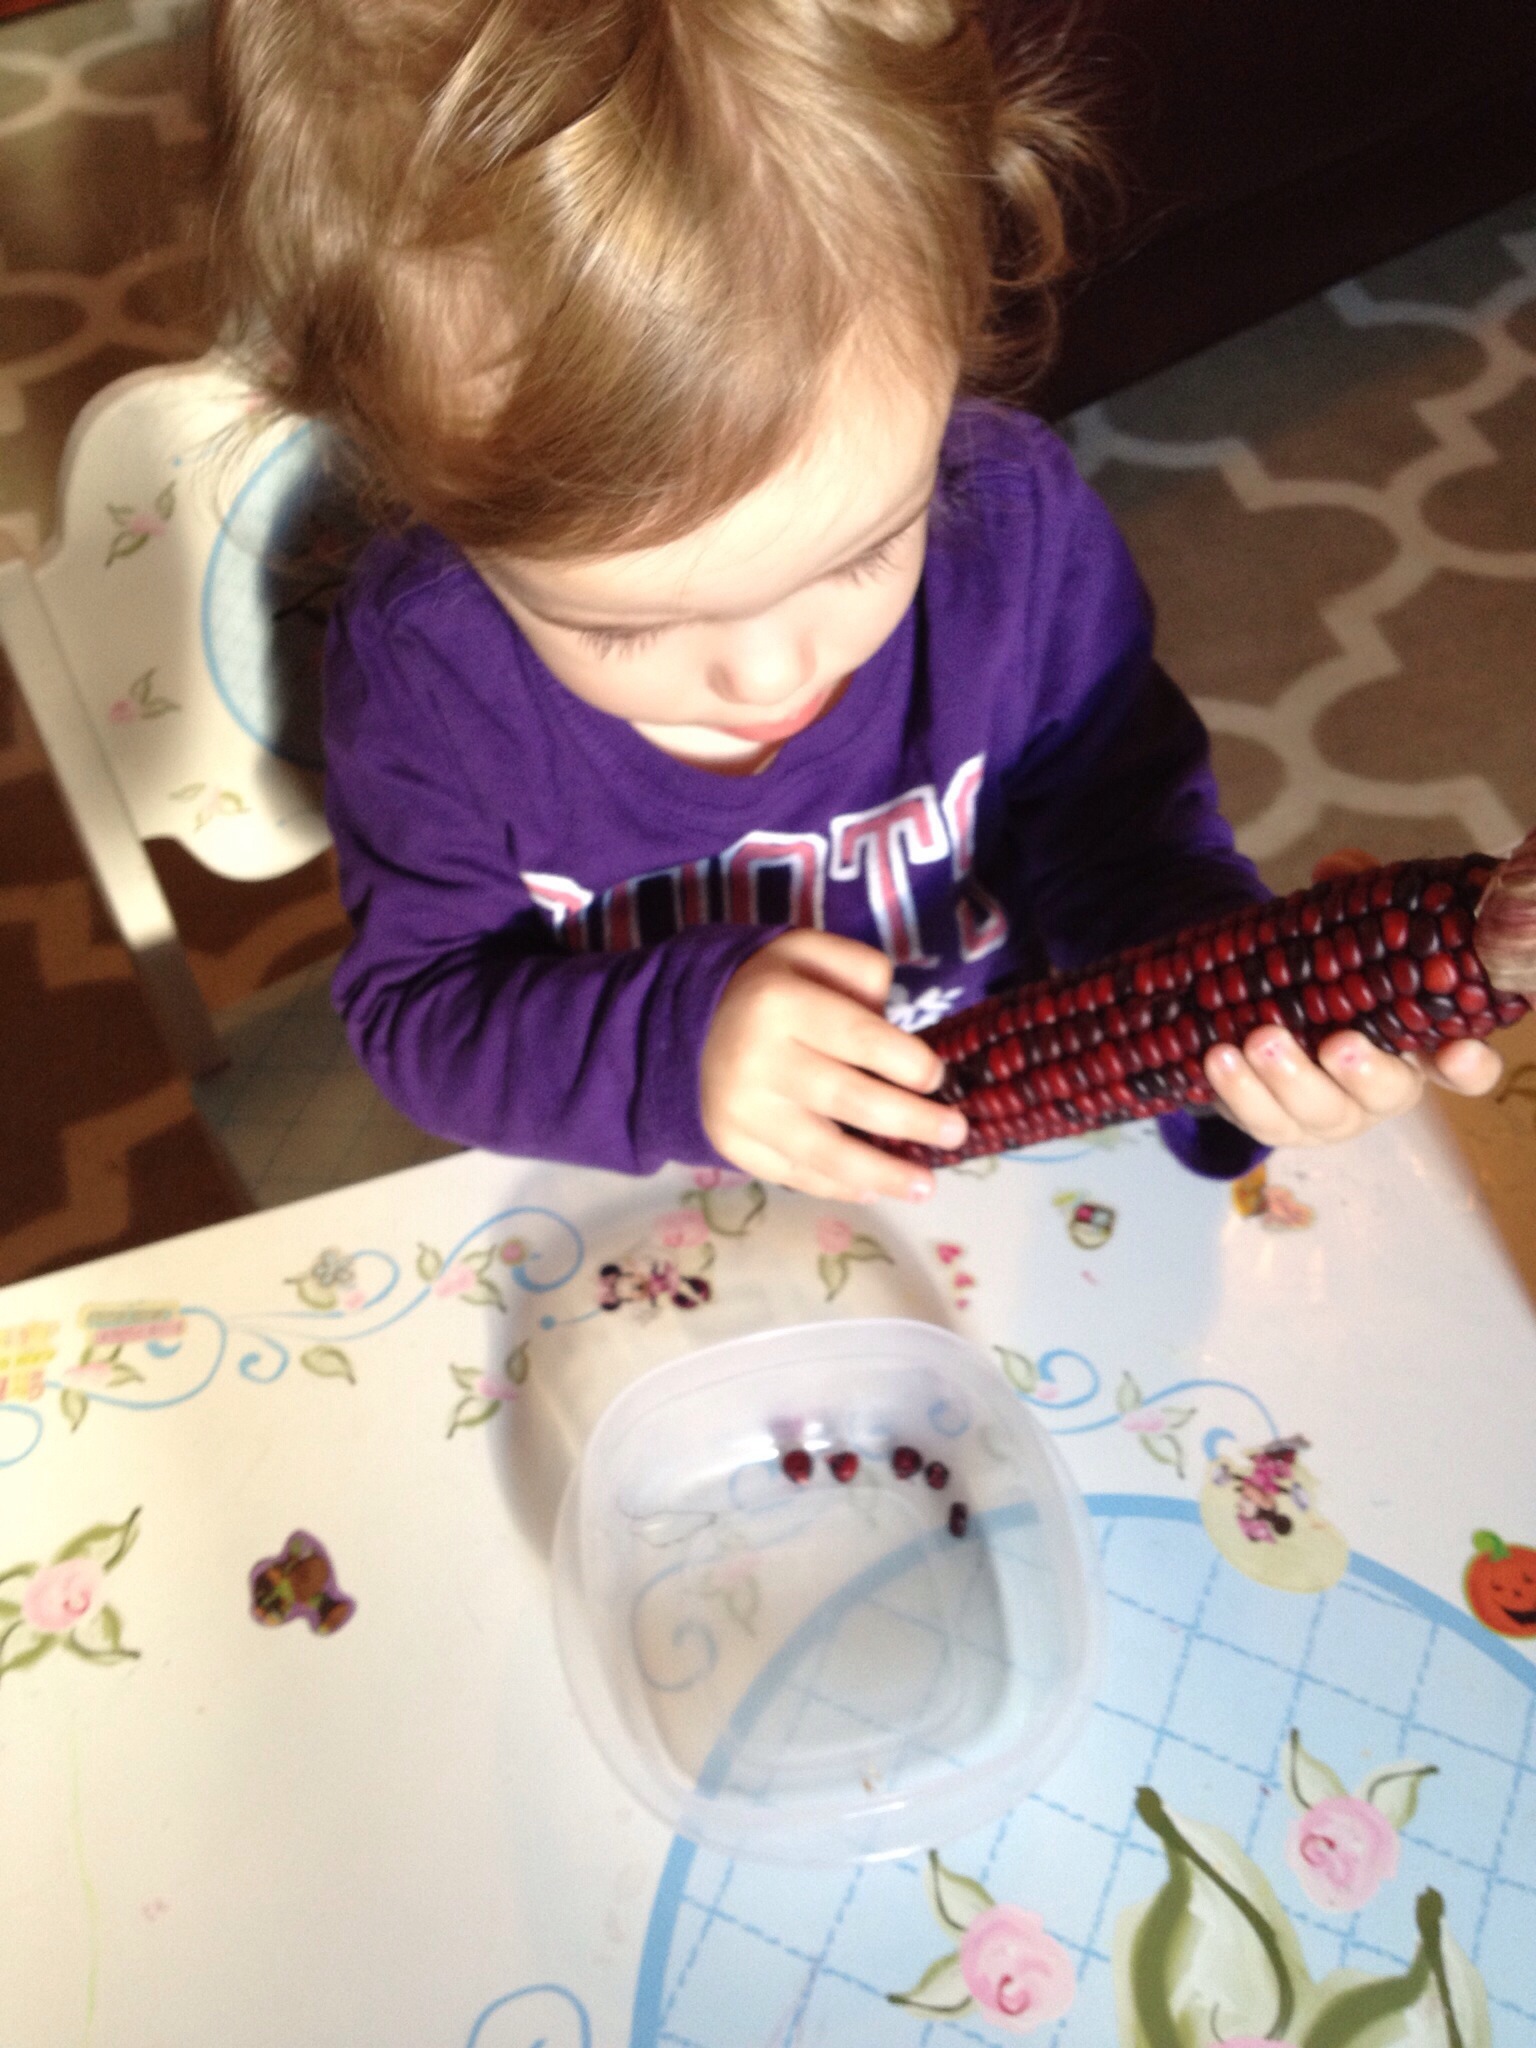
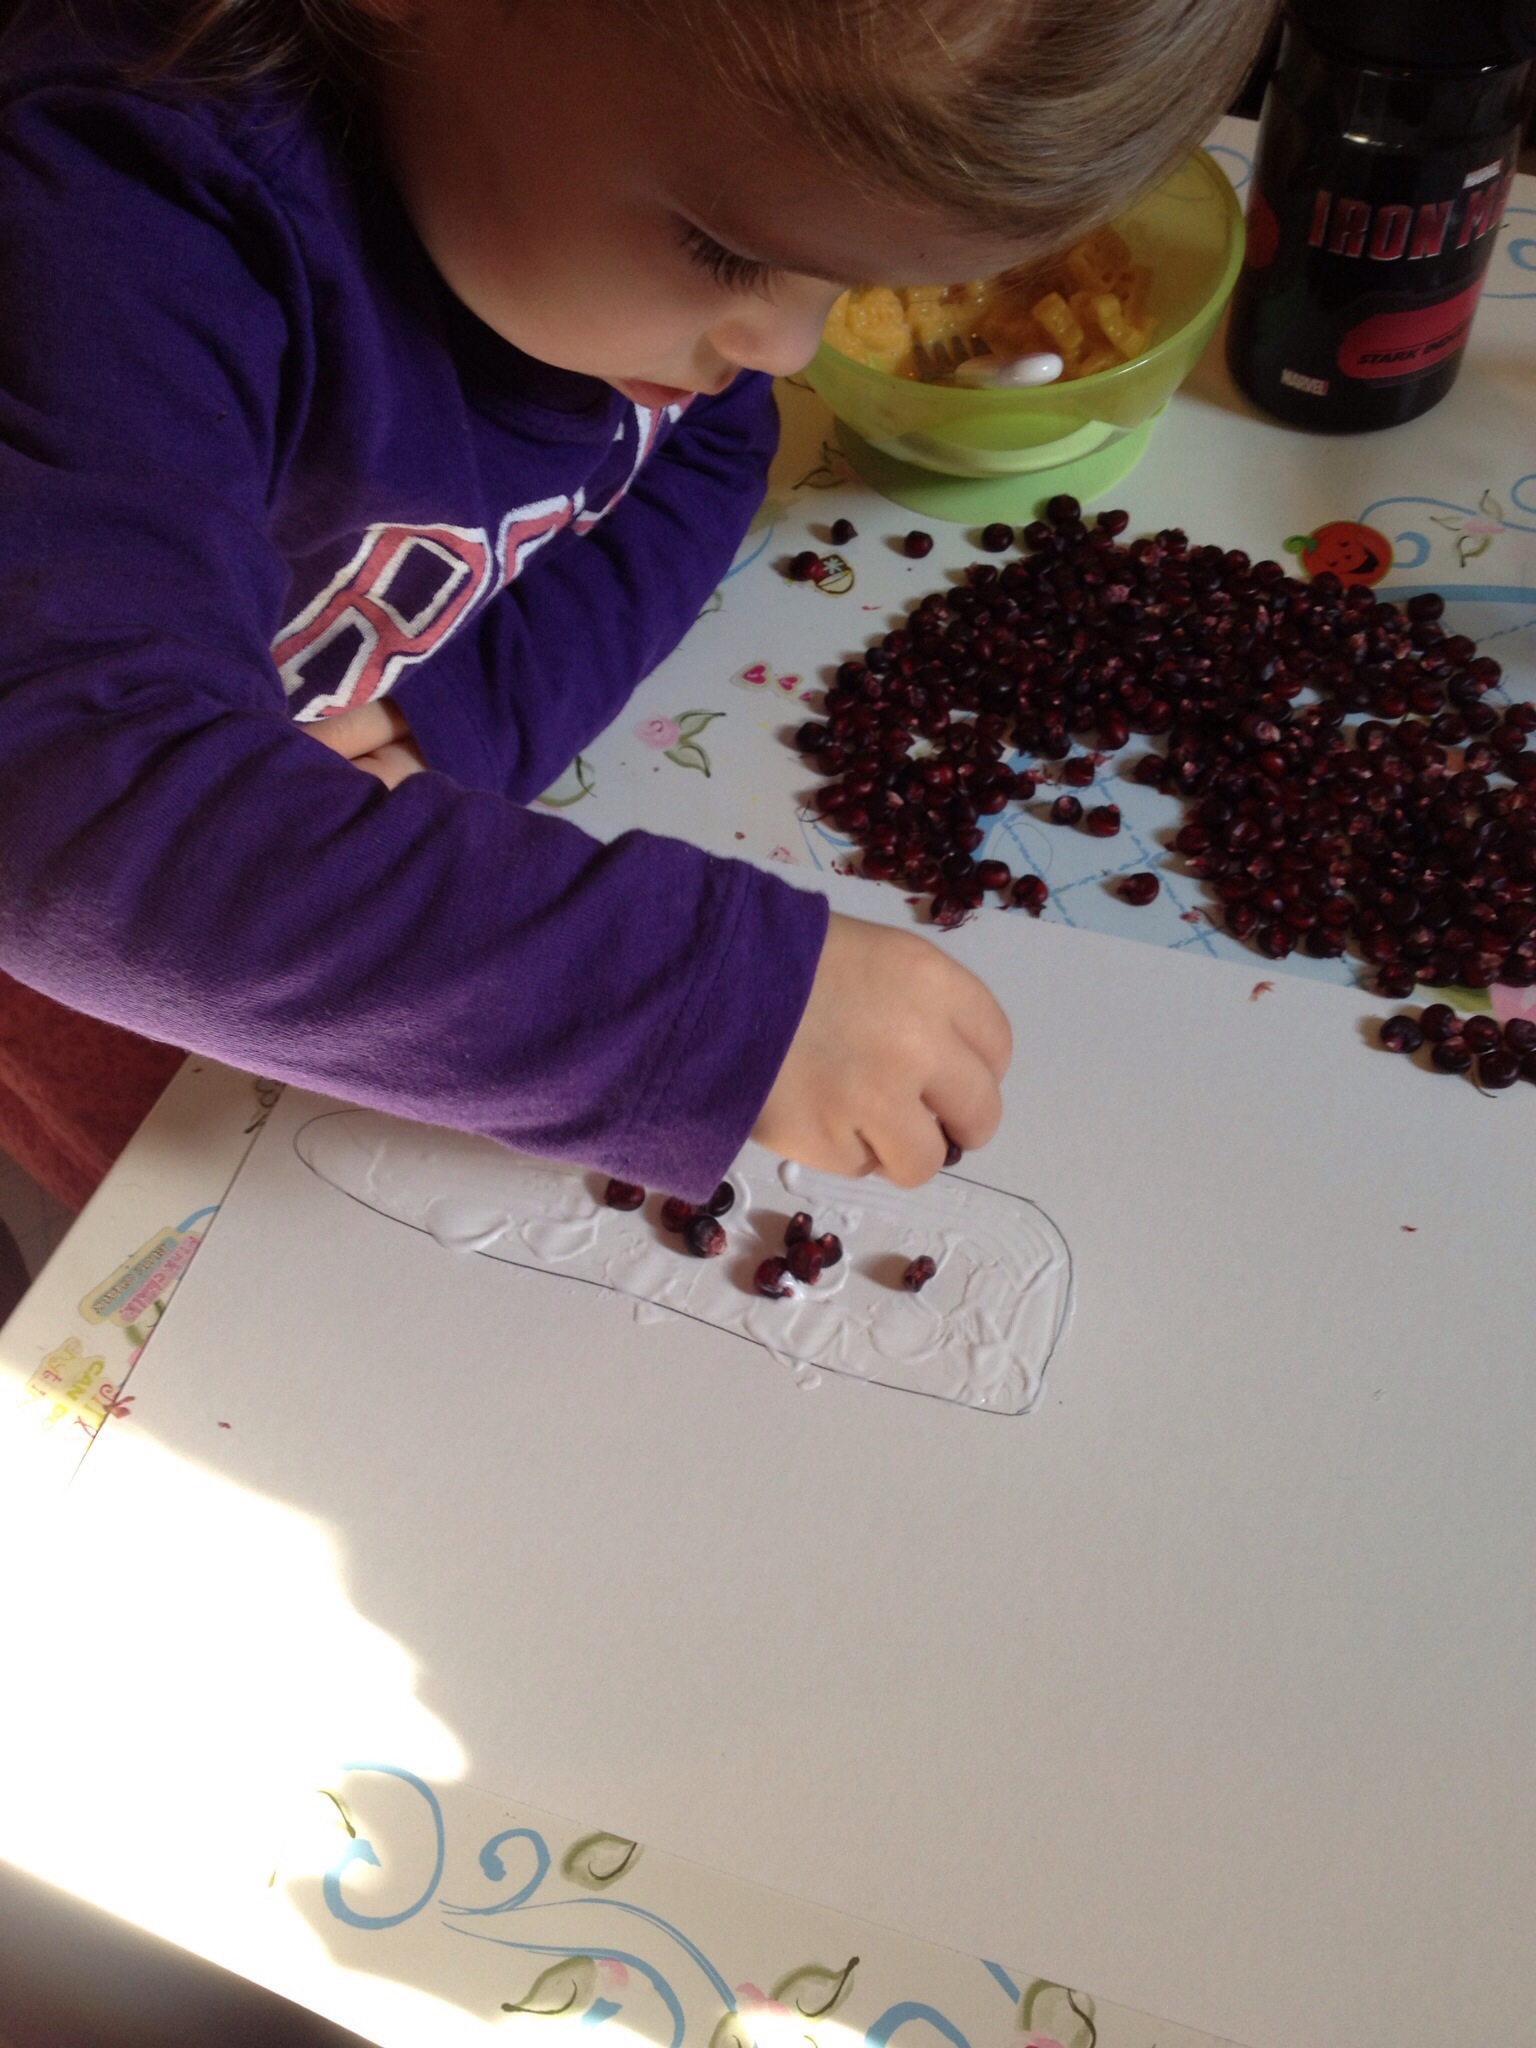
Have your child remove kernels from ear of corn and place into a bowl.

20131114-125025.jpg
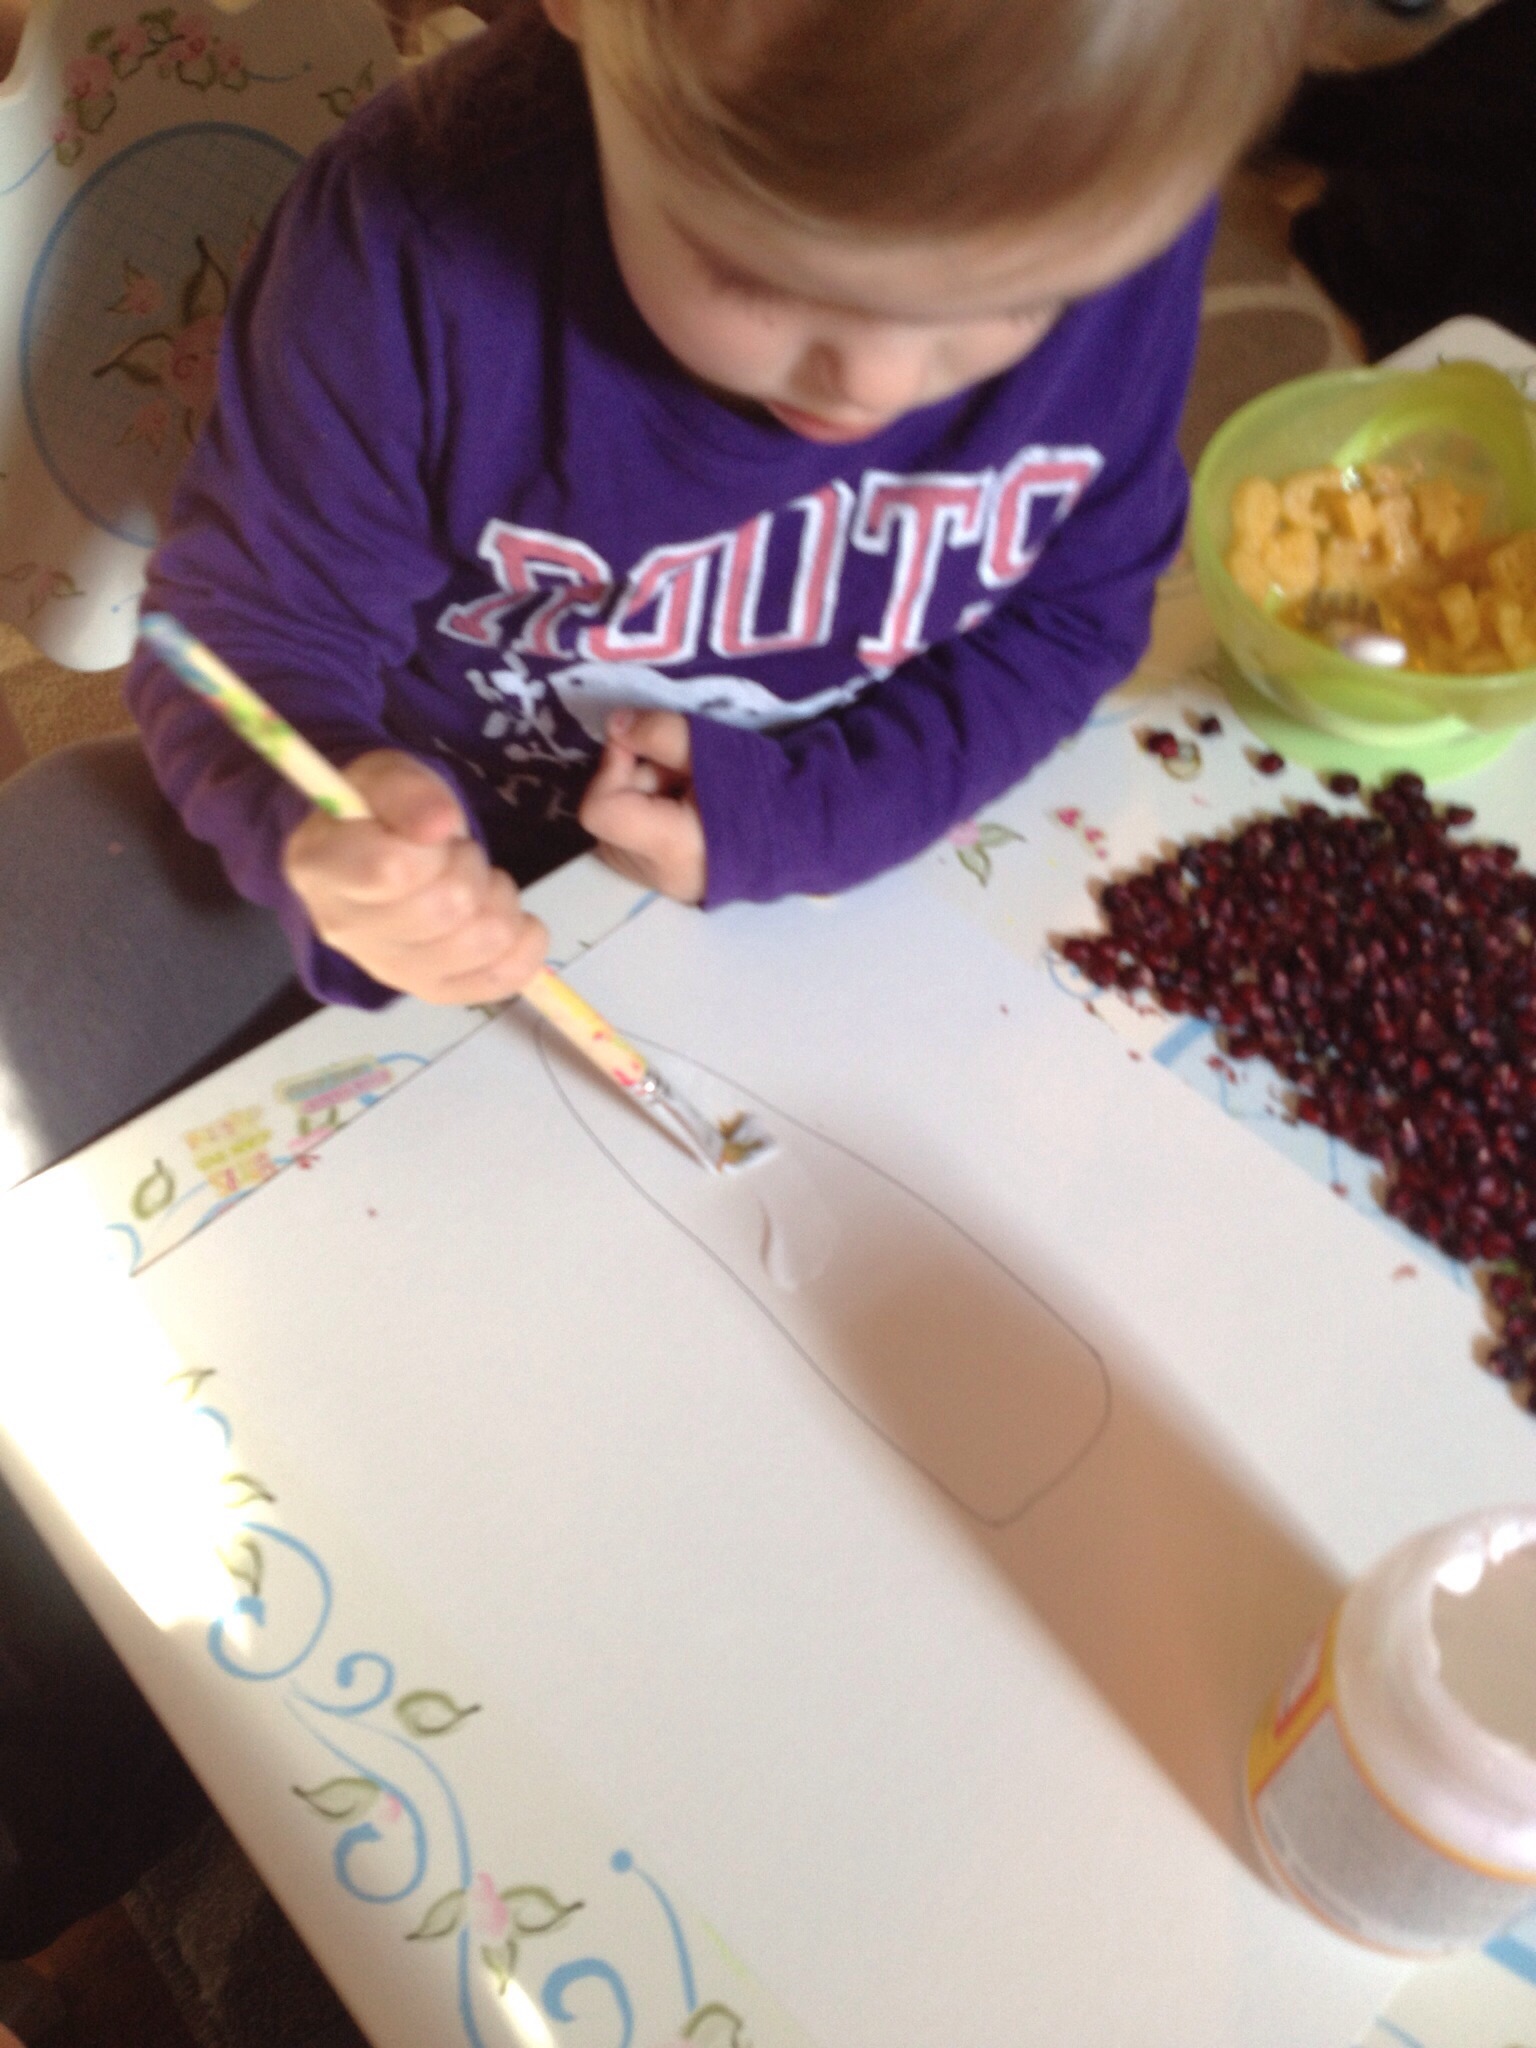
Freehand draw an ear of corn.

20131114-125036.jpg

20131114-125045.jpg
Using a paint brush, have your child paint glue onto your drawn ear of corn.

20131114-125053.jpg

20131114-125104.jpg
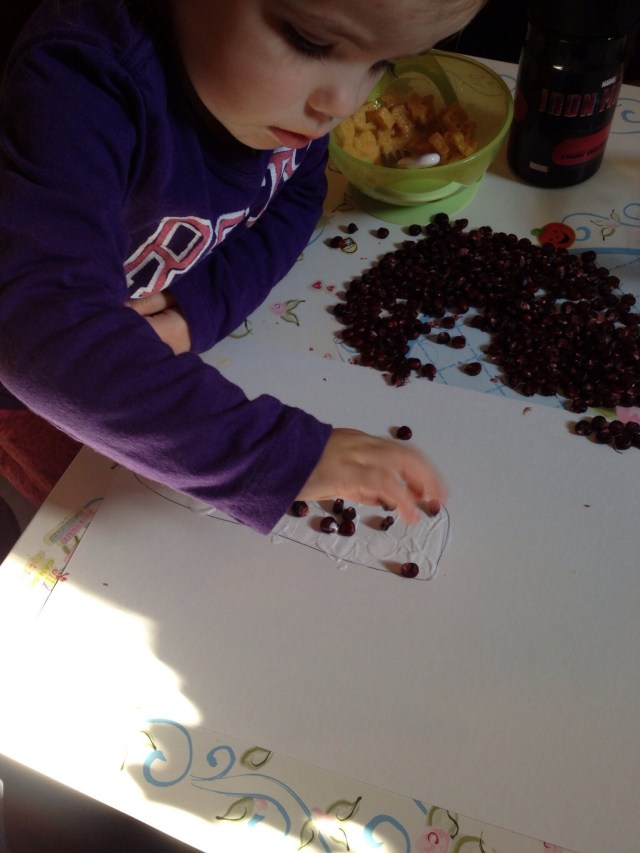
Place kernels on top of glue.

20131114-125116.jpg

20131114-125126.jpg
Cut husks off ear and glue at the top of the ear of corn. Press down and allow time to dry.

20131114-130021.jpg
Prettier than the real thing!

My Little Indians

20131114-154803.jpg
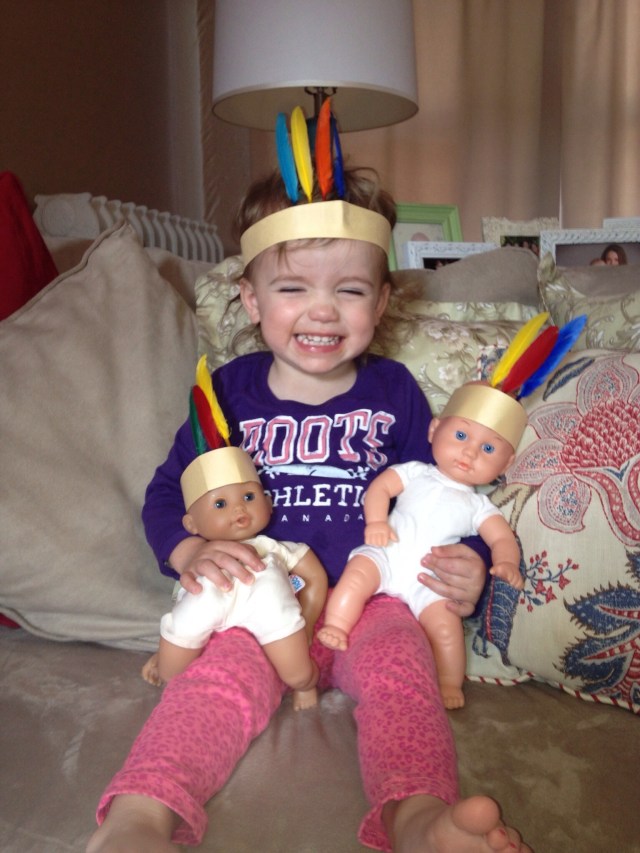
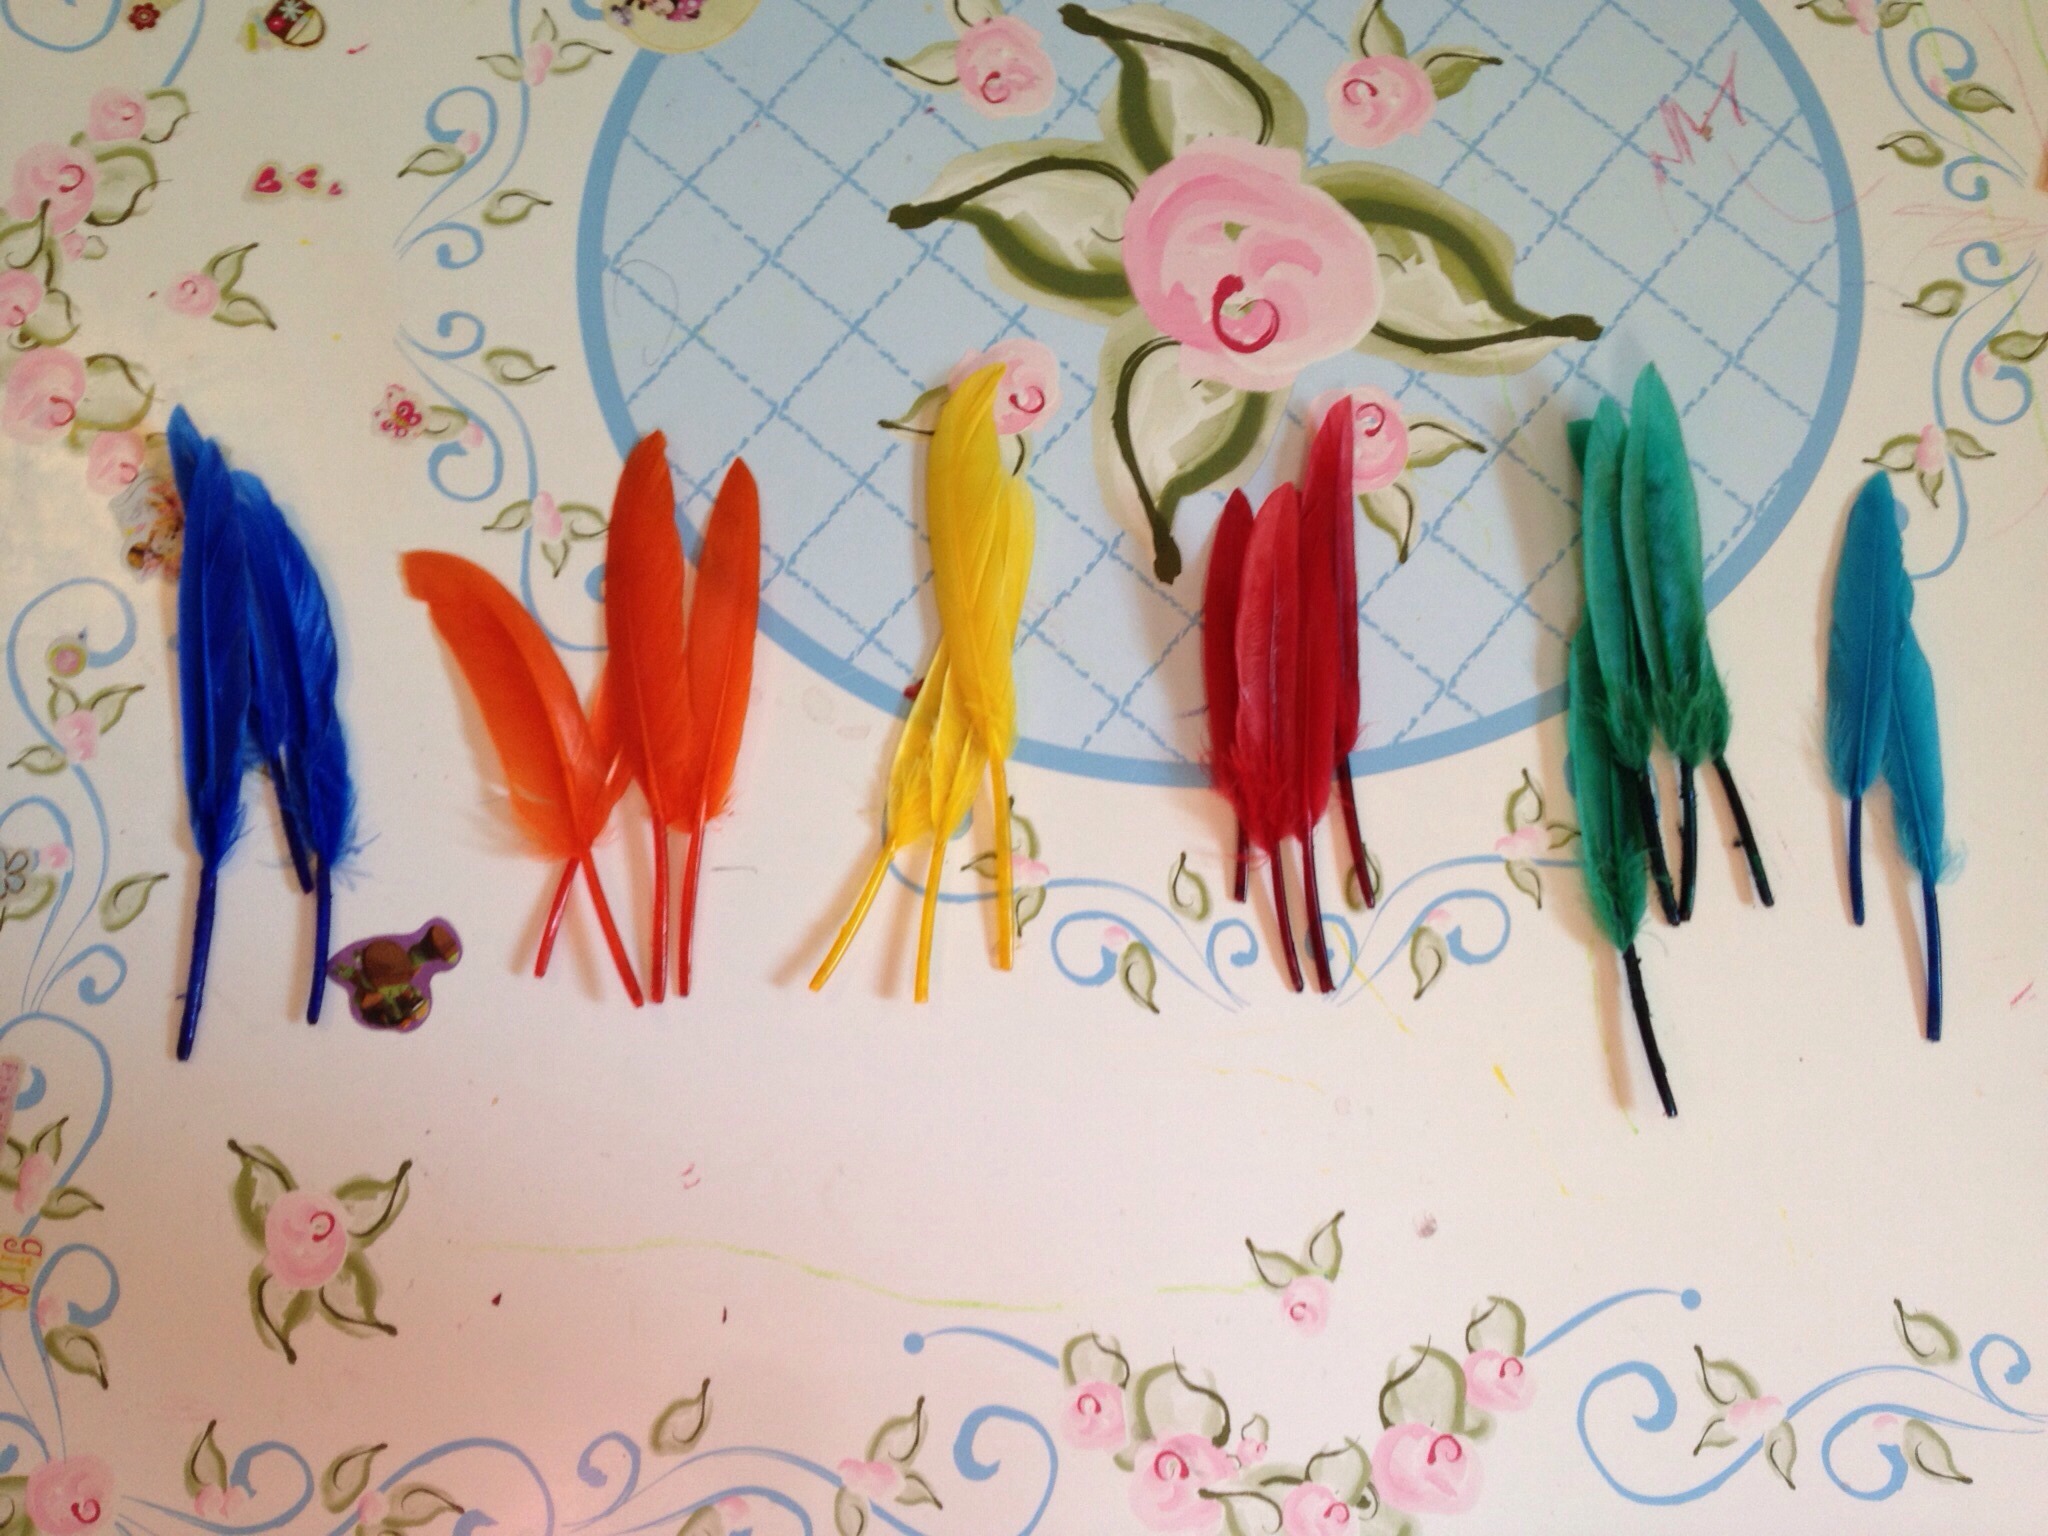
Instead of making buntings for her babies; Reagan and I decided to use the fabulously colorful feathers, that we found in the craft box, to make super easy headbands.

Materials

20131114-153302.jpg
Colorful feathers
Construction paper
Glue or tape
Scissors

Directions

20131114-153229.jpg
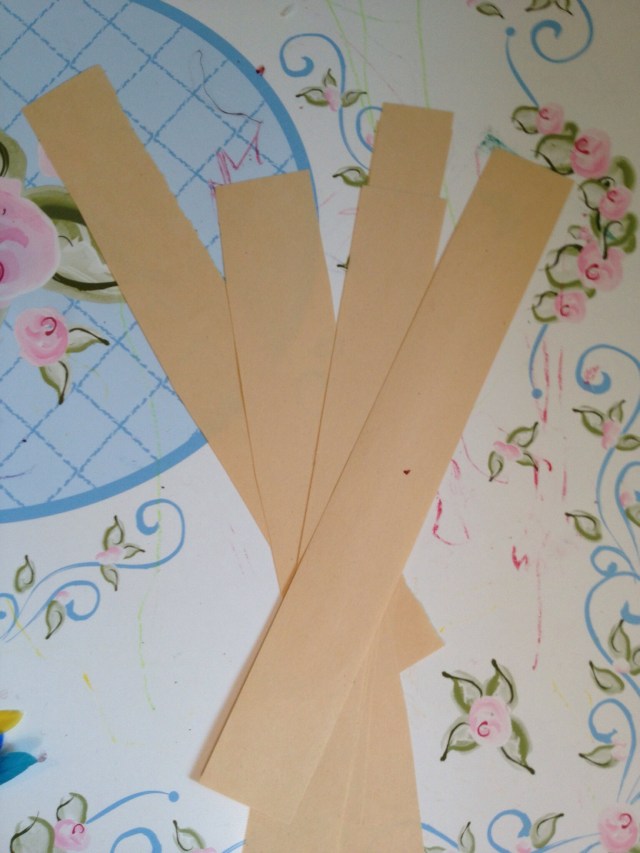
Cut construction paper into inch/ inch and a half wide strips.

20131114-153314.jpg
Have your child sort the feathers into colored piles.

20131114-153245.jpg

20131114-153253.jpg
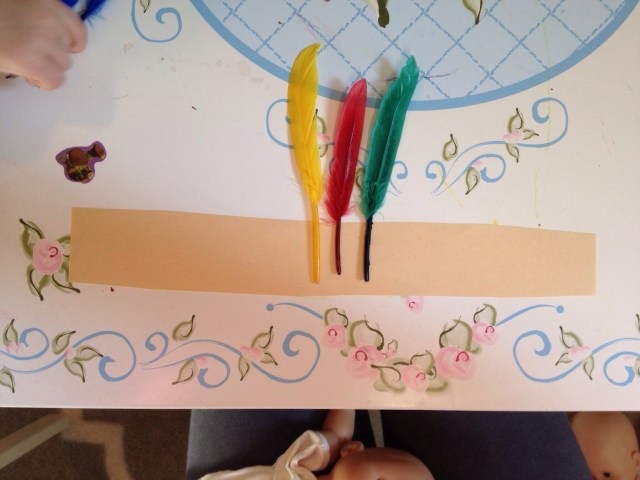
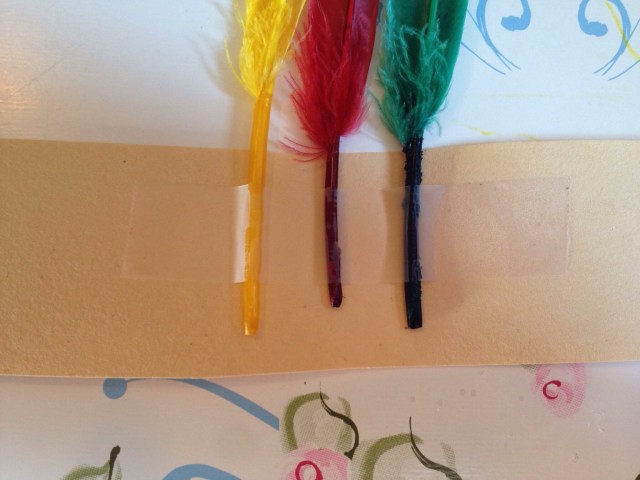
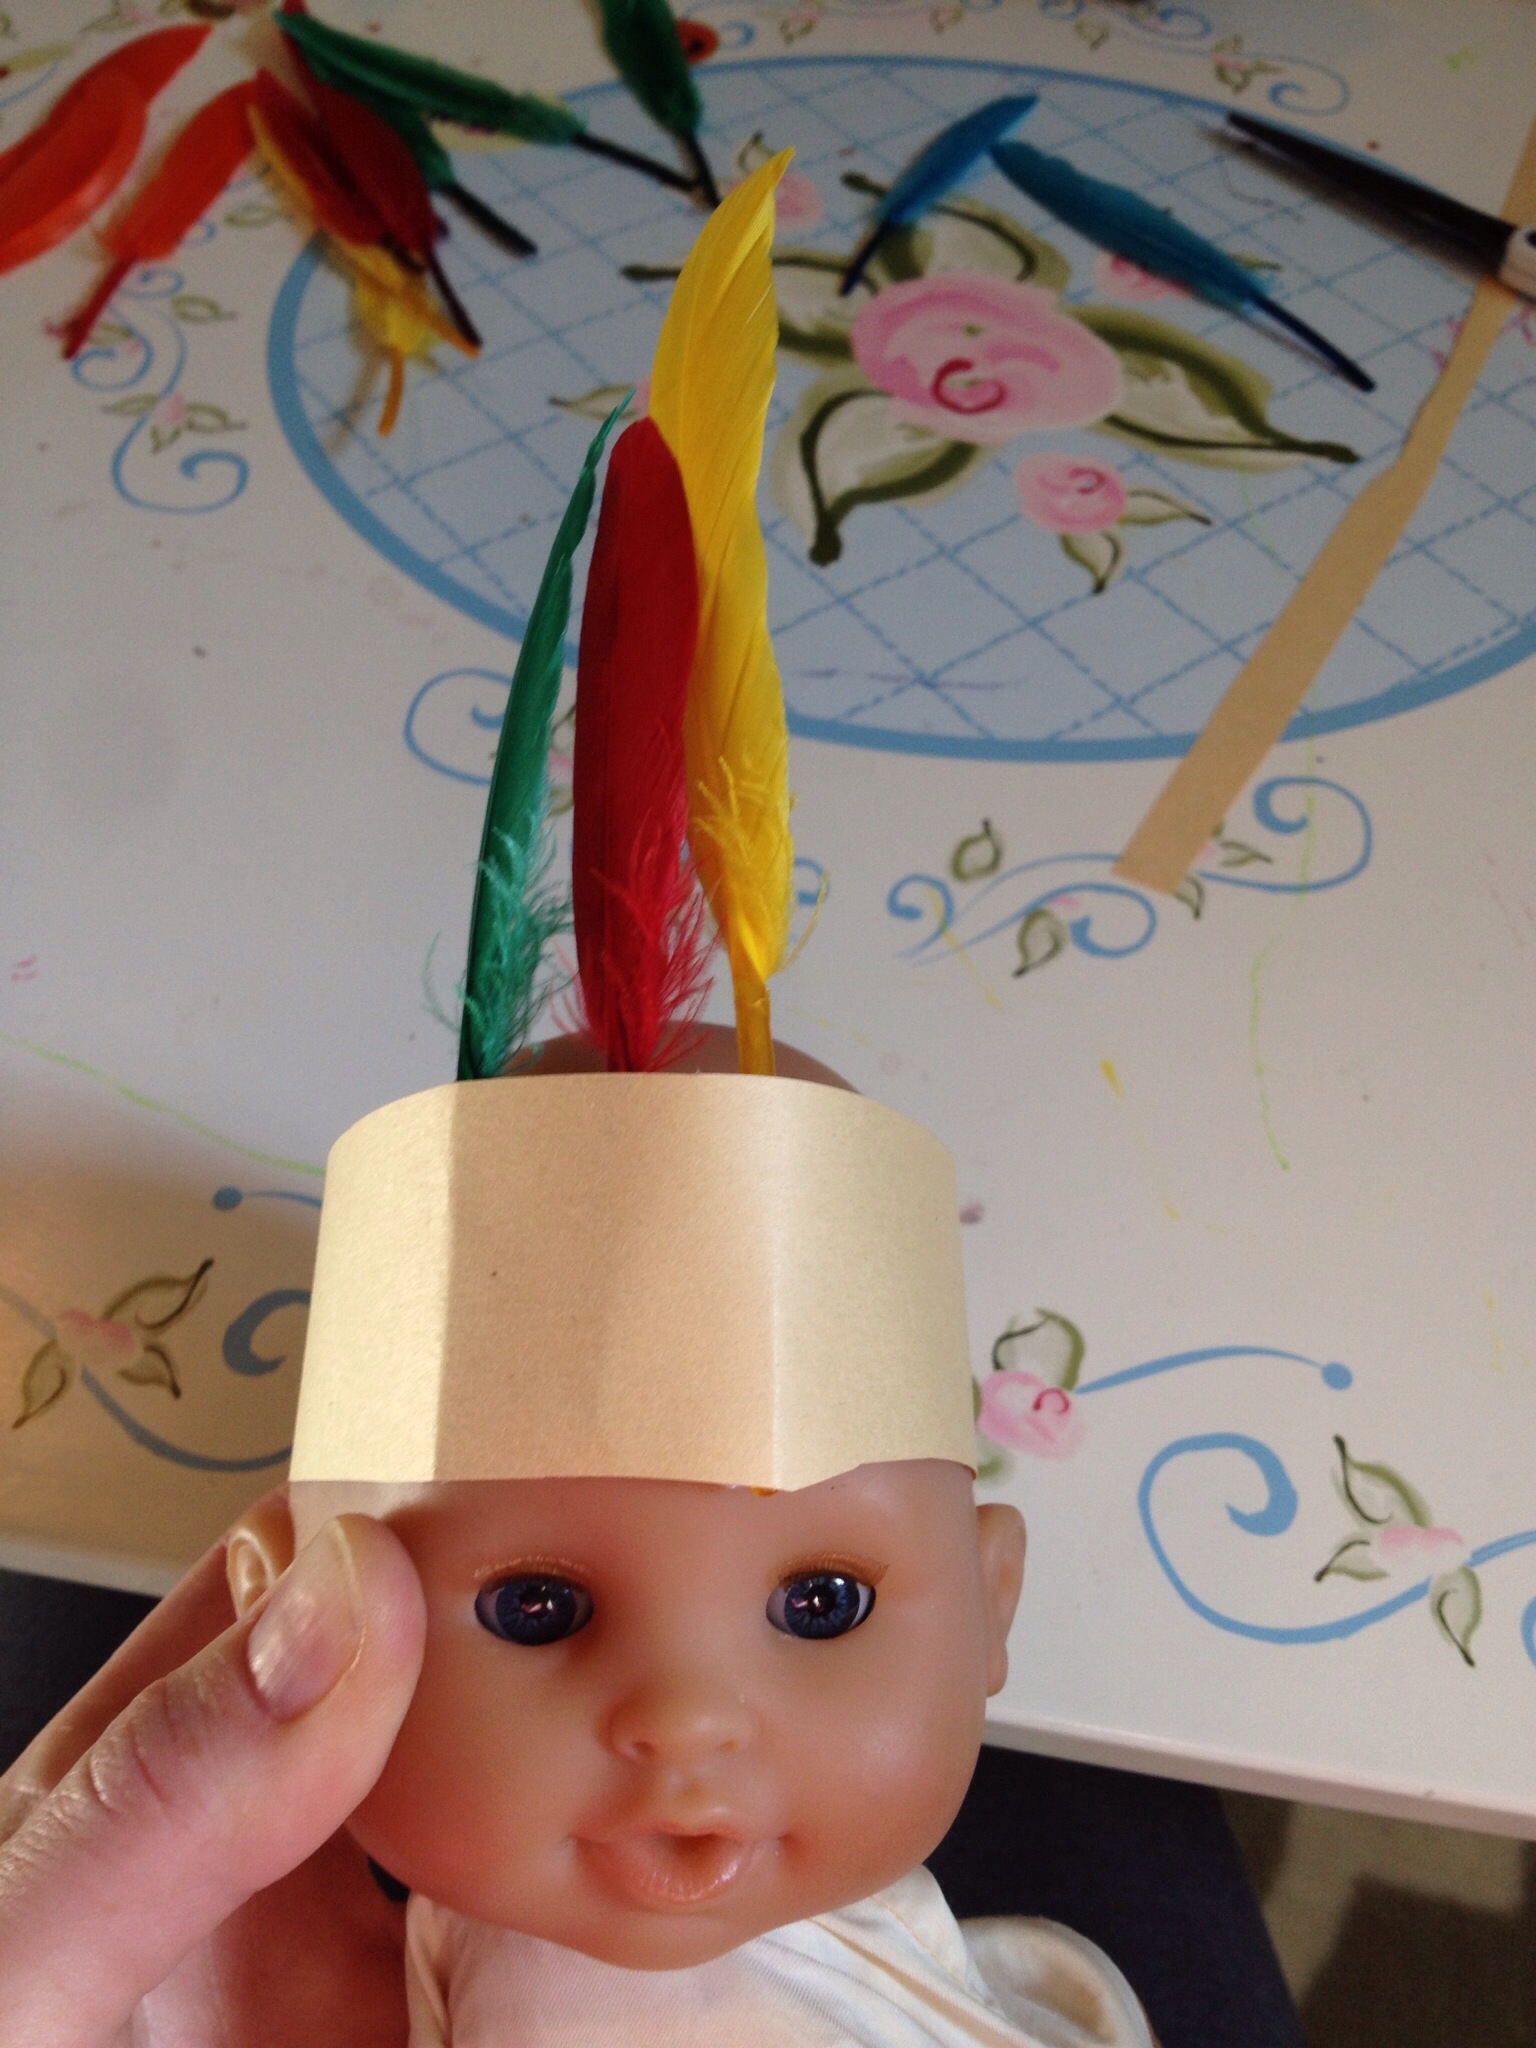
Have your child pick a few feathers to line up in the middle of your strip of paper. Glue or tape feathers to paper. When making doll head bands only one strip of paper is needed, when making one for your child two or more strips may be needed. Tape additional strips together.

20131114-153342.jpg

20131114-153332.jpg
Wrap strip around head and secure ends with tape. This will allow the headband to fit the head perfectly! Don’t tape to the head!

20131114-153405.jpg

20131114-153217.jpg
So much fun!!