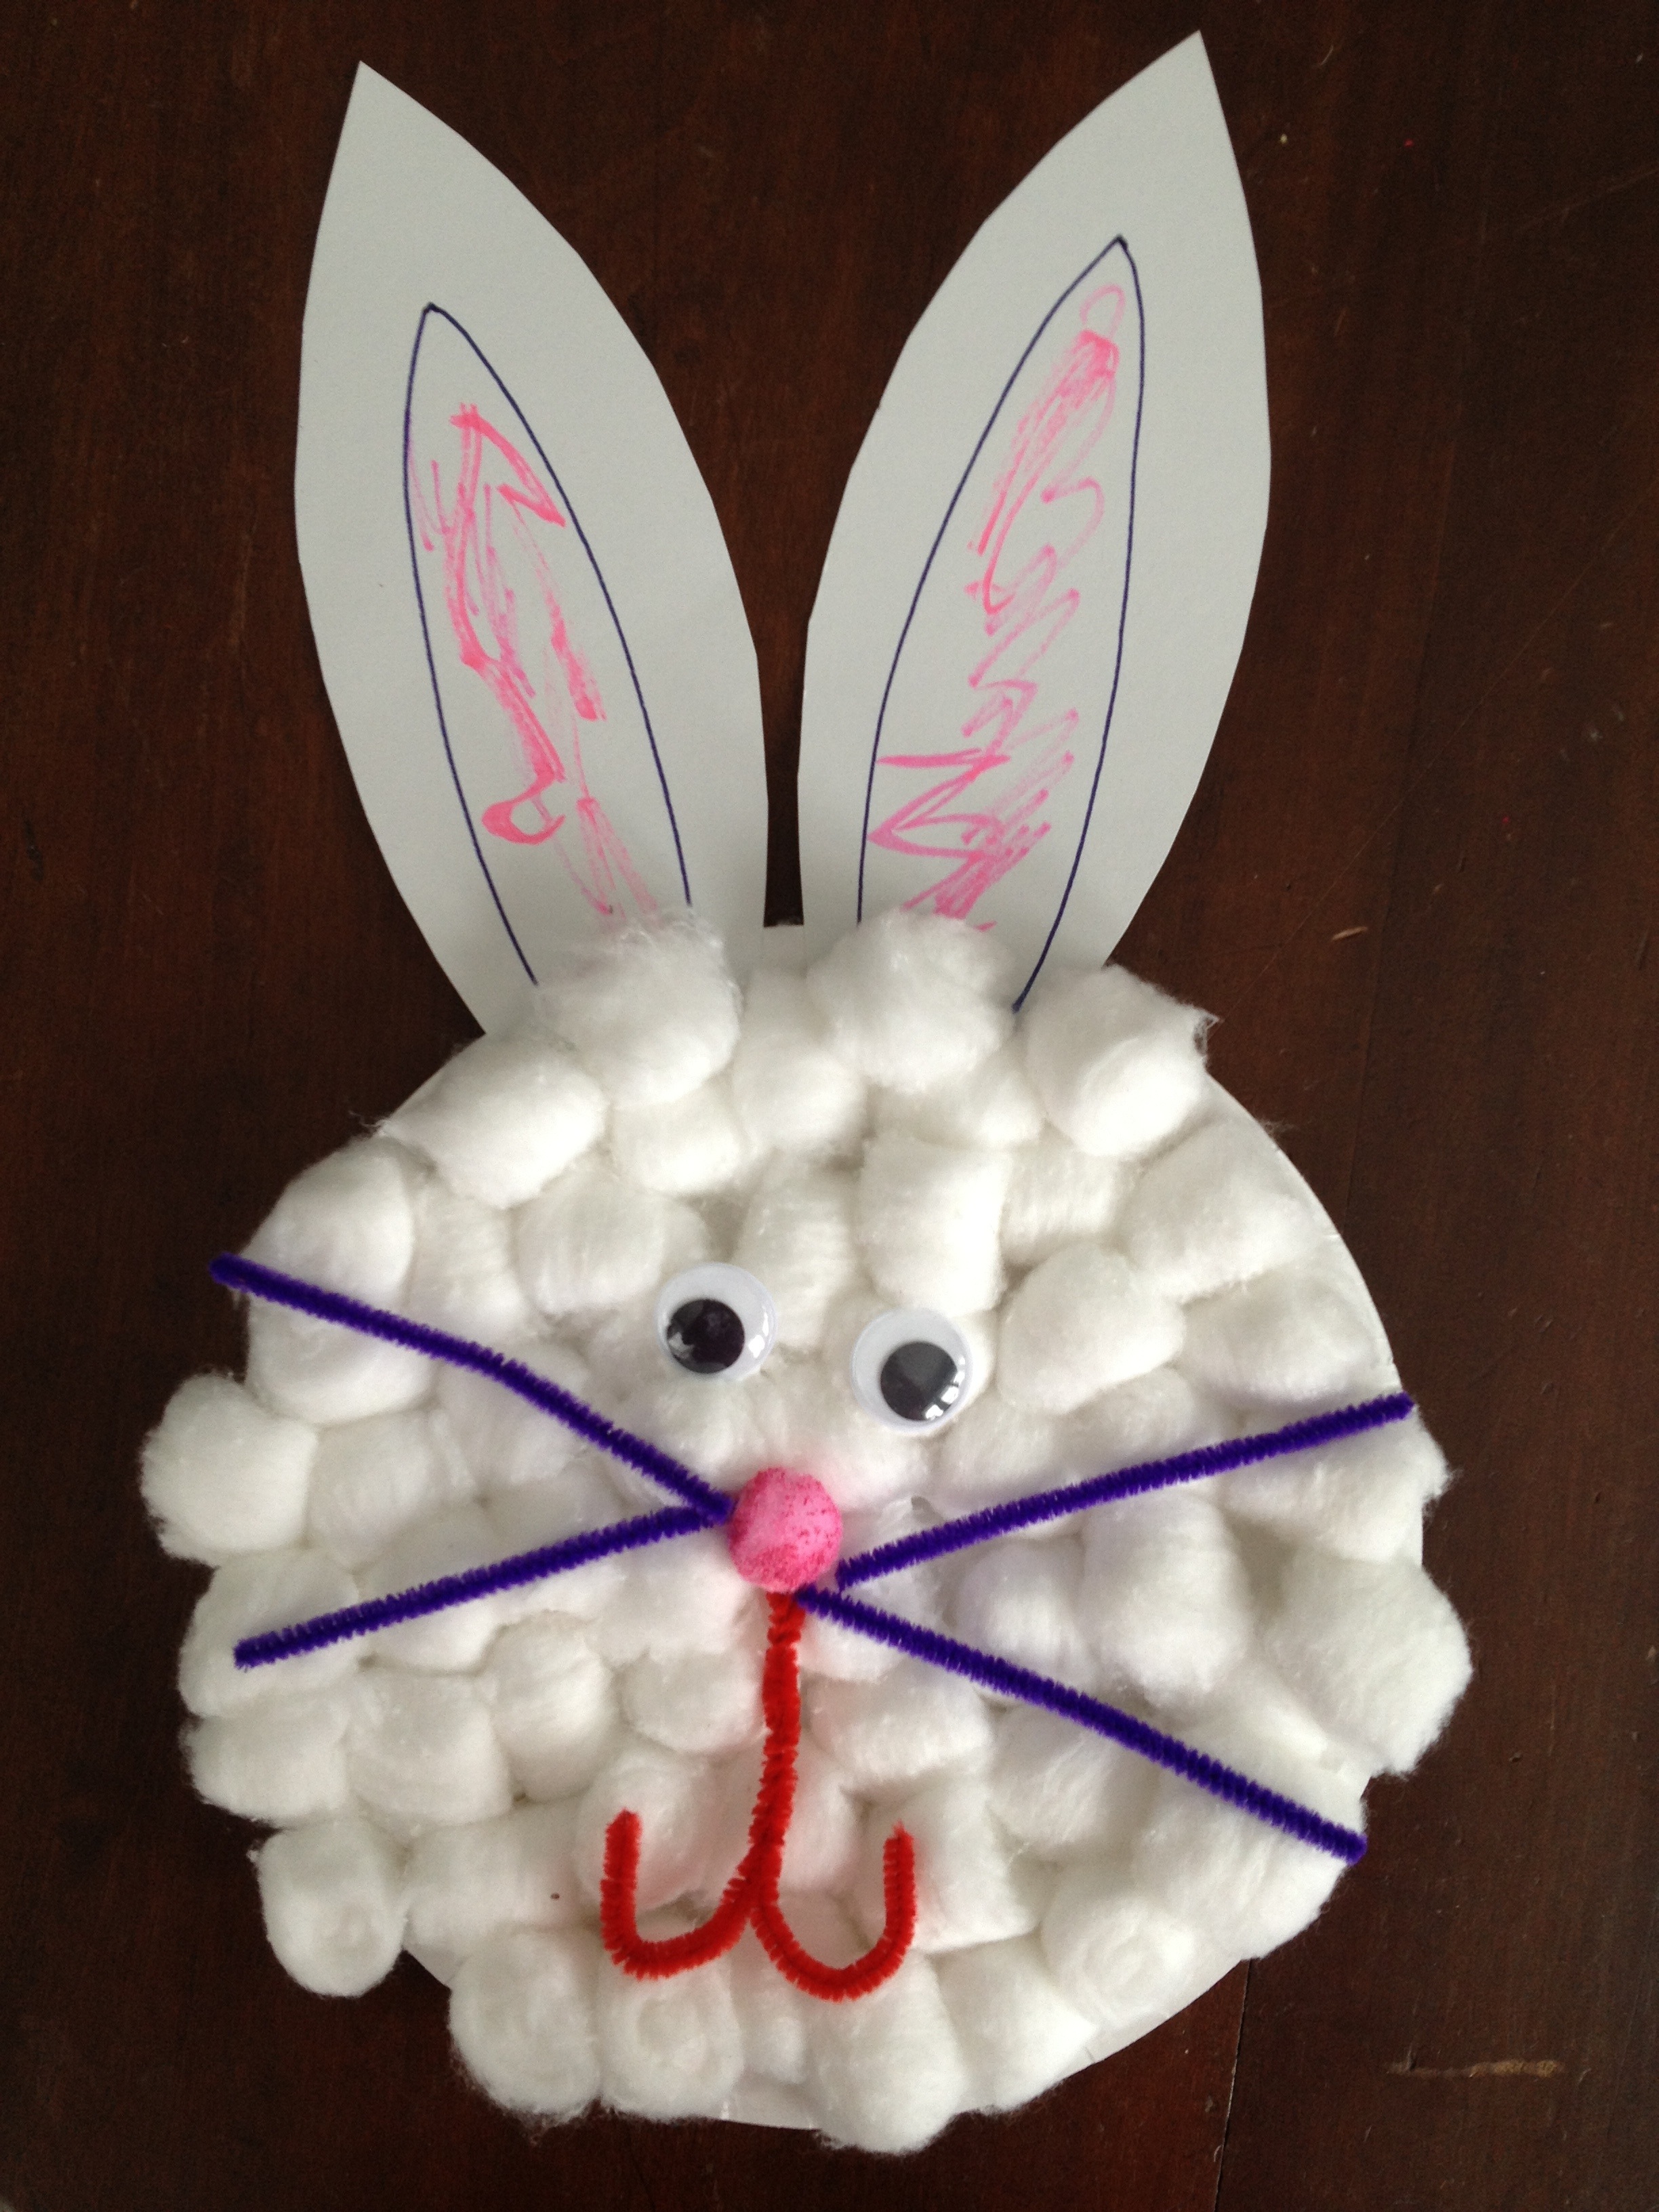
Reagan had a blast creating this bunny! Her fine motor skills were put to good use and she was loving the fact that the cotton balls were super sticky because of the glue! We obviously used washable paint when creating our pink nose, trust me that was the messiest part. Reagan was able to do most of this craft independently. I assisted in cutting and twisting the pipe cleaner, along with squeezing the glue. The first of many Easter crafts, I’m sure:)
Materials
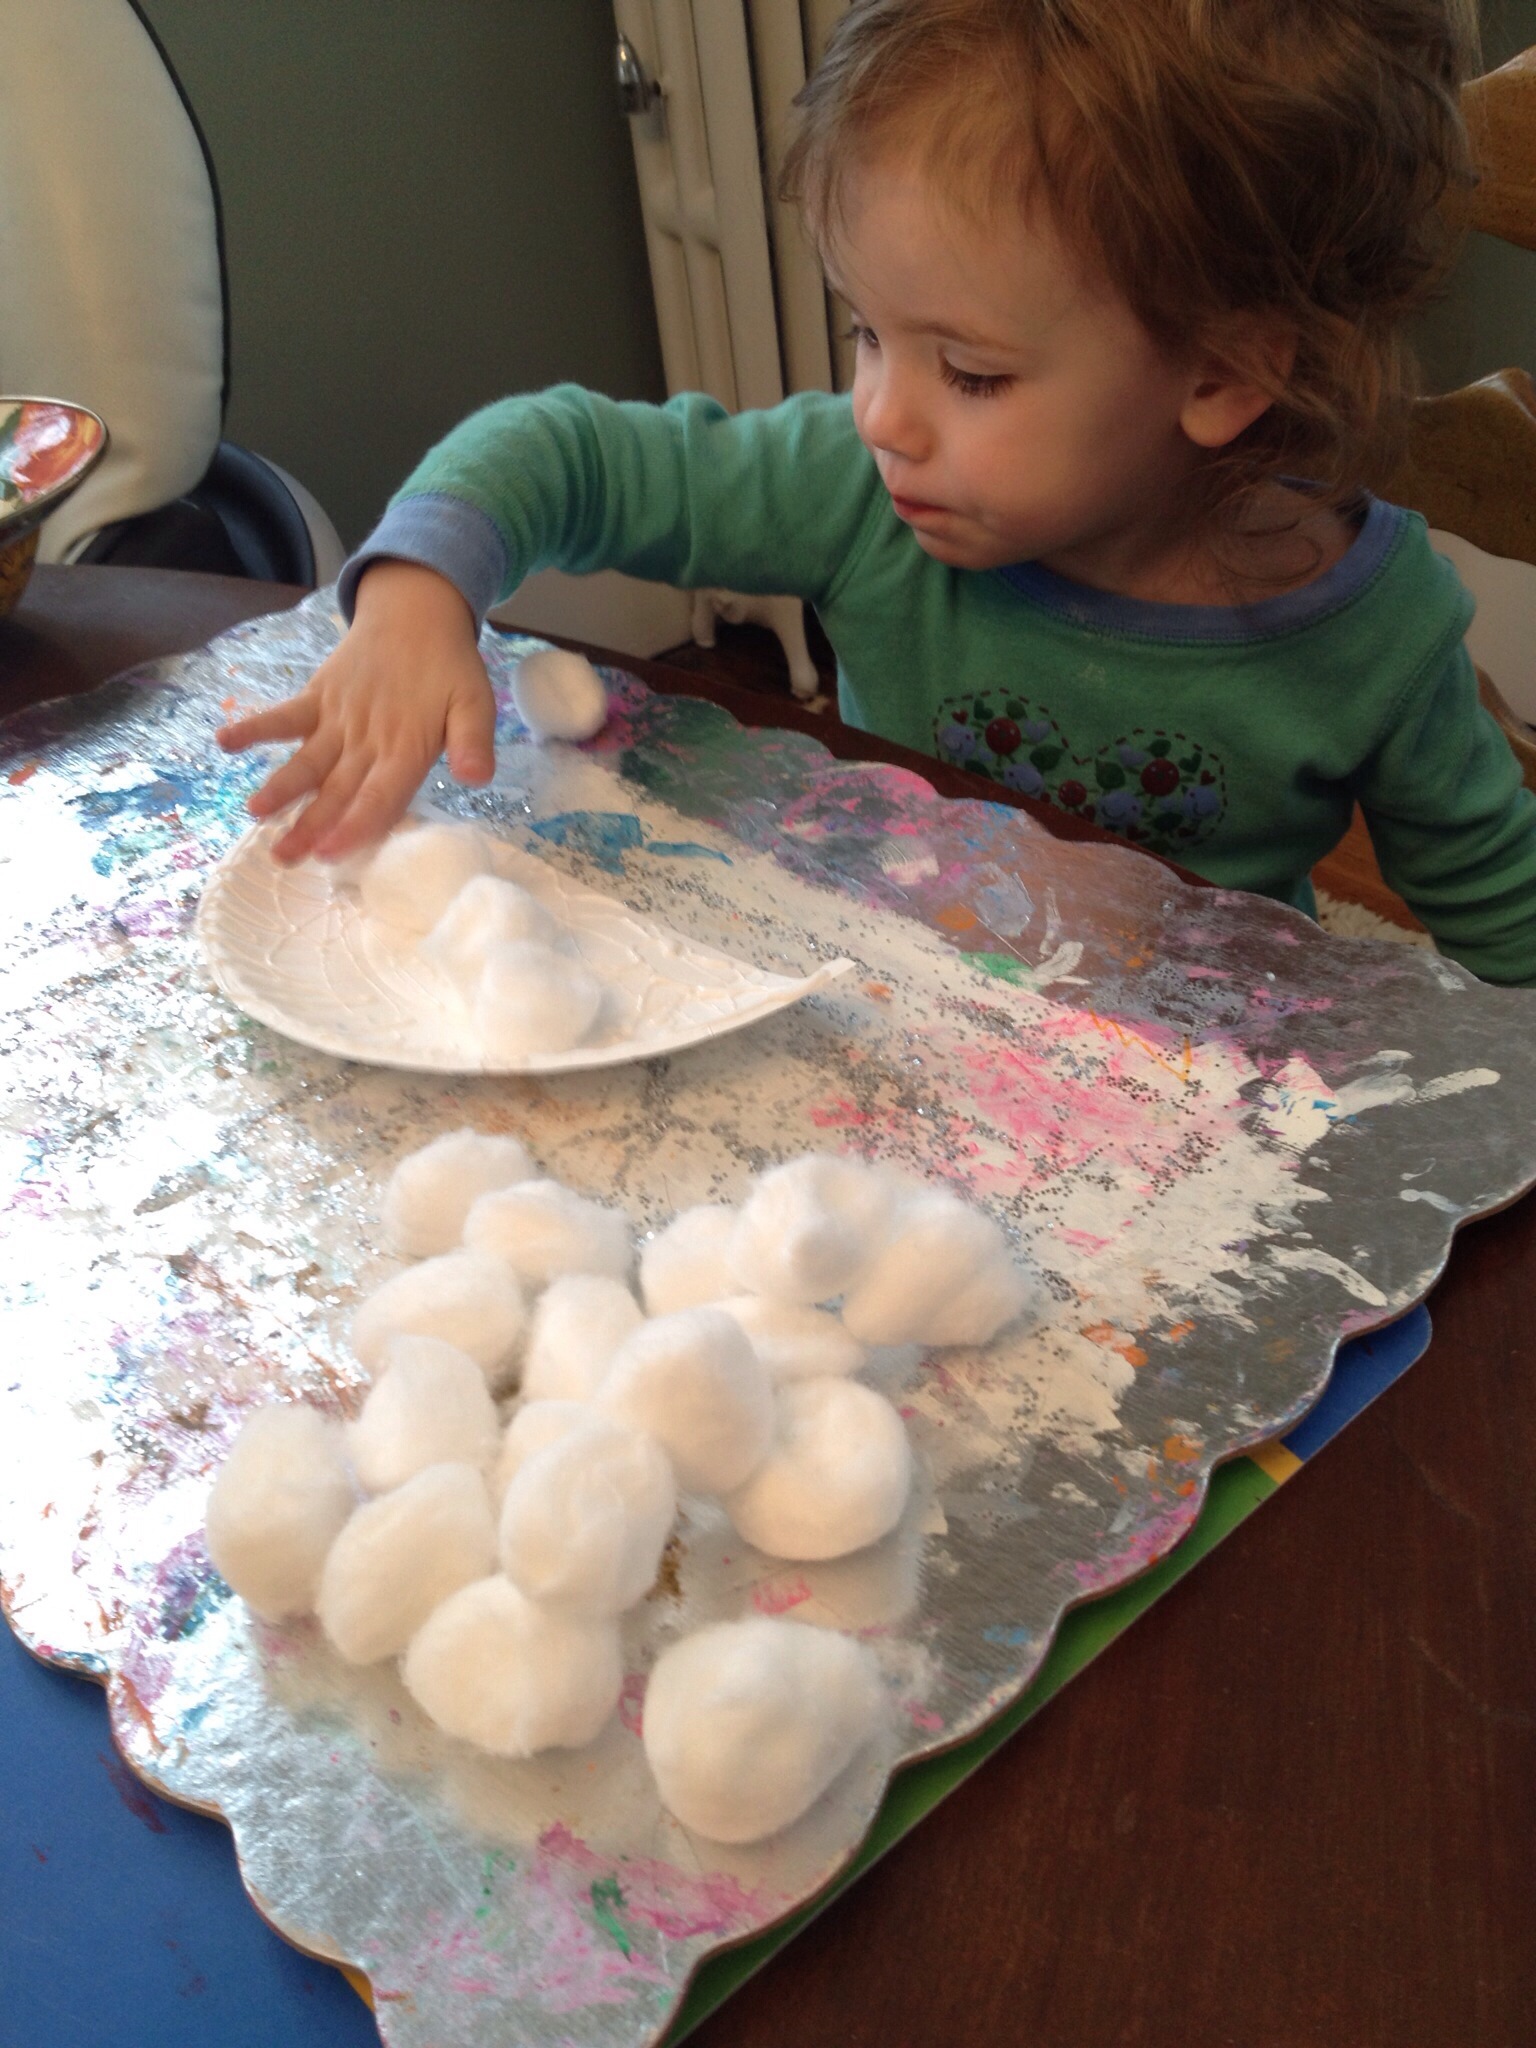
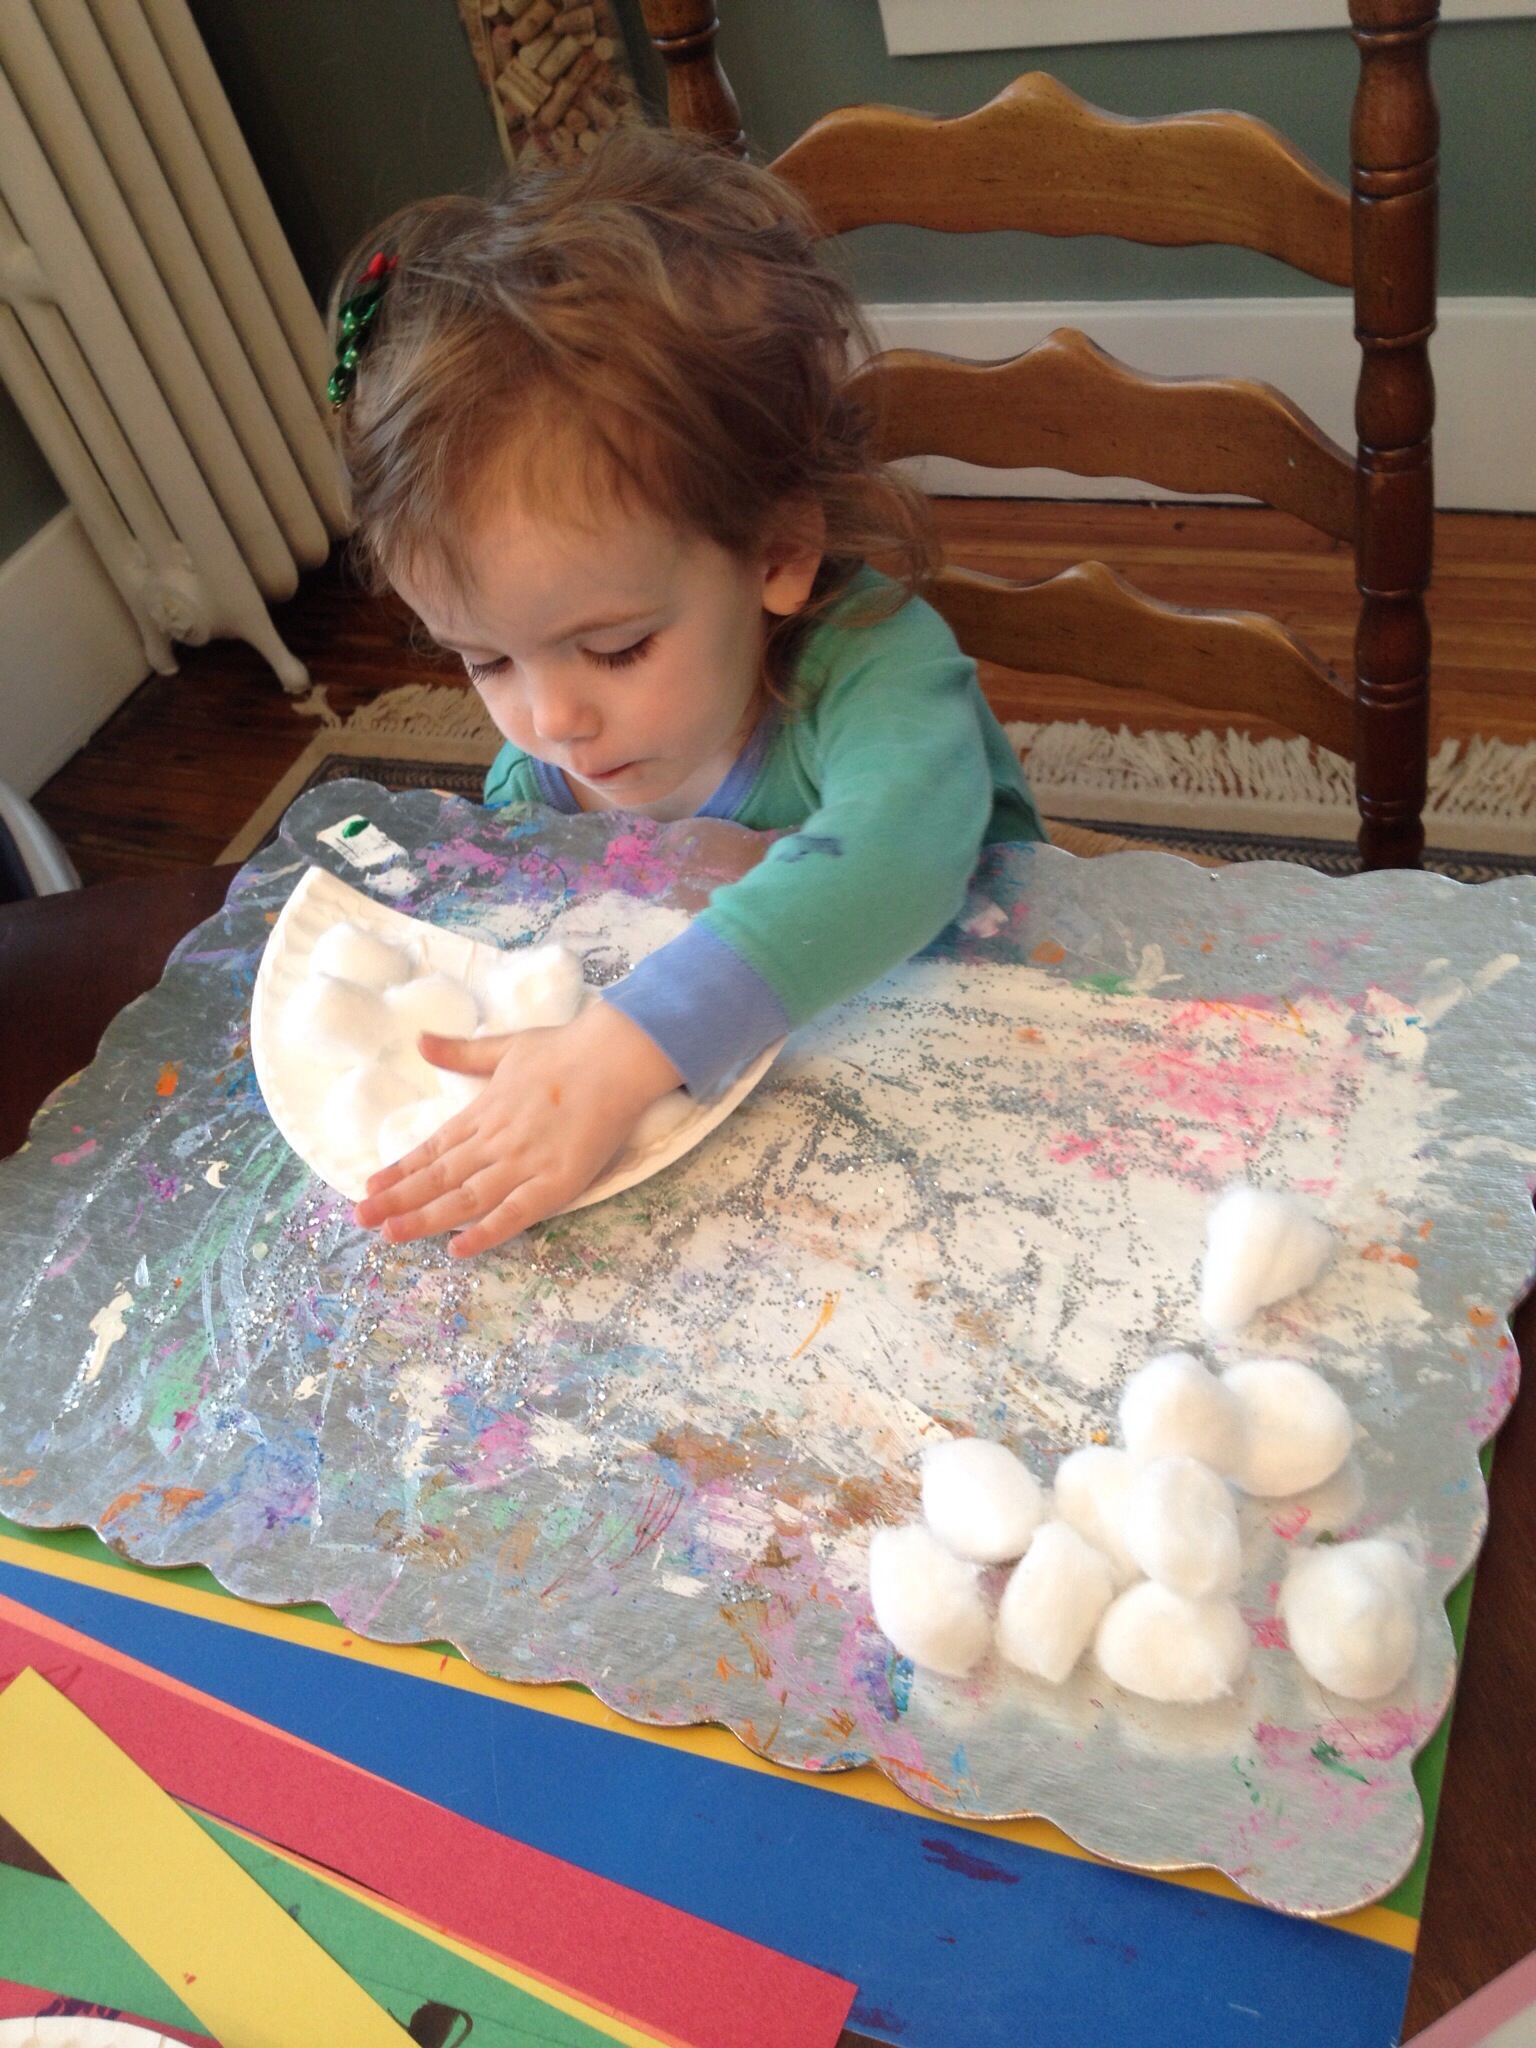
Paper plate
Cotton balls
Scissors
Pipe cleaner ( I’m sure black and pink would be more appropriate, but we didn’t have those colors, so we used purple and red)
Pink Pom Pom ball ( again, a pink ball would be ideal, but we only had white, so we painted ours pink!)
Glue
White construction paper
Pink Marker or crayon
Black marker or crayon
Two google eyes
Directions
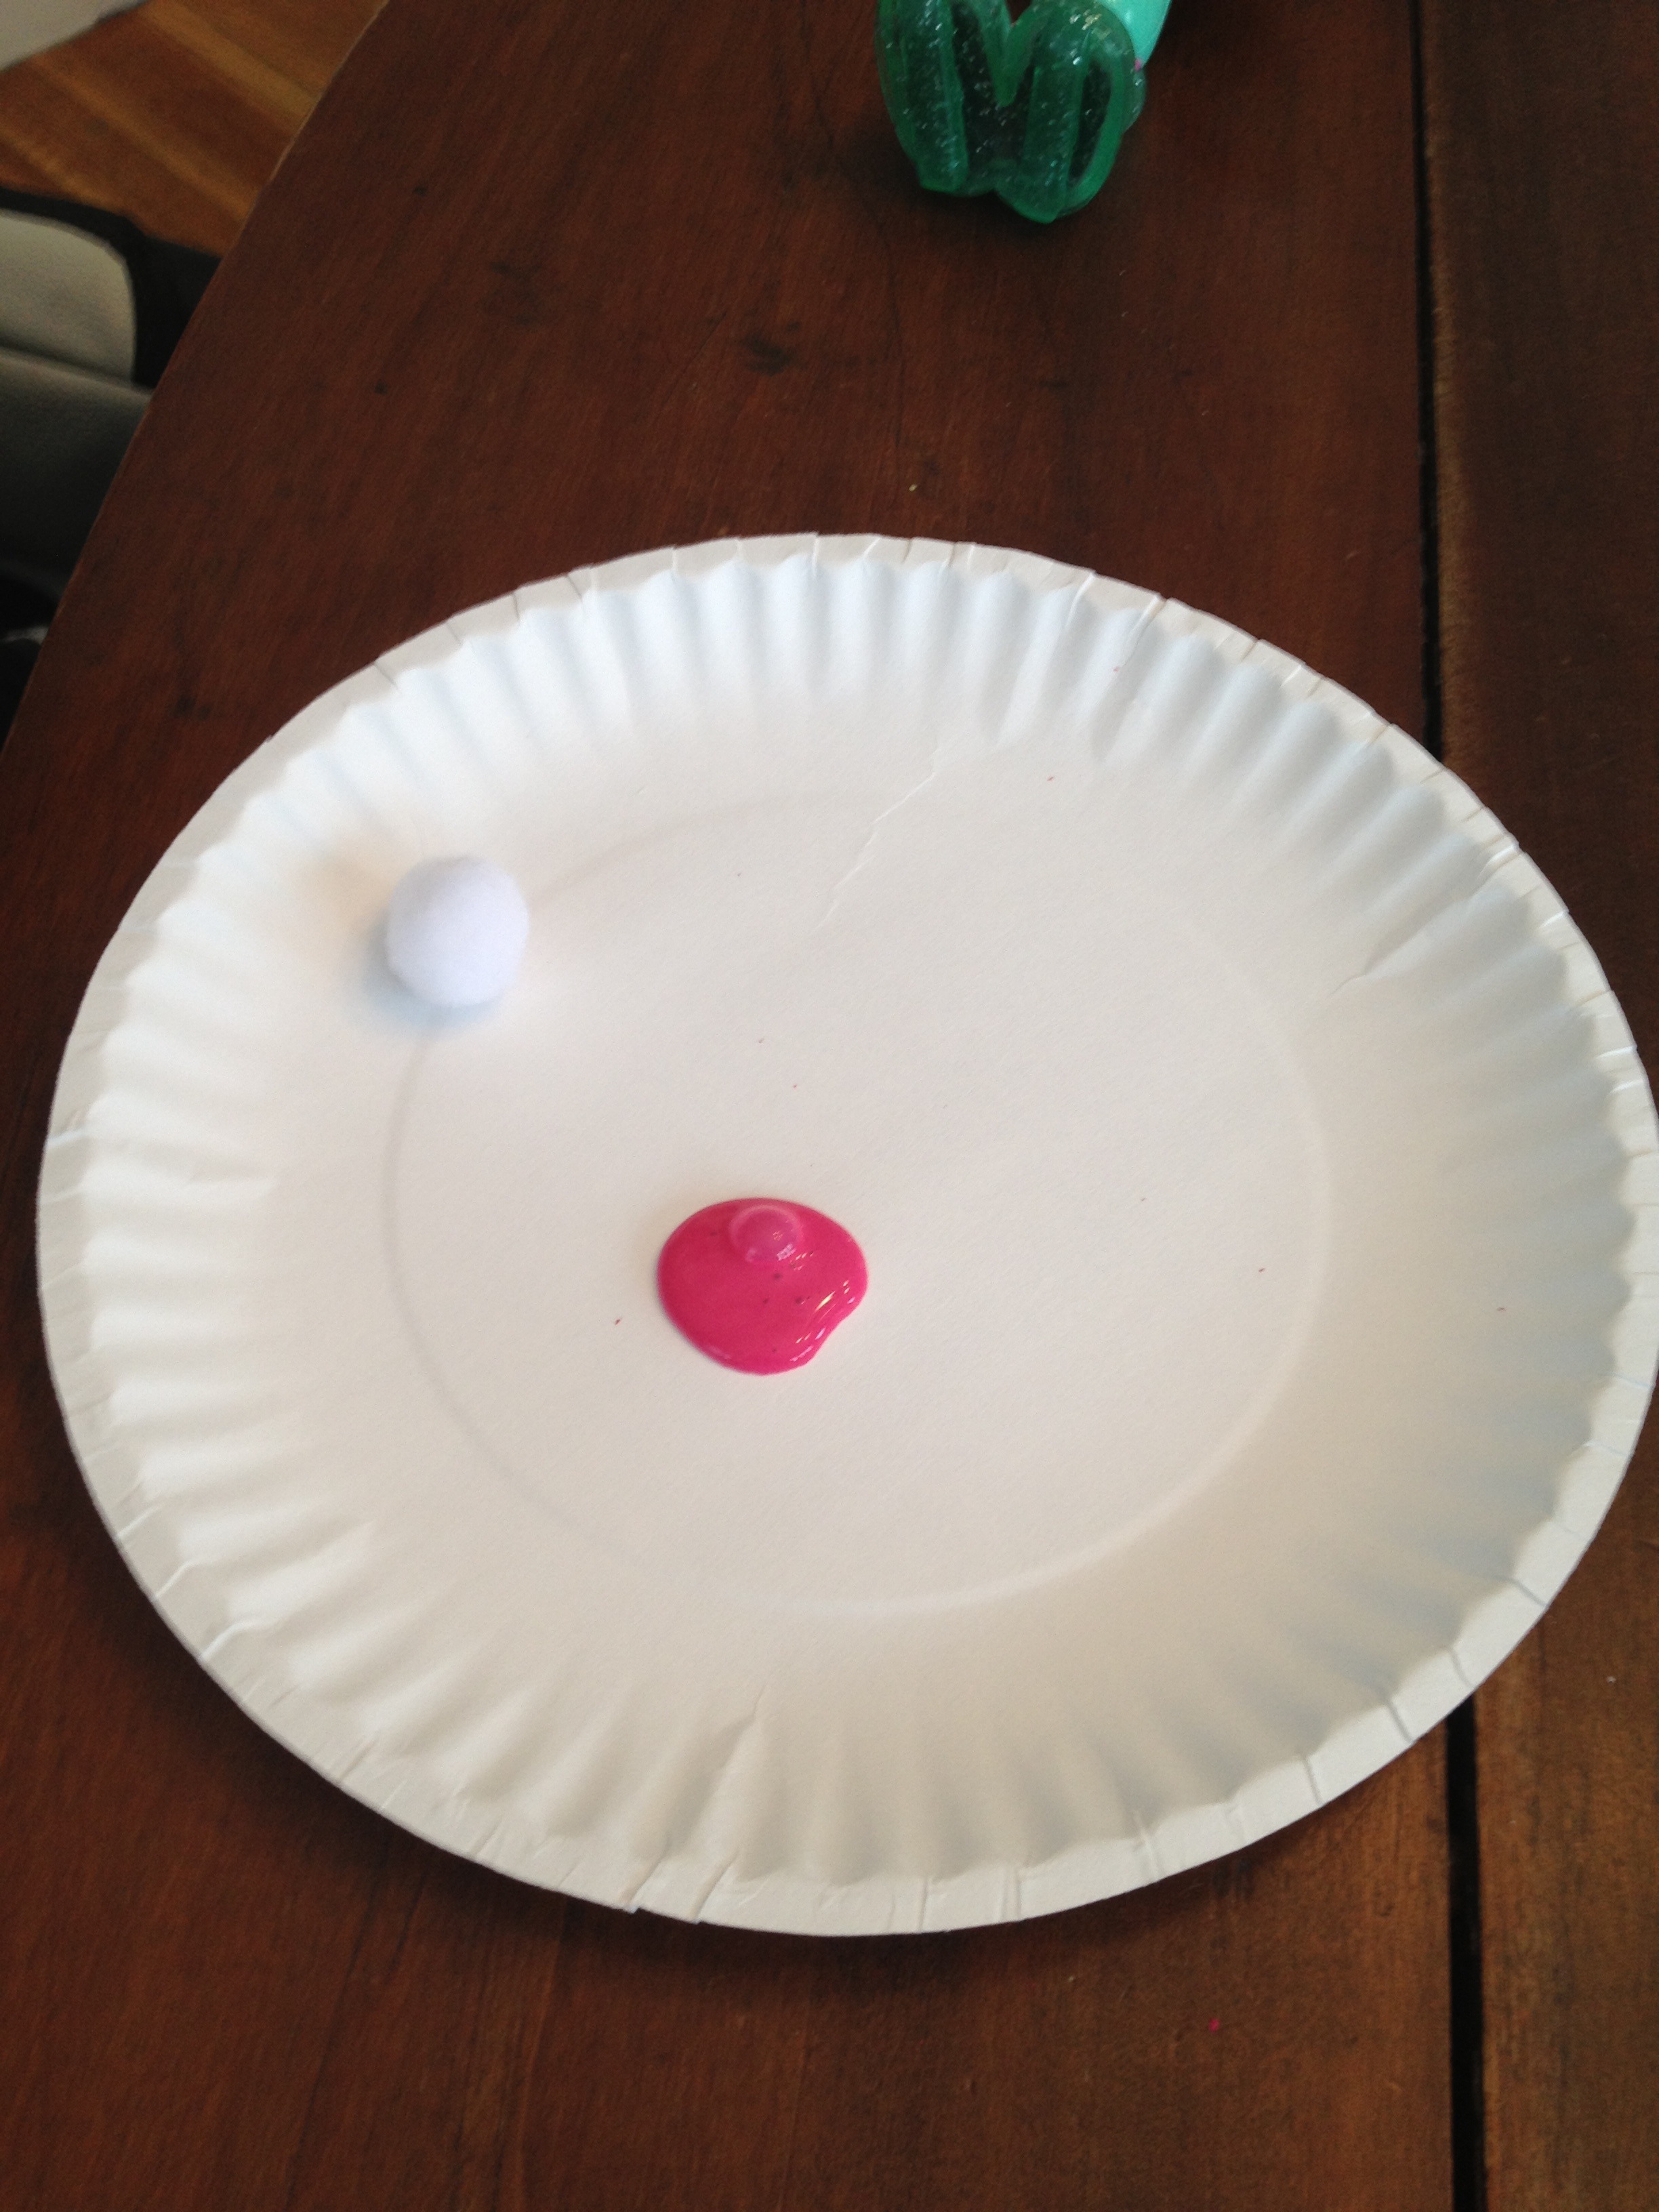

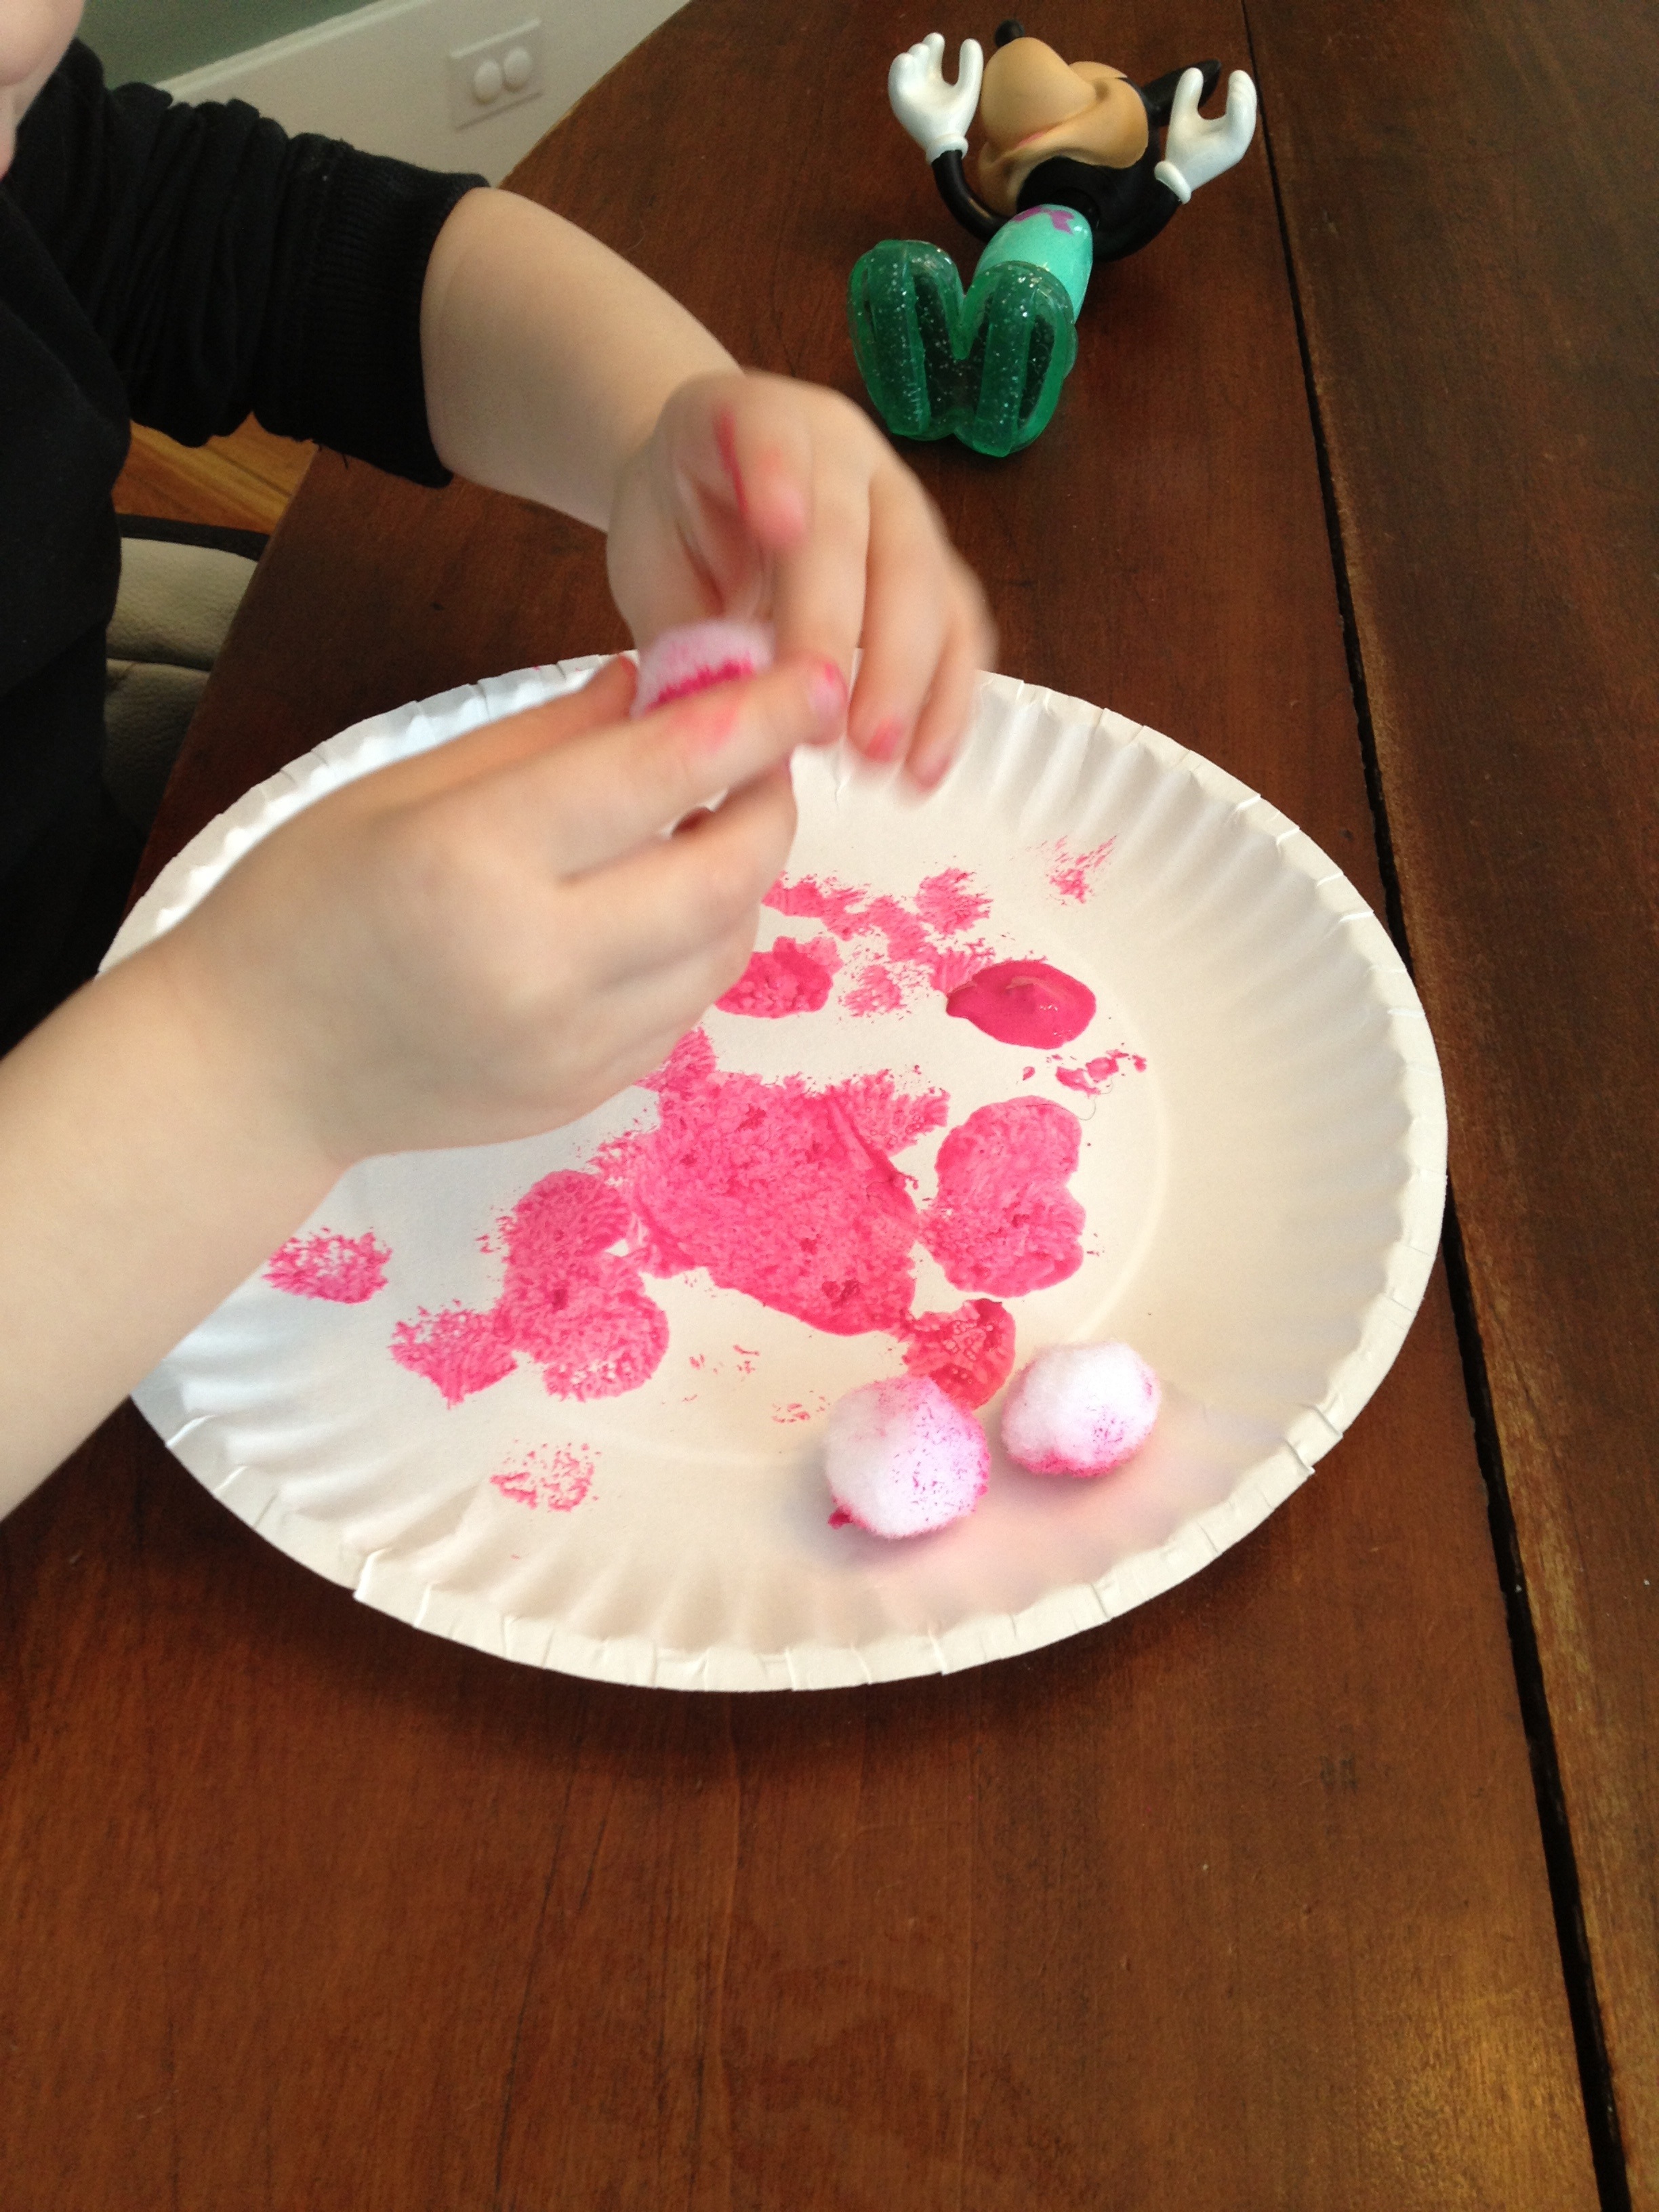
If you don’t have a pink pom pom ball, squeeze a small amount of pink paint onto a plate and have your child roll the white pom pom ball around until it is covered in pink paint.
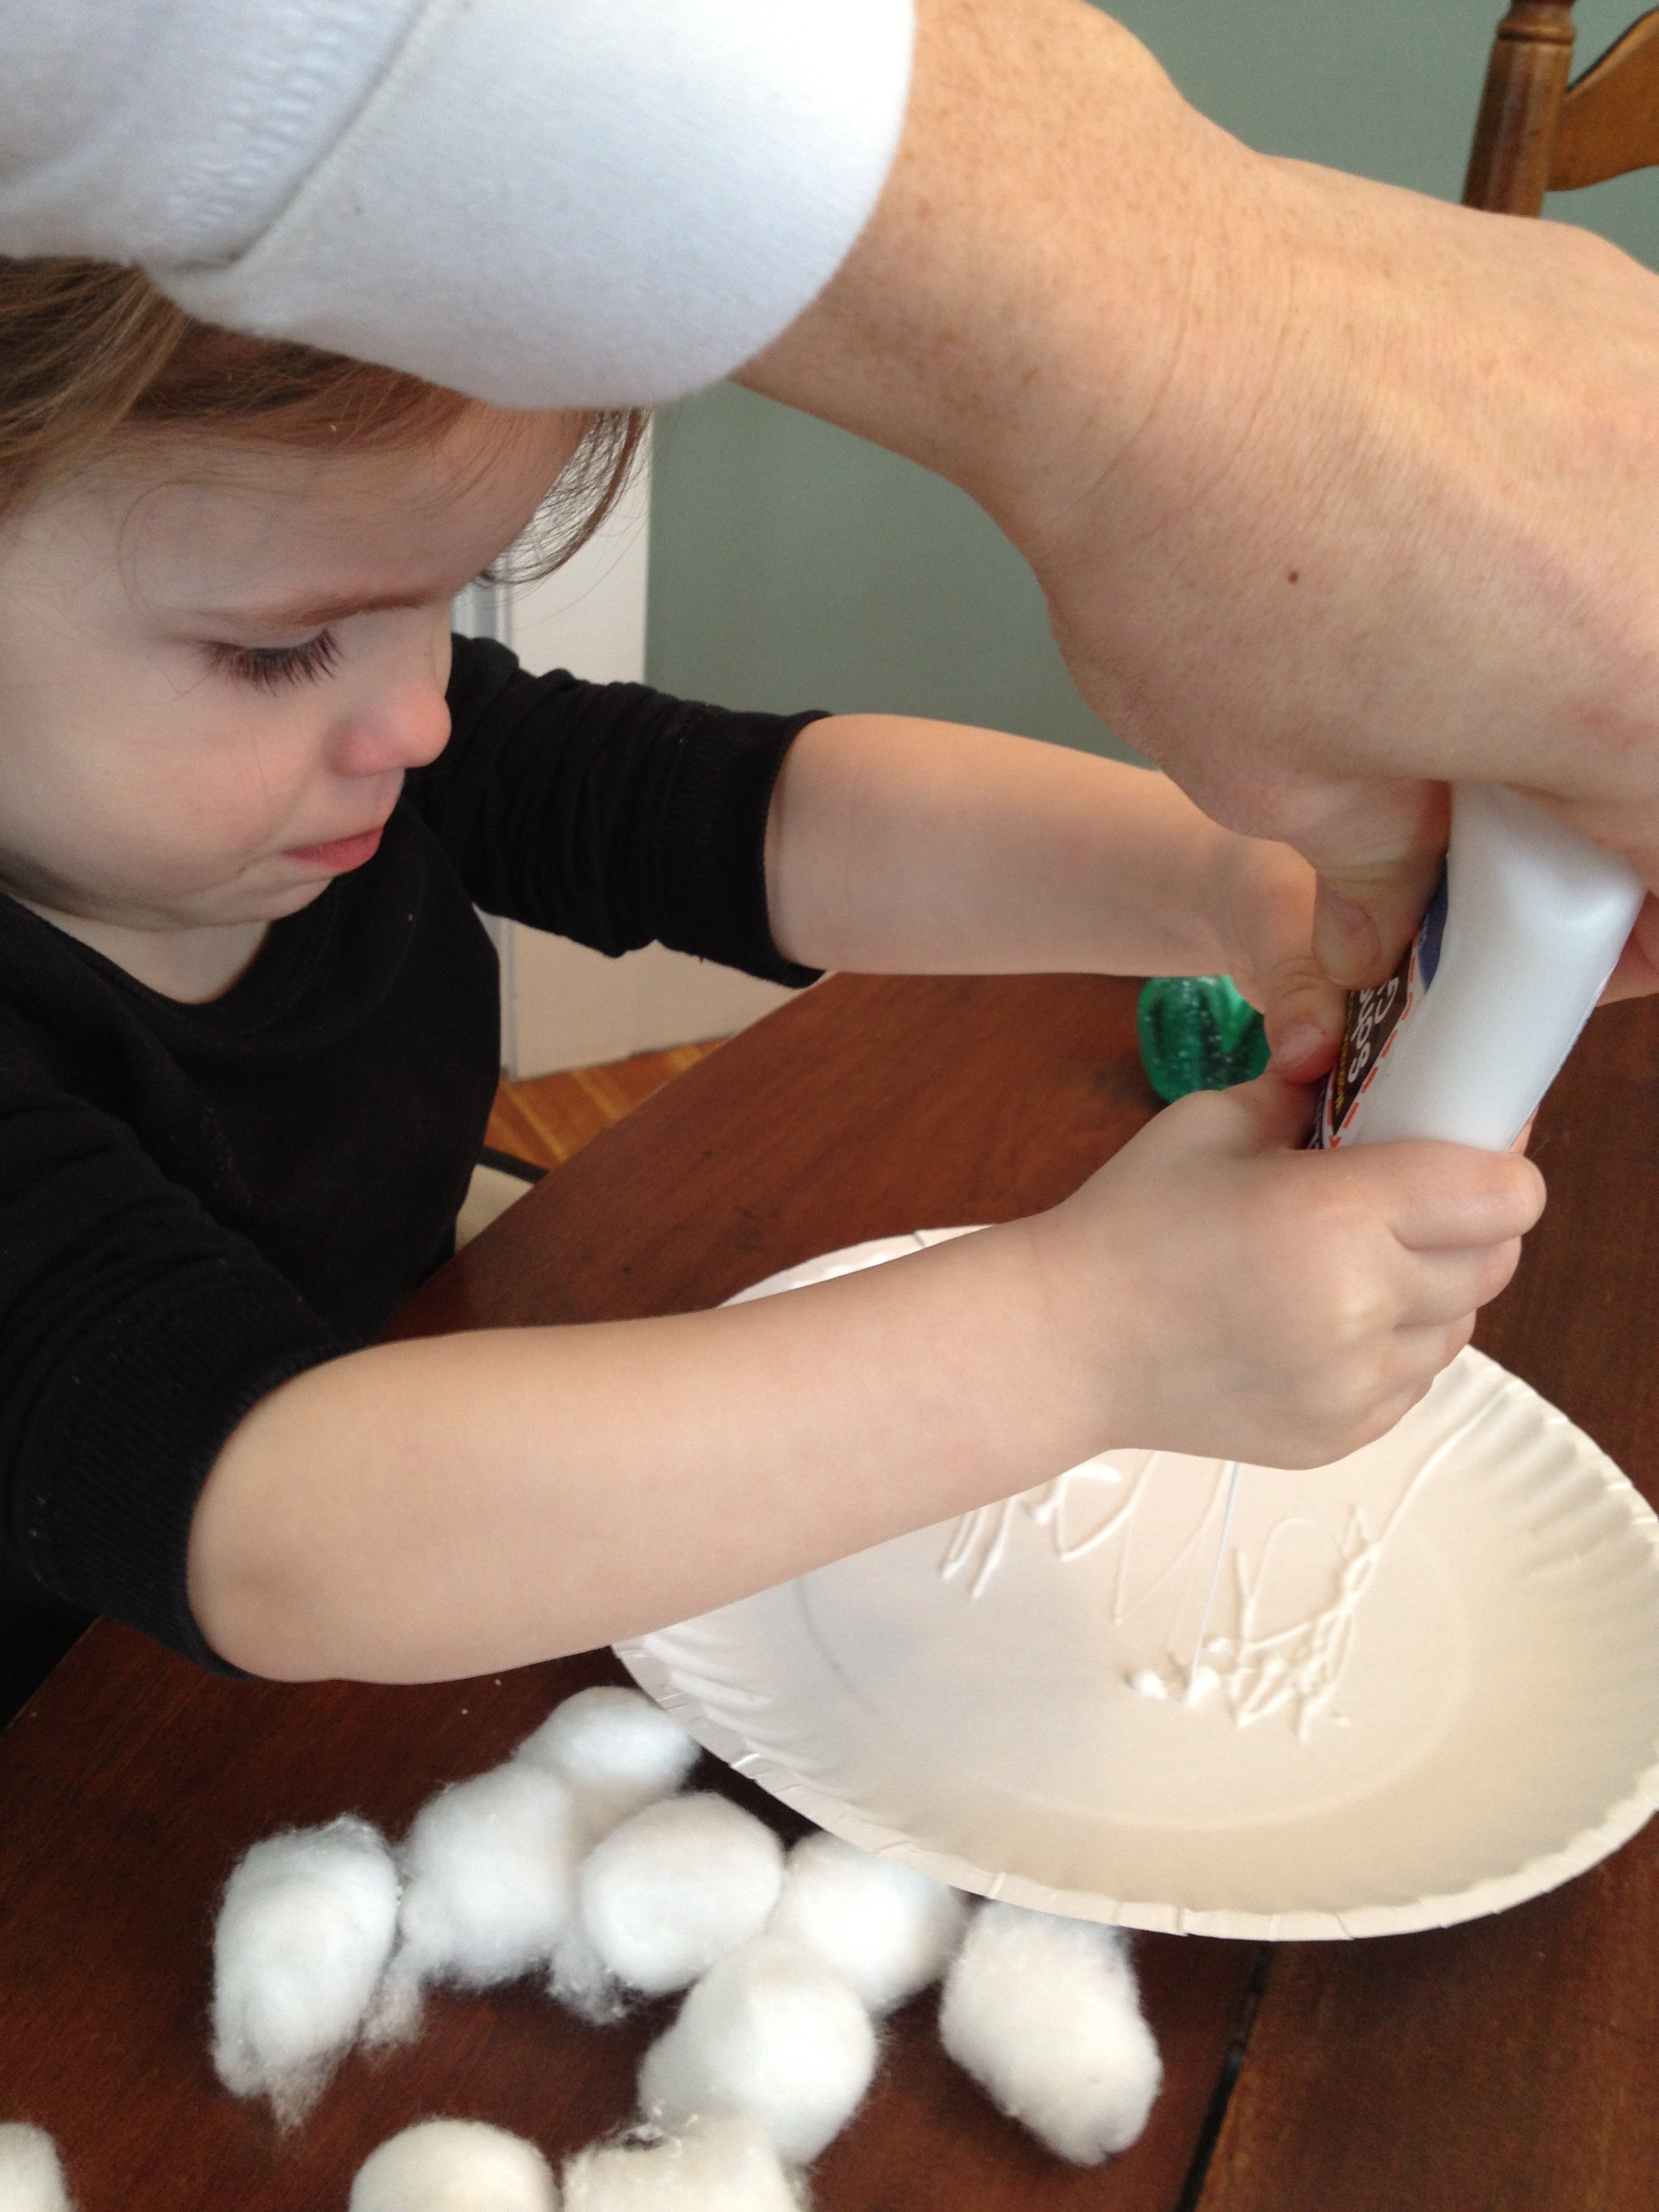


Assist your child in squeezing the glue bottle to cover your paper plate in swirls of glue. Stick cotton balls onto plate, covering entire plate.
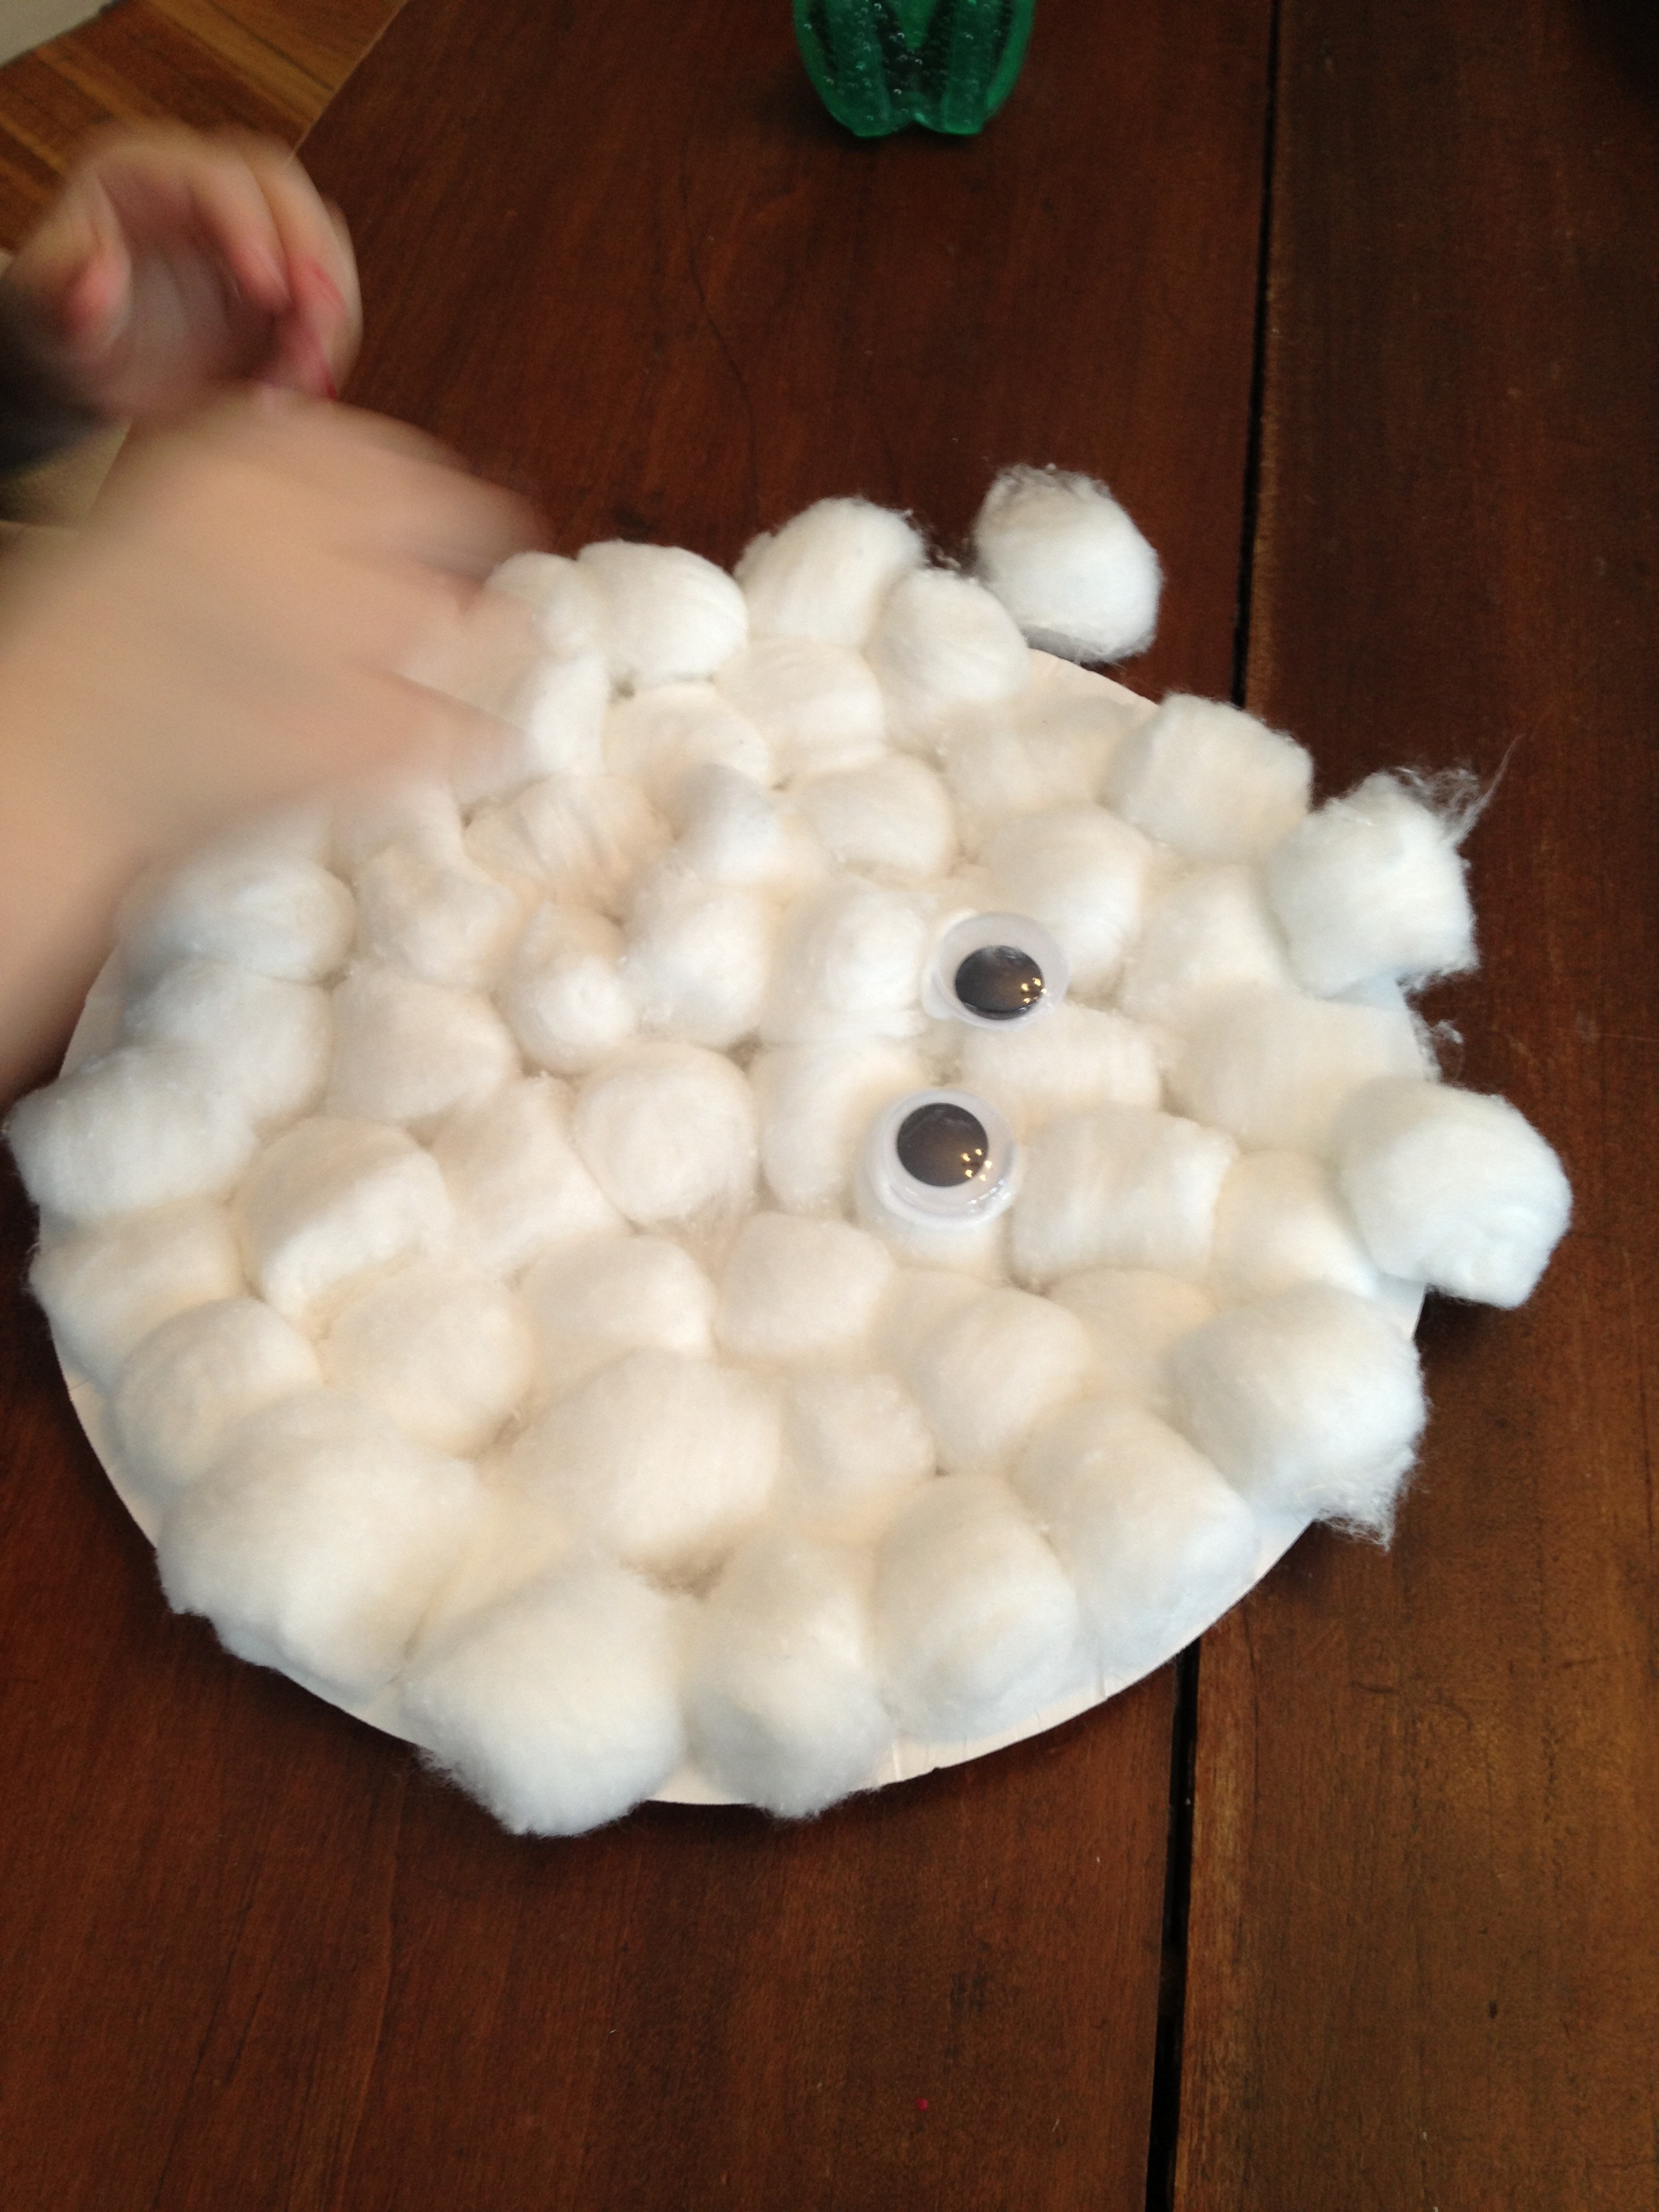
Glue on google eyes.


Glue pink pom pom down as nose.
Cut black pipe cleaner, or whatever color pipe cleaner that you’re using for whiskers, in half. Draw 4 lines with the glue. Place pipe cleaners on-top of traced glue line.

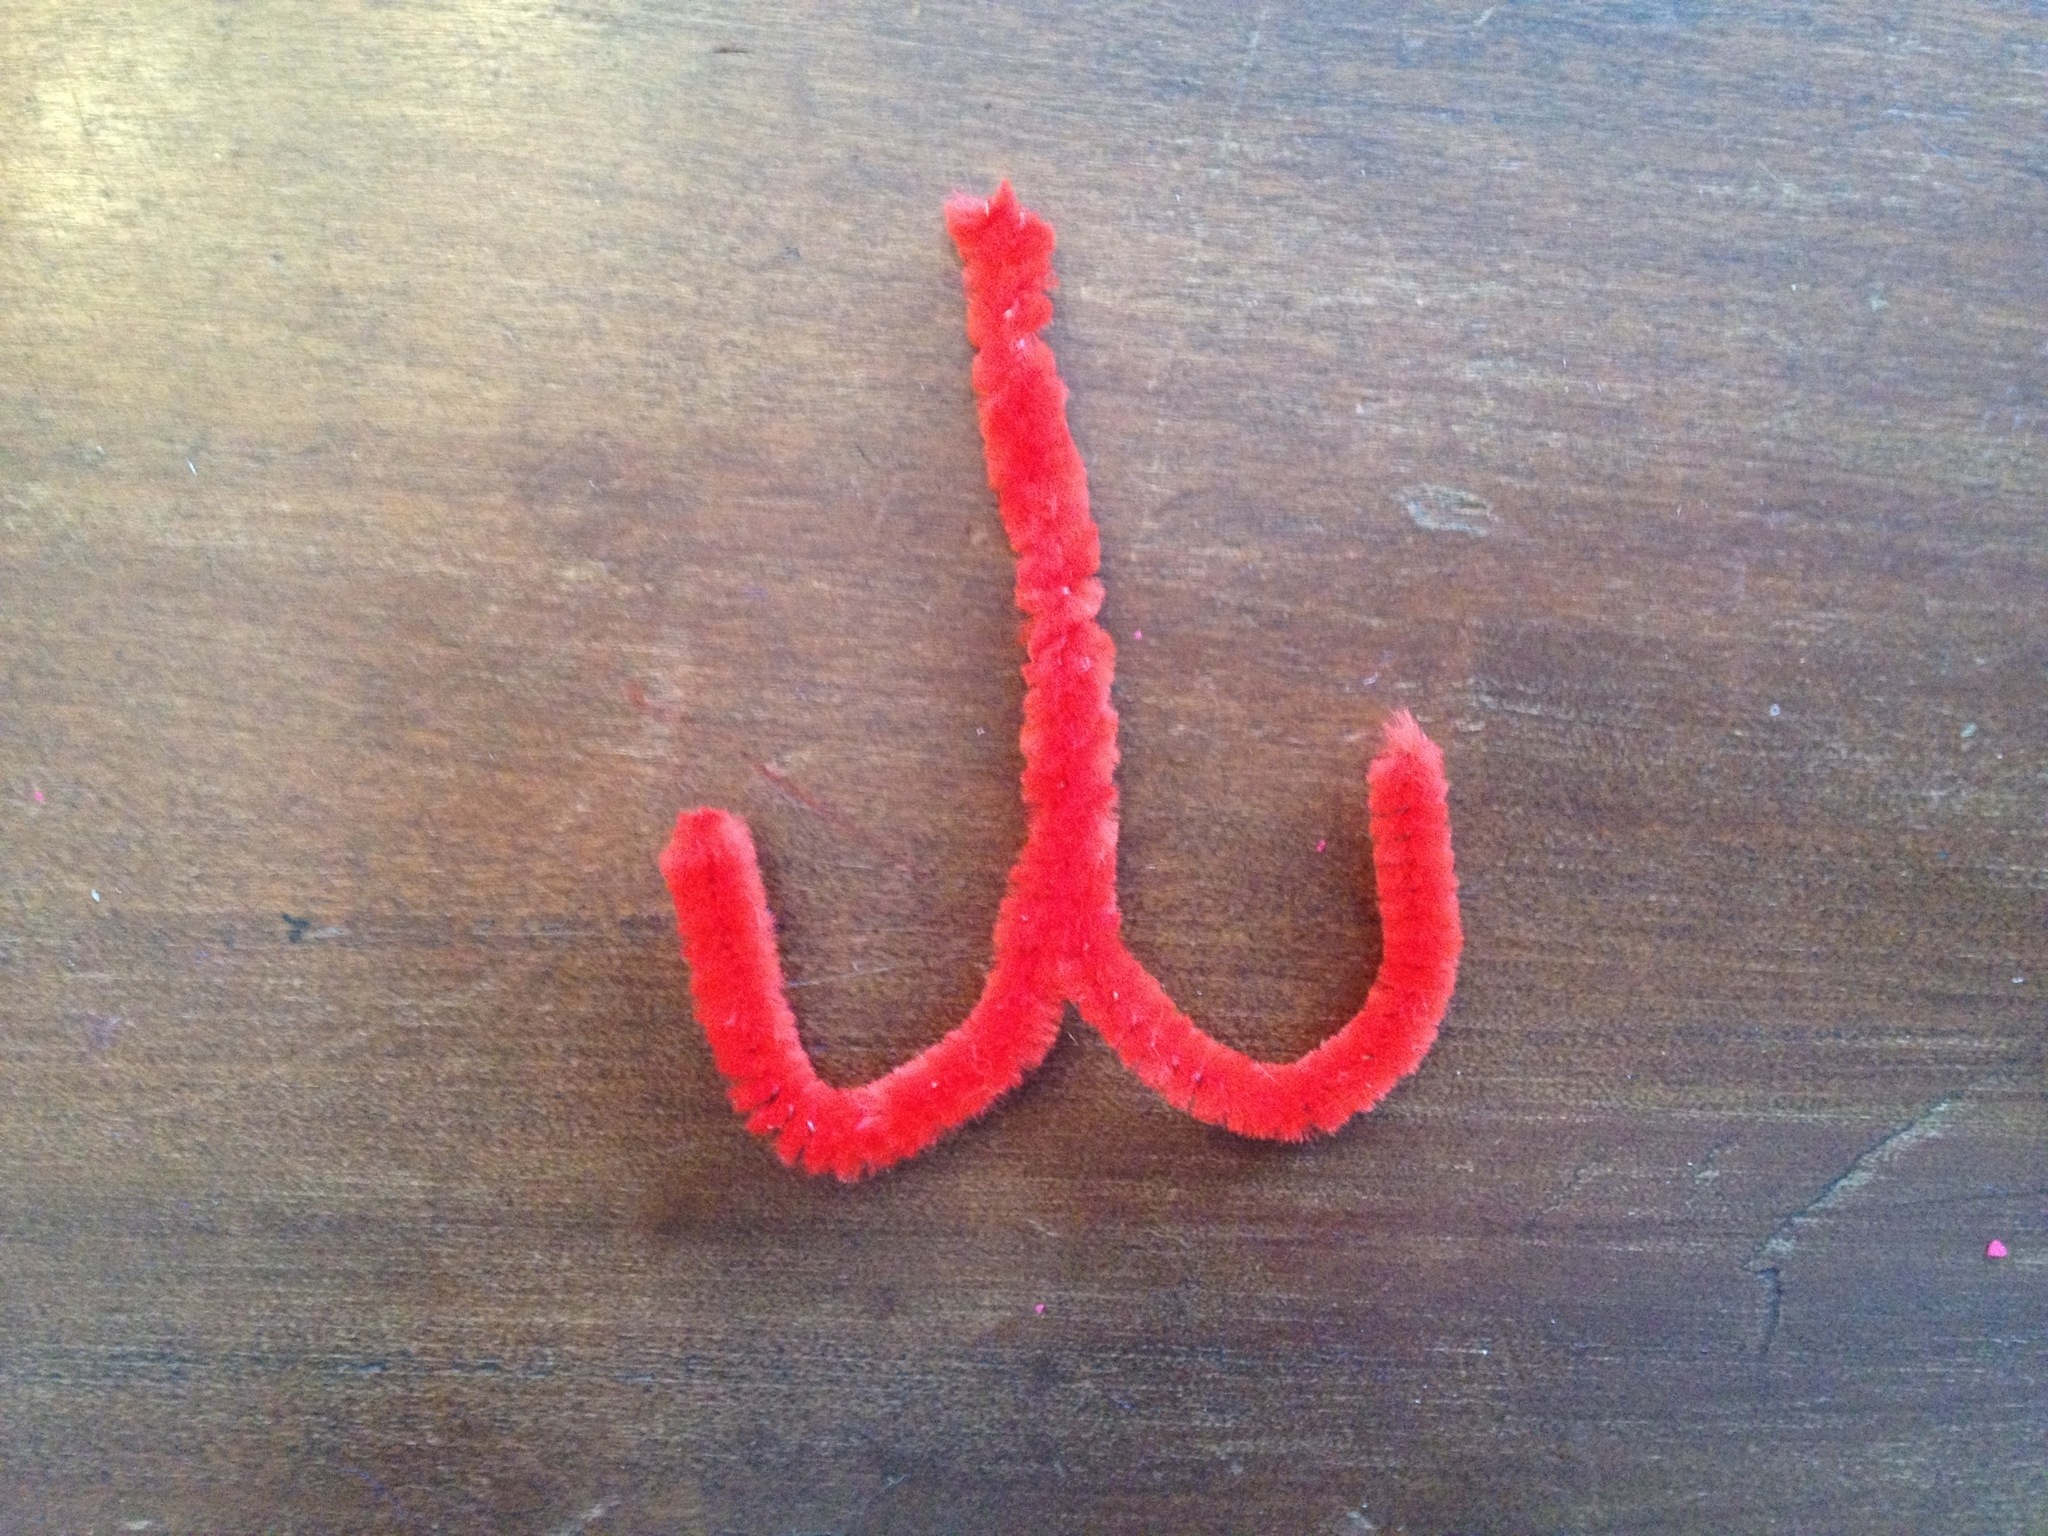
Cut the pink pipe cleaner, or whatever color pipe cleaner you’re using for the mouth, in half and then cut another half inch or so off of each piece. Twist the top of the two pieces of pink pipe cleaner together and hook the bottoms. Glue below nose.
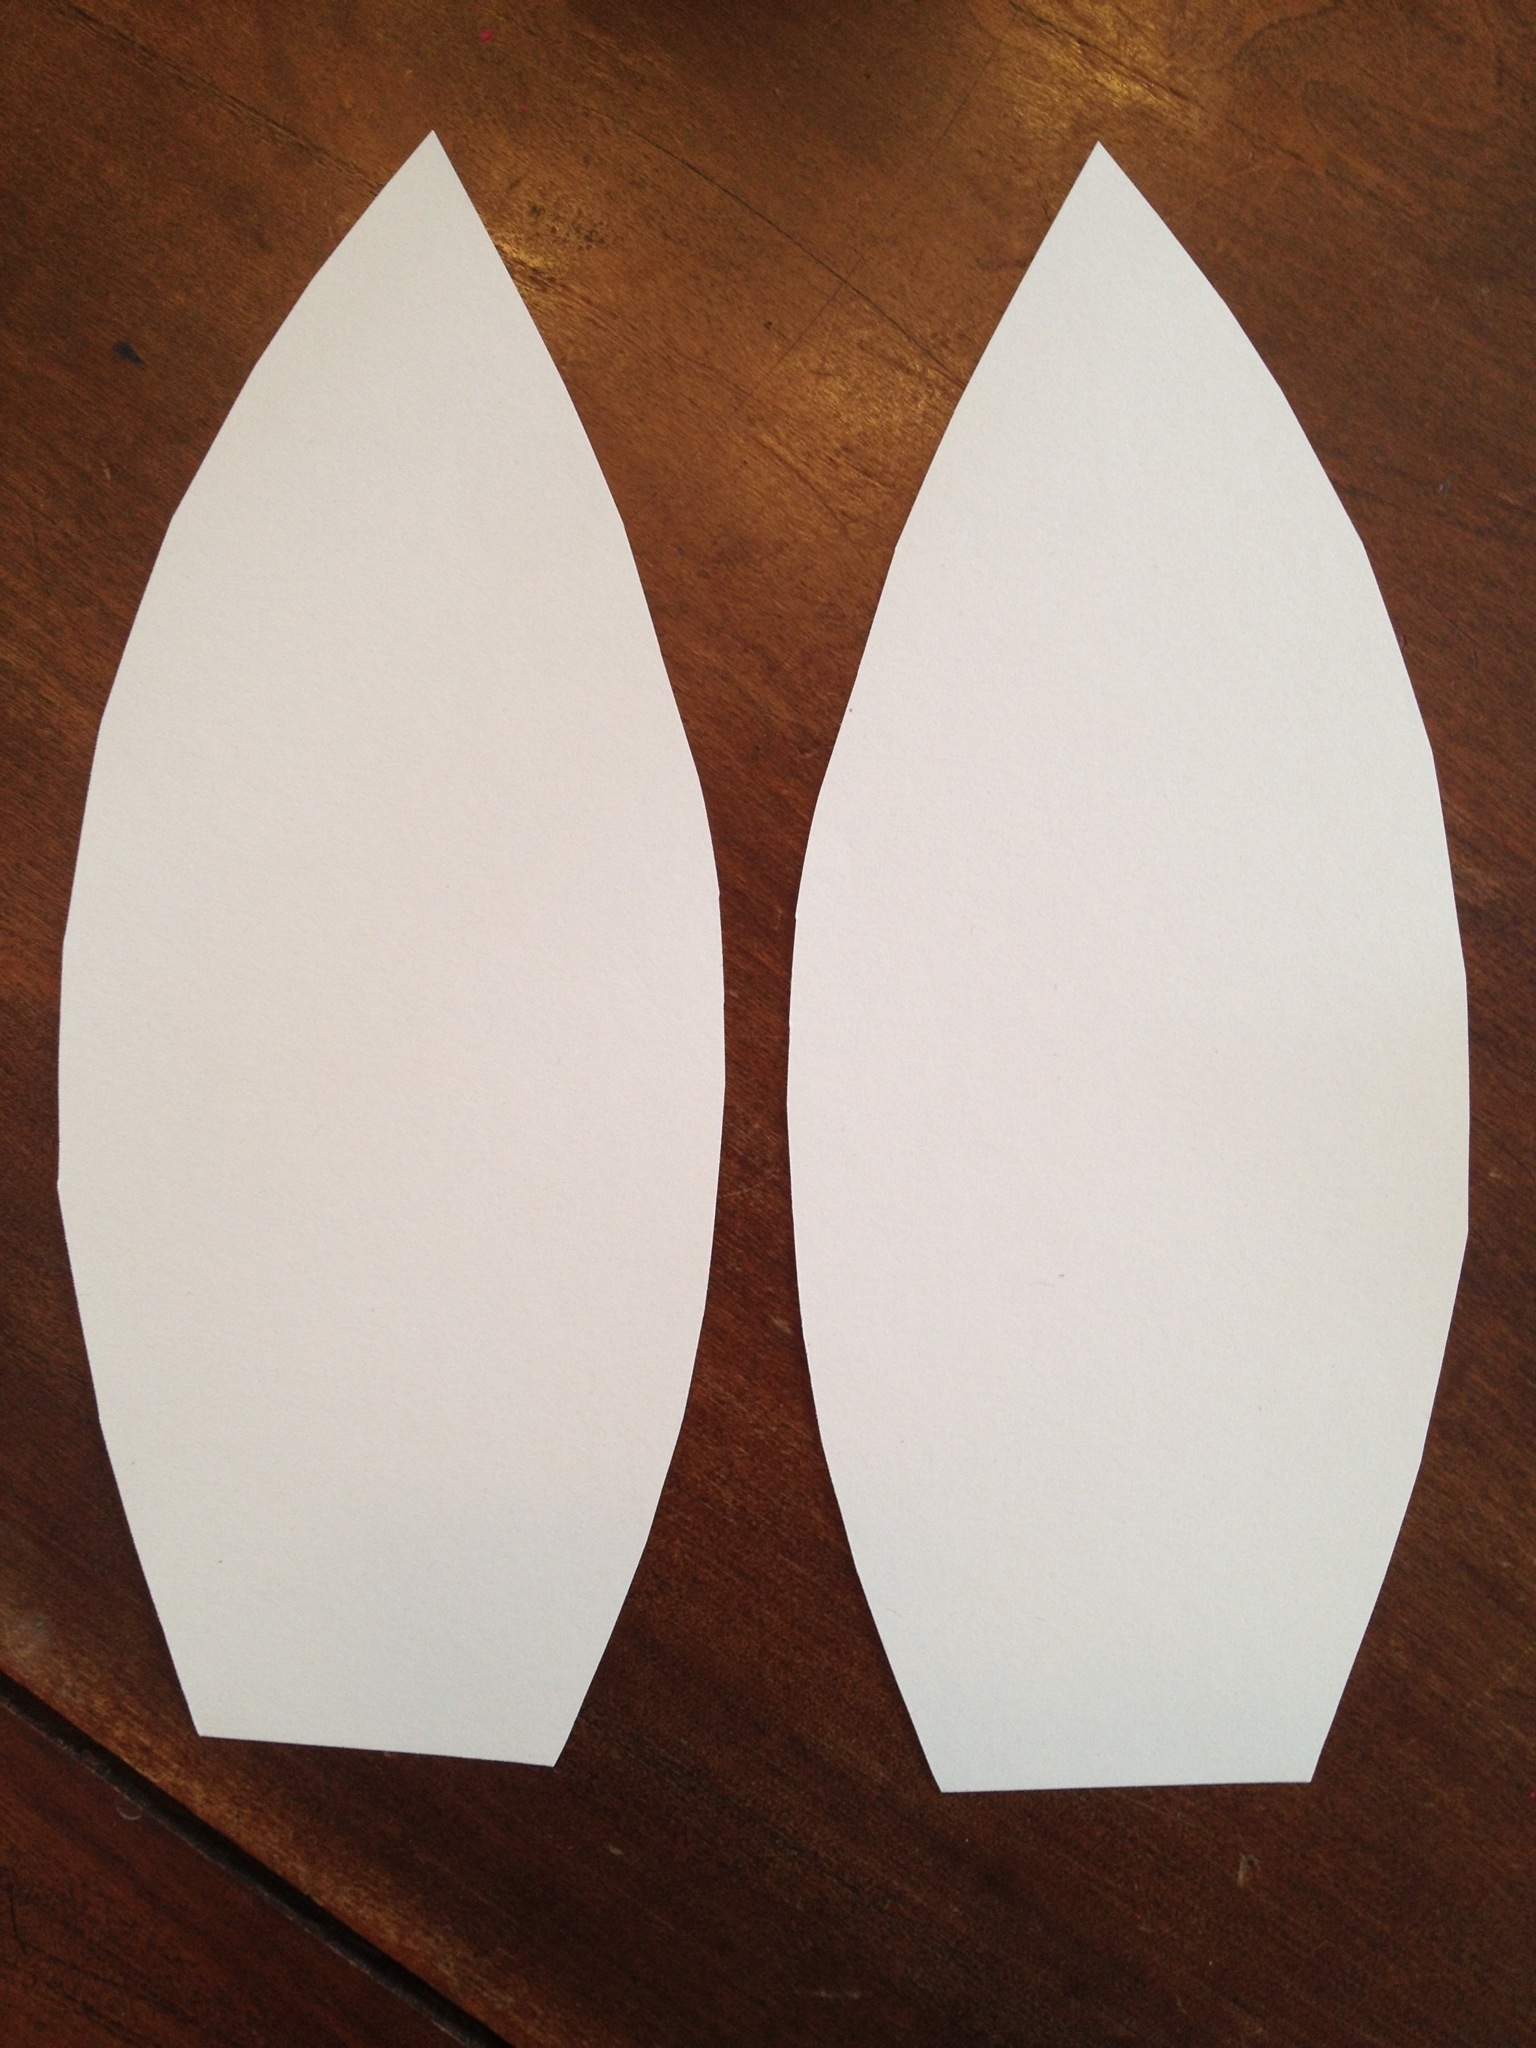


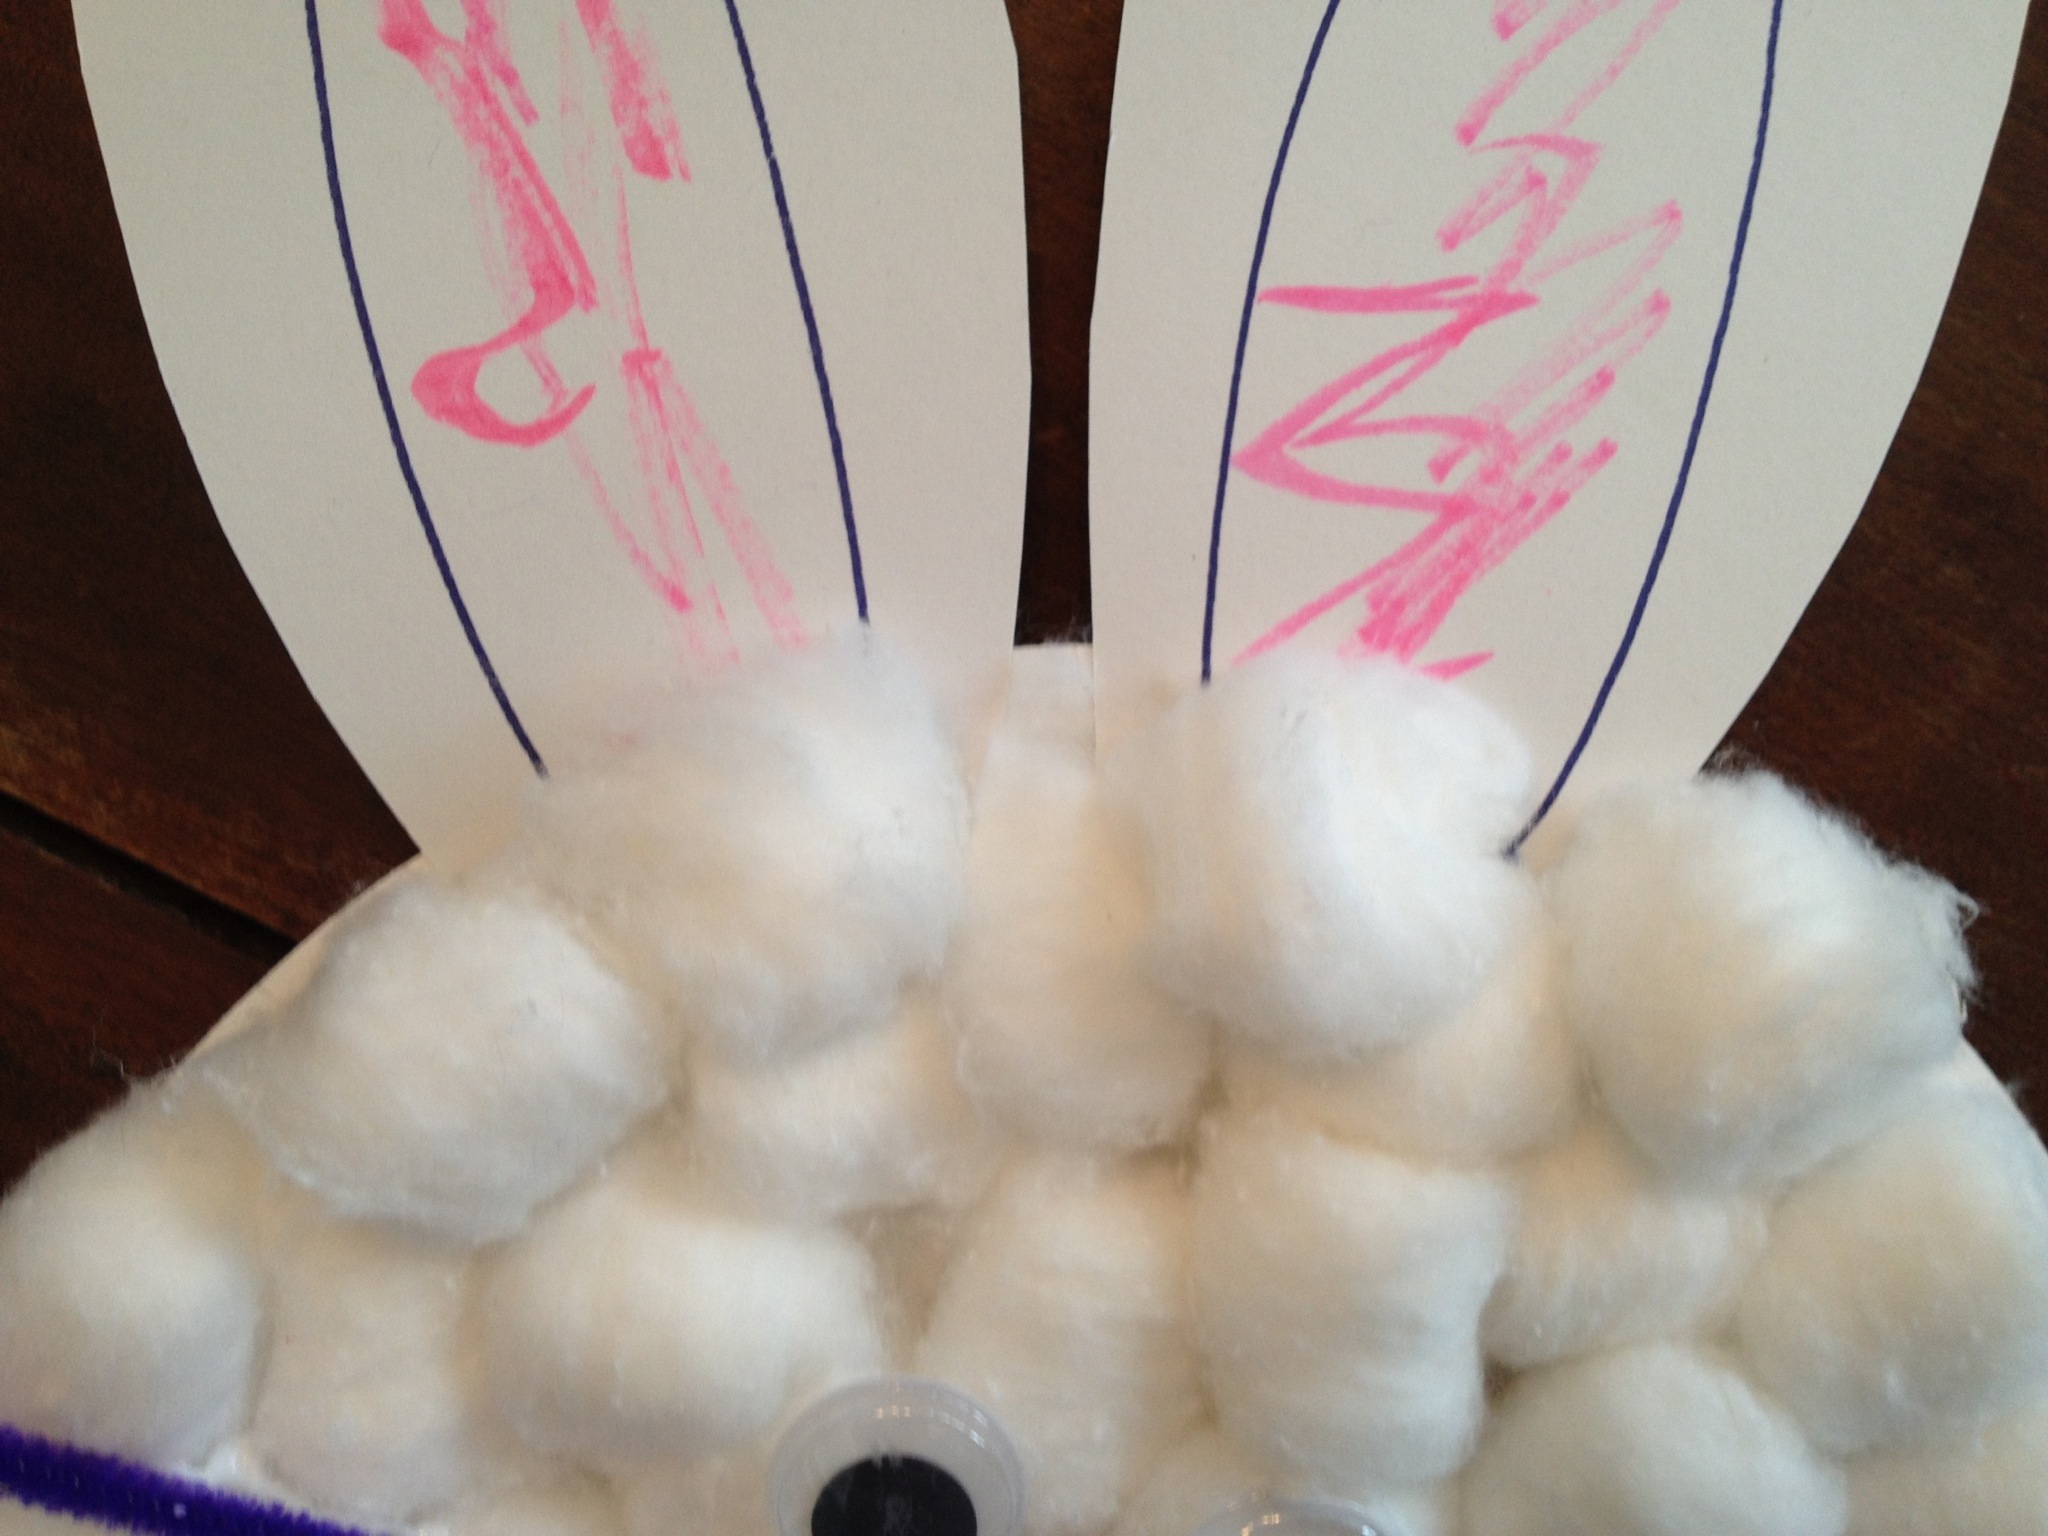
Fold a white piece of construction paper in half and cut out the shape of a bunnies ear. Draw, on each ear in black marker, the inside of the bunnies ear. I free handed the cutting and the inside lines- they don’t have to be perfect;)
Using pink marker or crayon, color the inside of the bunnies ears. Glue ears to the back side of the paper plate.
Happy Crafting!!