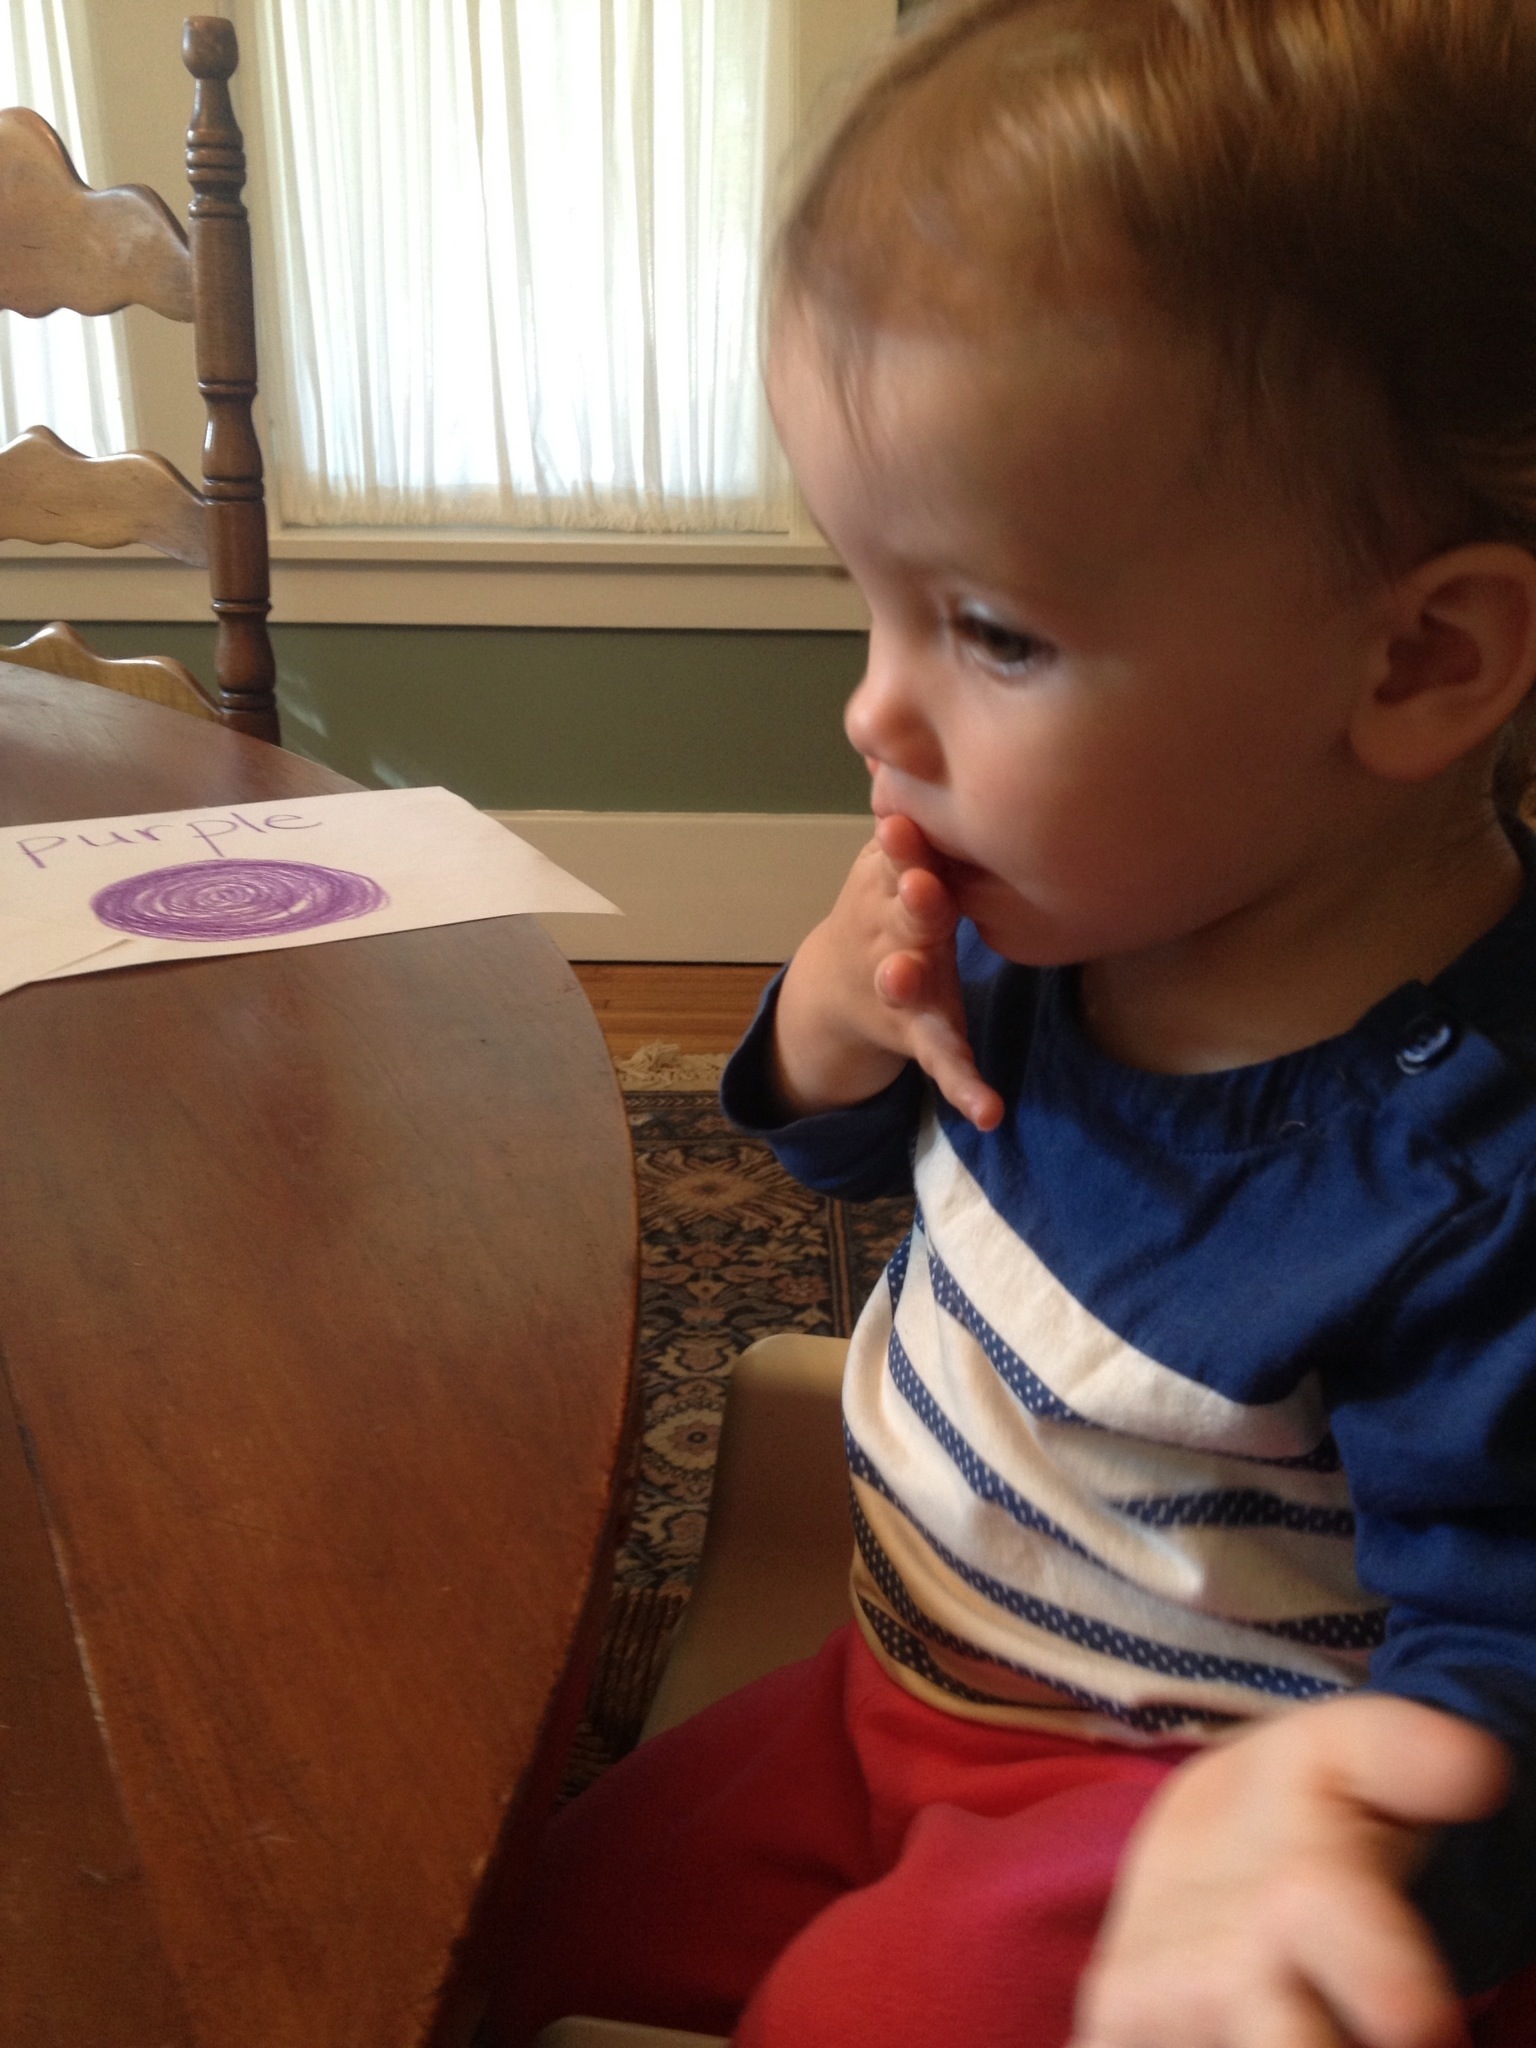
Another super easy activity, to strengthen a few important skills! Color identification, letter recognition, word recognition, matching and fine motor skills are all utilized and strengthened in this basic activity.
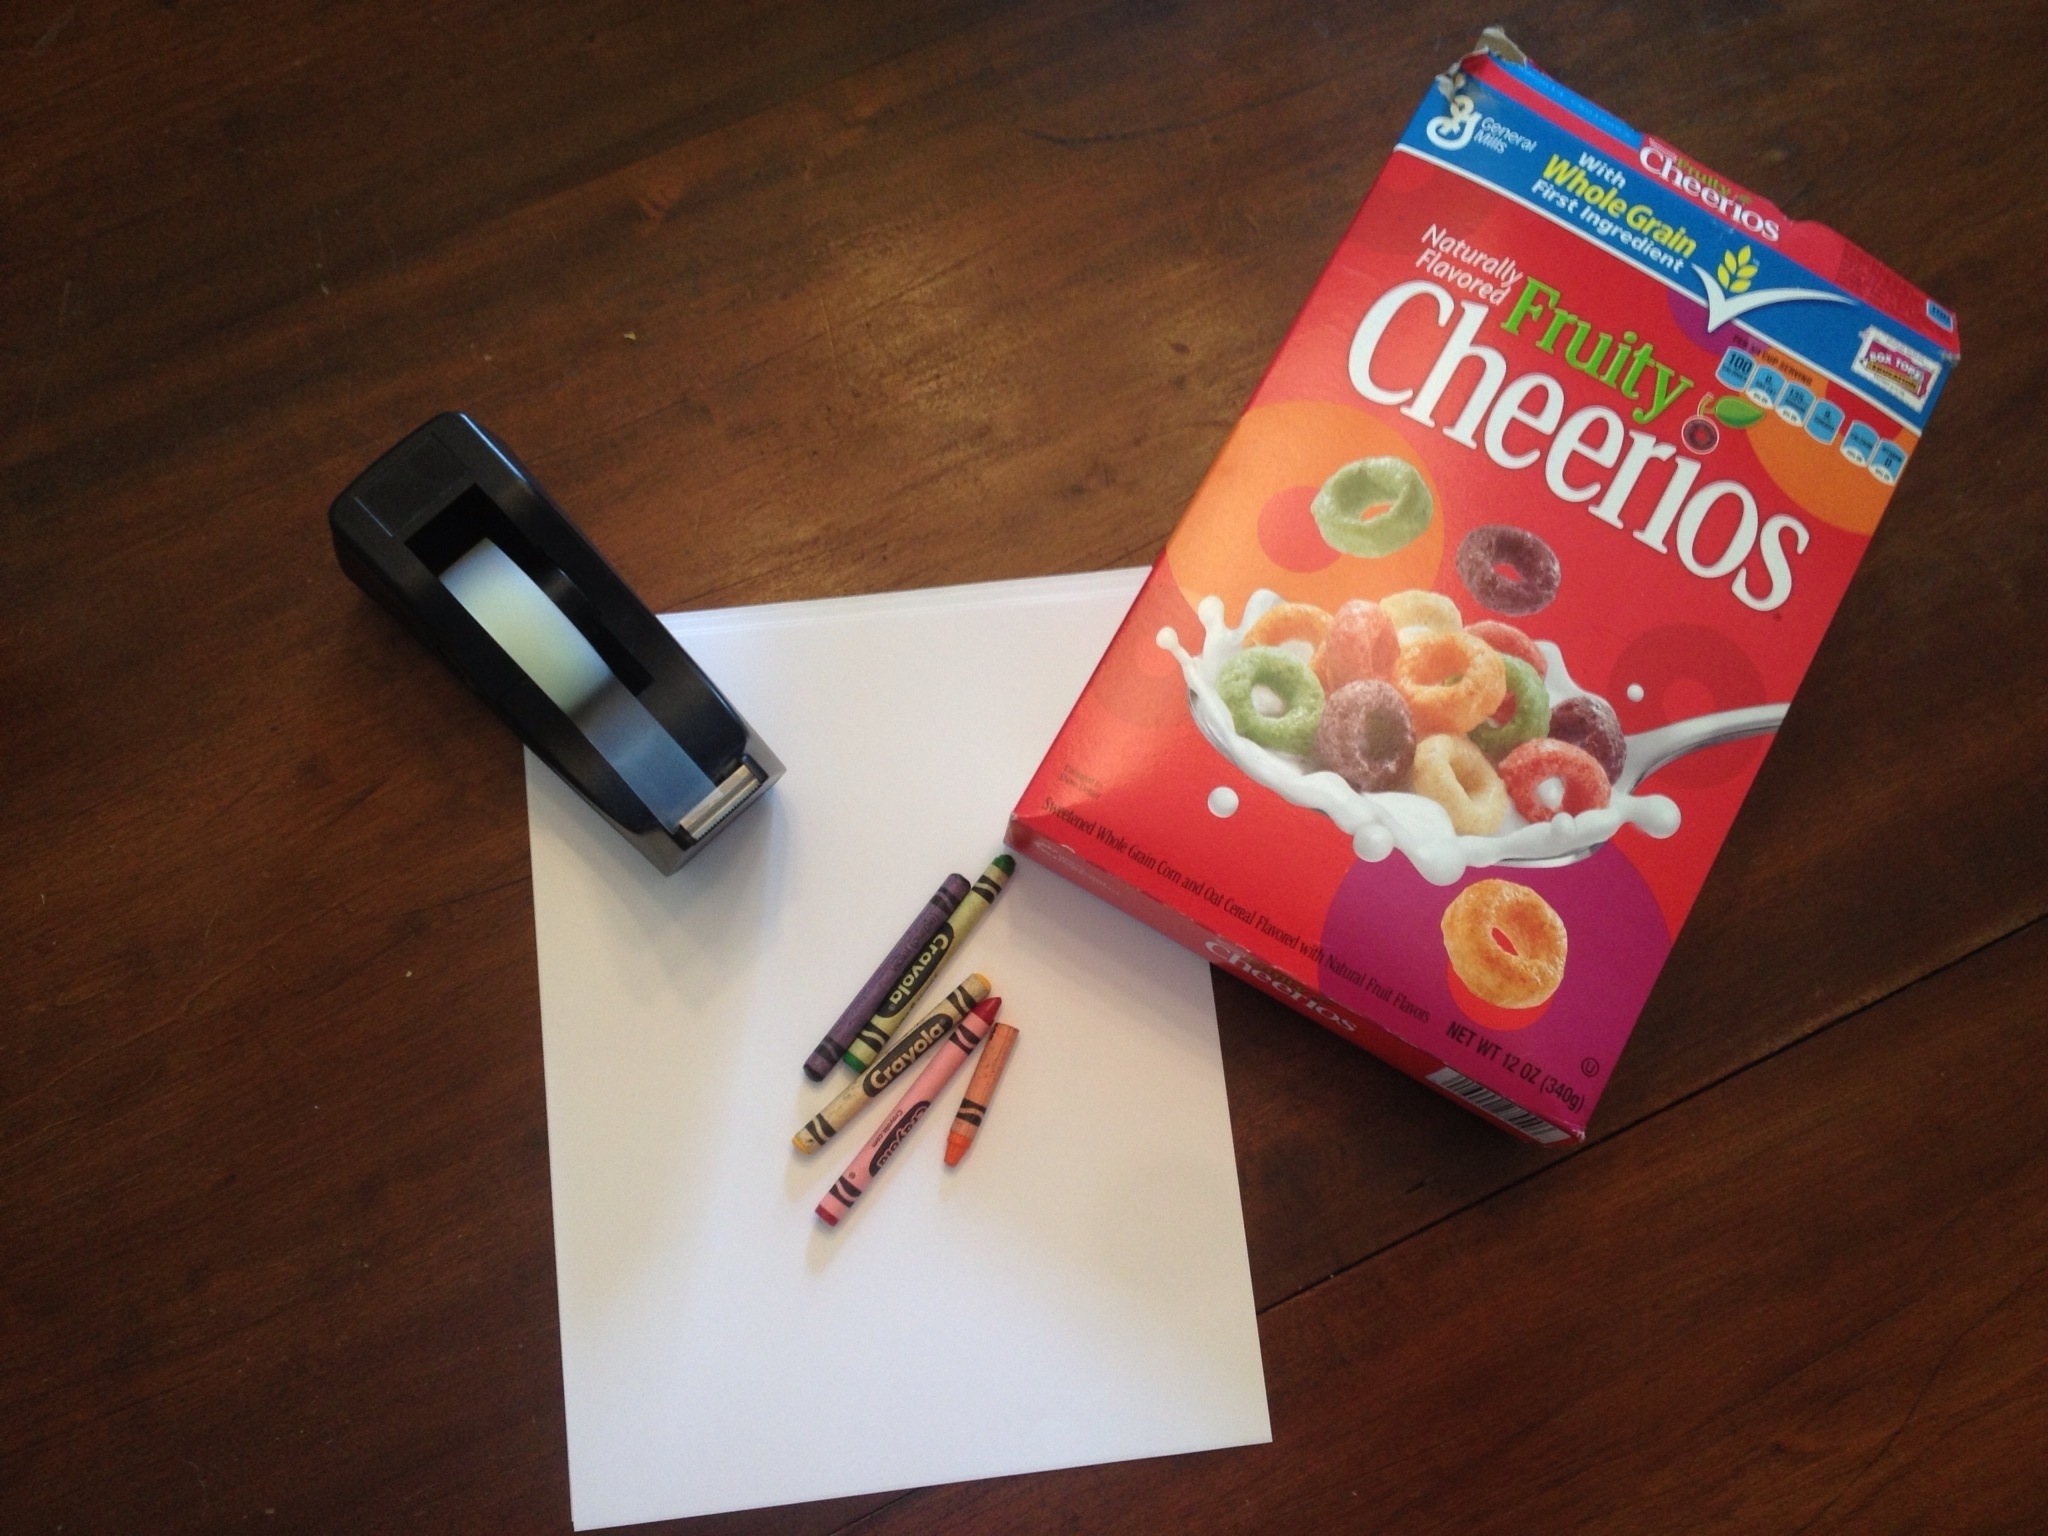
Materials

Scissors
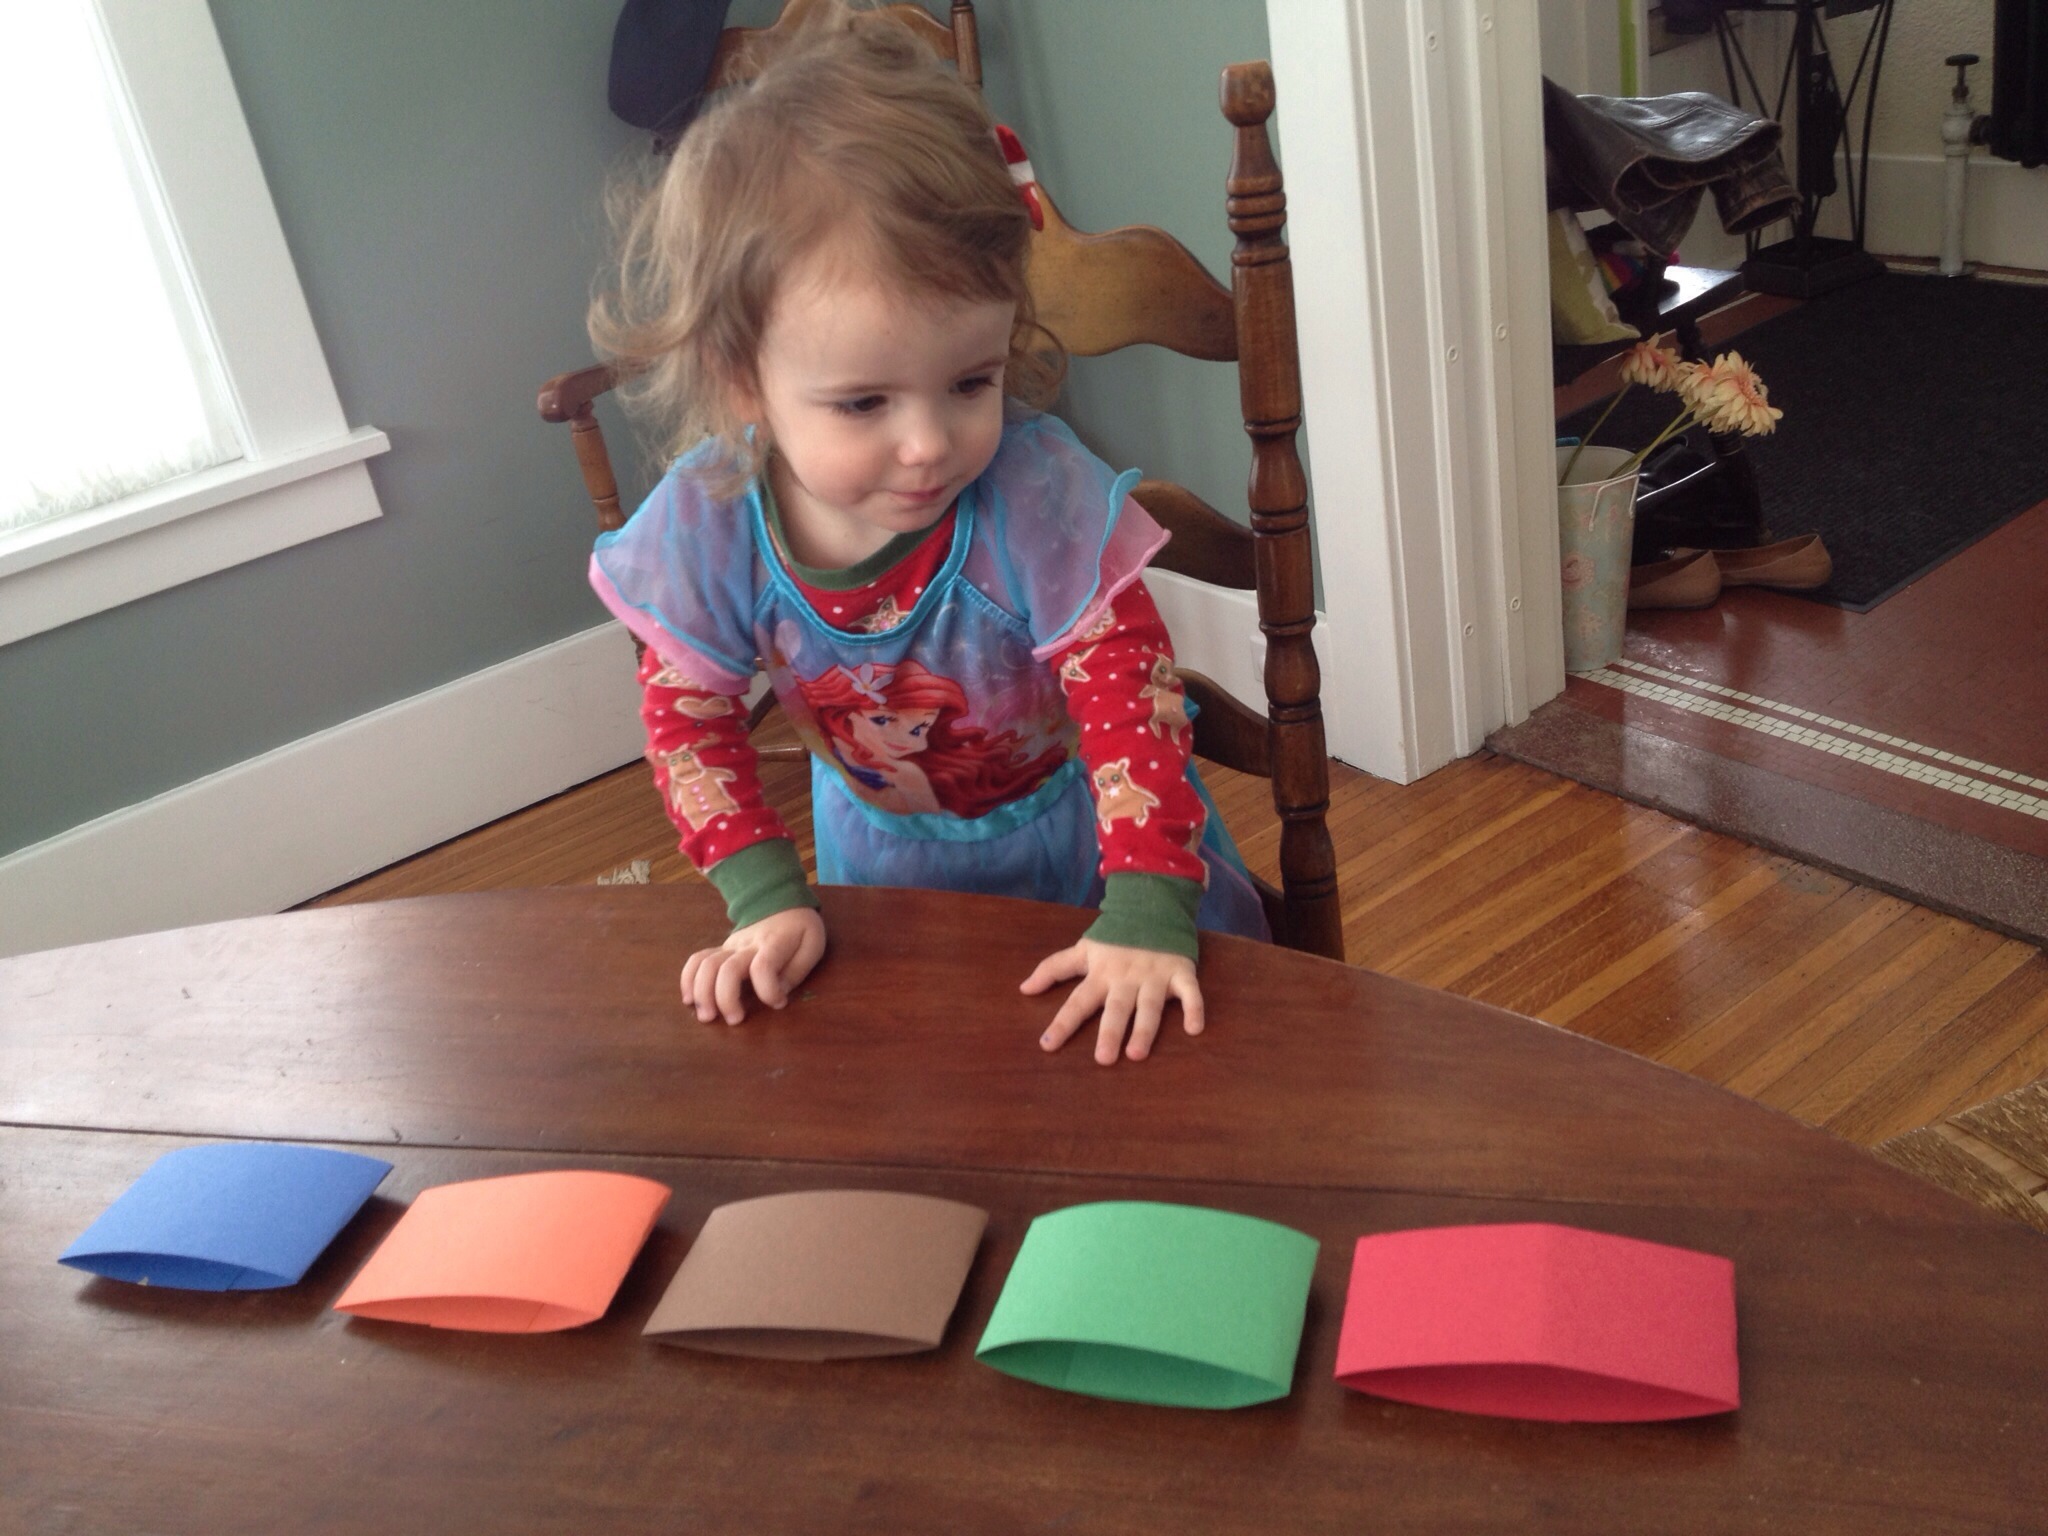
Various colored sheets of paper ( we used 5 different colors)
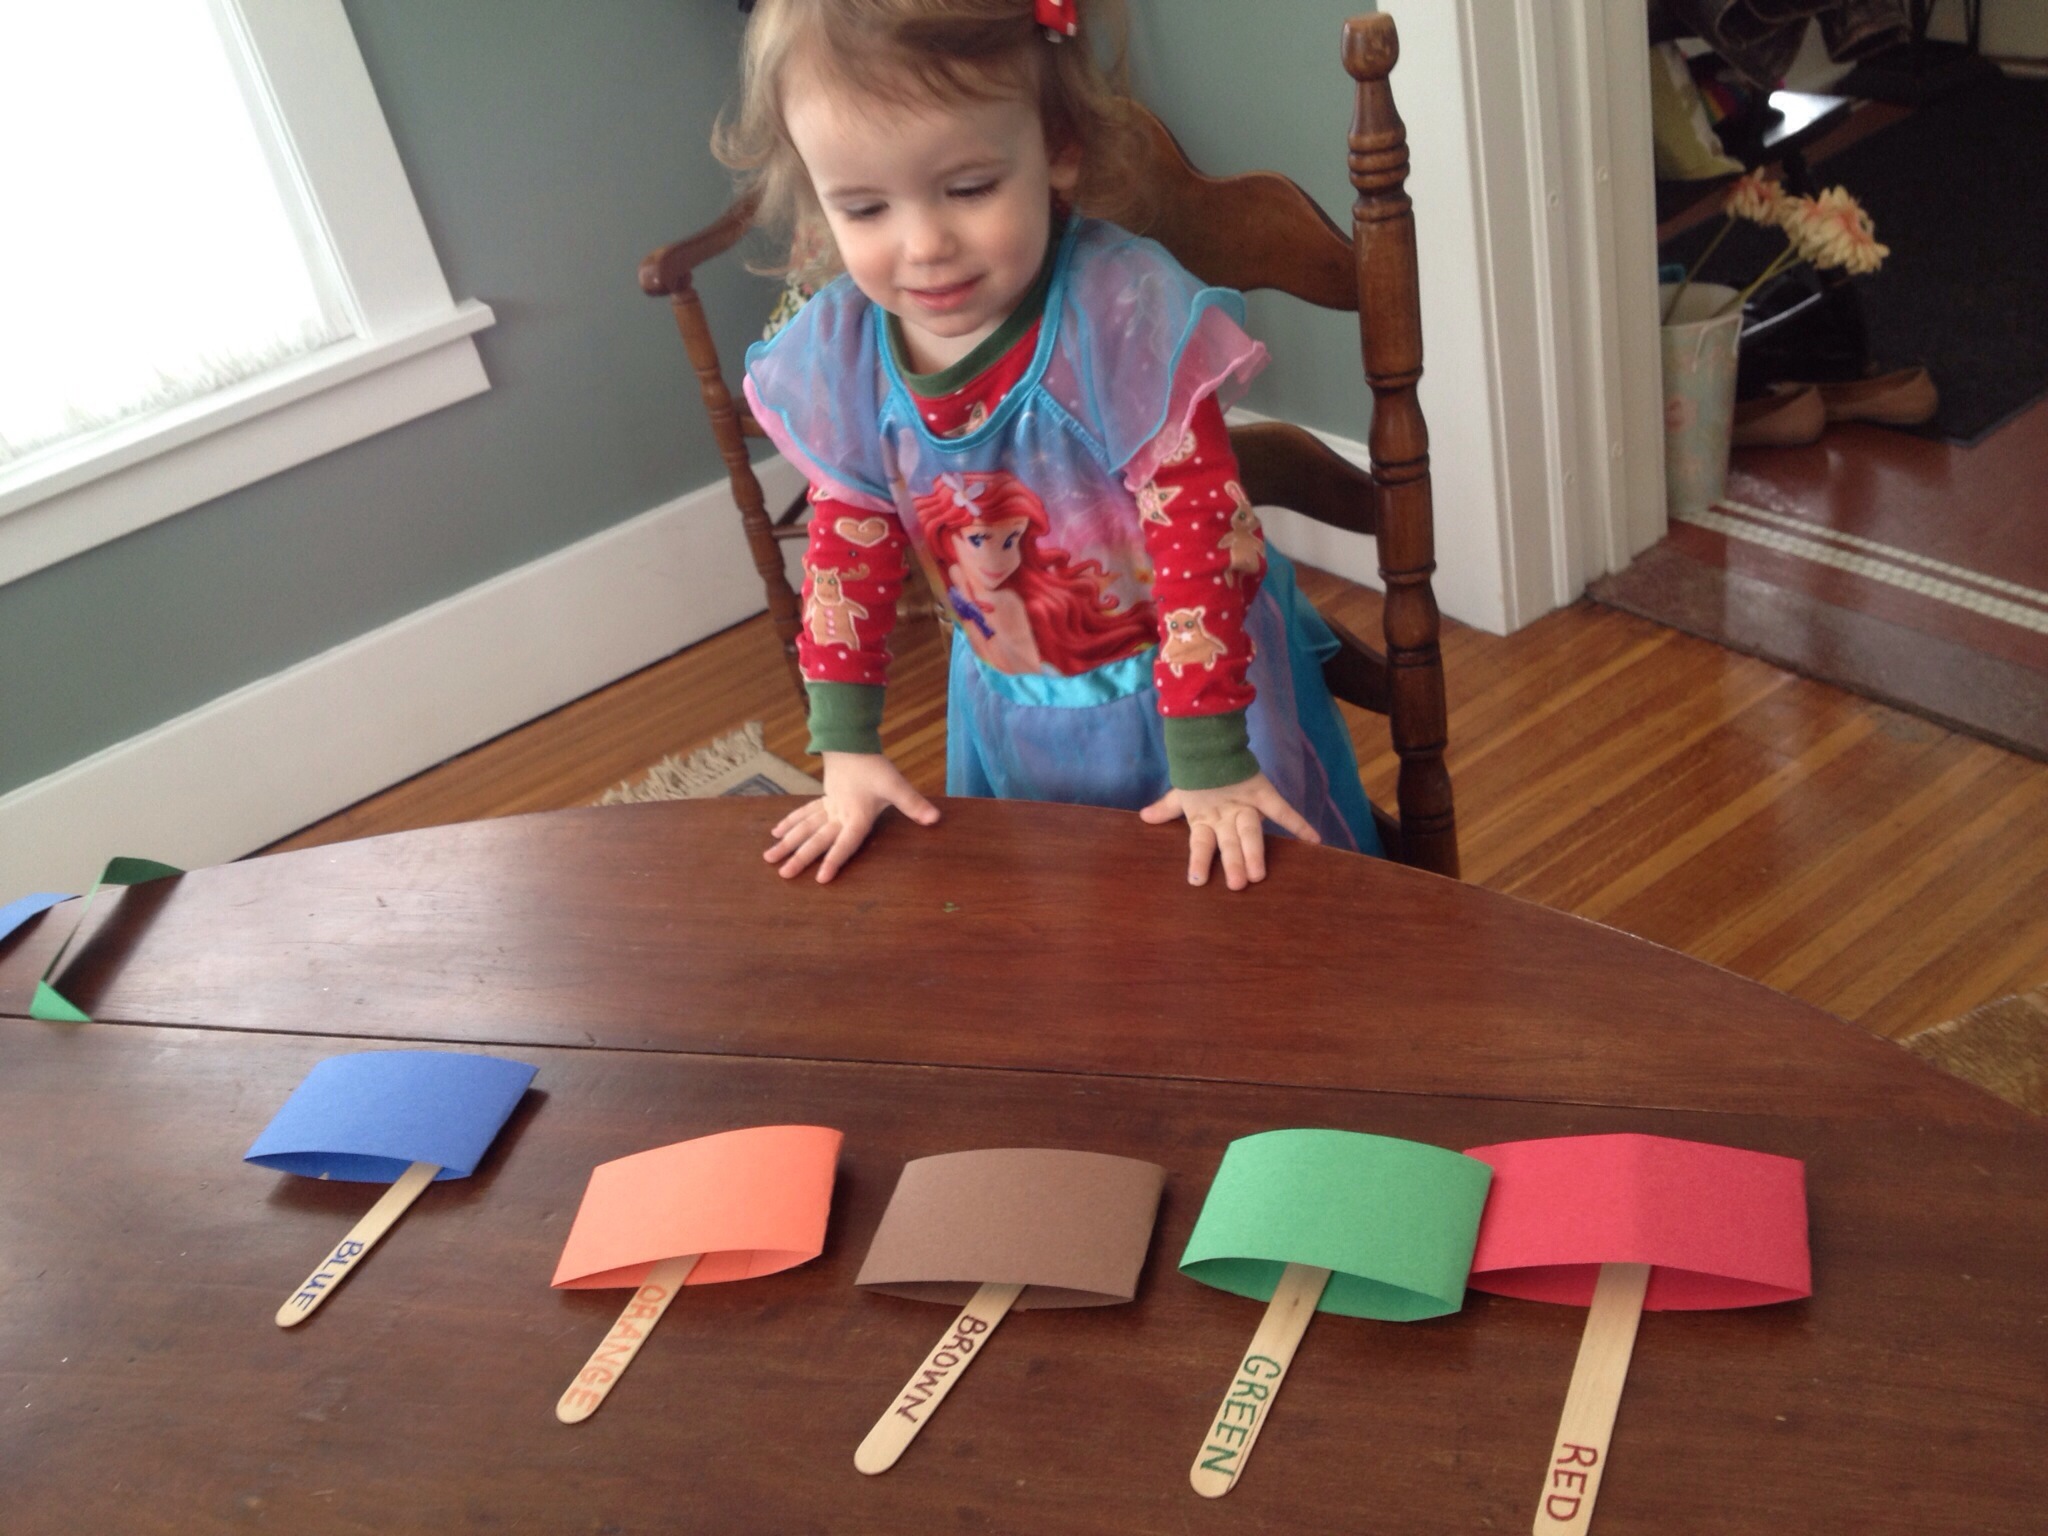
Popsicle Sticks ( the same number as the number of color sheets you are using ( we used 5)
Matching colored markers to sheets of paper
Tape
directions
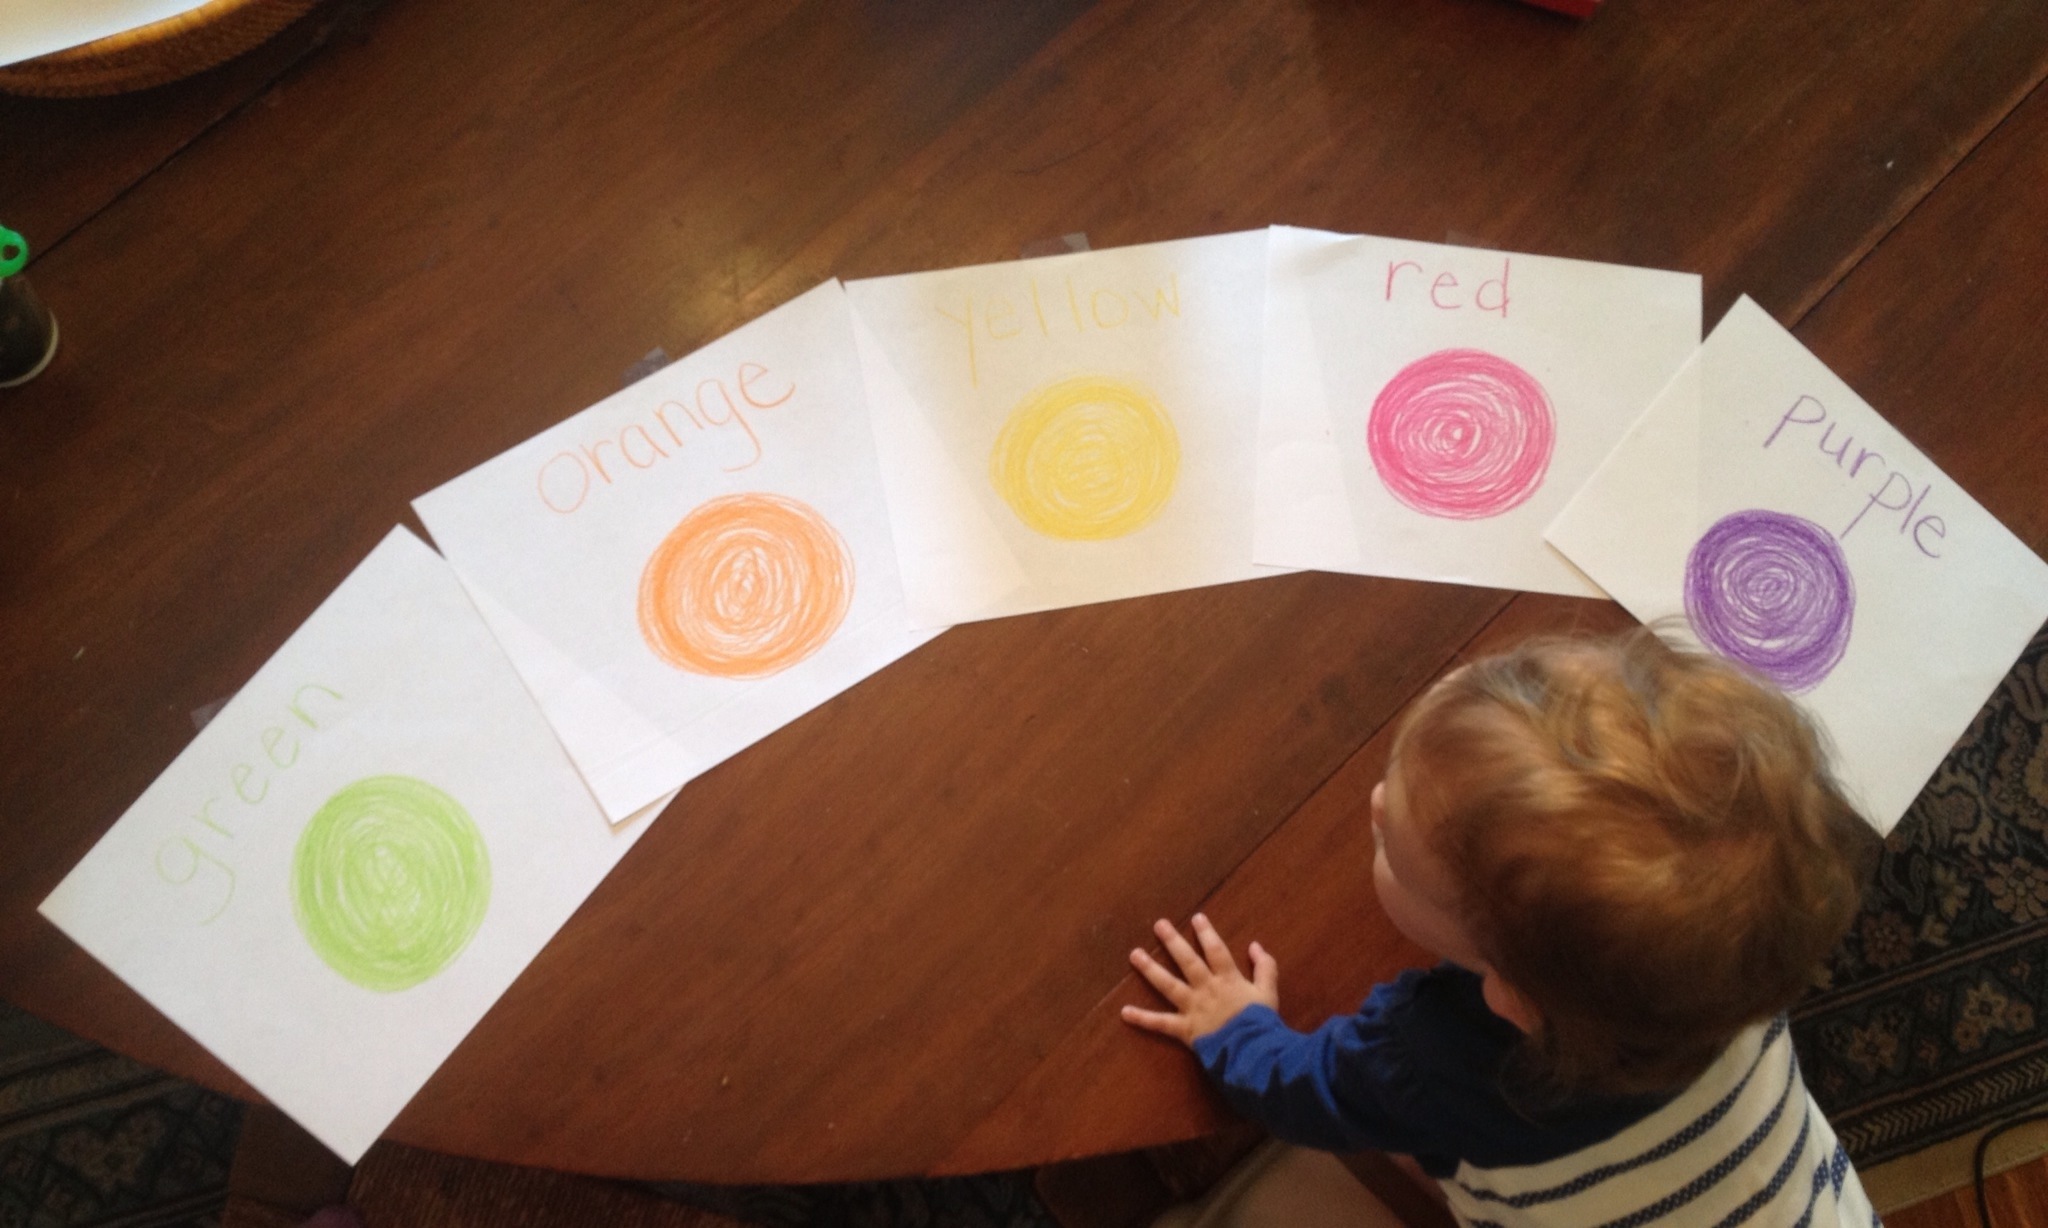
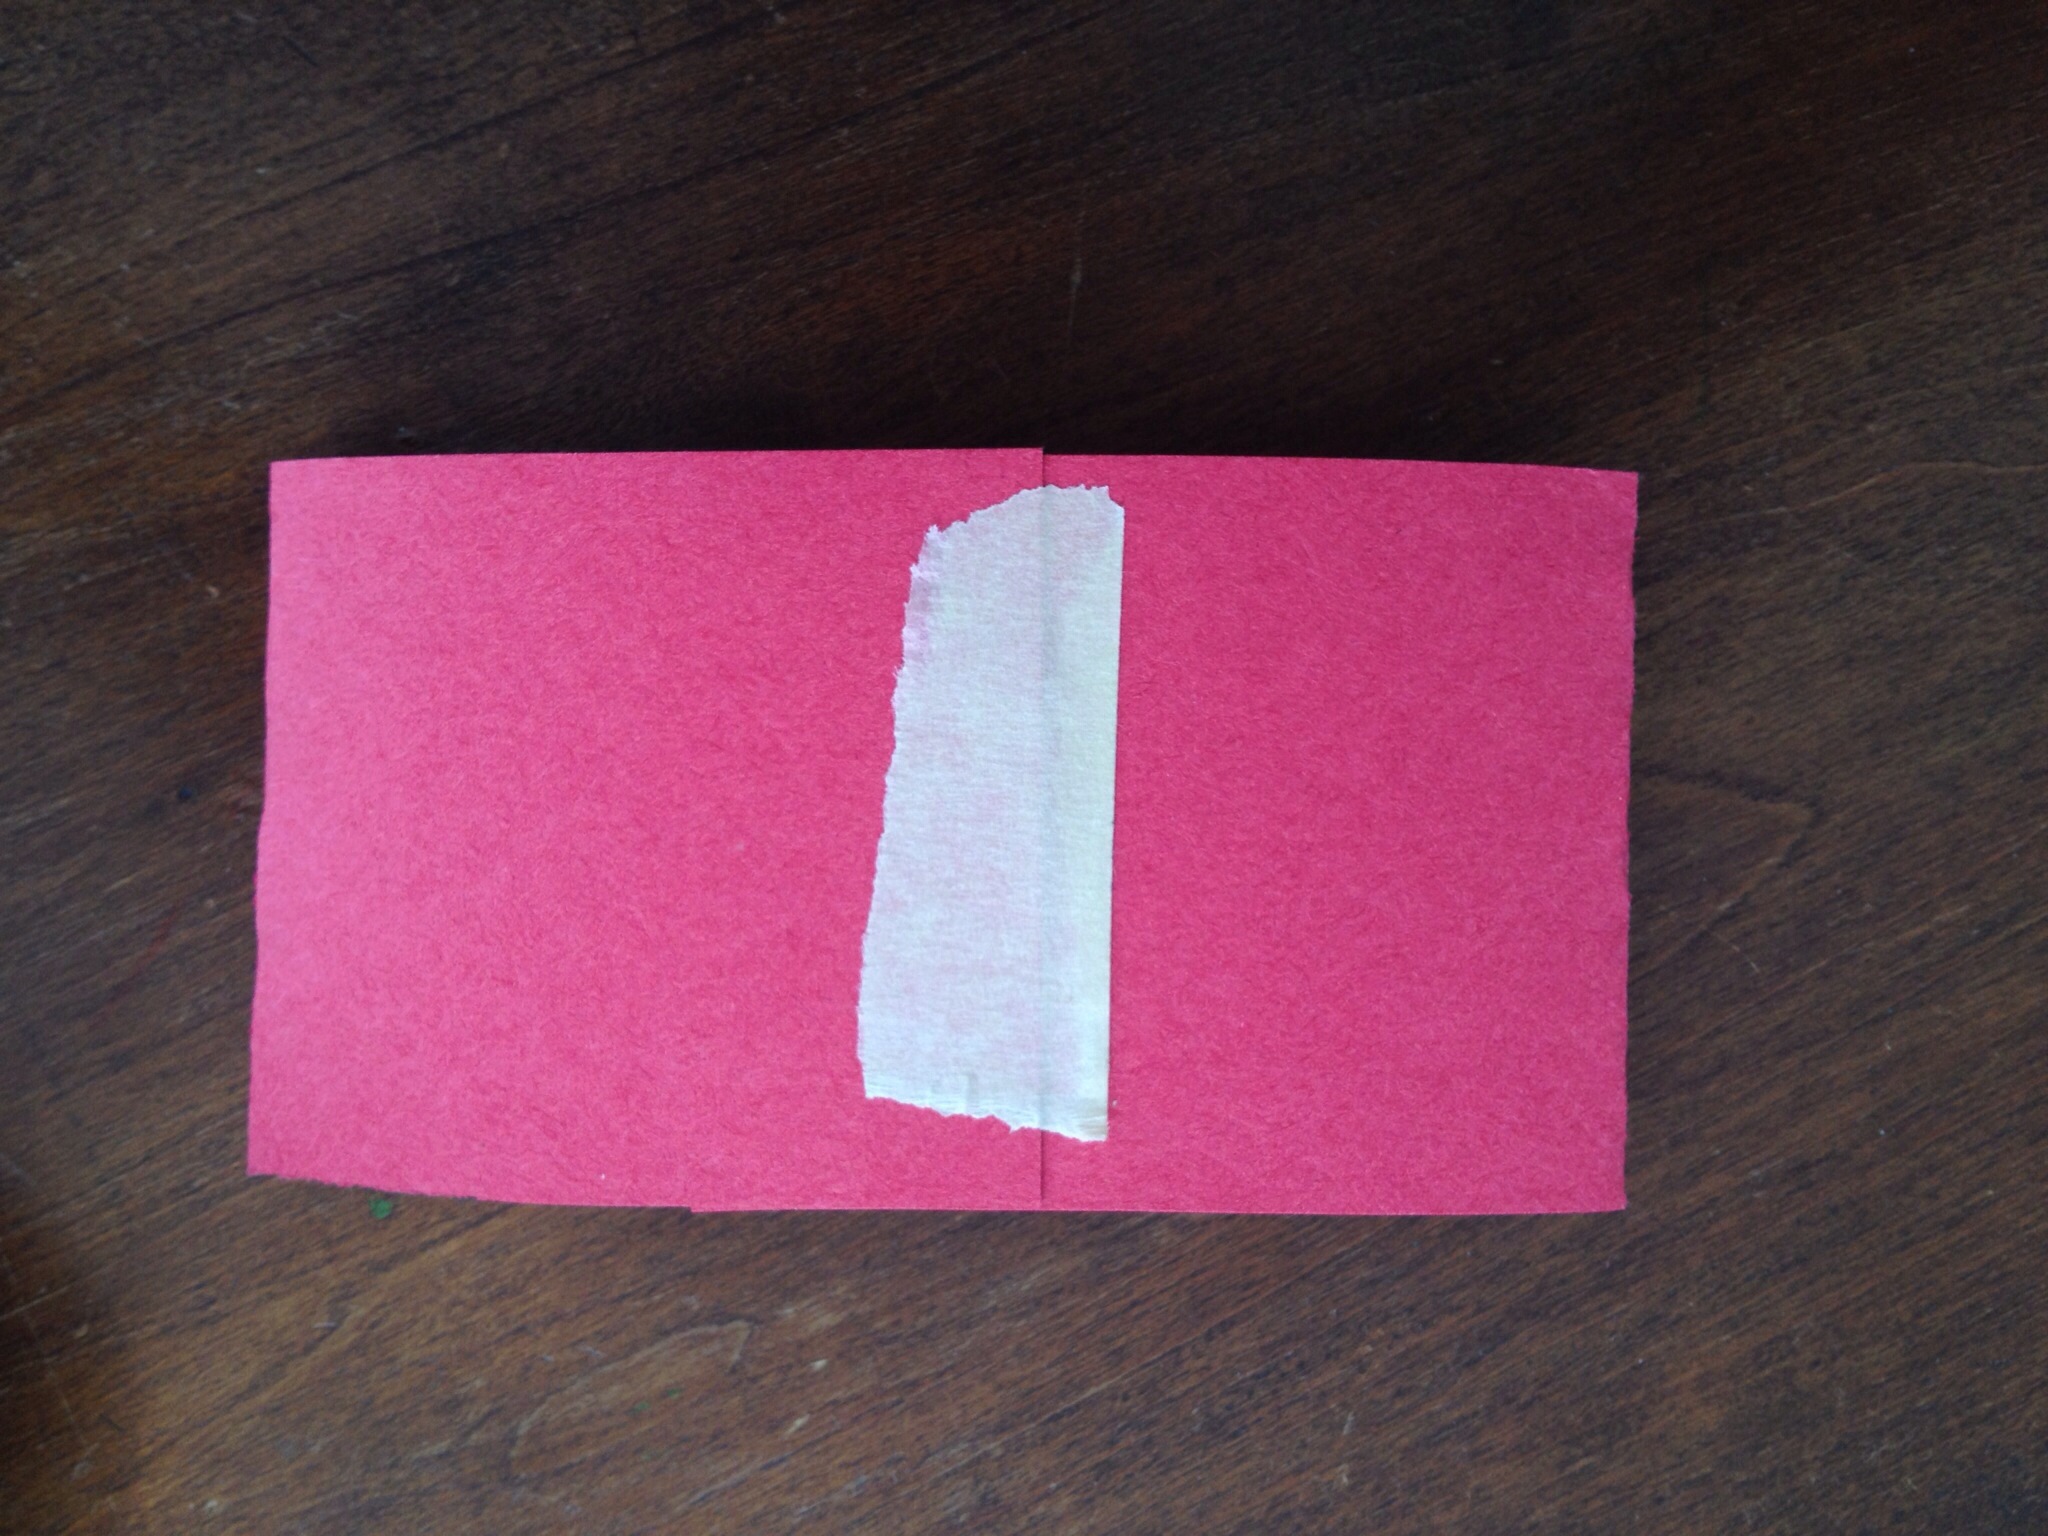
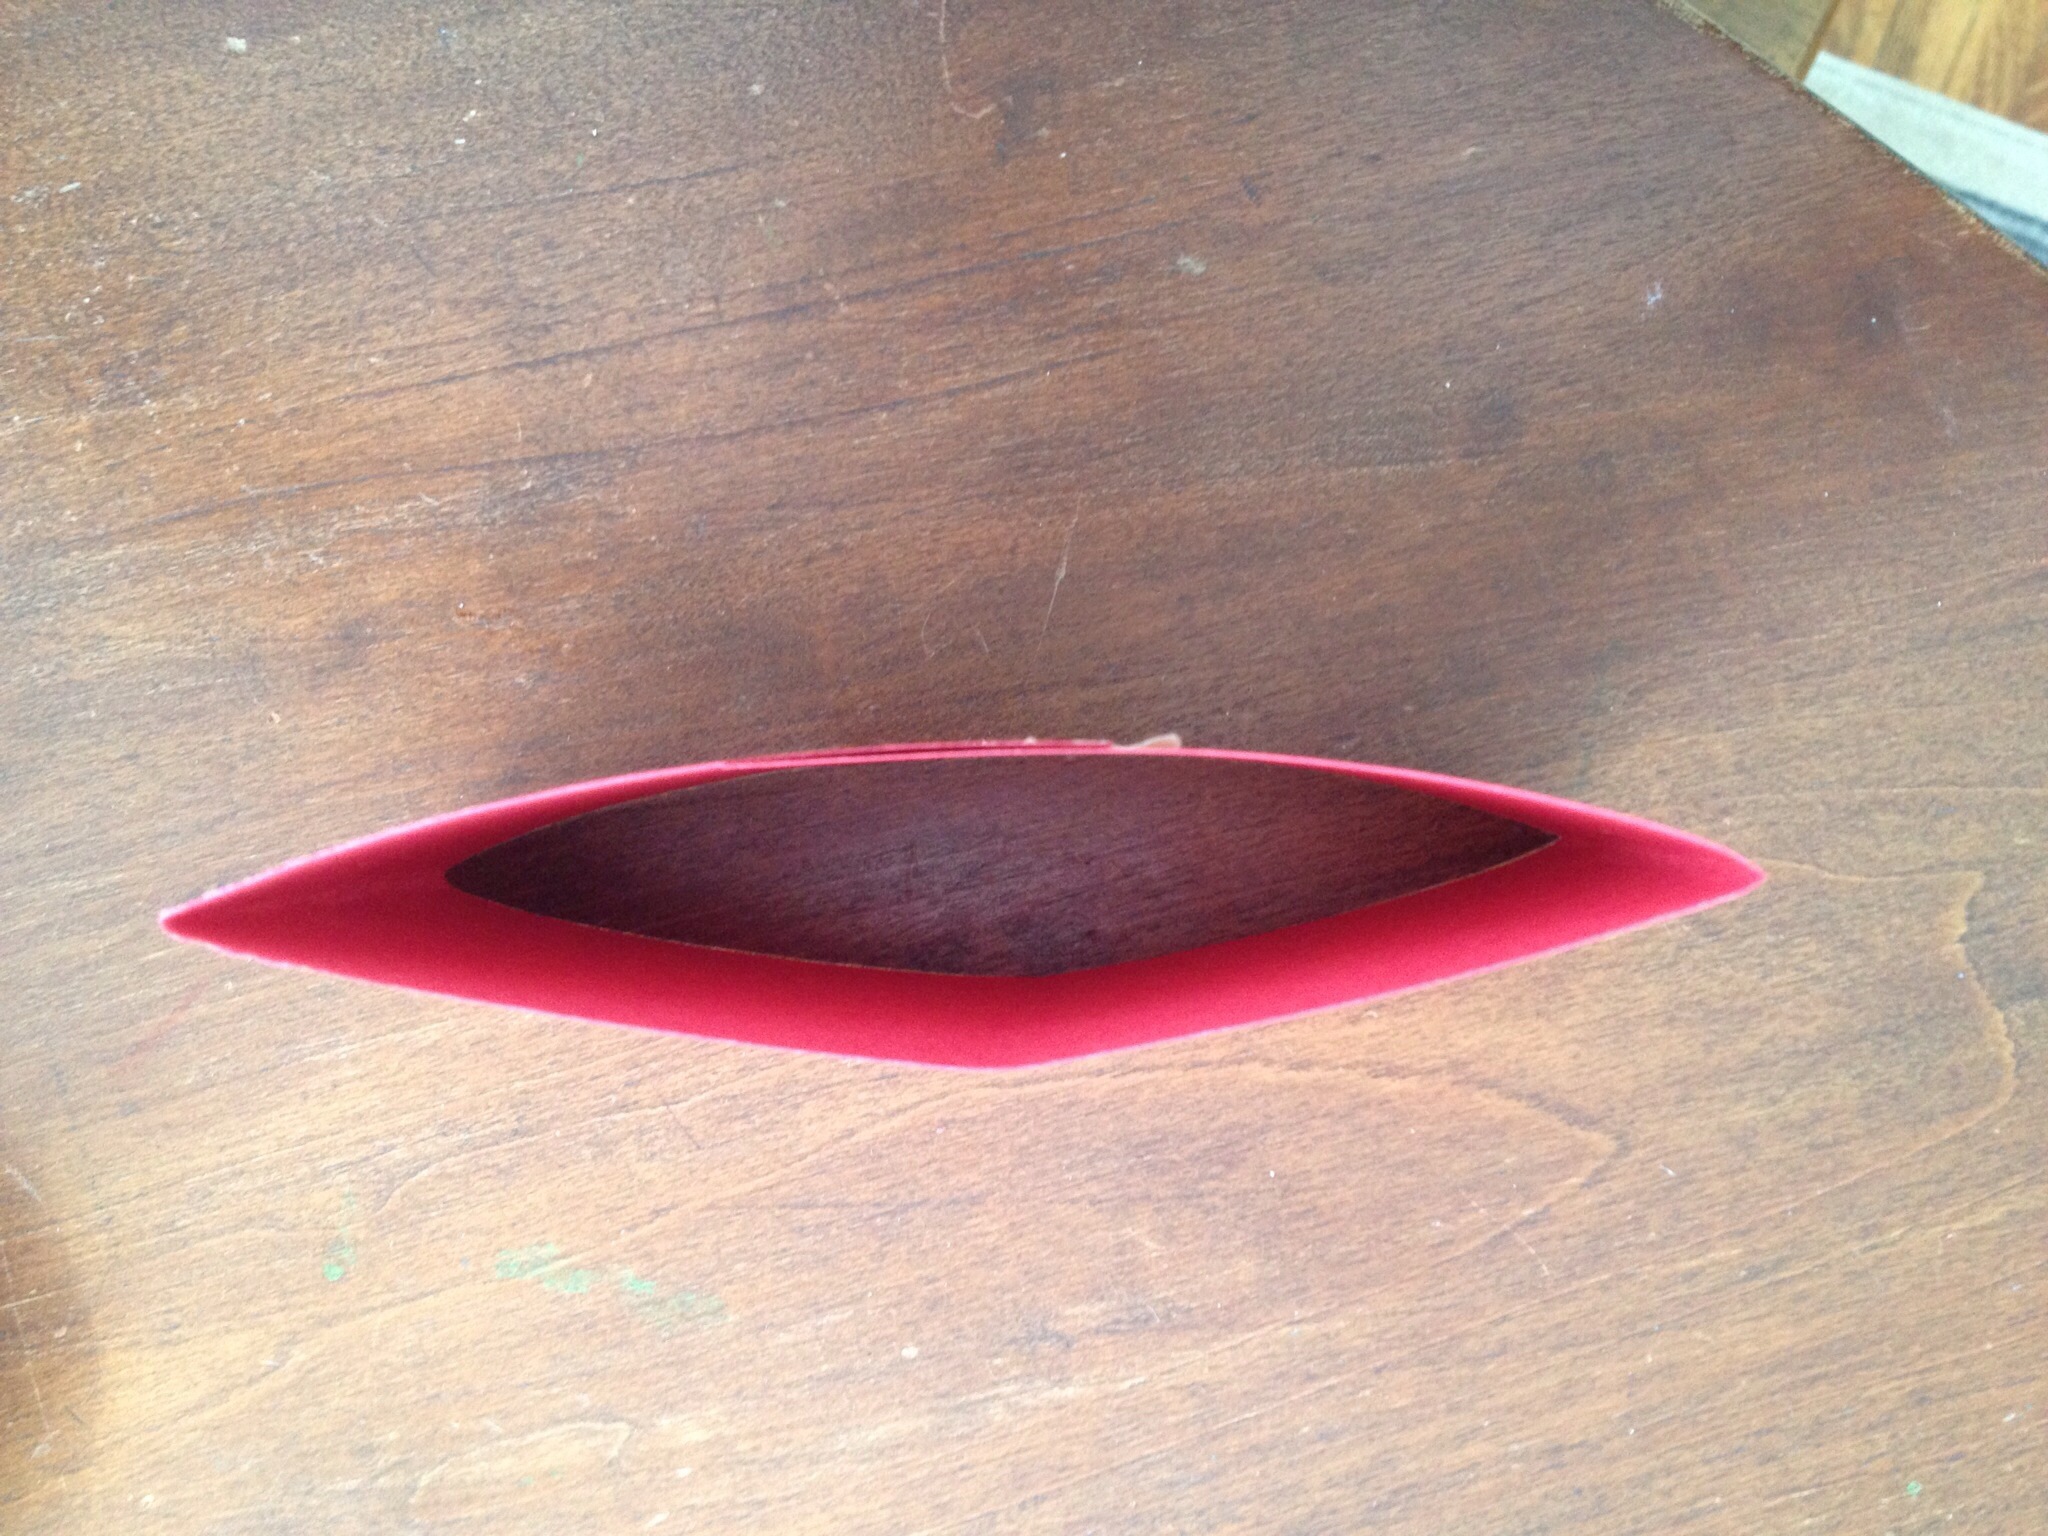
Cut sheets of paper around 3 inches wide. Fold ends in and secure with tape.

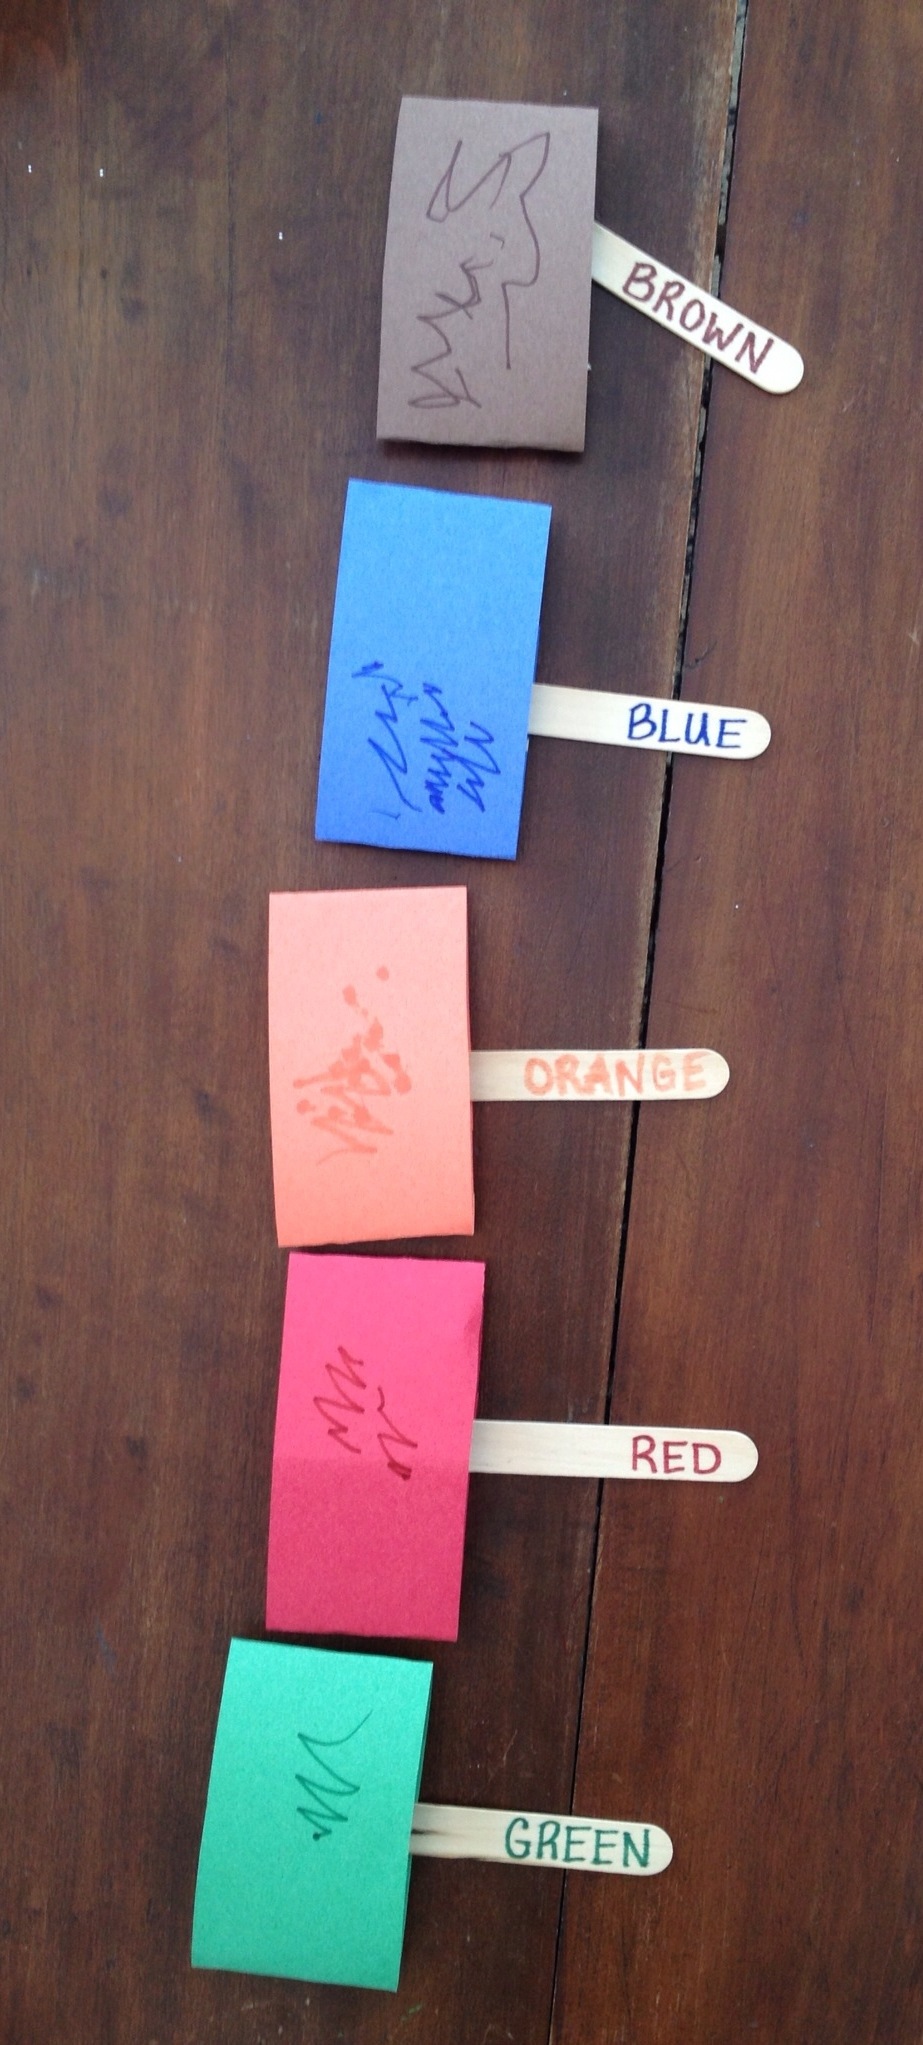
Write the name of each colored sheet of paper, in large letters, with corresponding colors, on the end of each popsicle stick. Have your child assist with this by asking them the color of the sheet of paper and then allowing for them to listen to you sound out the color name as they guess which letters come next.

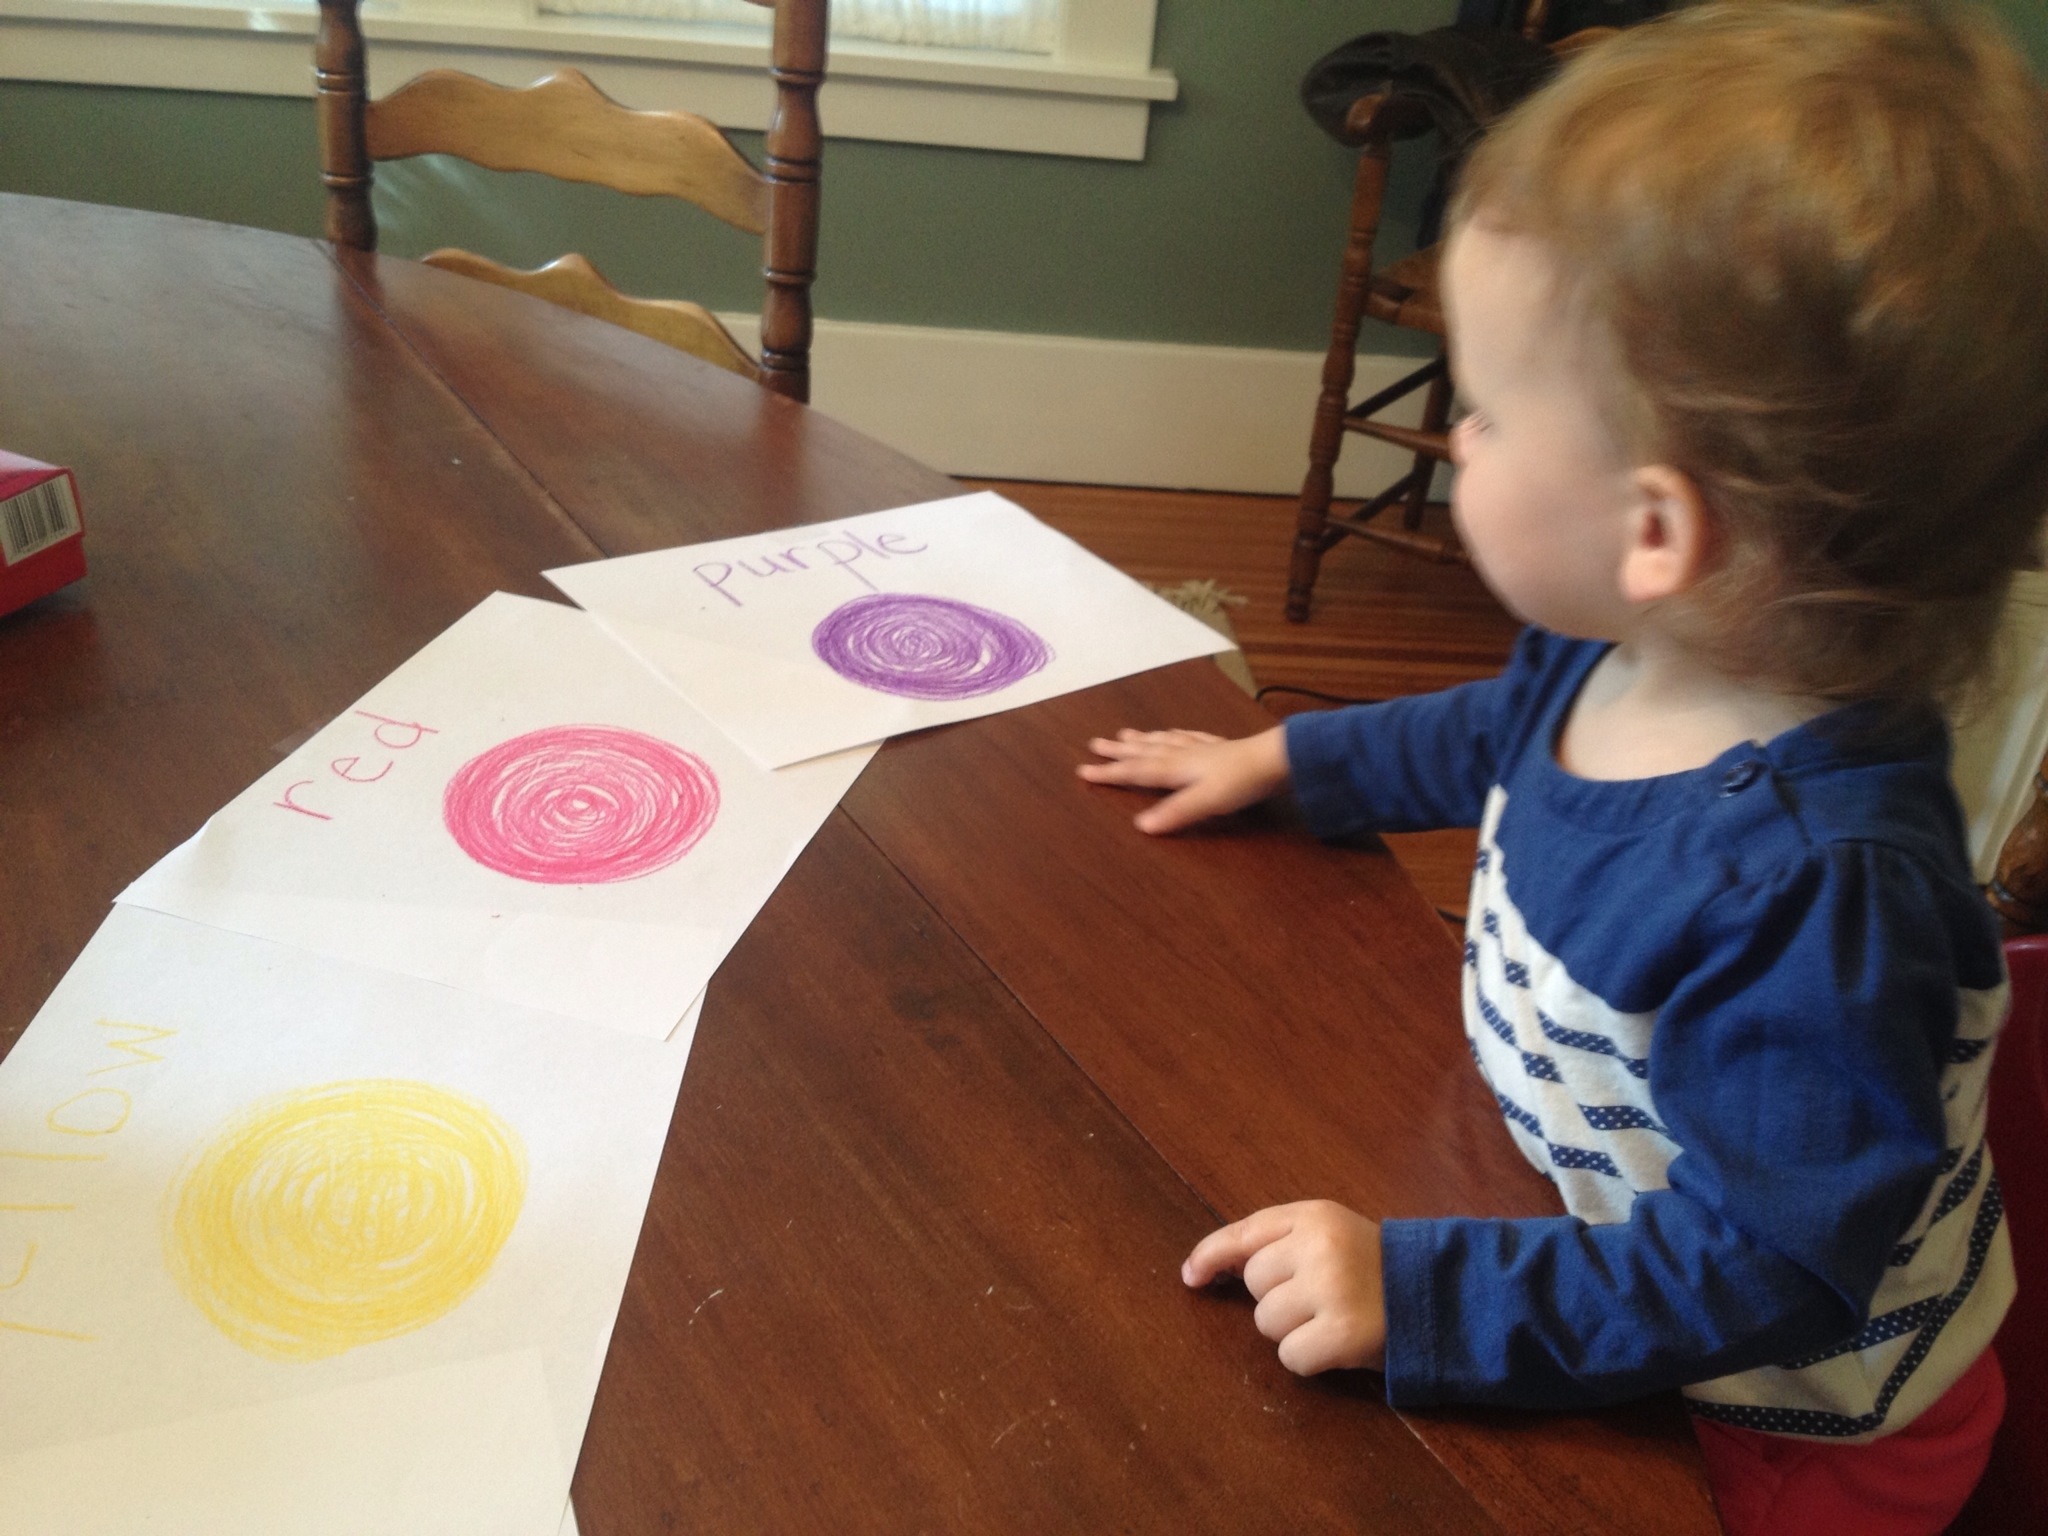
Call out a color name for your child to find, both that color marker and color folded sheet of paper. Allow your child to color corresponding marker color on corresponding sheet of paper.

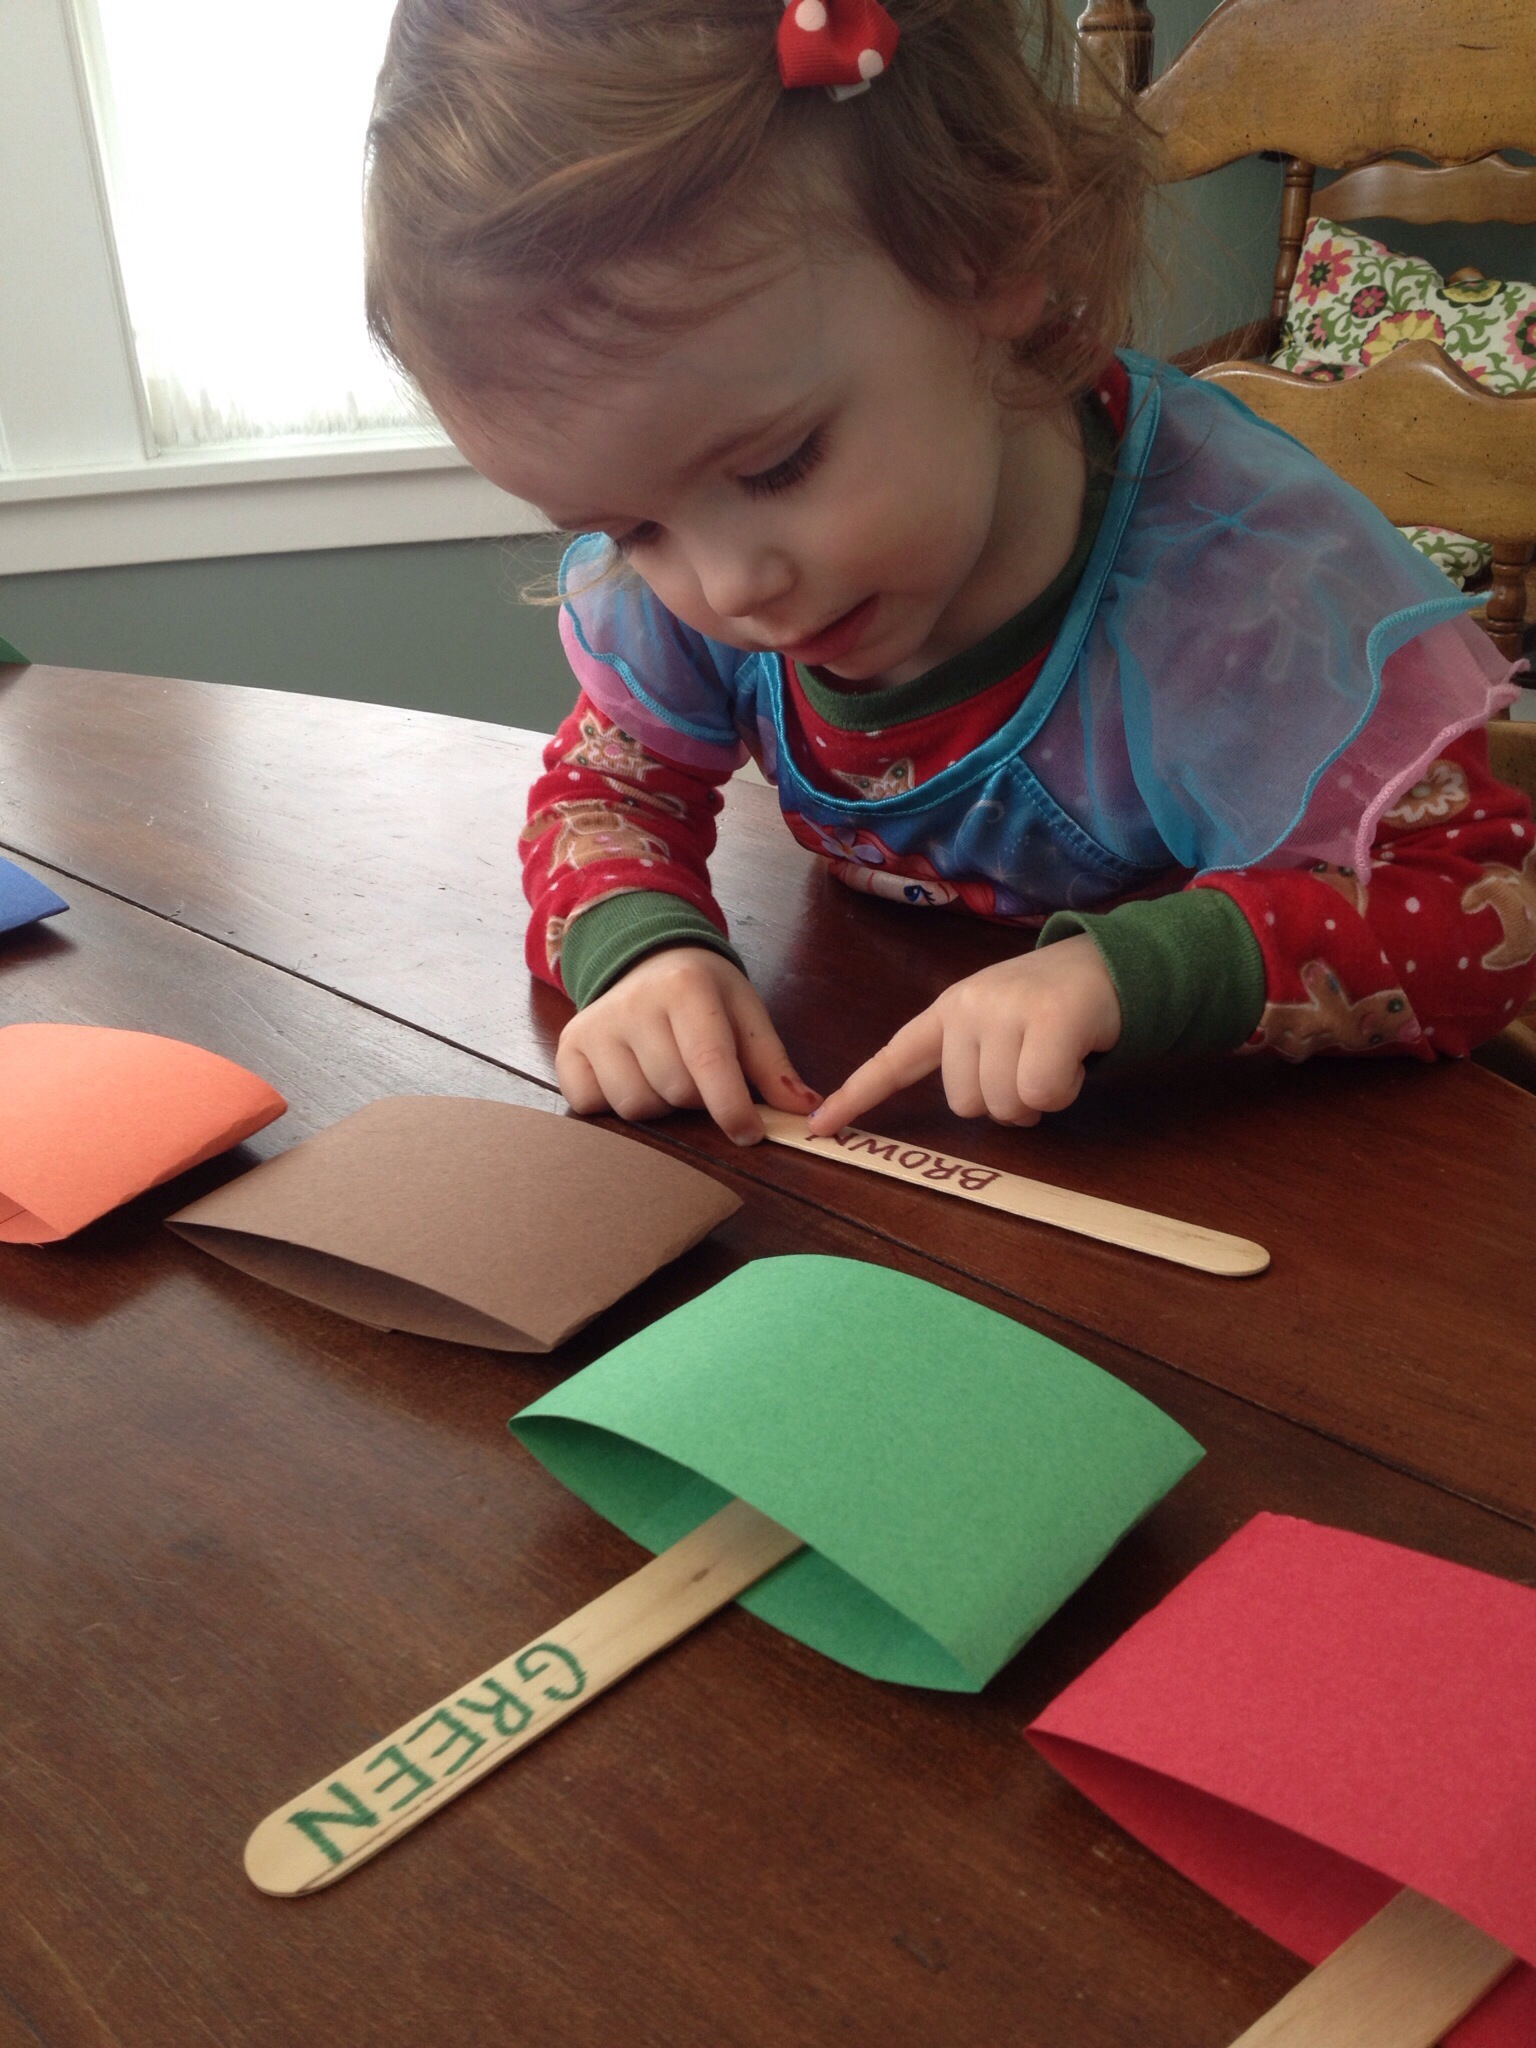
Line up folded sheets of paper and explain to your child that the sheets are the sticks ‘homes’ and they need to find which home the popsicle sticks live in. Have your child pick a popsicle stick, read the letters on the stick, sound out or guess the color name and then match the stick to the correct home, by placing the stick inside the corresponding color house.


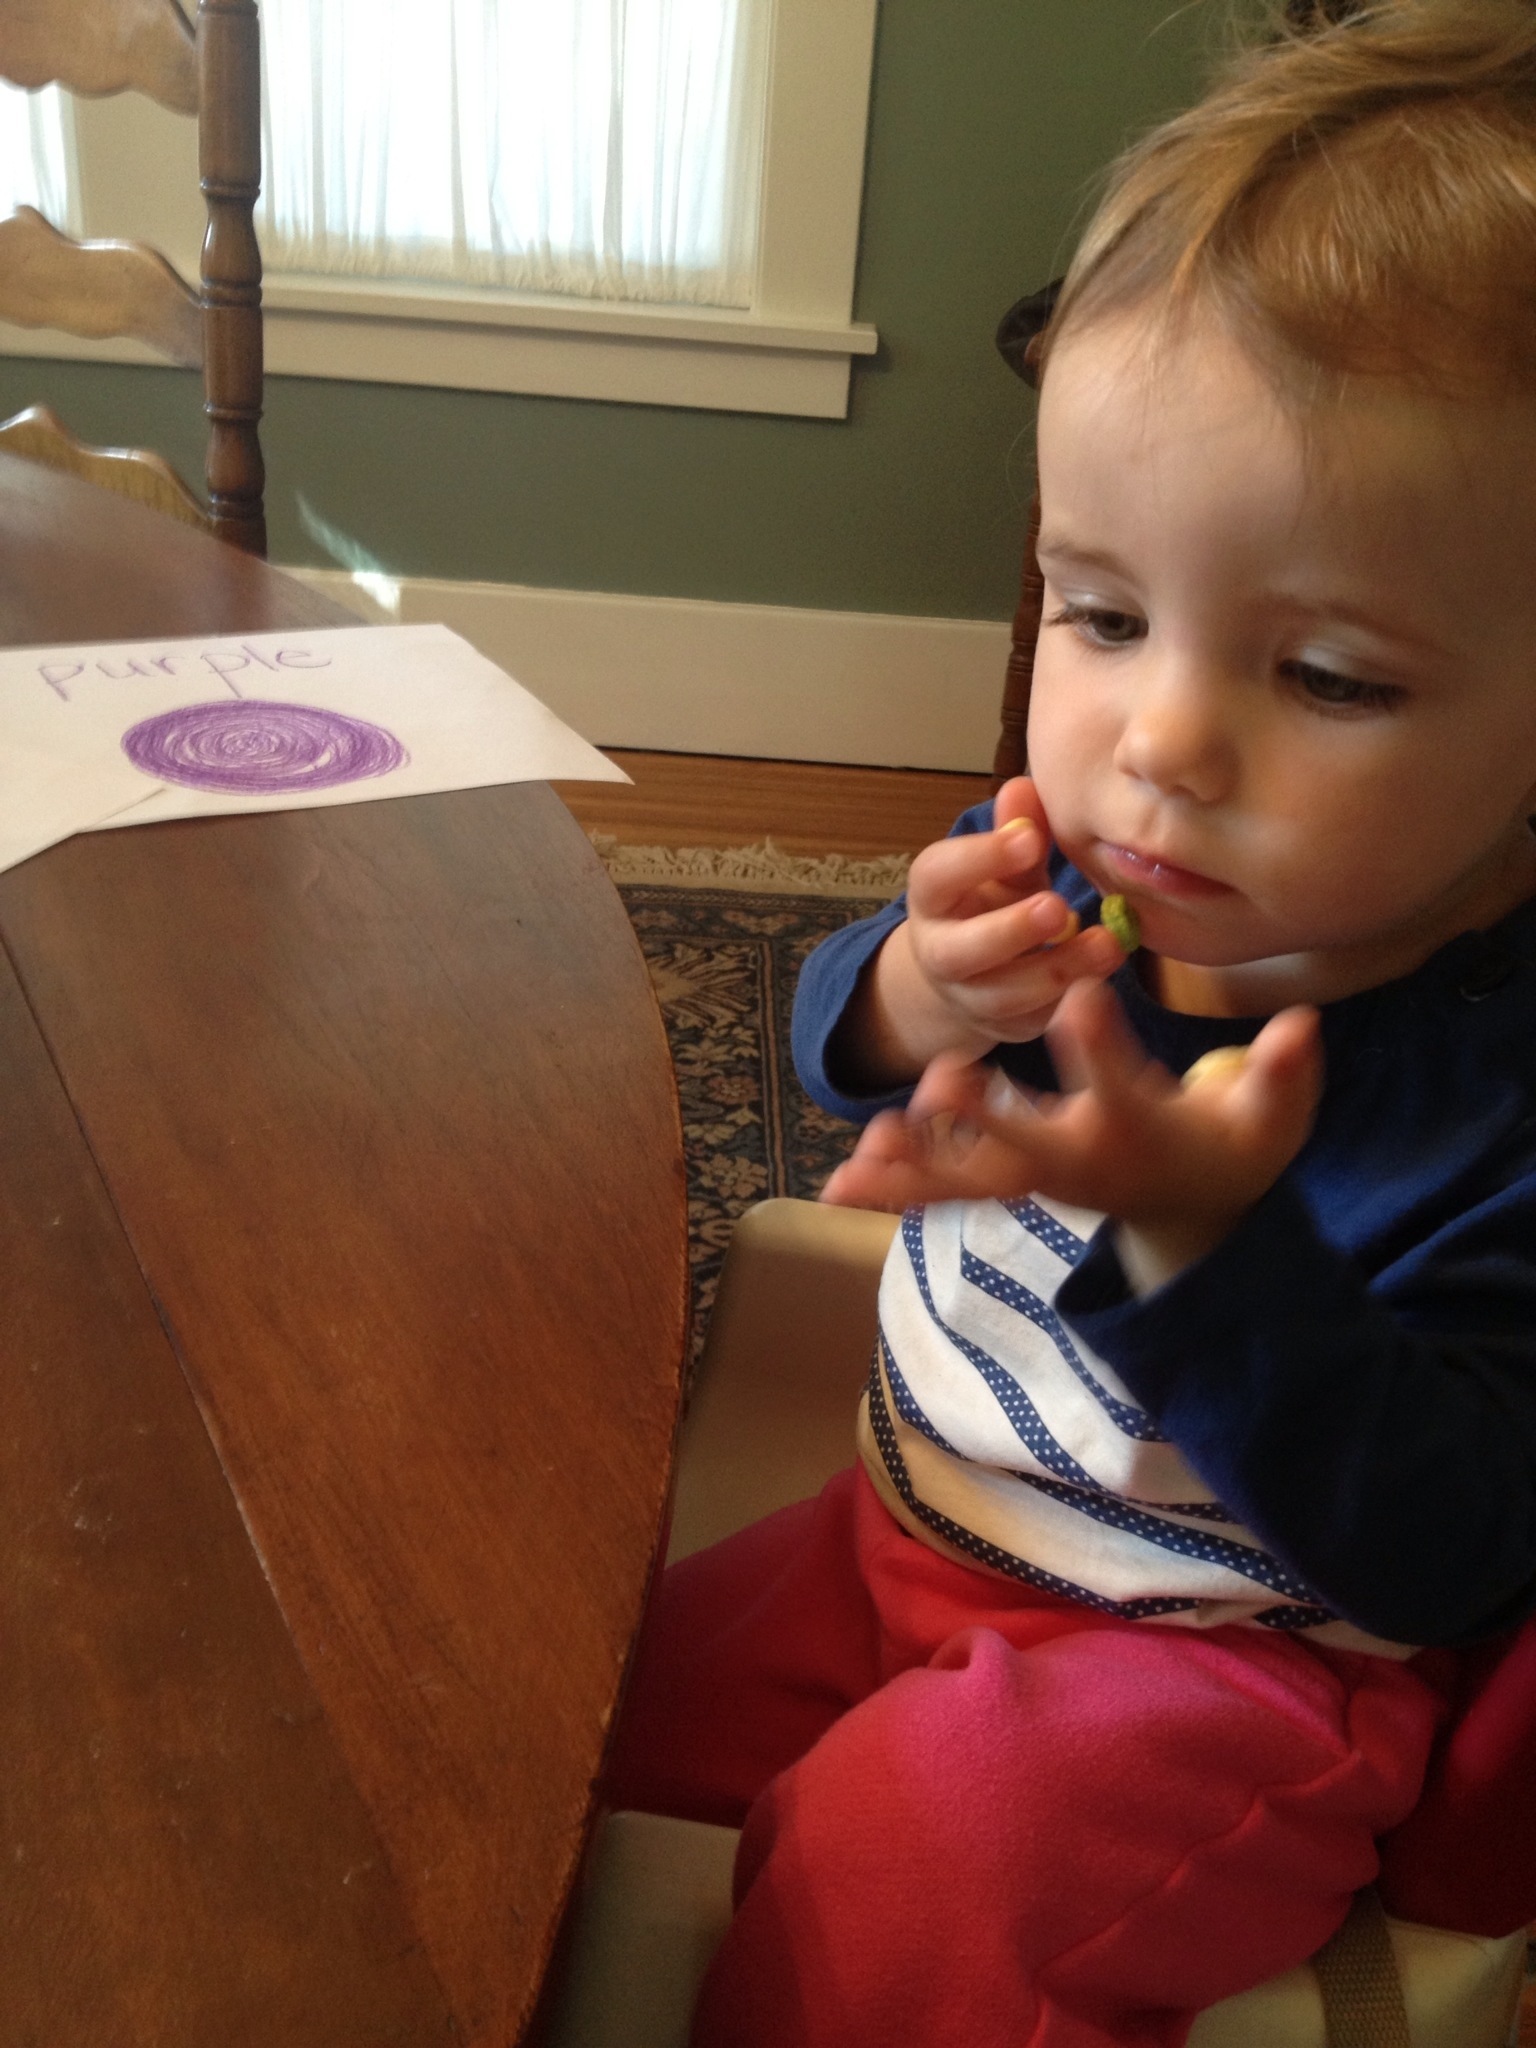
We’ve stored this activity in a plastic zipped sandwich bag and have taken it to restaurants as a distraction and it’s worked wonders!
Source: Somewhere in the big wide Pinterest world. If I come across post again, I’ll attach site name.