Spot Clean Polyester

I recently purchased a top from forever 21 for the bargain price of $24.99! I wore it once and got god knows what on the front of it…shocker- spilling something down the front of your clothes, especially when in public, runs in the family. So in an attempt to save the top for a few more wears, I don’t expect much in the quality category from forever 21, I’m straying from the wash by hand directions and spot cleaning and throwing in the washer.

The shirt is 100% polyester, again…I didn’t expect much in the quality category. When I think polyester, I think itchy school uniforms that I wore for 10 years of my life, skin crawling thought.

The tag directs the owner to hand wash cold, not to bleach, to line dry, to iron low and to not dry clean. I’m going to wing it and spot treat with Shout Advanced, and then wash individually using ALL Allergen Free detergent, with cold water on the permanent press cycle.

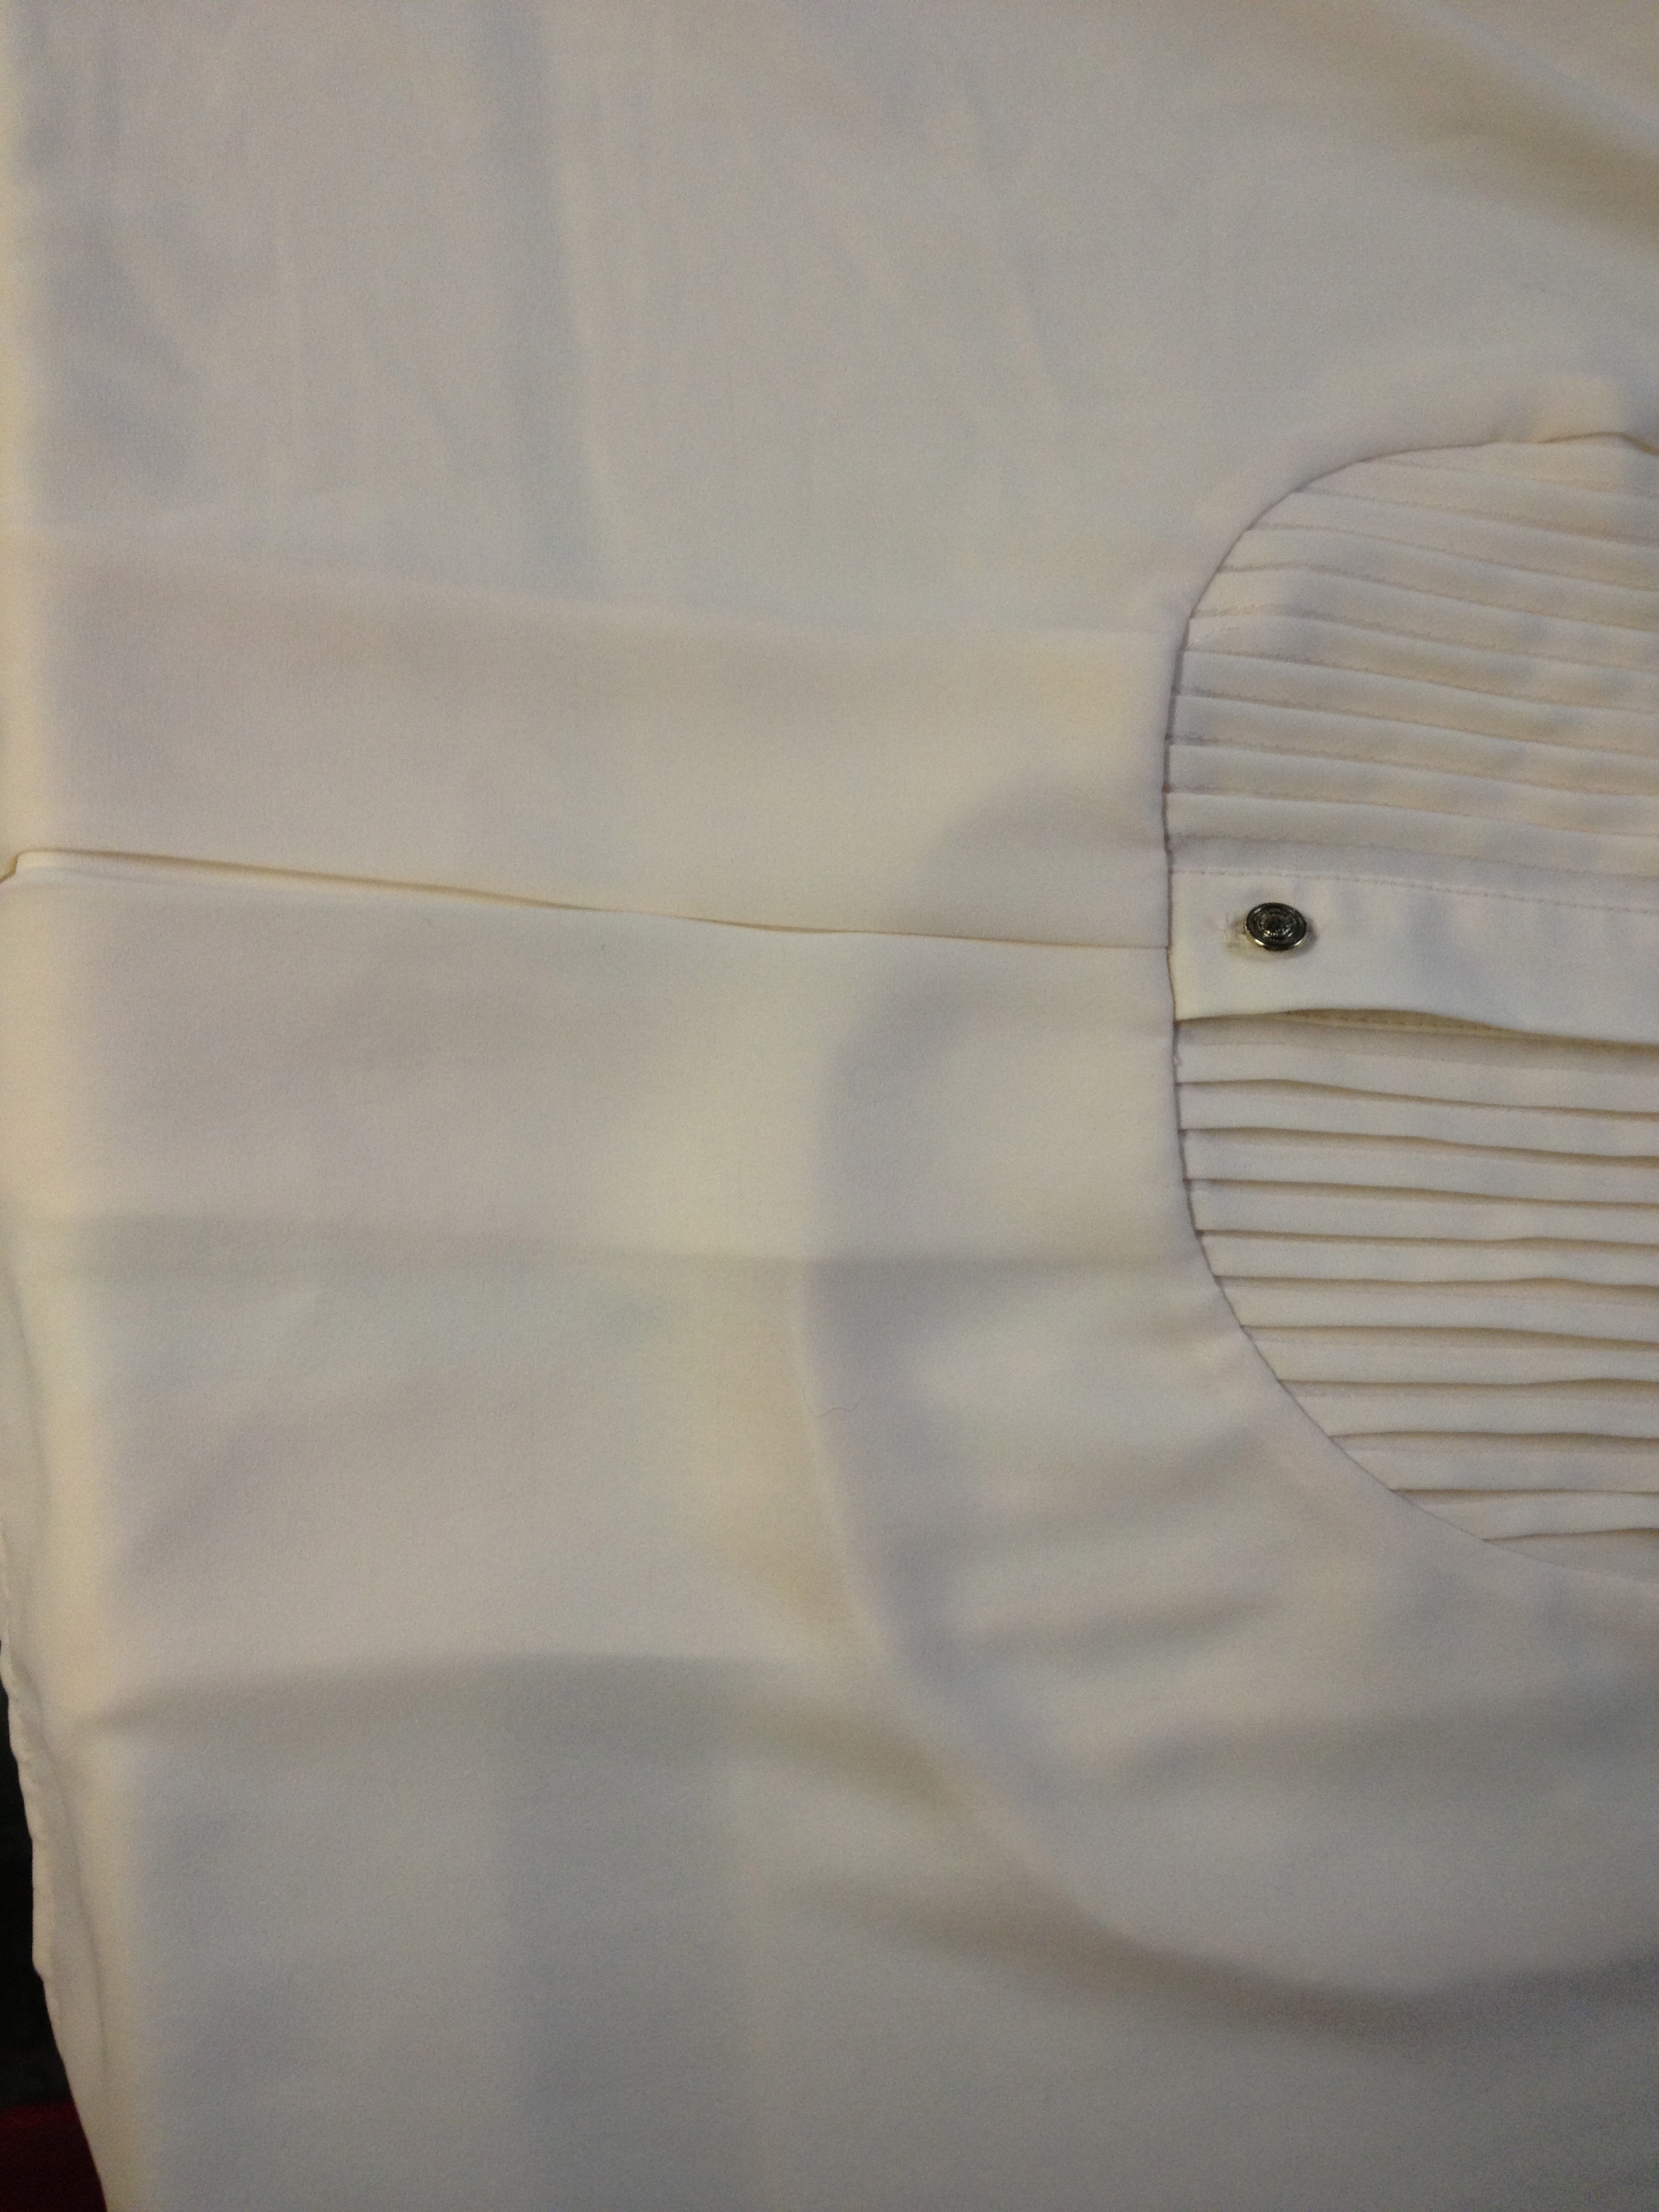
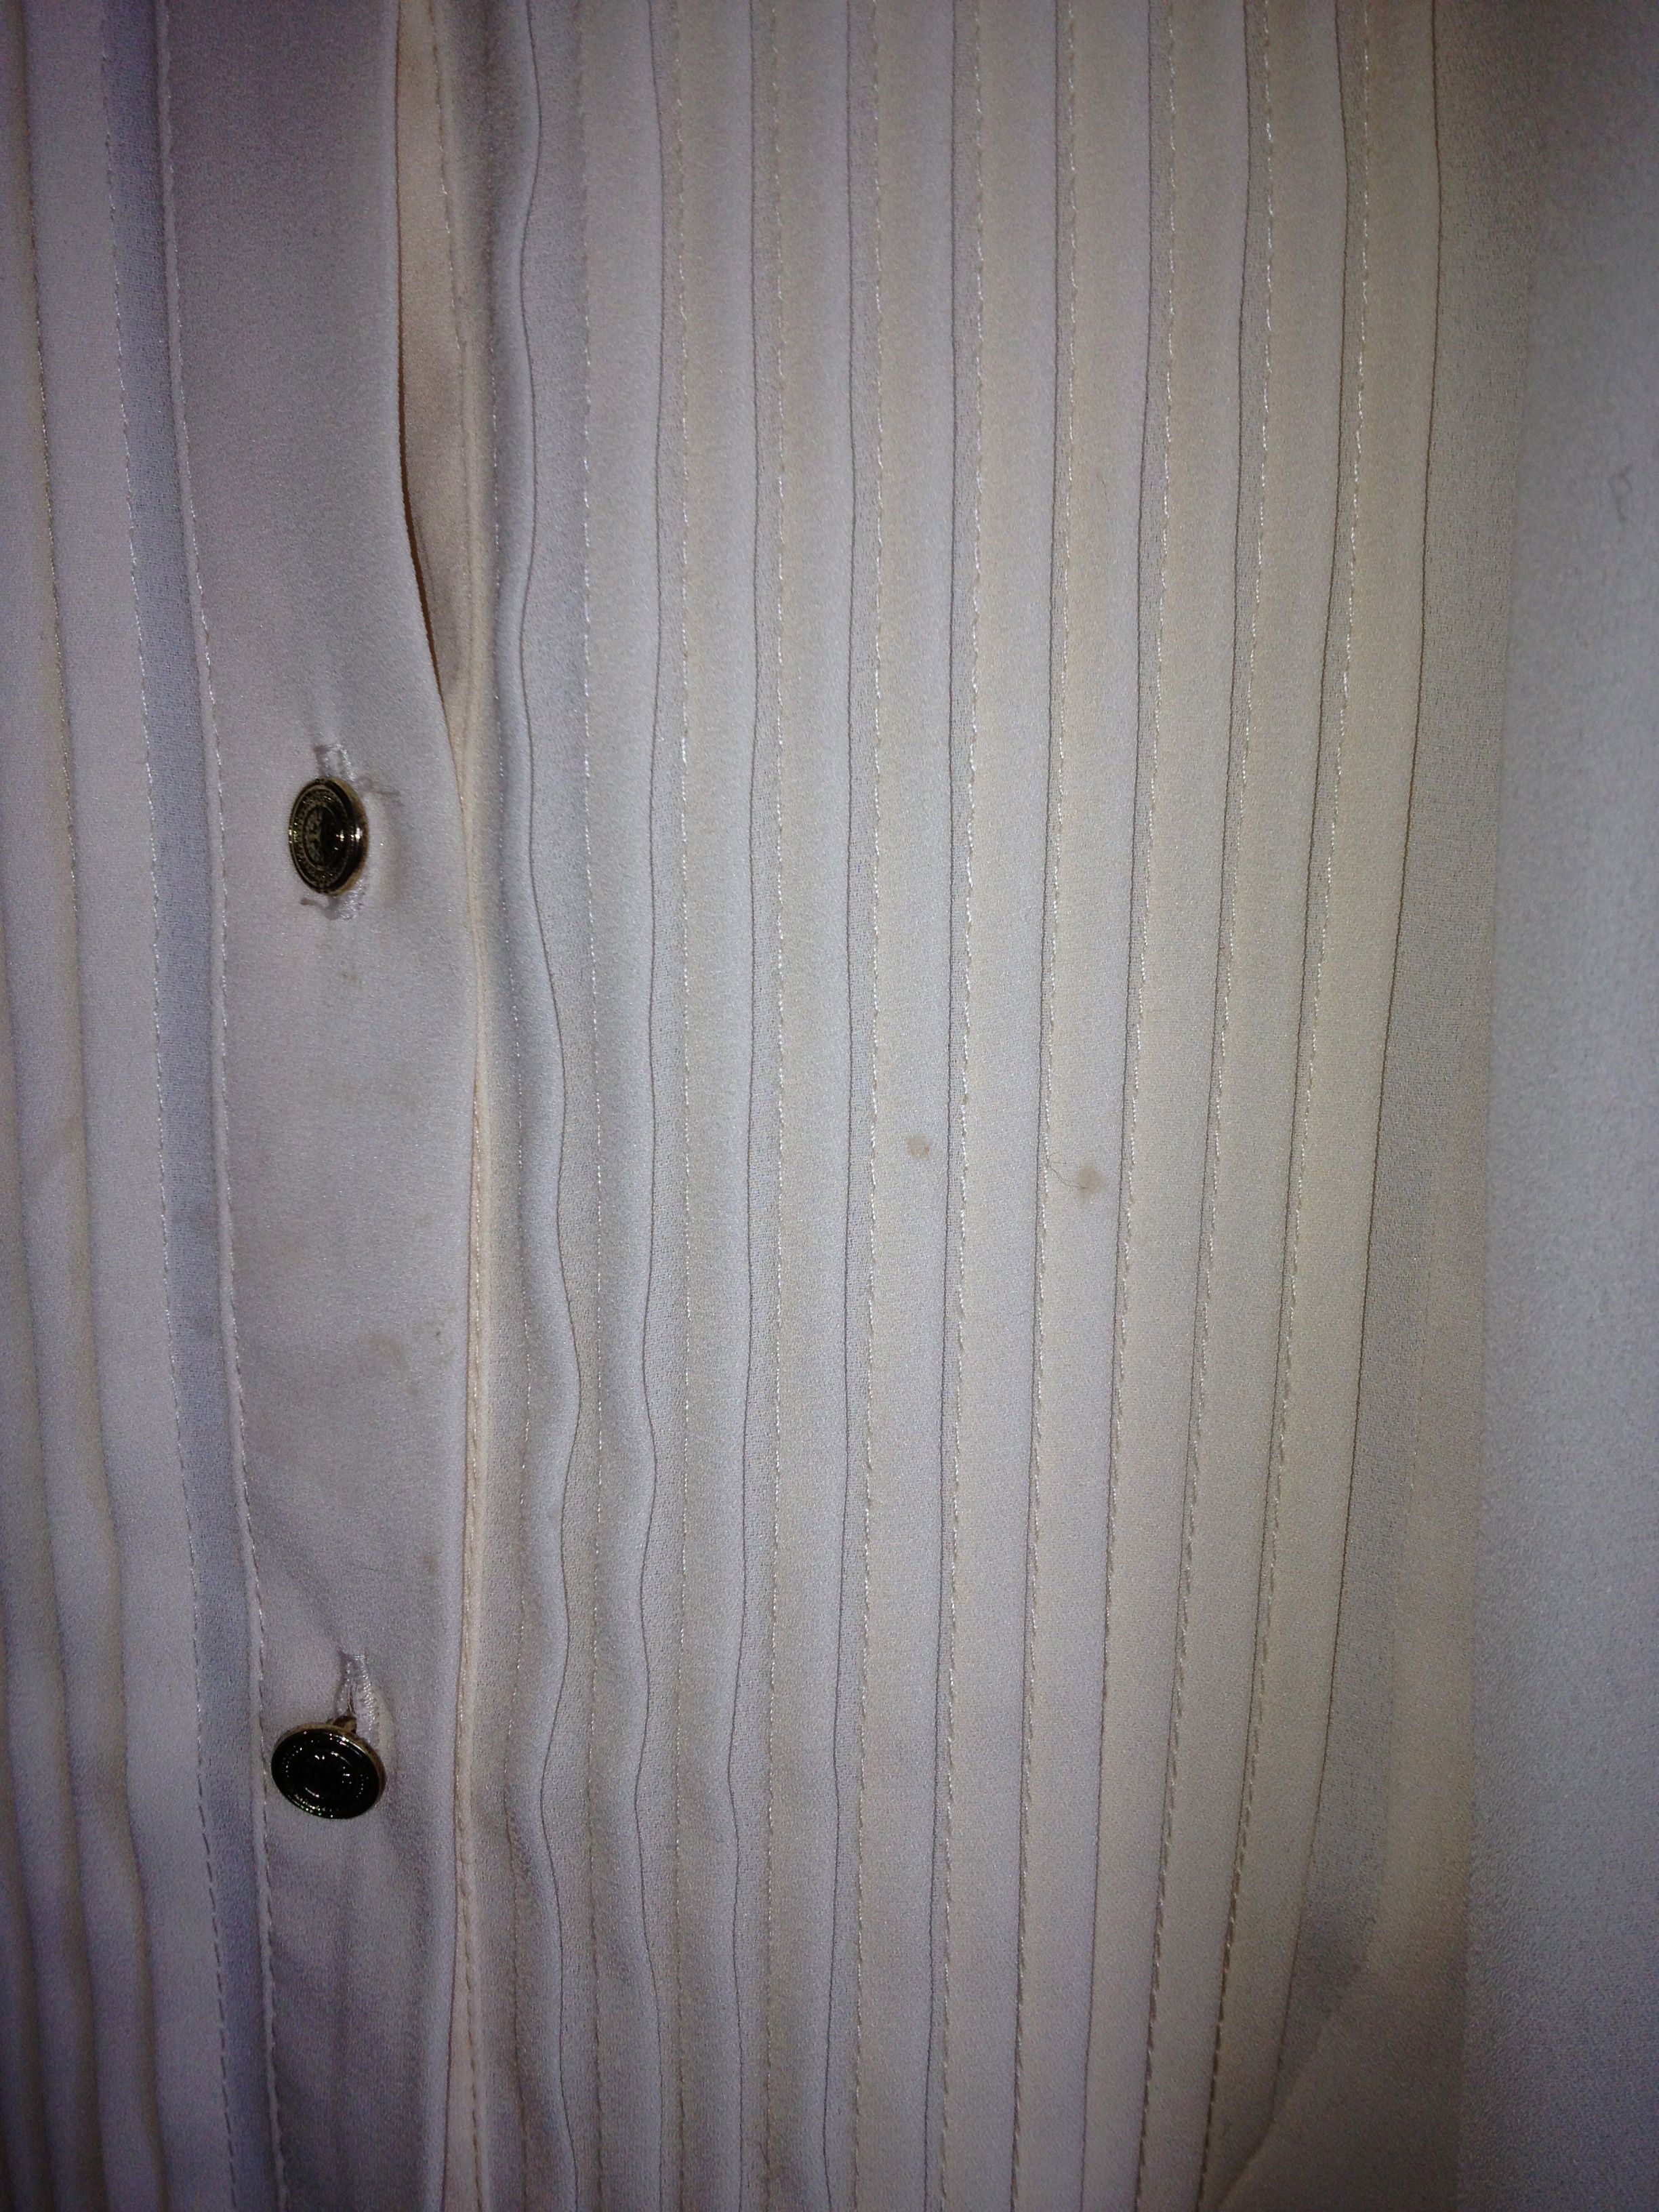
Random Stains on the front of the shirt.

image image

Shouting out the stain- I didn’t rub the stains, as suggested on the back of the bottle. I dabbed the stains because the fabric is super thin. I allowed the Shout to sit on the stains for five minutes before washing.

image image

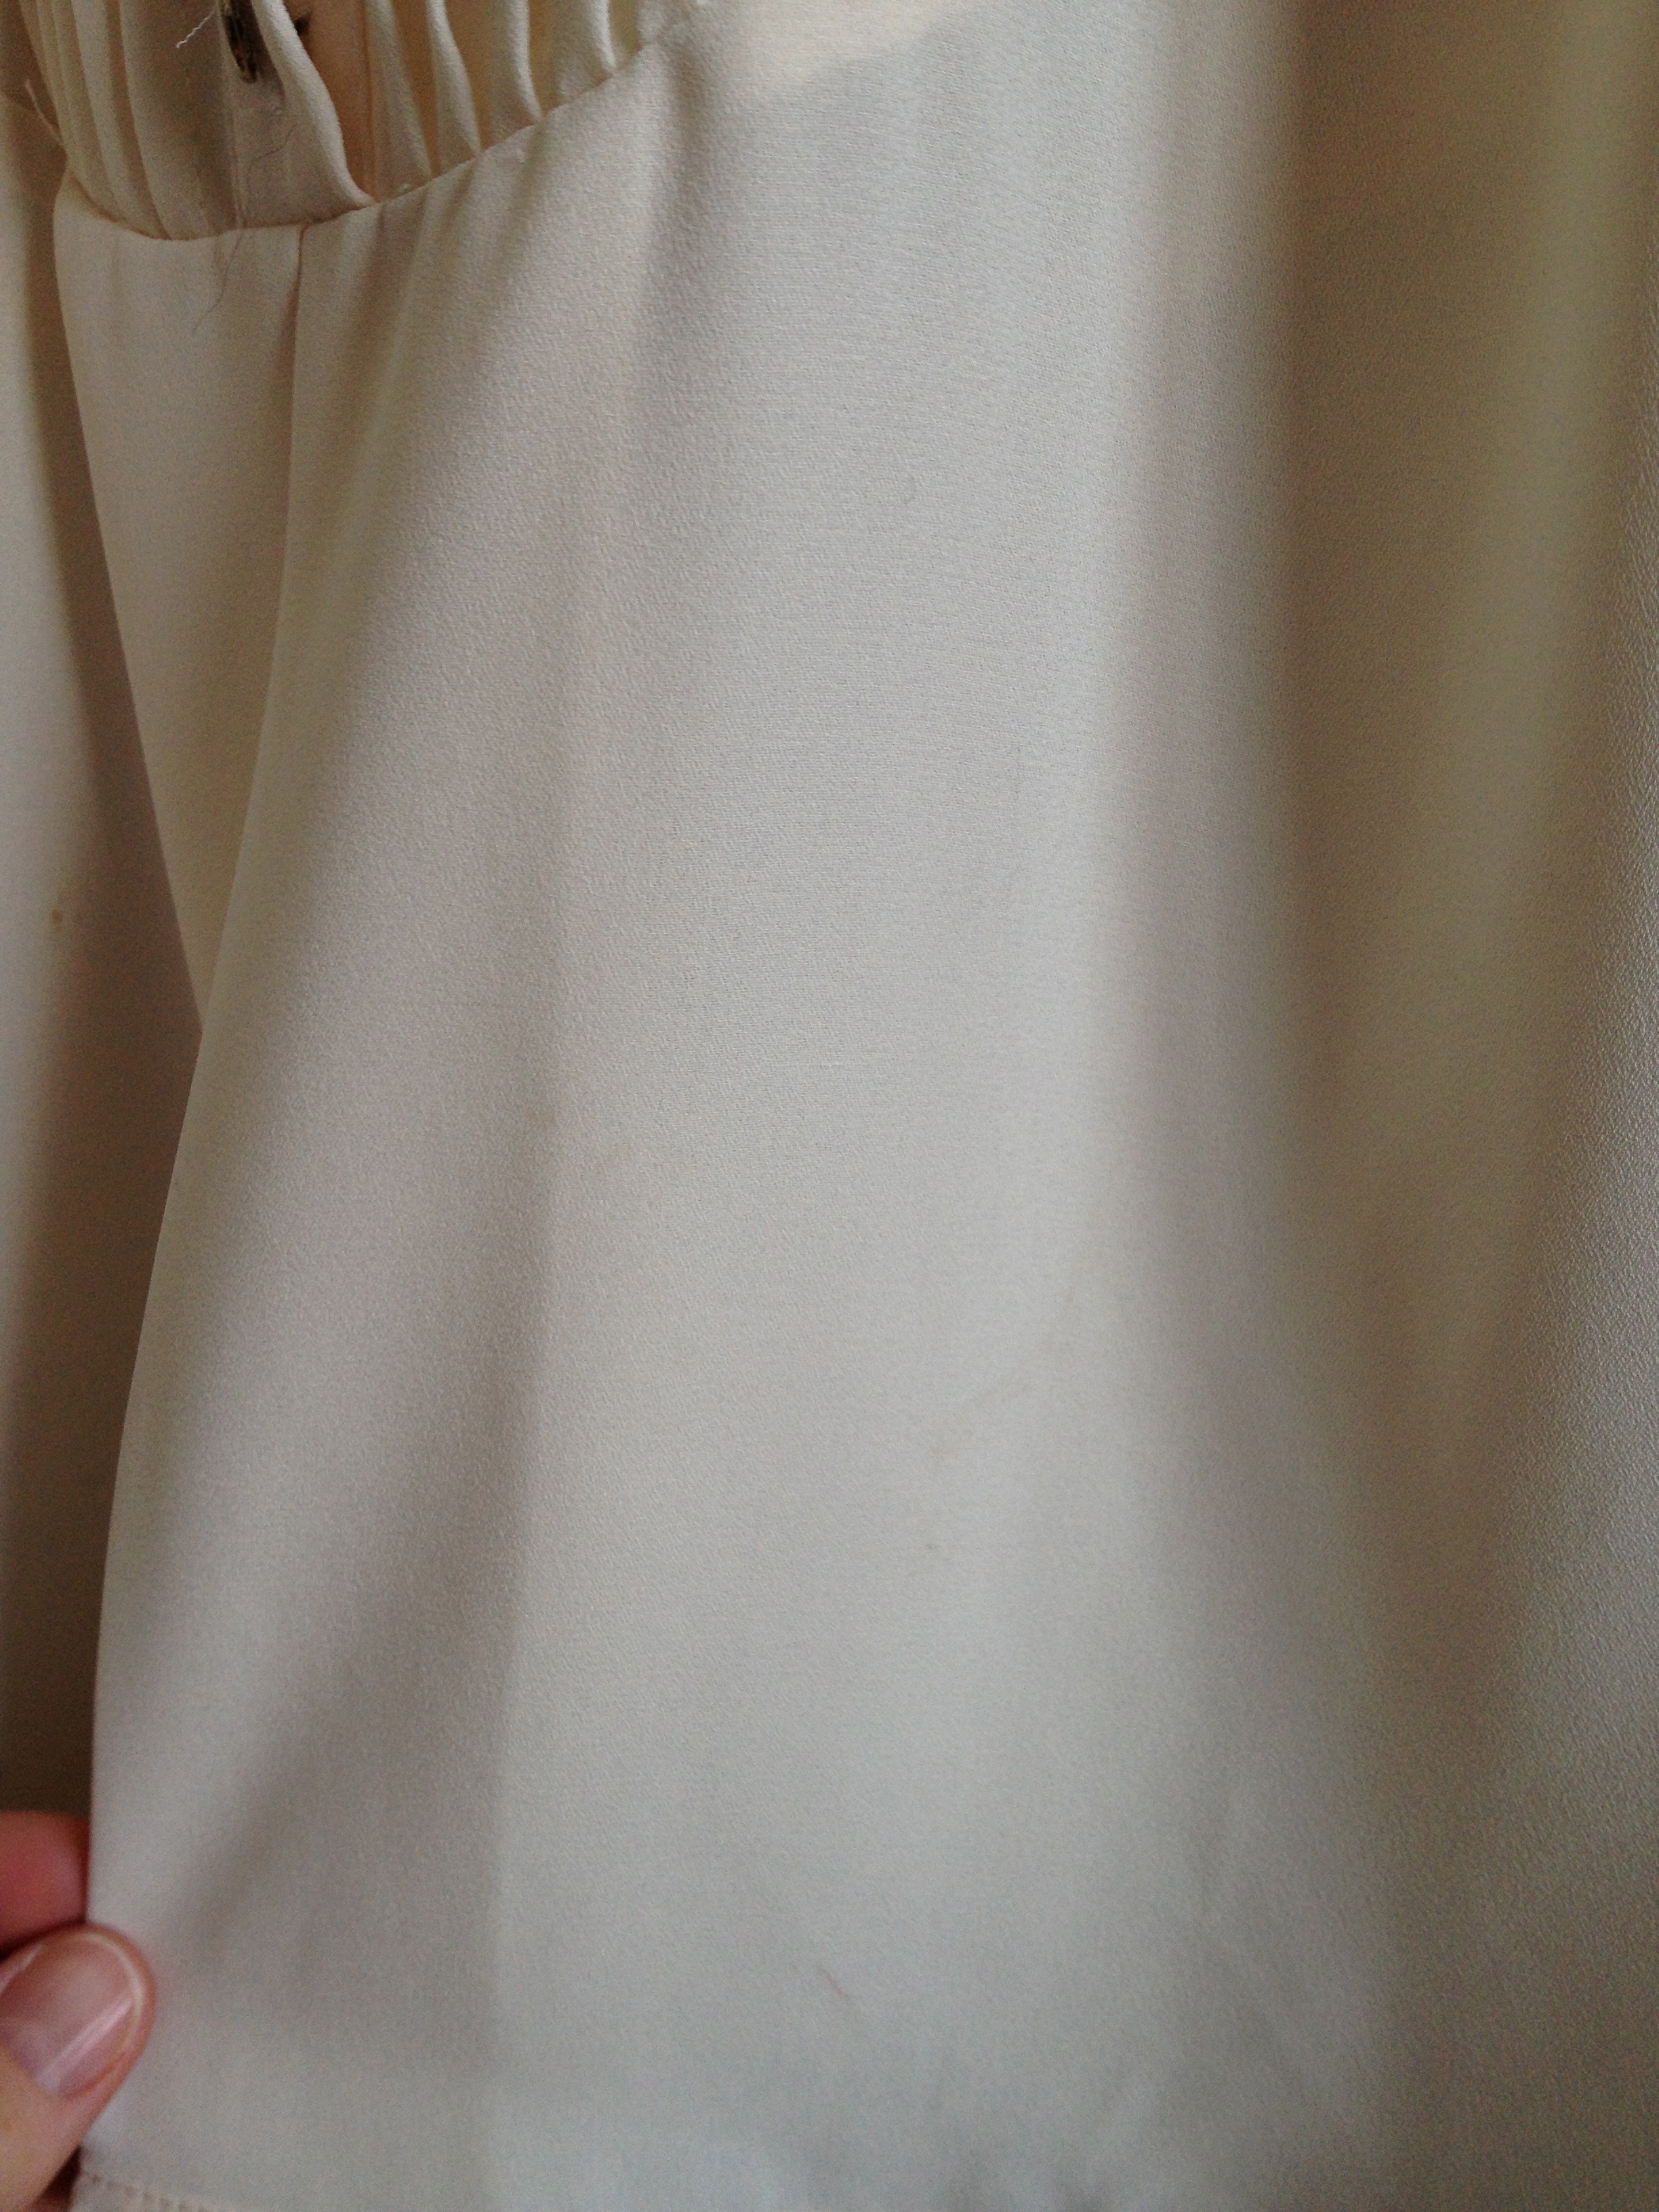
After a quick wash in cold water, with ALL Allergen Free detergent on the permanent press cycle…the stains were gone! I line dried the shirt and it’s as good as new!

image

20130205-163737.jpg

Orange & Cinnamon Aroma

After cleaning the kitchen floor, while Reagan was taking her morning nap, there was a slight lingering smell of bleach throughout the kitchen and dining room. I’m not a big fan of room sprays (they are not good for Reagan) and I didn’t have any fabulous Anthropology candles left, so I opted for a ‘use what I have in the kitchen’ method. I saw this post, http://www.flickr.com/photos/annnmarie/4125096686/, a few weeks ago, so I thought that now would be the perfect time to try it out.

Ingredients:

1 orange
1 teaspoon of cinnamon
4 cups of water

20130202-163128.jpg

Directions:

1. Fill small pot with 4 cups of water

2. Cut skin off of orange and place orange peels in pot of water (I saved the inside of the orange for Reagan’s afternoon snack)

image

3. Stir 1 teaspoon cinnamon into pot with water and orange peels

image

4. Boil on medium heat

I added an additional cup of water to my pot after about a half an hour of boiling. My mixture boiled for 45 minutes and made the kitchen and dining room smell fantastic. However, once I stopped boiling the mixture the smell quickly faded.

If you want to boil longer and have a stronger scent produced, I would suggest using more water, more orange peels and upping the amount of cinnamon.

I will definitely be doing this the next time that I have to clean the kitchen floor!

Carpet Disaster

Seriously…I can do dog throw up, dog poop, but dog pee is a whole different ball game. This is not what I wanted to come IMG_3977downstairs to after sleeping for only 5 hours on Reagan’s floor, my right arm through a crib slat with her foot on top of my hand- if I moved my hand, she woke up…ugh.  Dog pee smell sticks, in my opinion it NEVER goes away.  It’s one of those things that you can always smell, especially when the weather gets warmer. It stinks, it’s repulsive and it’s a rug ruiner.

The Bissell Little Green Machine has been a huge help with many rug clean ups over the years, it removes the stains, but unfortunately- in my opinion, the urine smell hangs around…YUCK!

IMG_3989This is the third machine that we have had in ten years.  There are two issues that I have with this machine.  #1- My husband believes that I am burning out the motor by continuing to attempt to spray the cleaning mixture when there is none left in the tank- hey, I’m watching the rug, not the darn tank.

IMG_3992

#2- It is IMPOSSIBLE to clean the head of the vacuum. Dog hair gets stuck along the sides of the head and since the head cannot be removed there is no way to clean it…gross, I know.

After attacking the spot with the Bissell, I put a towel under the rug and one over it -so Colby (the dog) wouldn’t pee there again.  Here’s what I came back to after leaving the house for a little over an hour for a preschool tour.

        IMG_3982

The spot is still visible, still damp and still stinky, ugh!  I put a new towel under the rug and a new one over (As I sit on the couch, five feet away from the ‘spot’,  I can smell urine and I want to cry). I walked on the towel a bit and left it for another few hours.

Day 2: Maybe it’s just me, but the spot where the pee stain looks cleaner than the rest of the rug.  We just had the rugsprofessionally cleaned less than 5 months ago and this is not a high traffic area, huh? Anyway, there is still a faint smell of urine…SHOCKER! I’m going to leave the towels off the area for now to let the spot completely dry and then see what happens.

IMG_4054

This is what I’m left with.  I currently cannot smell the urine unless I put my nose super close to the rug.  Since the rug is wool, it’s probably still somewhat damp within the carpet somewhere.  So until I can smell the urine when sitting next to it, walking by it, or until my brutally honest family mentions it…I will leave it alone.  The rug’s over 15 years old, maybe its time for a new one…hint, hint, to my loving husband of mine.

IMG_4108

Oh, just in case you were wondering…here’s a picture of the totally guilty dog.  How could anyone be angry at a face like that?

IMG_4111

Baked Pickles


I made these delicious baked pickles the other day with all intensions of sharing with Reagan and saving some for the husband when he got home from work.  Things didn’t really play out that way and I ended up eating 14 1/2, yes I only made 15- don’t judge, but gave half of one to Reagan who was totally not interested and fed to the dog.

I found the recipe here (http://fullflavorfood.com/fried-baked-pickles/) but switched it up a bit, knowing that I didn’t want to use dill pickles, I’m not a fan, or have 50 baked pickle pieces hanging around the house that I knew I would eat before the husband came home.

These pickles were YUMMY!  I had left over ingredients in my bowl that I could have used to make three or four more baked pickles (based on what was left of the bread crumb mixture), but since my pan was full, I opted to just discard the extras.  FYI- I had to wash my thumb and pointer fingers (the dippers) off twice, because they got a little gunked with the mixture, but other than that this wasn’t messy at all.

Prep Time: 15 min

Cook Time: 7-10 min

Serves: well…it served me…

Ingredients:
15 Bread and Butter Chip Pickles
1 Egg
1 TBL Milk
1/3 cup Flour (All Purpose)
1/3 cup Bread Crumbs
1/4 cup Panko Crumbs
1/3 cup Cheddar Cheese (Finely Shredded)
Cooking Spray

pickle1

Prep & Cooking Directions –

1. Preheat the oven to 425 degrees.

2. Spray cookie sheet with cooking spray

3. Take out the 15 pickles and place on a plate

4. Take 3 small mixing bowls and put the flour in one, the egg and milk mixed together in another, and in the third bowl combine the bread crumbs, panko crumbs, and the shredded cheese.

Pickle2

5. Coat each pickle chip with flour, then the egg/milk mixture, and then the cheesy bread/panko crumb mixture, and place on to an oiled cookie sheet.

Pickle 3  pickle6 pickle4

pickle7

6. Bake @ 425 degrees for 7 – 10 minutes or until desired “crispiness” is reached.

The original recipe suggests dipping the pickles in ranch dressing.  This sounds fantastic, but I didn’t have any on hand, so I went without and they were still delish!

Chocolate Chip Amazingness

If I could only eat one dessert for the rest of my life it would be these cookies. They are THAT good! I have been making these cookies for years and everyone always asks for the recipe. I am always reluctant to give out my “secret” recipe even though I didn’t even come up with it on my own. The thing that makes them so delicious, so soft and so amazing is the vanilla pudding. I don’t know how it does it but it’s like…magic!

1 cup butter, softened
1/4 cup white sugar
3/4 cup light brown sugar
1 3.4oz box instant vanilla pudding
1T vanilla extract
2 large eggs
2 1/4 cups flour
1t baking powder
1t baking soda
1/4t salt
2 cups chocolate chips

First, cream together the butter and sugars in a large mixing bowl.

photo 2

Then, add the magic powder aka vanilla pudding.

photo-1

Next, beat in eggs and vanilla.

photo 3

After that, stir in the dry ingredients.

photo 4

Finally, pour in the chocolate chips.

photo 5

Bake at 350 degrees for 10-11 minutes on an ungreased cookie sheet or until slightly golden brown.

All done and ready to eat!

All done and ready to eat!

The recipe will make approximately three dozen cookies so if you are like me and can eat a dozen in one sitting or want to be able to freeze some for a midnight snack at a later date then you might want to double the recipe. Give them a try…I doubt you will go back to your old recipe. Happy baking!

Kid tested and approved!

Kid tested and approved!