Zucchini Bites


I totally BOMBED these Zucchini Bites (http://curiouscountrycook.blogspot.com/2012/03/zucchini-tots.html) the first time that I made them because I neglected to squeeze the excess water from the shredded zucchini, which resulted in super soggy bites. This recipe was so simple that I wanted to try again, remembering this time the important part of ridding the zucchini of it’s excess water. I figured if I was successful the second time around, this may be a recipe that Reagan will love and get her to eat a vegetable!

I found the recipe on the Curious Country Cook’s website: http://curiouscountrycook.blogspot.com/2012/03/zucchini-tots.html

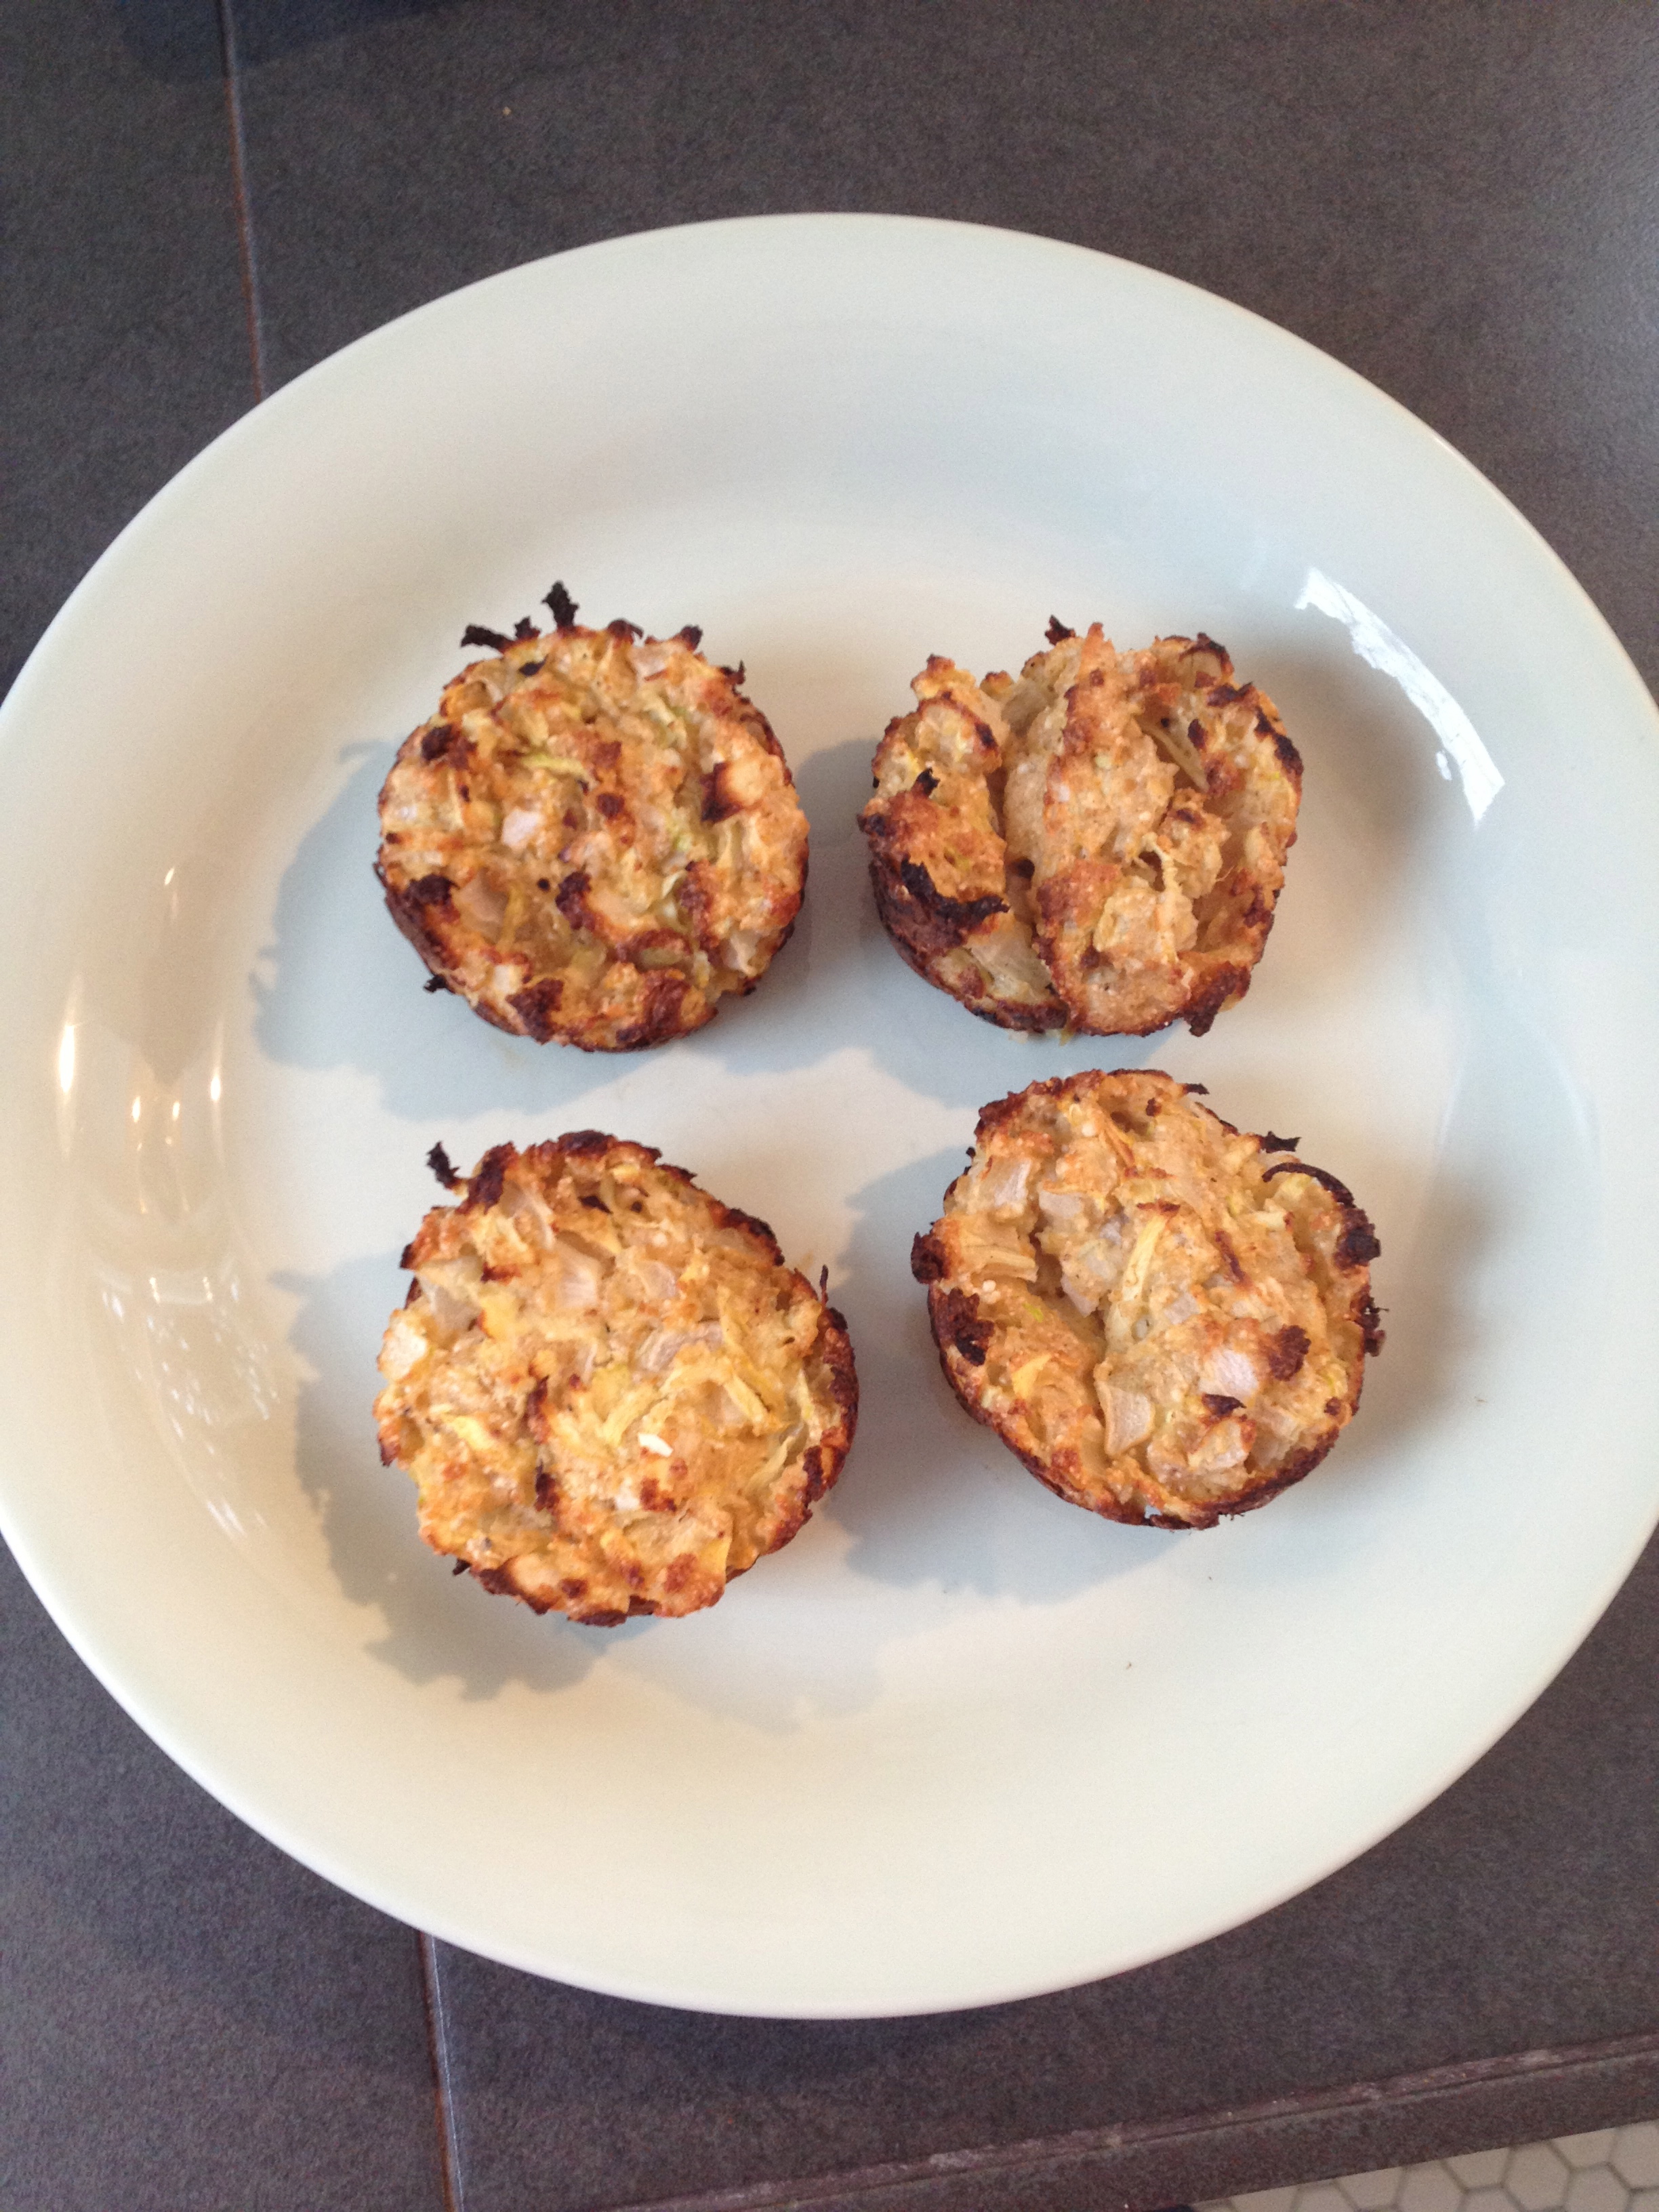
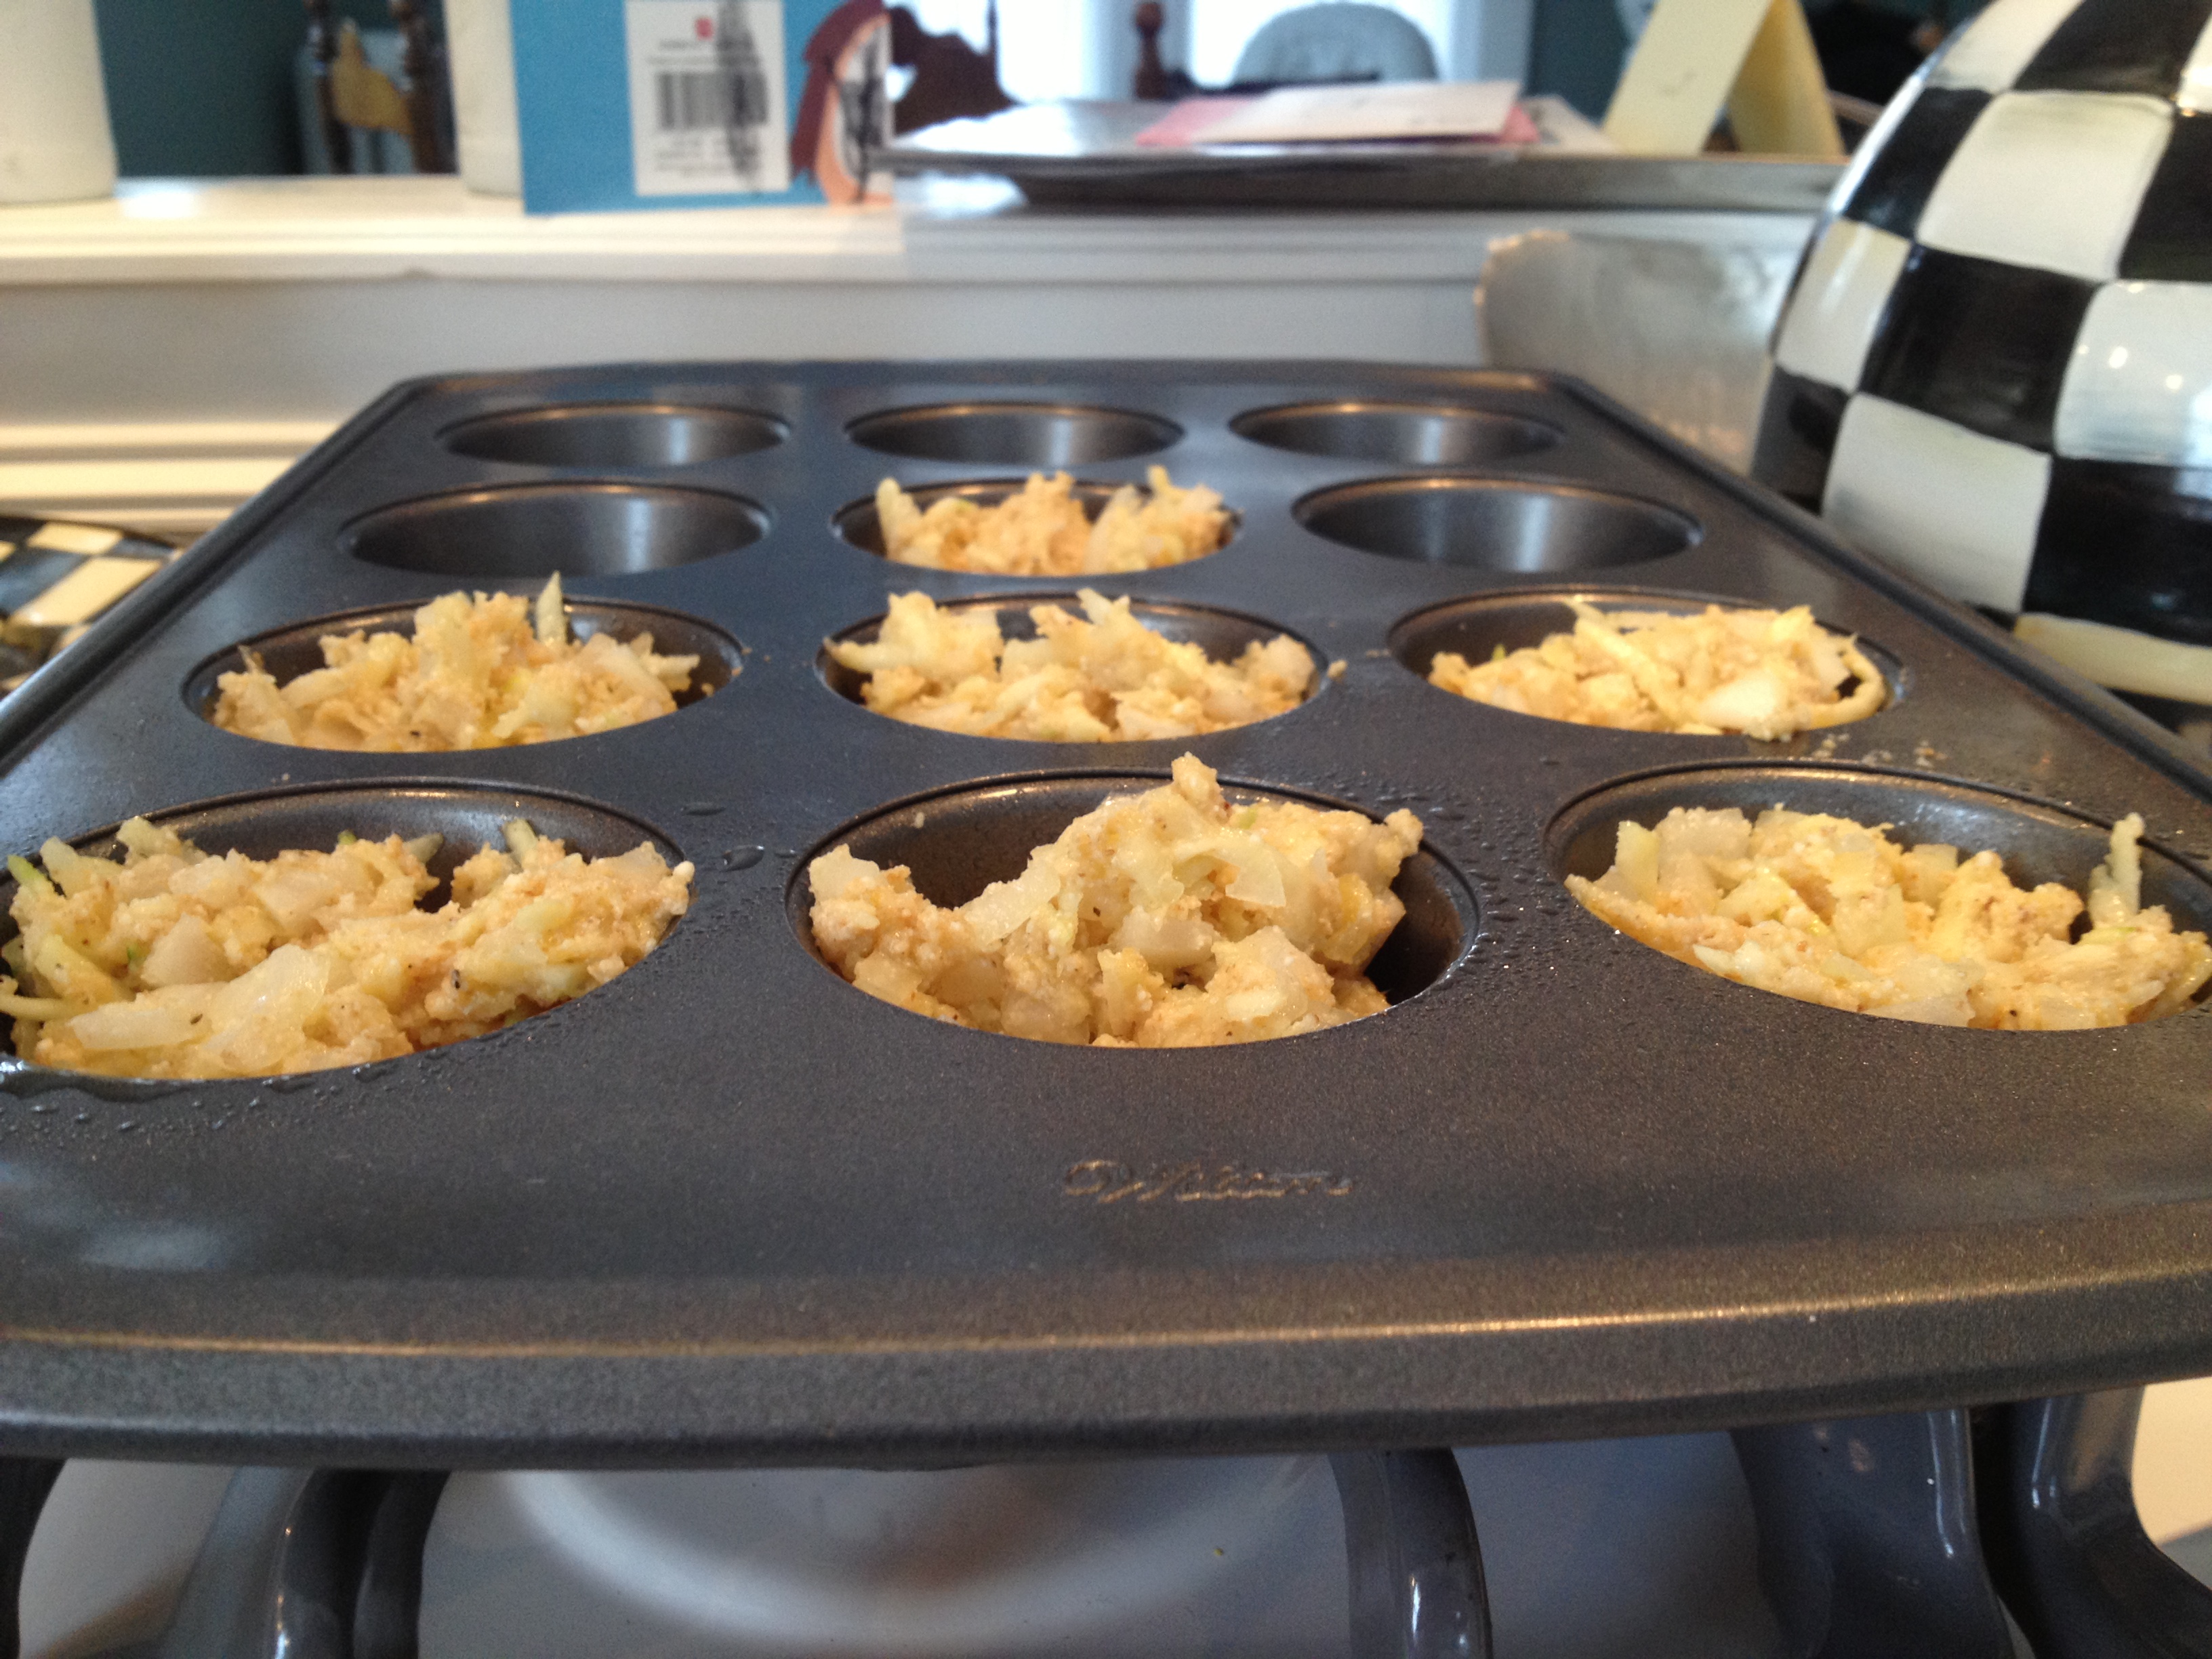
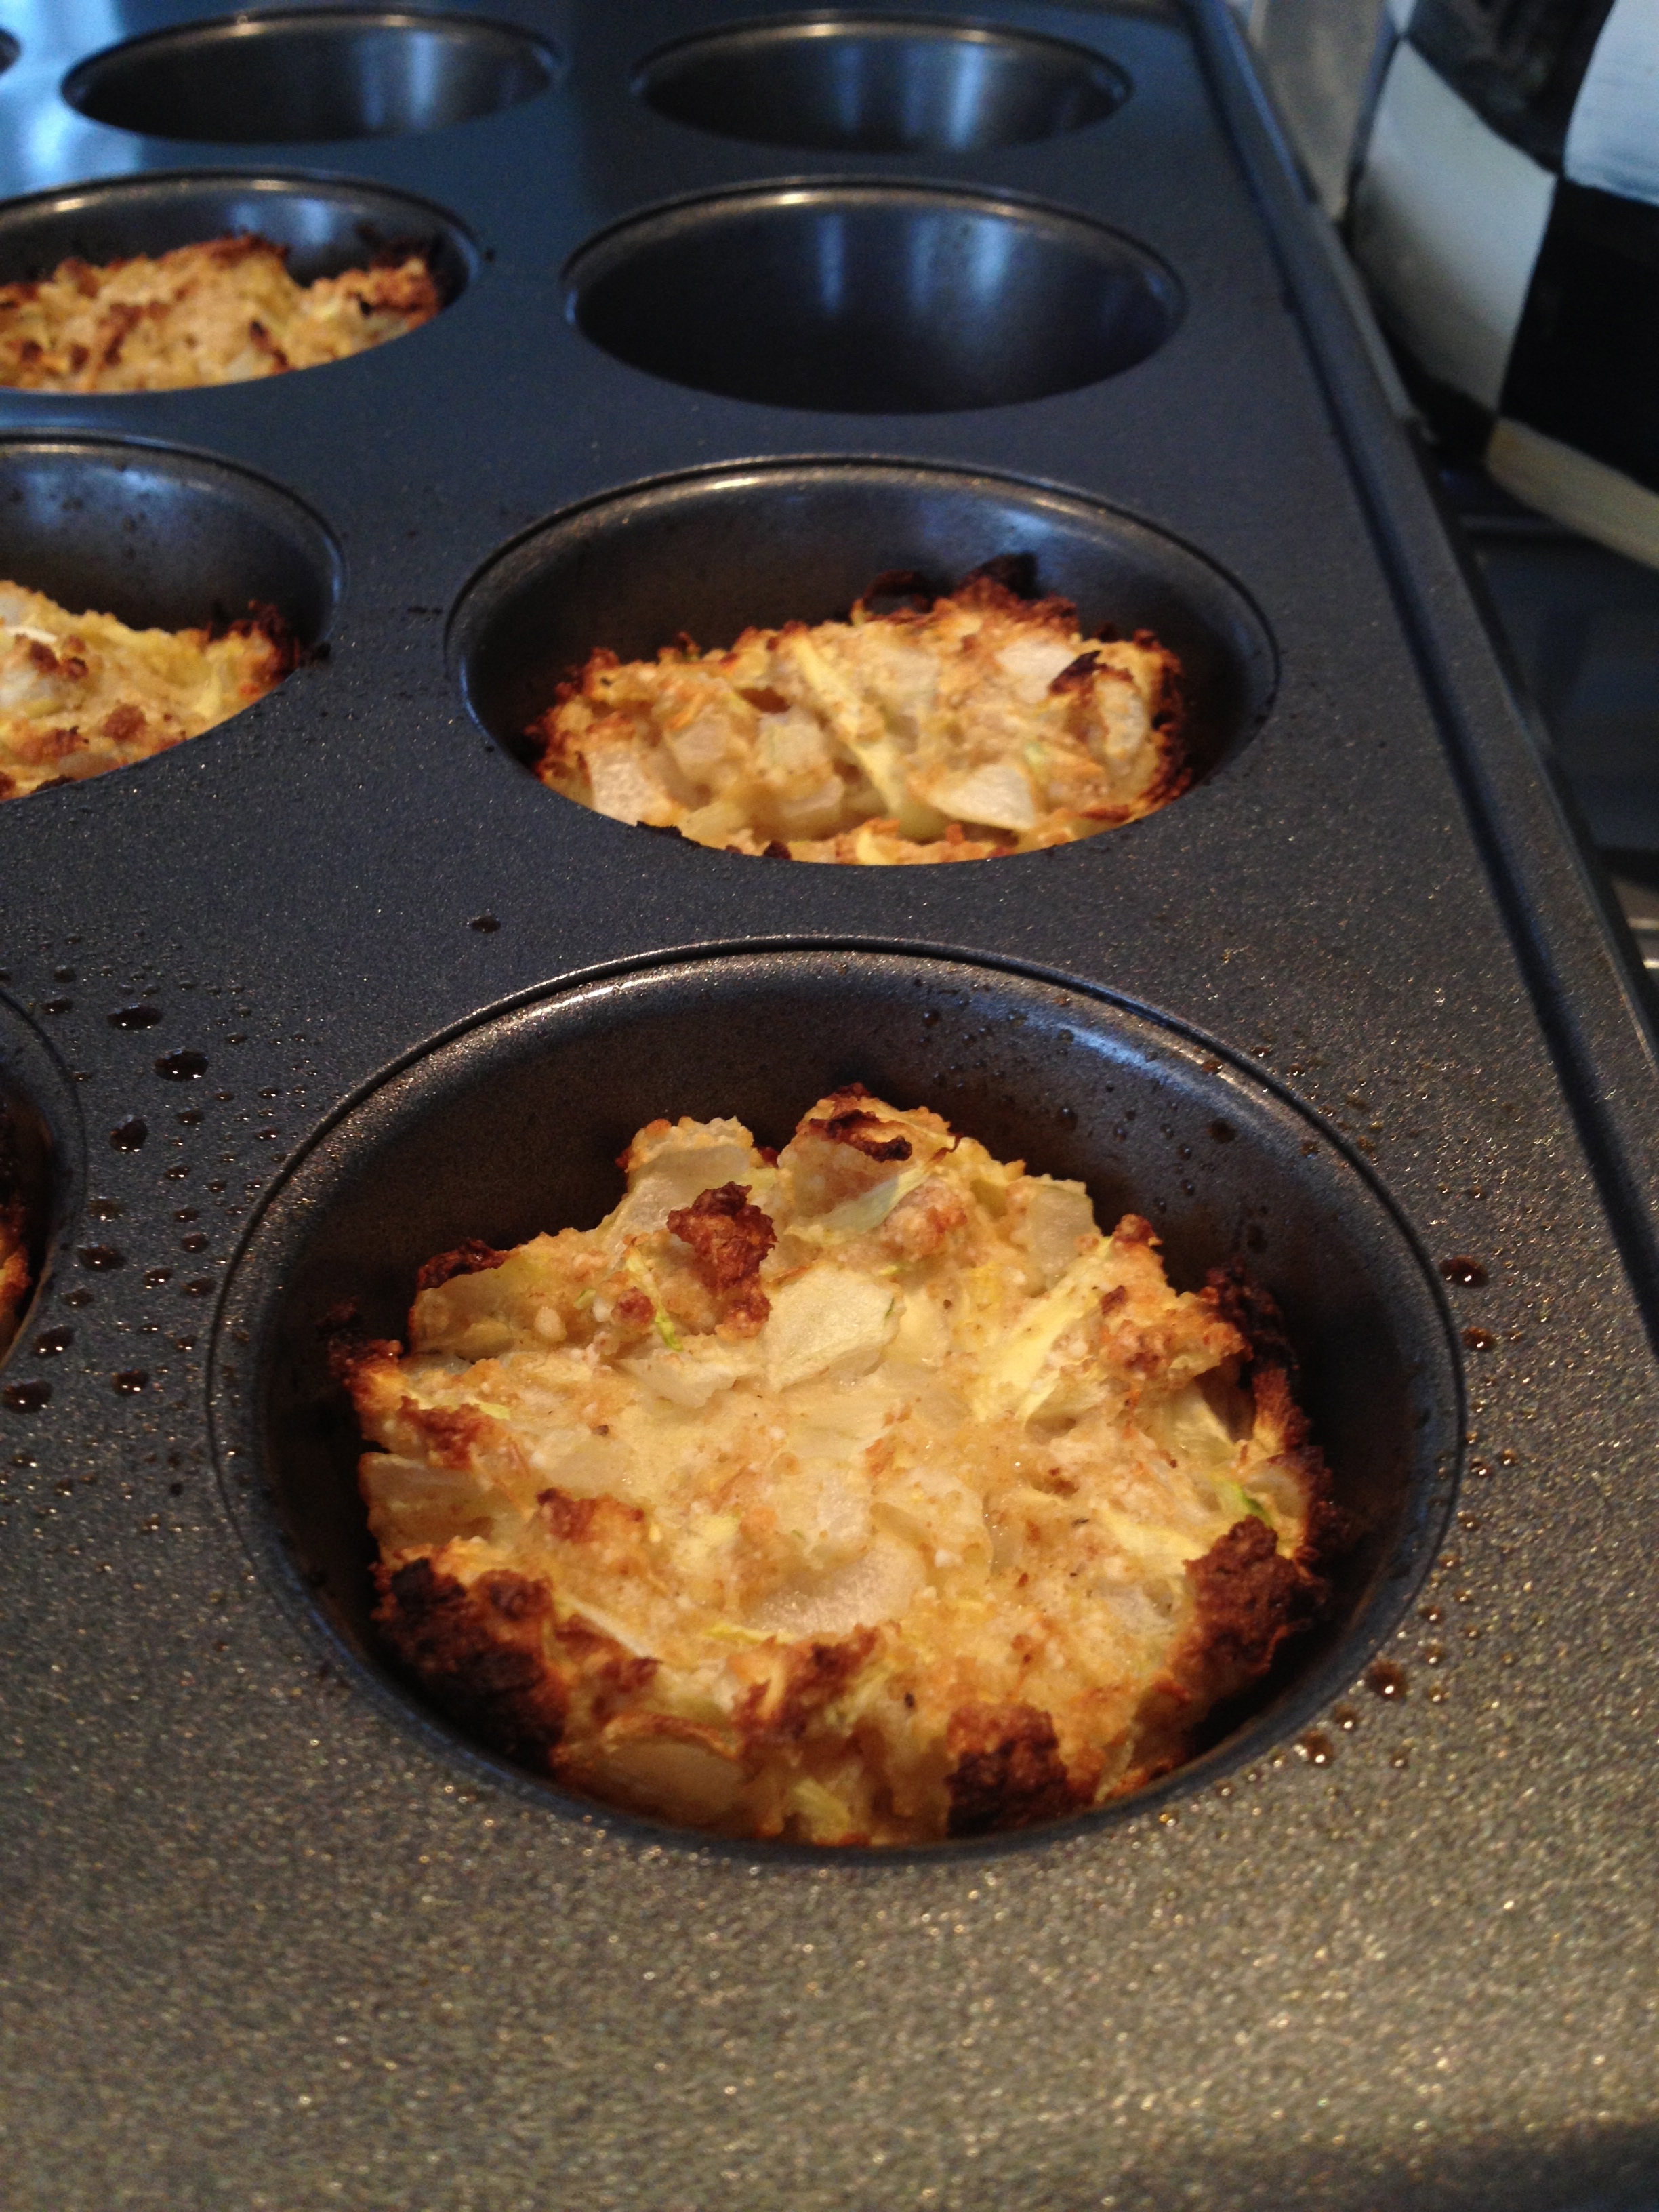
I changed two parts of this recipe; what I baked the Bites in and how long I baked them for. I don’t own a mini muffin tin, so I used a larger muffin tin. The mini muffin tin would be perfect to bake things for Reagan, because they would be just her size…that is if I can ever remember to buy one when I’m at Marshall’s, Home Good’s, or even at the local grocery.
The original recipe calls for you to bake the Bites for 15-18 minutes. This would be the perfect abount of time if you were using a mini muffin tin. Since I had a larger amount of the bite mixture within each tin hole I had to up the baking time to 23 minutes.

The recipe yields 12 mini Bites (mini muffin tin) or 7 larger Bites (larger muffin tin)
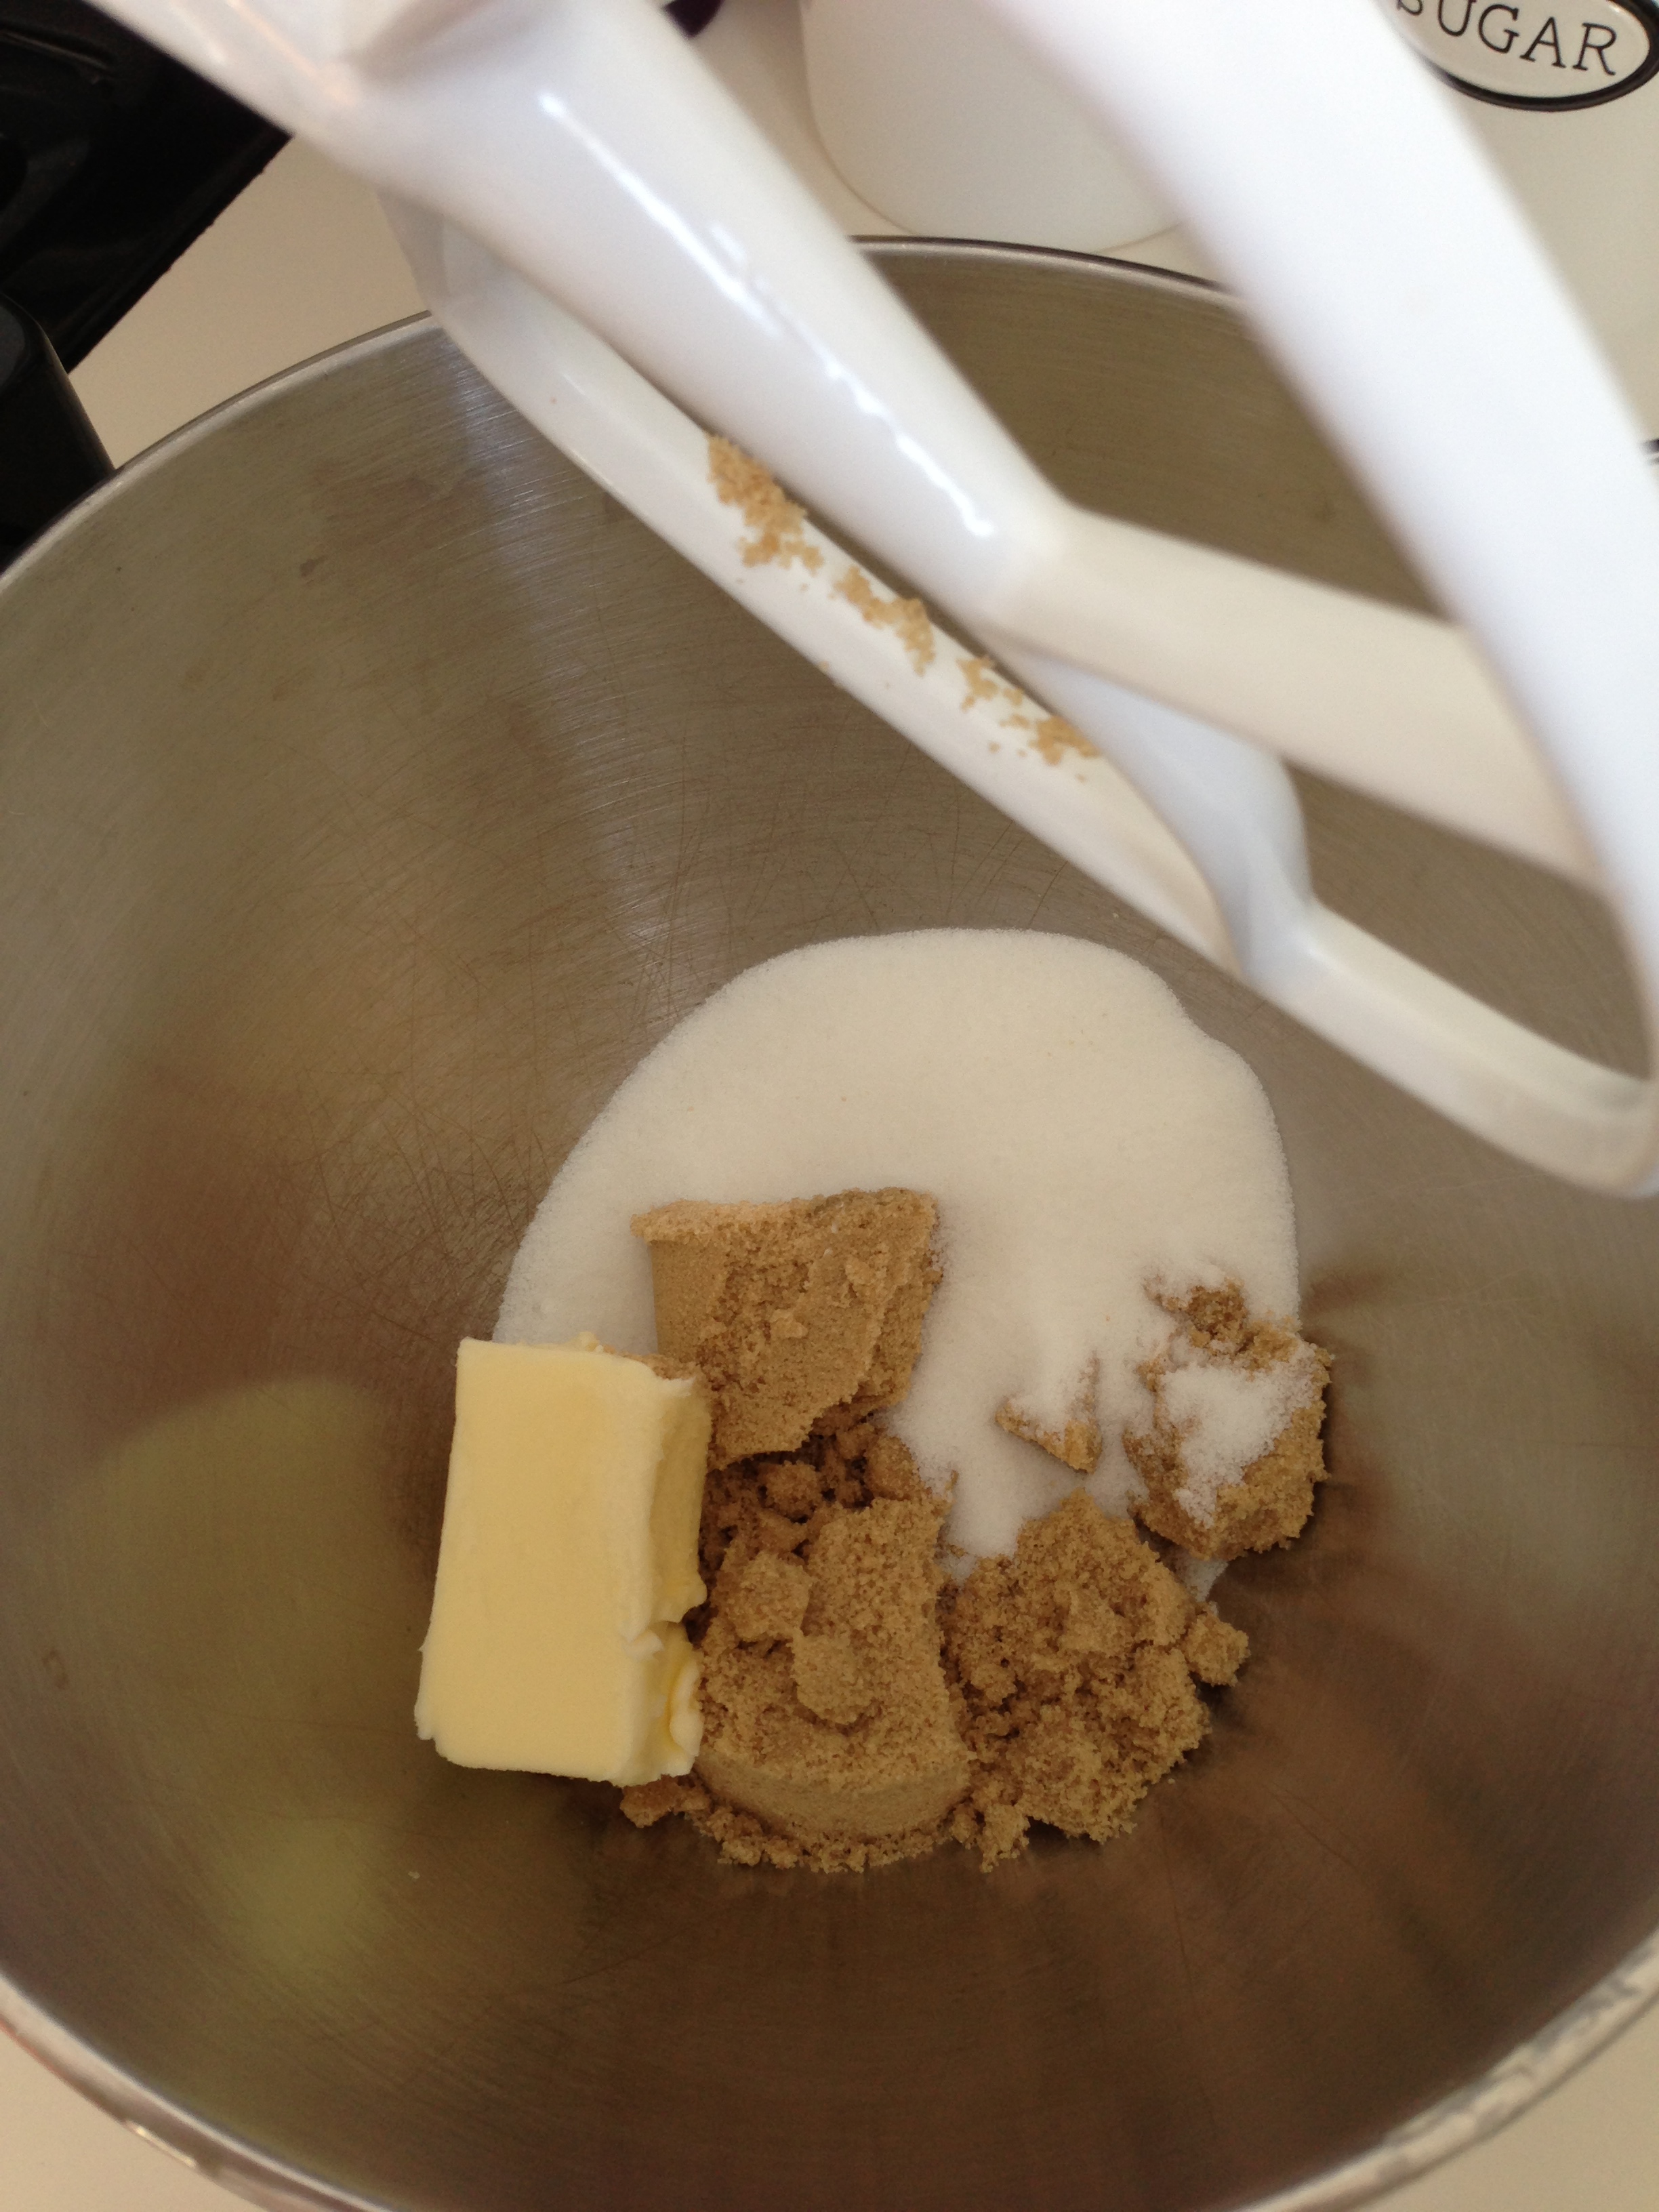
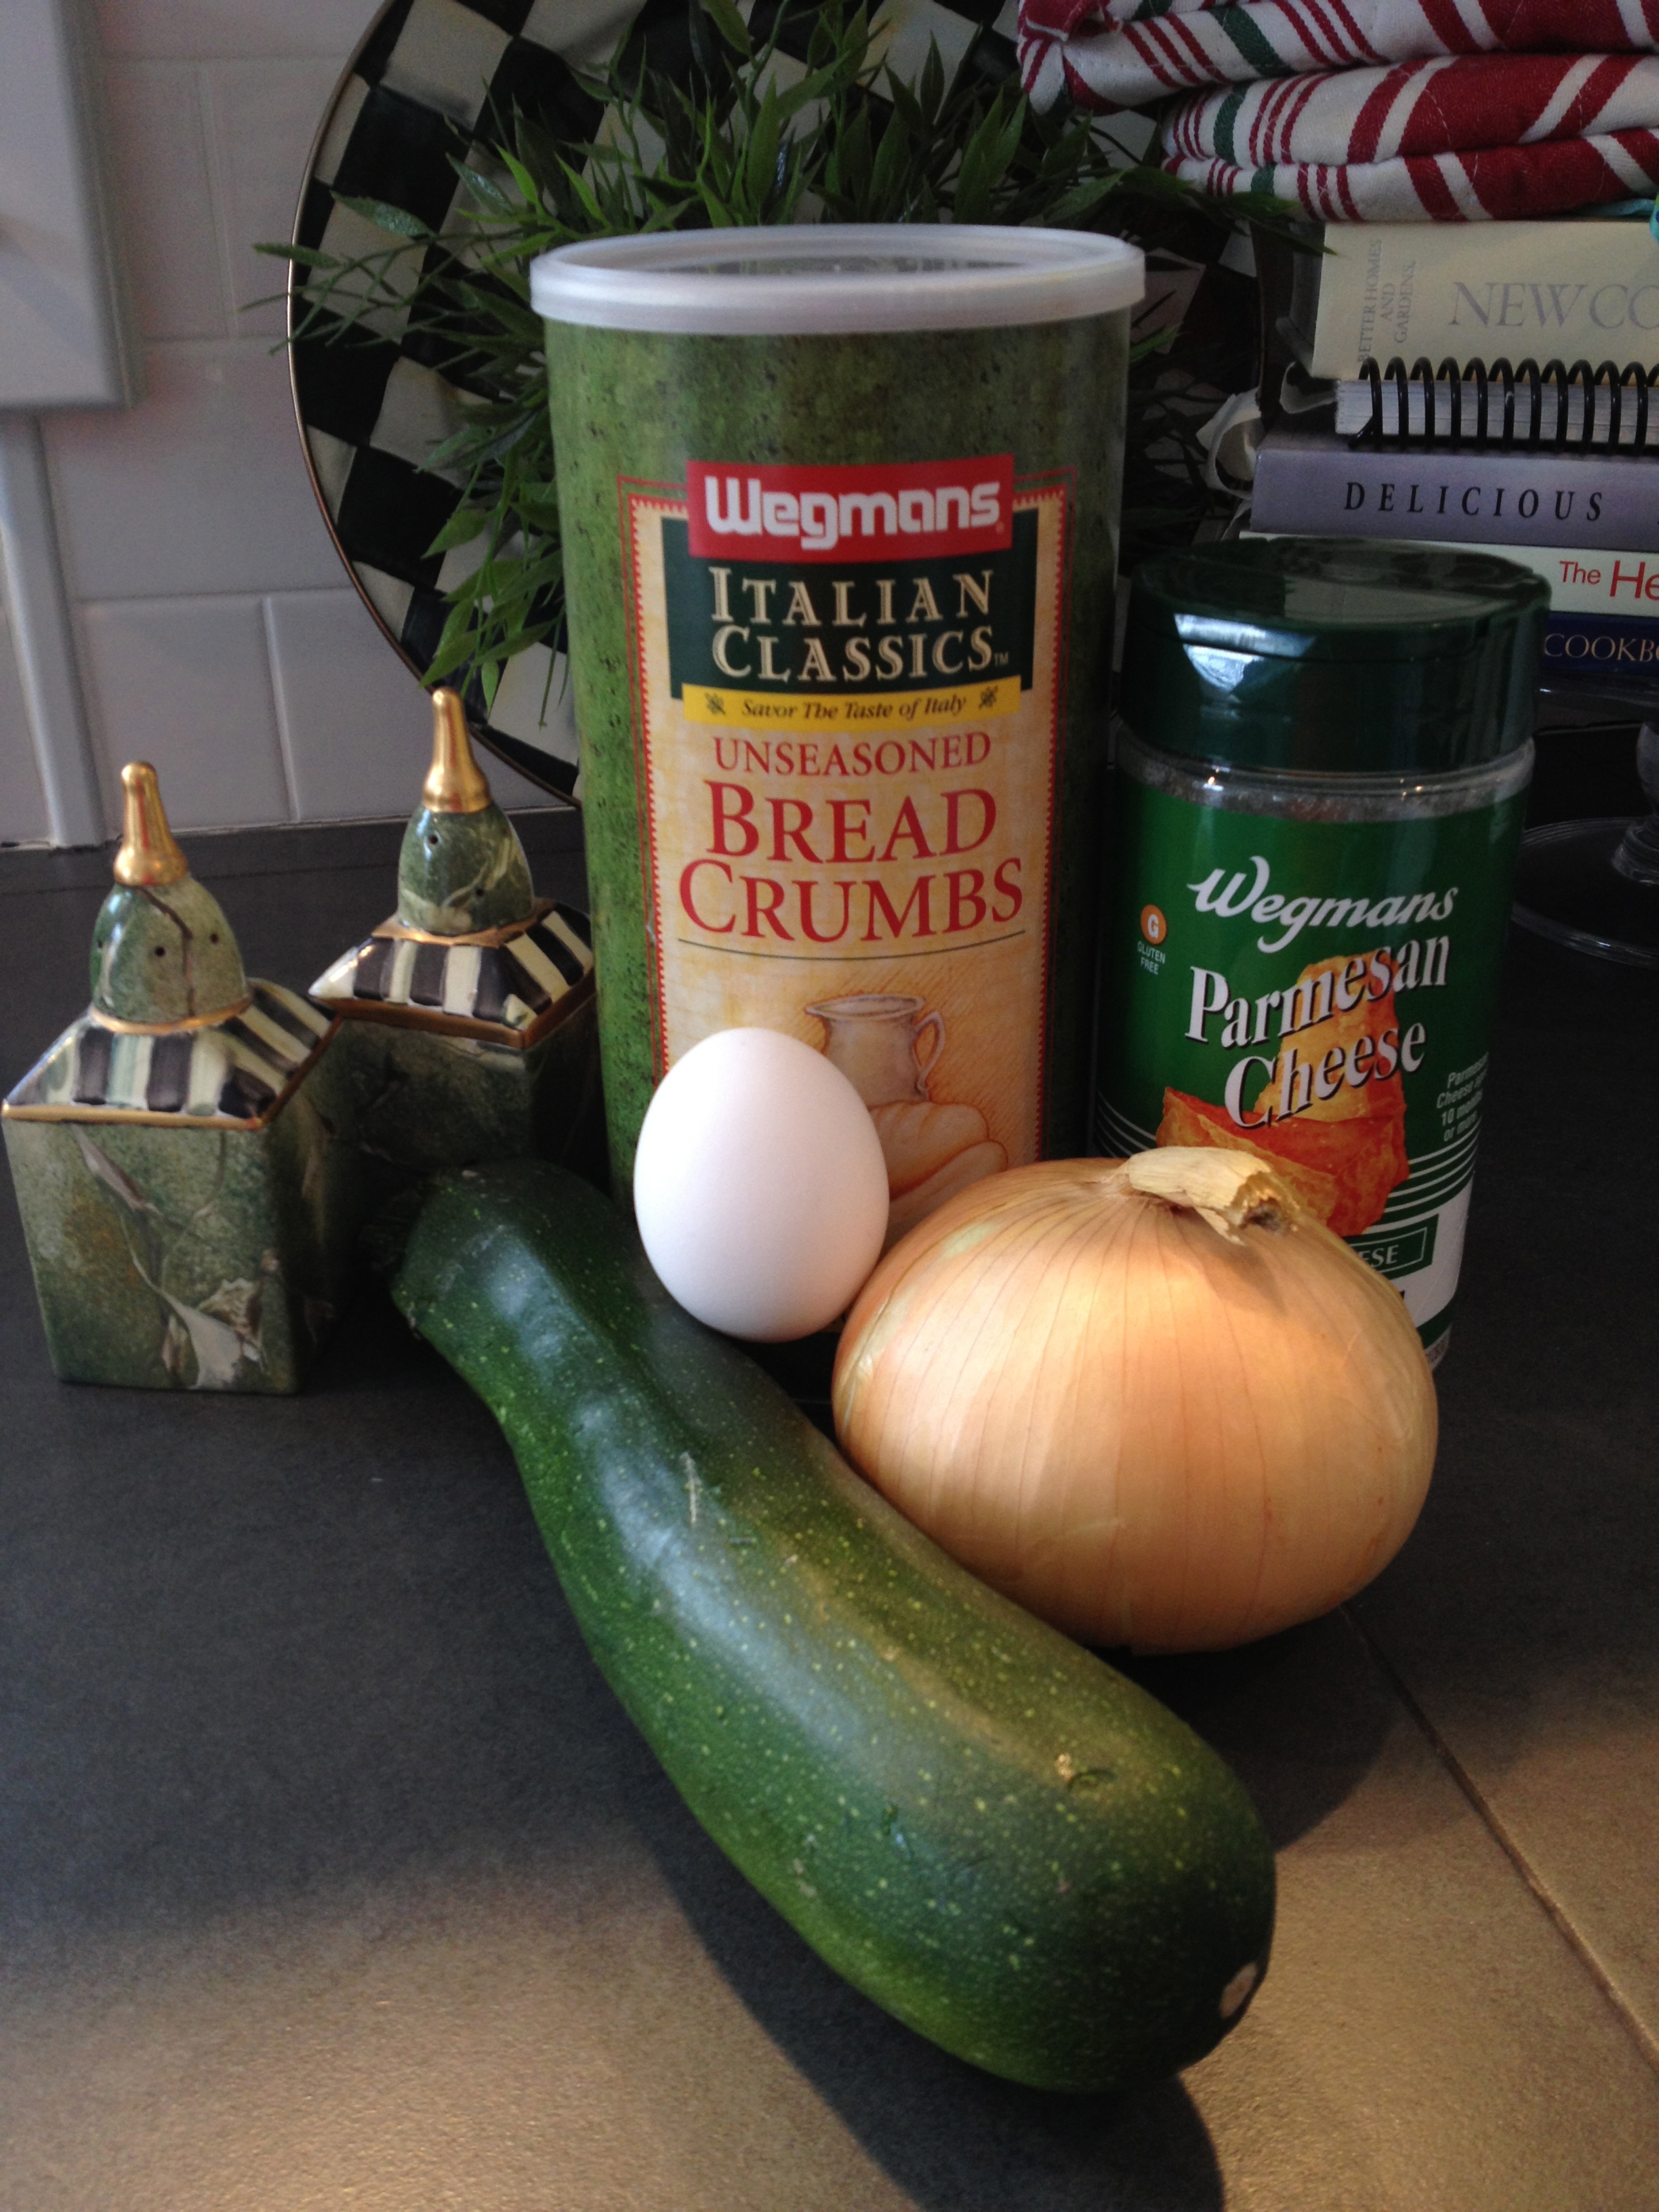
Ingredients

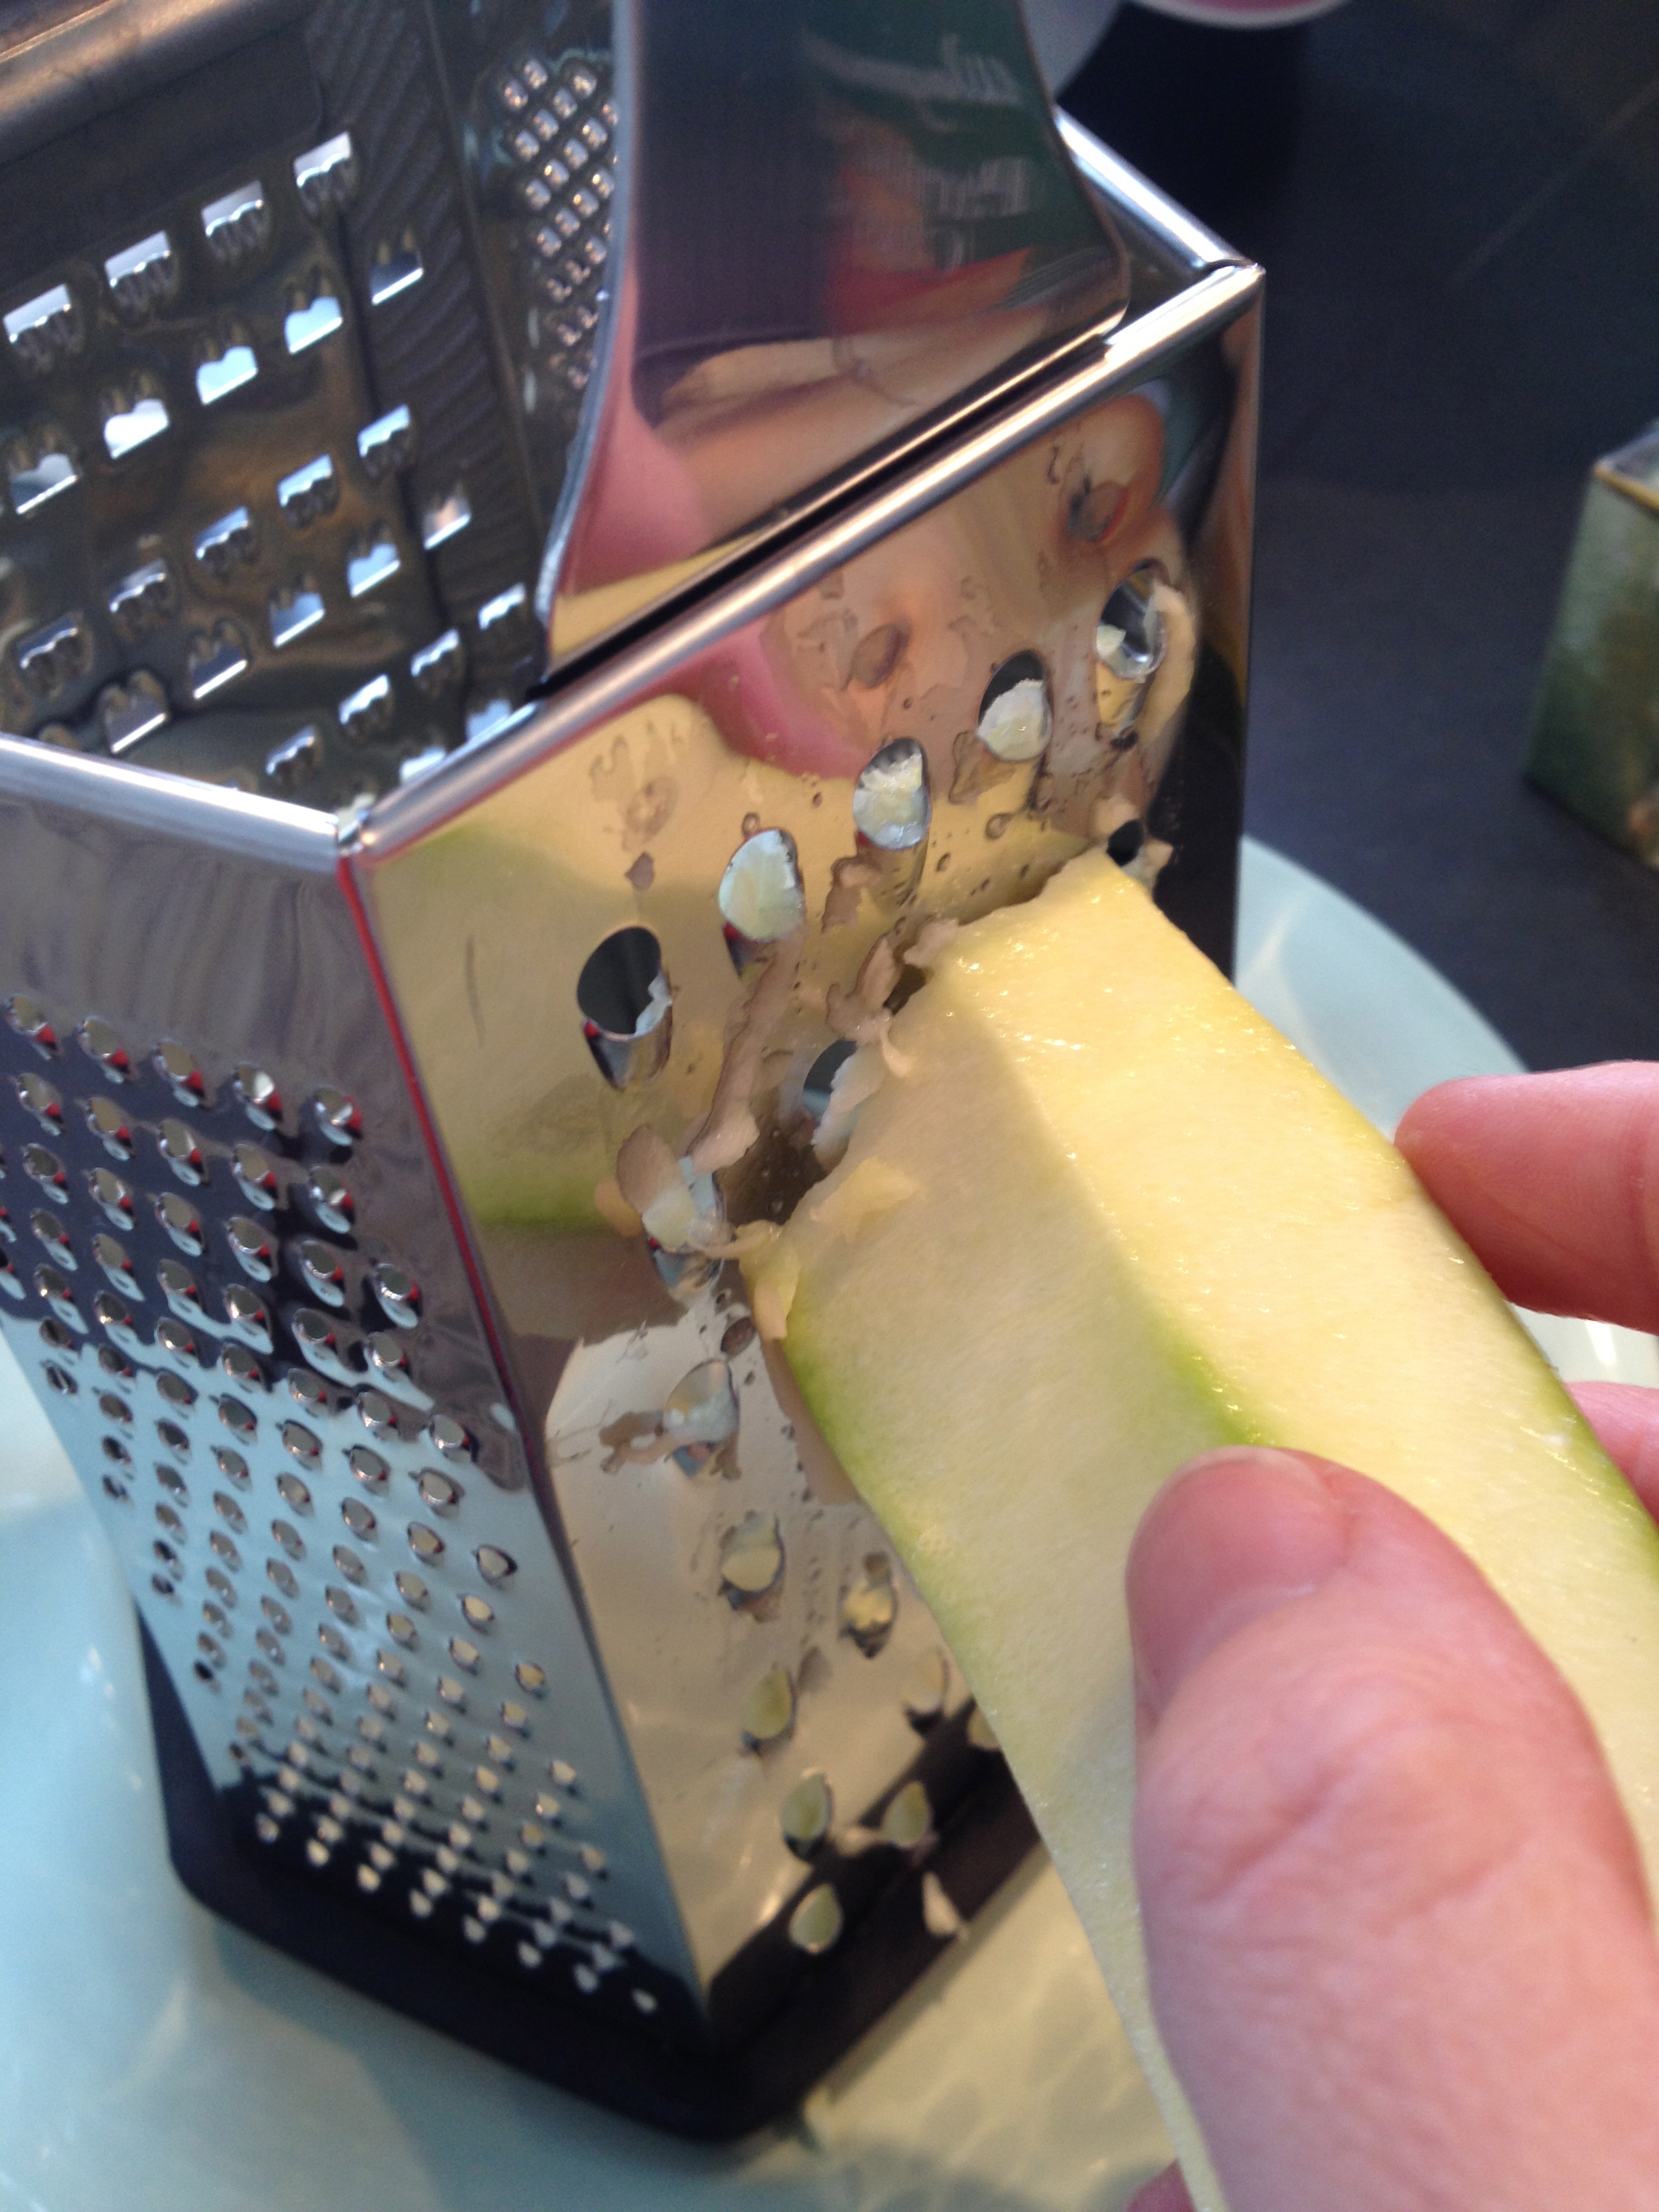
1 cups zucchini, grated
1 egg (1 large egg equals 3-4 tbsp when whisked together)
1/4 yellow onion, diced
1/4 cup cheese (cheddar or Parmesan work the best)
1/4 cup bread crumbs – I used Italian style
Salt and Pepper

Preheat oven to 400F. Spray muffin tin with non-stick spray, set aside.

Grate the zucchini and then place in a paper towel to squeeze out the excess water or place in a colander and push down on the shredded zucchini and allow for the water to drain through the holes– if you skip this part, the middle of the Bites will be really soggy (SOGGY IS AN UNDERSTATEMENT…THE WILL BE MUSH!!!)

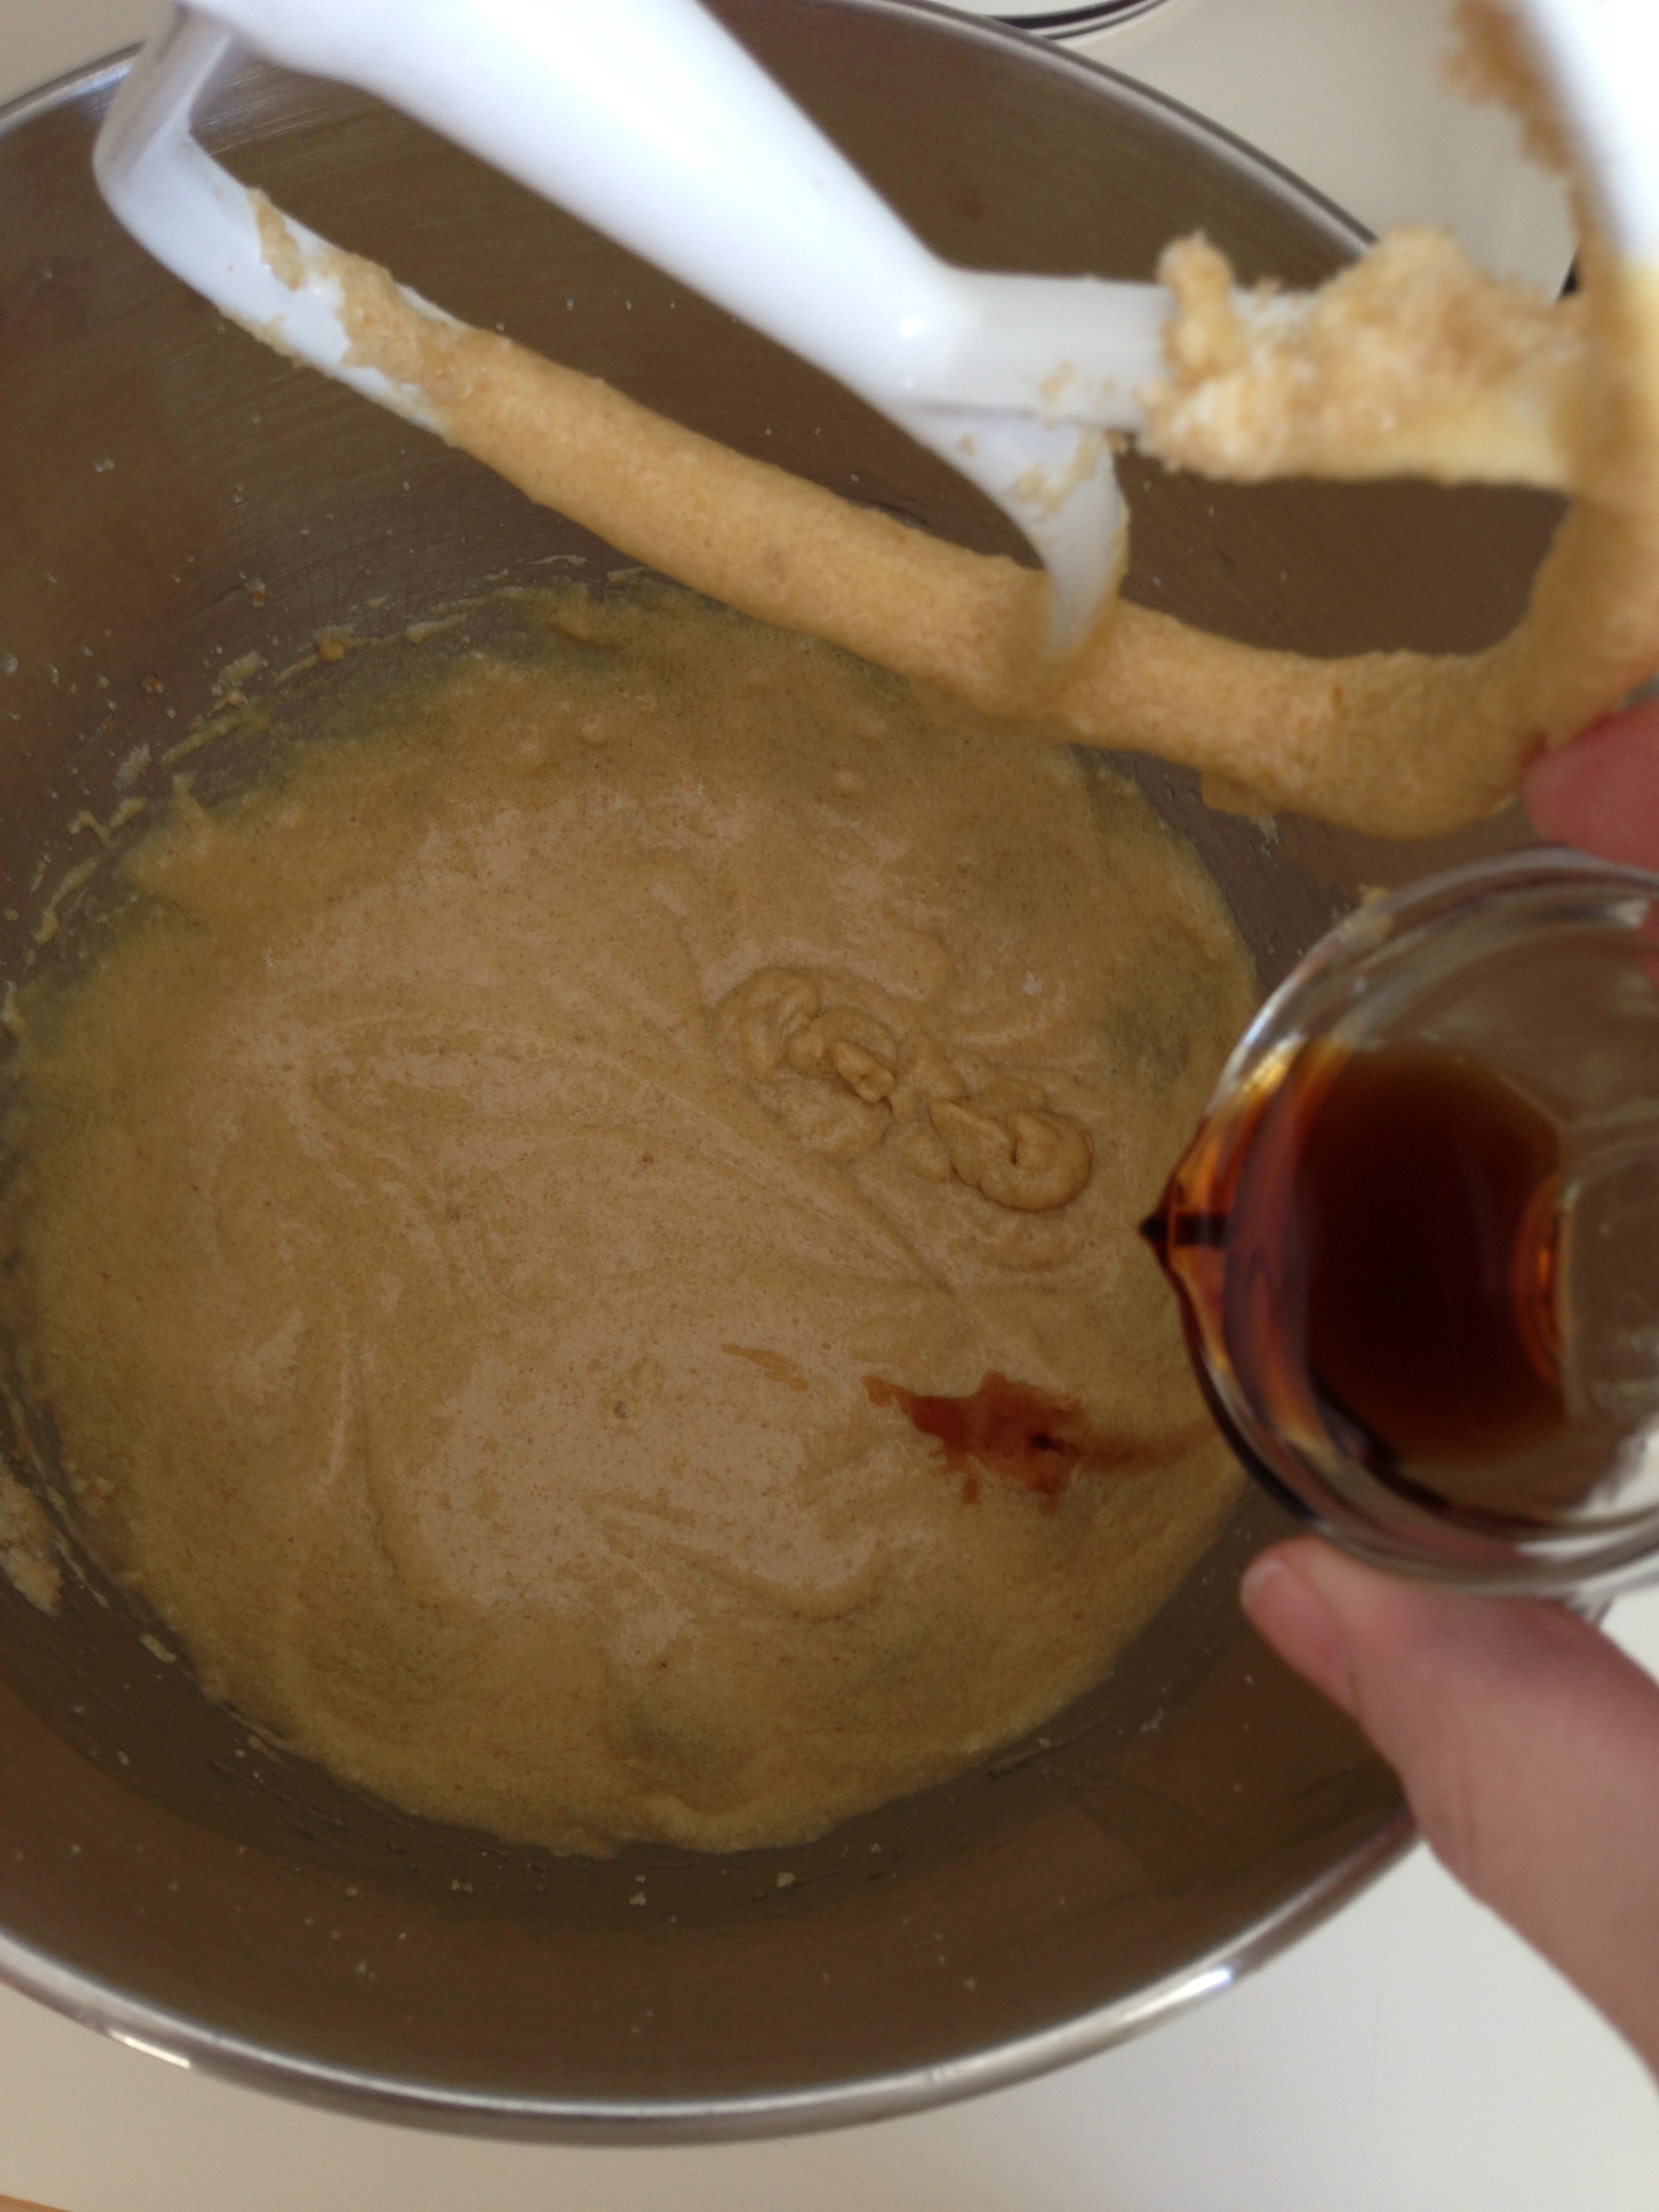
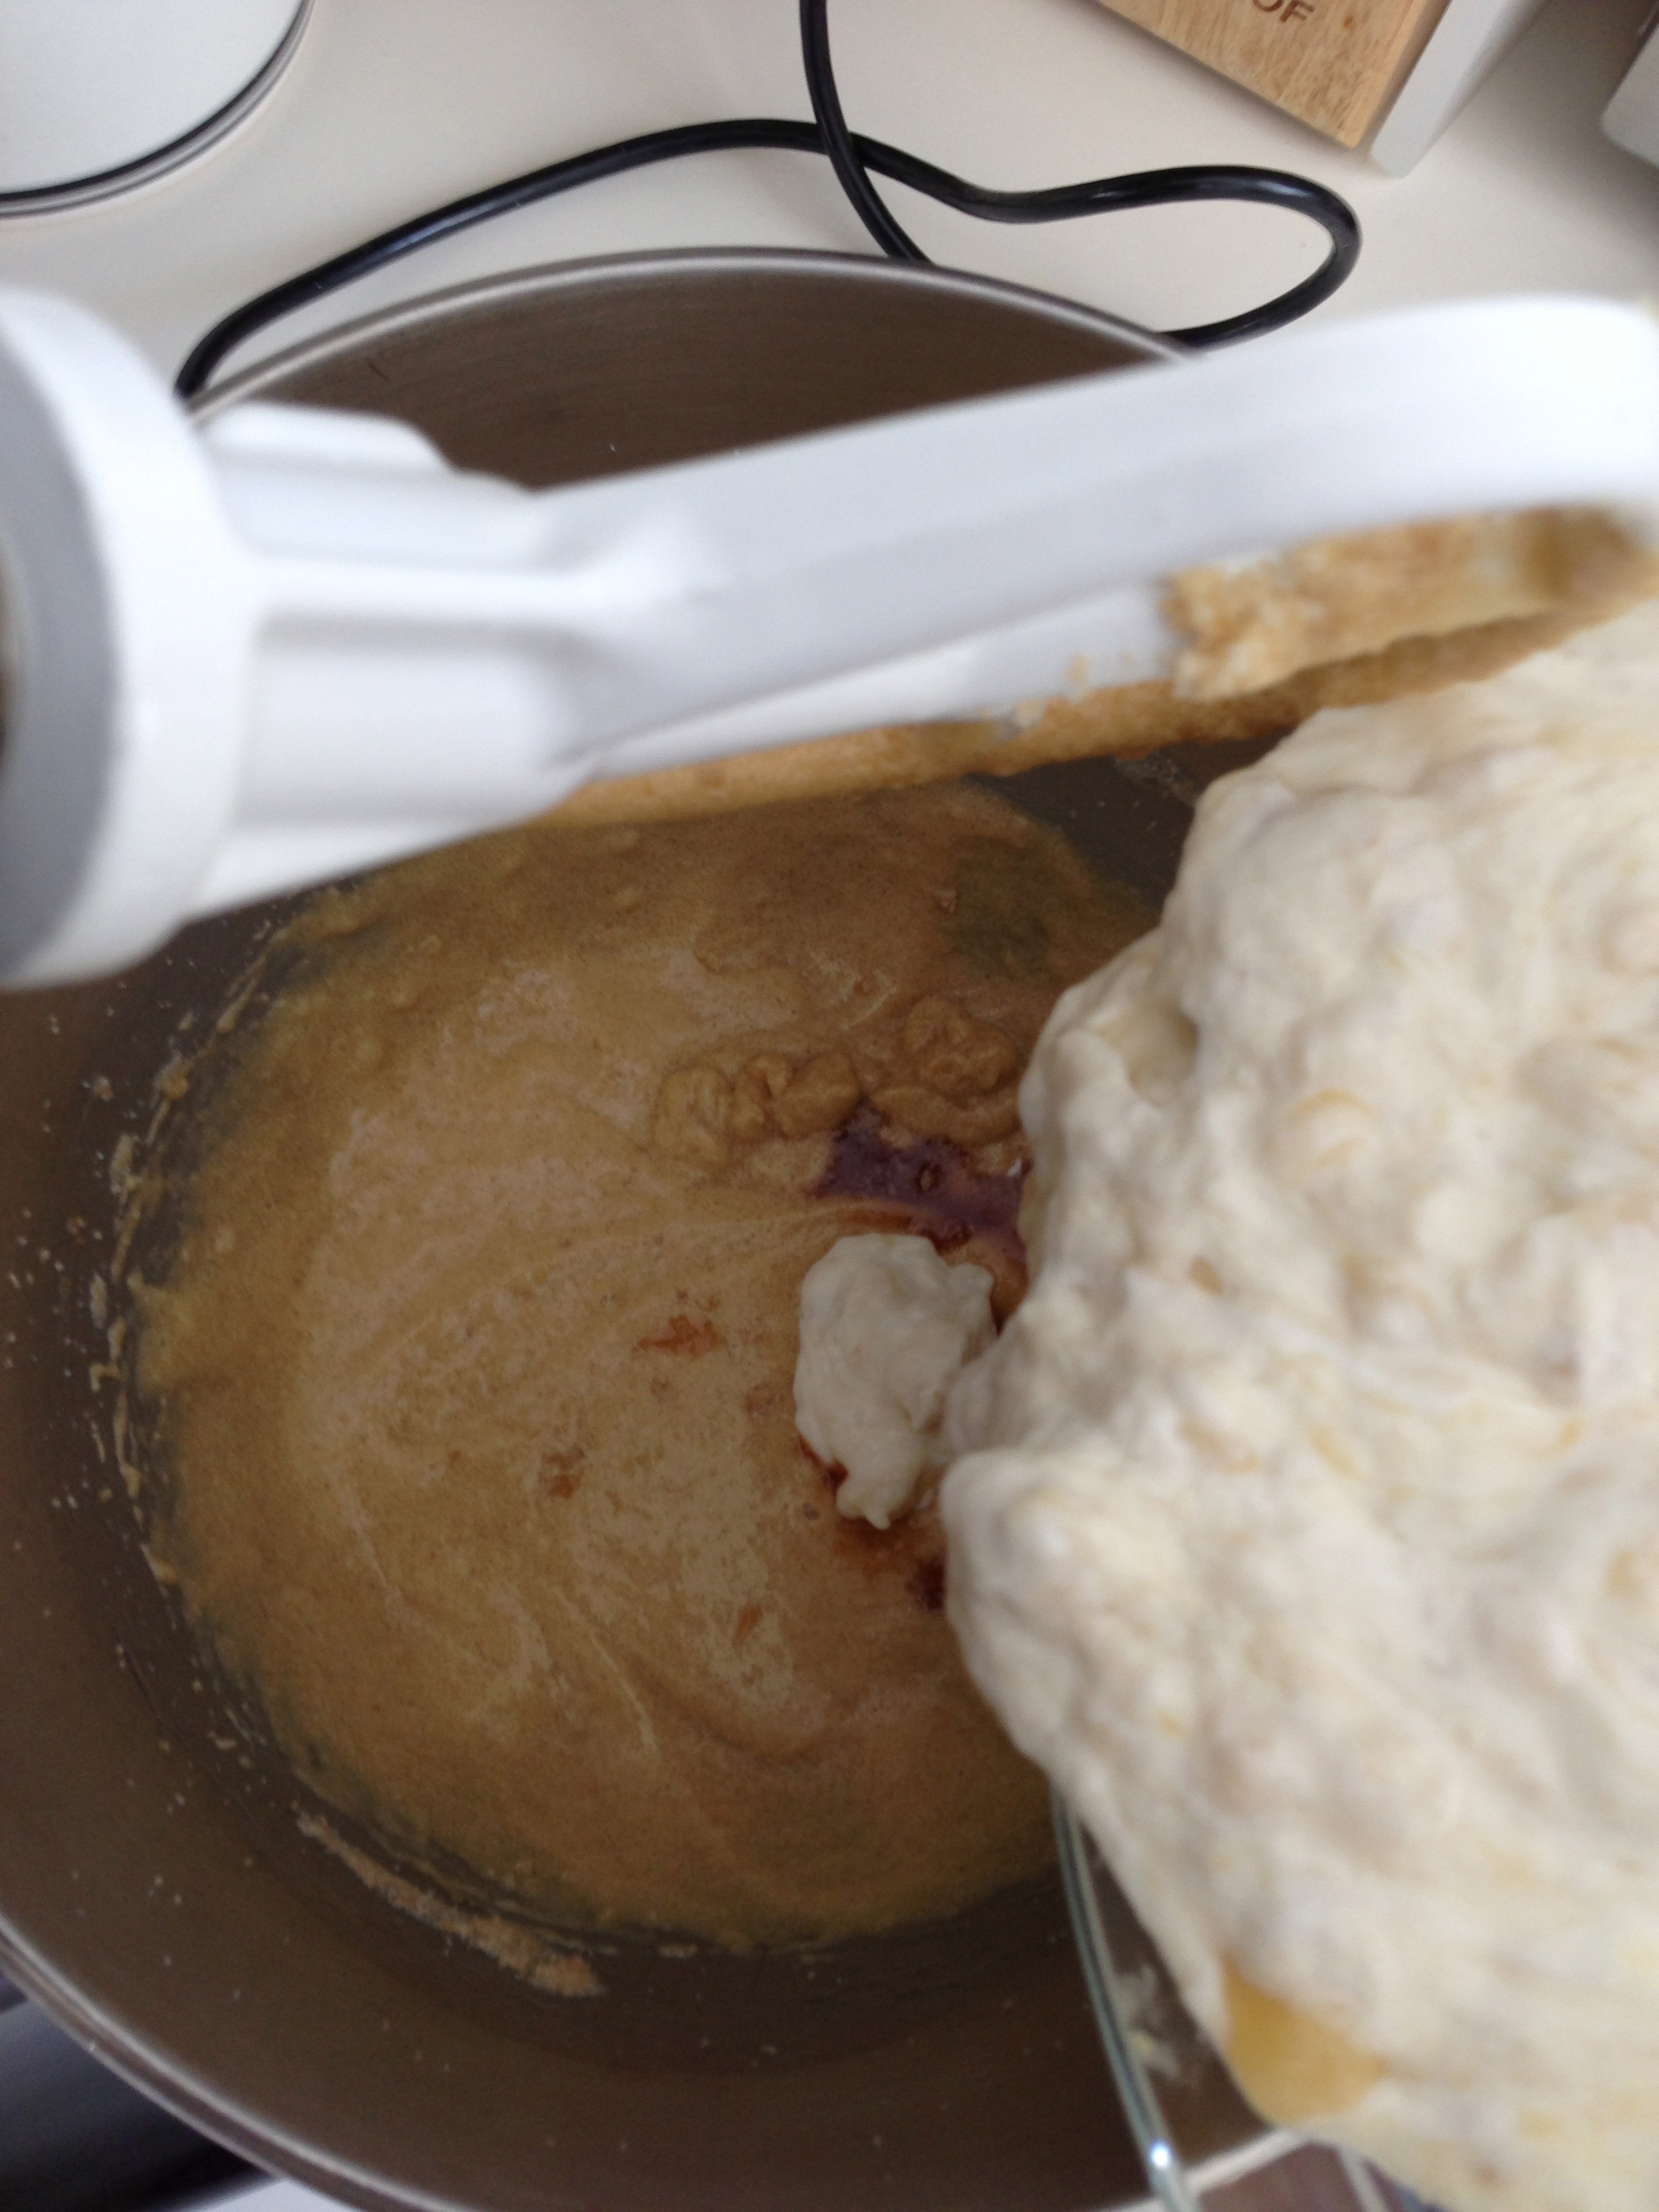
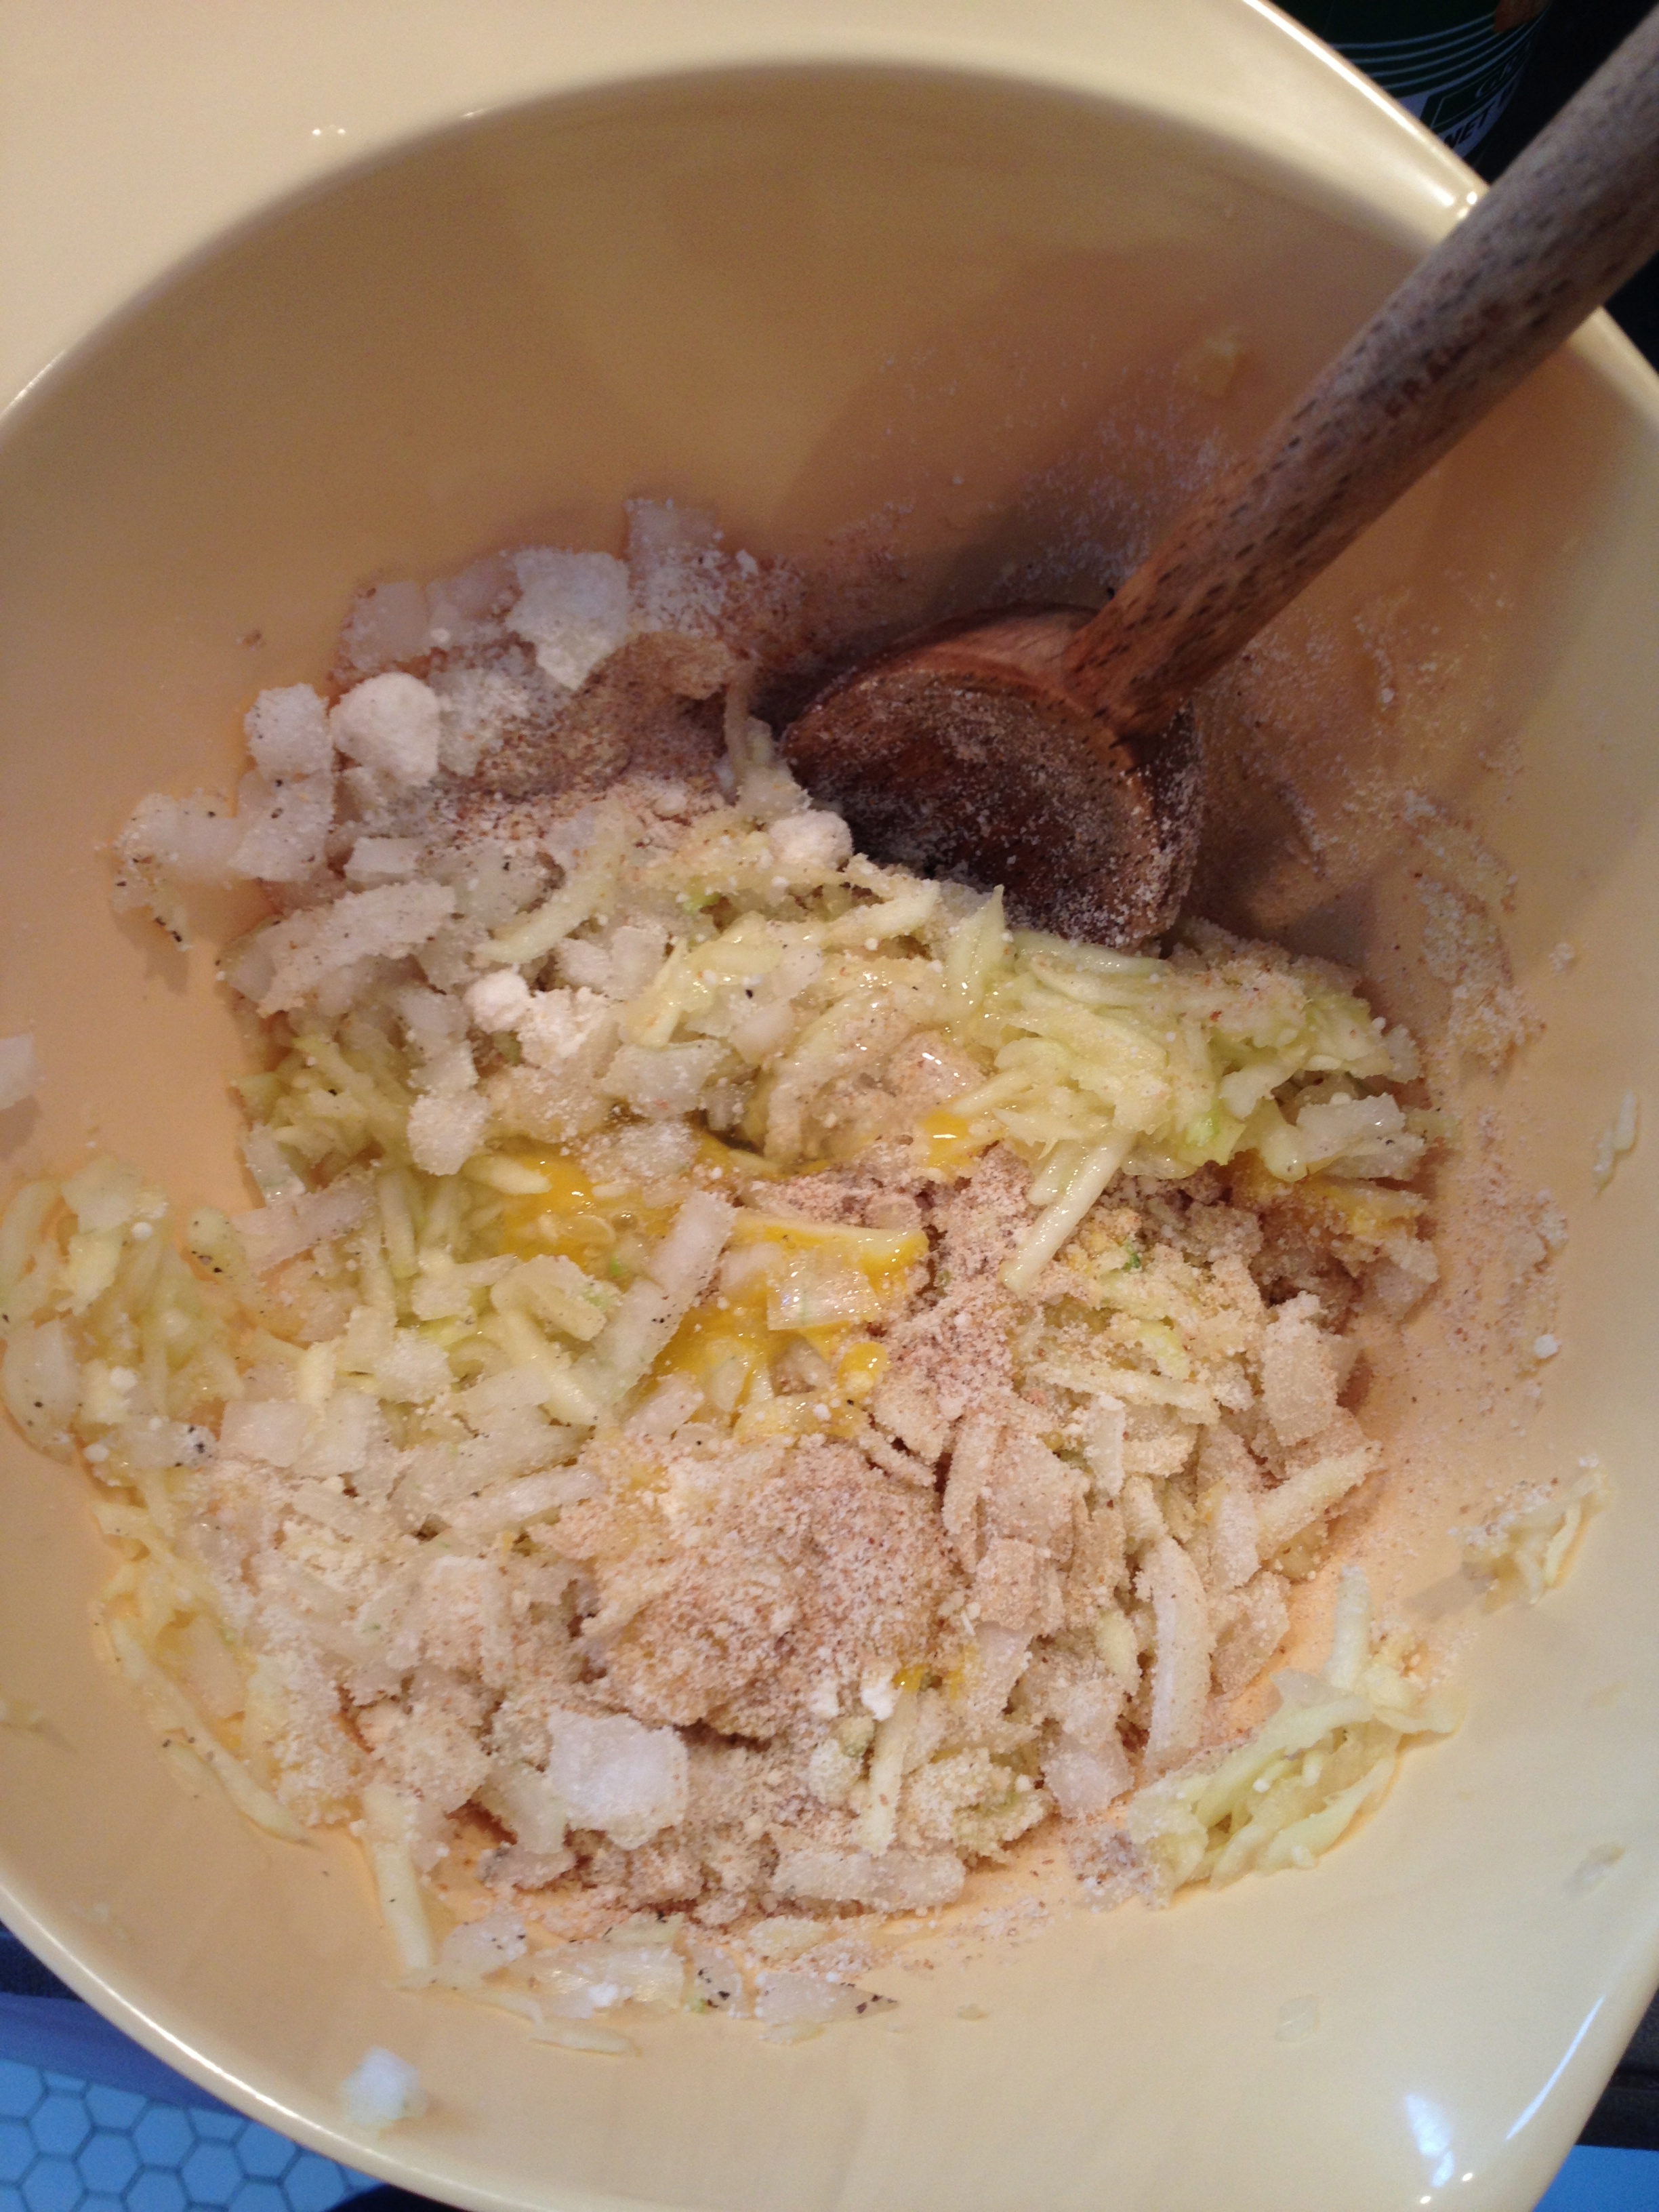
In a bowl combine, the egg, onion, cheese, bread crumbs, zucchini, salt and pepper.

Using a spoon, fill the muffin holes to the top.

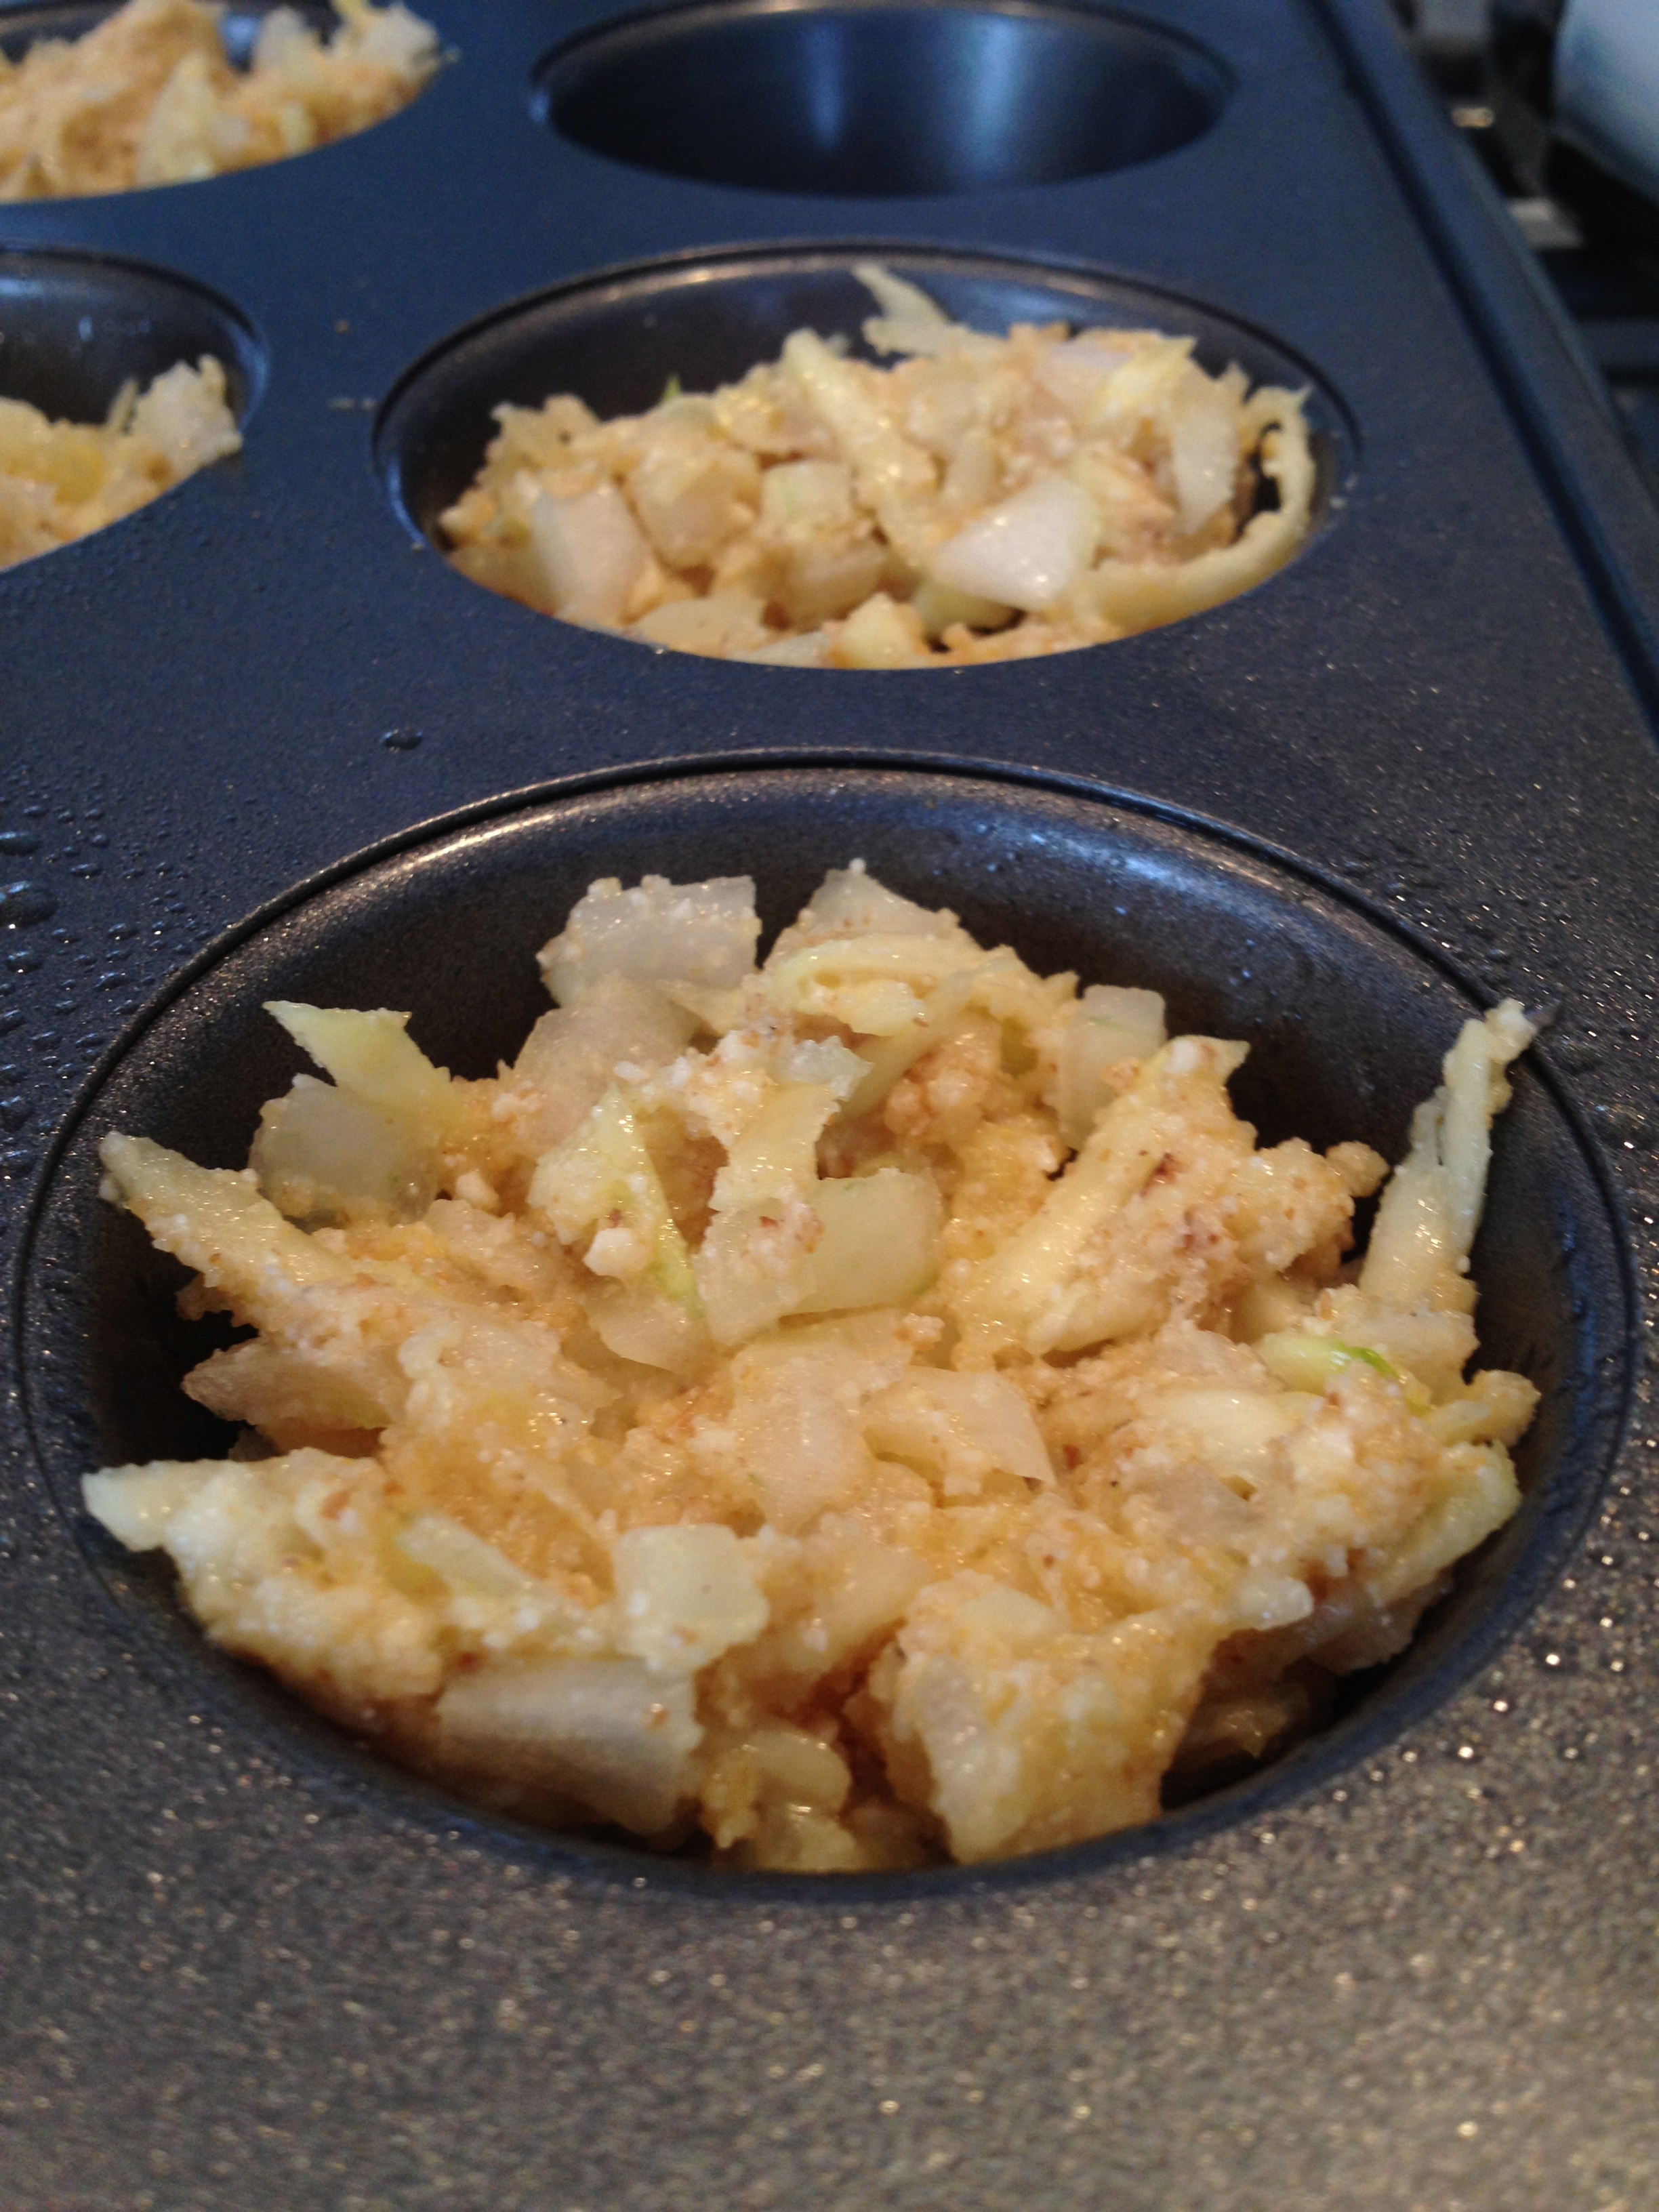
Bake for 15-18 minutes (mini muffin tin) or 23 minutes (larger muffin tin). Keep an eye on the tops of the Bites. When they are browning, remove them from the oven so they don’t burn.

I’m not going to lie and say that these were Reagan’s favorite, but she did eat half of one at two different sittings and that’s more vegetables than she’s consumed in awhile. My husband, mother and I really enjoyed them, so they are worth making again…but DON’T FORGET TO SQUEEZE!

Valentine’s Lunch for Two!


I had the perfect date for Valentine’s Day lunch…Reagan! We made our boring pasta and turkey dog’s fun by adding a little Valentine’s love to them!

What we used for our Lunch for Two:

2 Applegate Organic Turkey Hot Dogs
2 Bendable Straws
Nugget Pasta
Red Food Coloring

Directions:

Add pasta to pot of boiling water. Let pasta boil for 5 minutes or so and then add as many drops of red food coloring as you like. The more drops you add the darker red the pasta will be. The fewer drops added, the pinker your pasta will be. Continue to boil pasta till desired tenderness. (the steam from the pot blurred the first picture a bit)

Boil hot dogs in separate pot of boiling water. I boil our dogs for about 10 minutes.

Cut middle of hot dog out at an angle so that you have two end pieces that are about an inch and a half long each. You can make the heart as big as you like by cutting away less of the middle of the hot dog or none at all. Reagan never eats the entire hot dog, so I figured a little hot dog heart would be perfect for her.

Cut the bendable straw so that neither end is longer than the length of the cut hot dog pieces. You want the bendable piece to be in the center.

Insert each straw end into a piece of the hot dog so that the bendable part is towards the bottom point of your hot dog heart. Push rounded tops of the hot dogs to secure the straw into place.

Ta Da! A Valentine’s Day lunch that Reagan will LOVE! We of course needed our fruit and veggie, so we also had a side of green peas and apple sauce! Now that I think of it, I could have dyed some cauliflower pink and added some red food coloring to Reagan’s apple sauce. She was happy with what she had and that’s all that I was aiming for!

Pasta Necklace


Today Reagan was a disaster; tearing apart every toy that ‘lives’ in the family room (as you can see in the background of all these pictures…HOT MESS!). I was attempting to put away things purchased from a trip to BJs (the TP that you see in the background), but Reagan wasn’t having it. She was in desperate need of a quick wind down activity.

A few months ago I dyed, with food coloring, a box of uncooked ziti. I wouldn’t repeat the way that I dyed the ziti because if Reagan puts it into her mouth, which I know she will, the food coloring wipes off onto whatever the ziti touches after getting wet. I need to find a better way to dye the pasta and when I do, I will be sure to share it with you! Nevertheless, I’m continuing to use the pasta until it’s gone.

Continuing on the path of strengthening her fine motor skills, I decided that Reagan could make a pasta necklace. We used a piece of ribbon that I cut long enough for Reagan to make a necklace that when tied would fit over her head, dried dyed ziti, and a pipe cleaner. The pipe cleaner is such an important part of this activity for Reagan. She struggles with stringing the ziti on a floppy piece of ribbon, I’m not sure what 15 month old wouldn’t. By twisting a pipe cleaner around the end of the ribbon, I am giving the ribbon support and allowing for Reagan to have something straight and sturdy to string her ziti on to.

By stringing a single piece of pasta and then tying it off with a knot, you are creating a stopper and are ensuring that not one piece of pasta will fall to the floor while stringing.

I poured out the dyed ziti bags onto a large rimmed plate, held up the pipe cleaner with the straw attached and told Reagan that we were going to string some ziti to make a necklace. We’ve done this multiple times, so I no longer need to show her how to string the ziti. The first few times that we did this activity I showed Reagan how to string the ziti, I then guided her hand to assist in stringing the ziti, all while verbally explaining what was happening.

A solid ten minutes is spent in deep concentration as Reagan chooses a colored piece of ziti, we say the color name, and then she strings it onto the pipe cleaner.


I tie the loose end to the tied noodle on the opposite side and BAM…a colorful ziti necklace!
I totally forgot to take a picture of the necklace yesterday, so here’s one the next morning. Oh, and checkout the toilet paper that is still sitting in the front hall.

Banana Bread’s Secret


I’m not a banana fan in the least. Don’t like the taste, the texture and certainty not what they do to my kids! However, mix them up in a delicious bread and my mind completely changes. The sour cream in this recipe makes the bread super moist and I am always caught sneaking a second piece!

Ingredients
3 ripe bananas, mashed
1 cup sour cream
1 cup brown sugar
1/2 cup white sugar
1/4 cup butter, softened
2 eggs
1 tsp vanilla extract
2 cups all-purpose flour
1 tsp baking soda
1 tsp baking powder
1/4 tsp salt
1 tsp salt
1-2 cups chocolate chips, optional

banana3

In a medium sized bowl mix together bananas and sour cream. Set aside.

In large bowl cream butter and sugars until smooth.

Beat in eggs and vanilla.

Stir in banana/sour cream mixture.

In a separate bowl combine all dry ingredients then add to banana mixture.

Stir in chocolate chips.

Pour into two greased 7×3 inch loaf pans or one 9×13 pan.

Preheat oven to 400 degrees and bake for 5 minutes. Then turn oven down to 350 degrees and bake an additional 45 minutes. * this will help to prevent the top from getting too dark*

Bread is done when toothpick inserted in center comes out clean.

Snail Mail


I read the other day that to save money the United States Post Office will be cutting Saturday delivery starting this summer. As emails and texting have taken over snail mail communication, they are continually losing more money. Personally, there are few things that top a real, hand-written note in the mail or even hand delivered. We get so much junk mail, magazines (Andy will tell you there are always too many of those) and bills that a hand addressed envelope feels like a diamond in the rough.

Of course there are the typical reasons to send a card such as birthdays, congratulations and thank yous but the best are little notes for no reason at all. I remember after birthdays and holidays as a kid, mom making us sit down and write all of our thank you notes much to our dismay. We were taught that there is never a reason too small to show your appreciation and thanks to someone and I am grateful she instilled that in us from early on because now it’s a no-brainer.

A recent favorite in our mailbox :)

A recent favorite in our mailbox

This love of cards has also led to the problem of buying too much stationary. TJ Maxx/Marshalls/Home Goods are my favorite places to purchase because they always have cute box sets for about 4 or 5 dollars. My collection has really grown and Morgan’s organization over winter break inspired me to do the same. The black boxes are from IKEA and the white ones are from The Container Store .  I organized them into different categories and boxes; cleansing out all of the tiny boxes I had stacked up and streamlining them has worked well so far.

image

image

image

Some favorties

Some favorites