Loving Lola!

20131026-102333.jpg

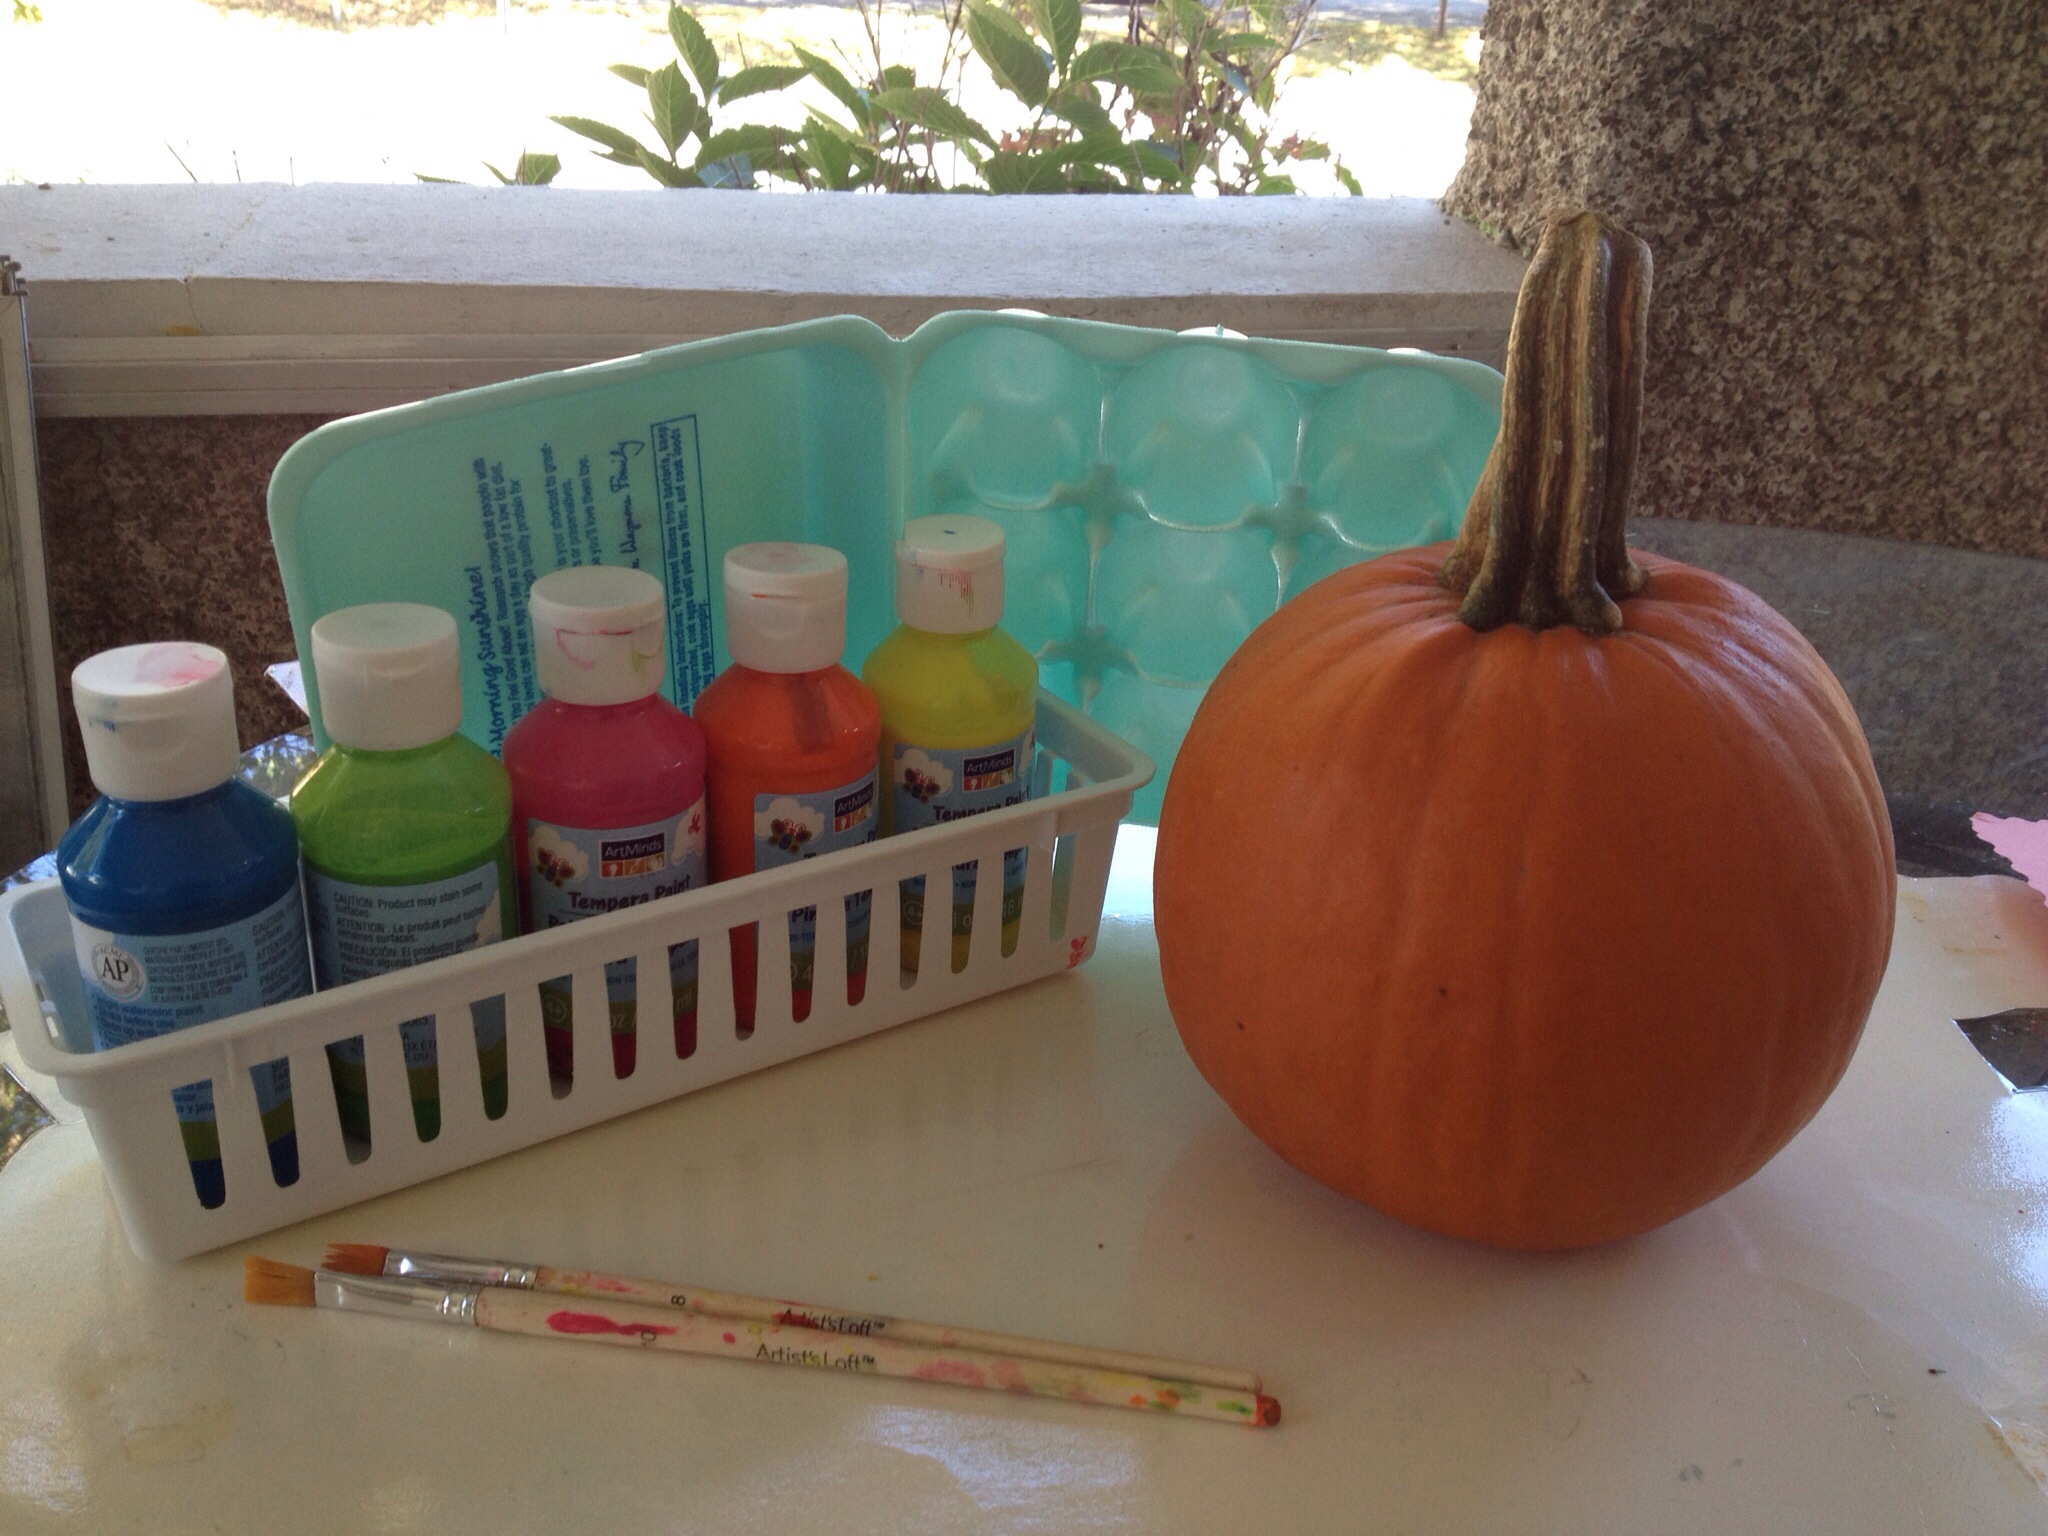
It’s no surprise that I love accessories as seen here, here, and here. There are also few things I love more than scoring a deal to add to my collection. Luckily for me, my old roommate and fellow fashion obsessed friend, Megan, opened an accessory store to fulfill both of these needs. While we were living together in the city, Megan was working for a department store in their corporate office but always had her sights set on opening her own store. Her tireless efforts paid off and Lola Accessory Boutique was born. The store is a reflection of Megan’s experience in the field and her astute eye for high quality, on trend pieces offered at affordable prices. Visit http://www.lolatoga.com to check out Megan’s selection and also stop by their Facebook page for the most recent additions.

20131026-103021.jpg

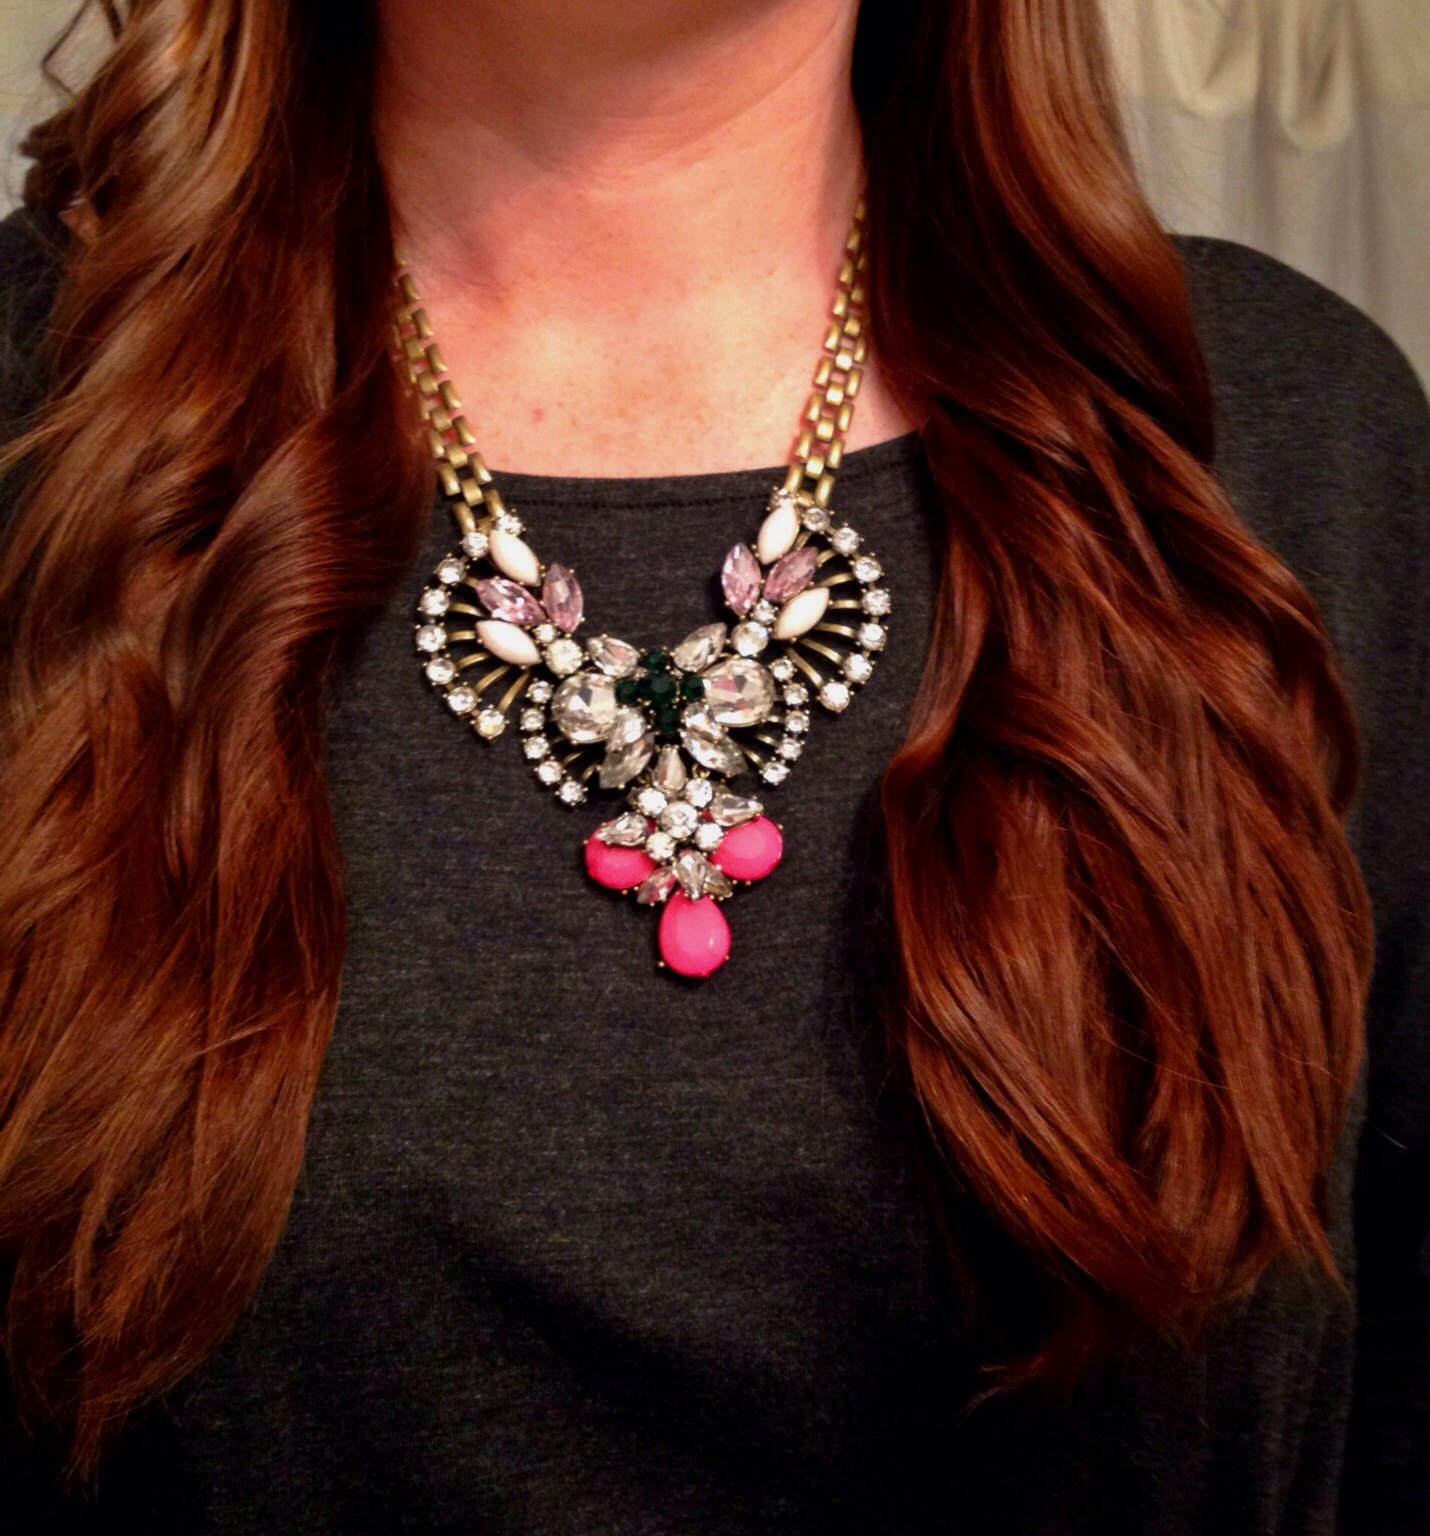
Necklace & Bracelet: Lola Accessory Boutique | Watch: Michael Kors | Coat: Forever 21 | Dress: Old Navy | Headphones: Frends

Storage Solutions

20131020-150850.jpg Do you ever feel like decorating is a domino effect?  Change one thing which changes another and then leads to even more.  I have been on the hunt for a very narrow console table for our entryway for almost a year.  The space called for a sleek and simple table that you wouldn’t constantly bump into when you entered the apartment.  I finally found the perfect table with a 10 inch depth on Amazon which led to the day of rearranging this weekend. The new table eliminated space for the coat rack, which wasn’t a big deal because it was always in the way, but then the domino effect began.  Removing the coat rack from the equation left no space to hang coats for the upcoming cooler months.  It’s not that we don’t have a lot of closet space, for an NYC apartment we actually have quite a lot, but the layout isn’t conducive for easy access to entirety of the racks  (and maybe they’re already full with my clothes… maybe).  Knowing our lifestyle, it needs to be easy to see, access and hang back up a coat or it will end up hanging from the back of a dining chair. We had a wasted corner of space in the bedroom that housed the hamper and then later a dog crate. Hudson will never be big enough for that crate but if I moved the crate the domino effect continued because he still needs it.  Solution?  I found a smaller crate that will fit under the shelf of my nightstand and be the perfect size for what he needs.  That comes tomorrow so hopefully the nightstand space works as double duty because I have already taken over its previous space.

The wasted corner (pic from when we first moved in, the crate was where the bag is)

The wasted corner (pic from when we first moved in, the crate was where the bag is)

I did my research and found a garment rack that had two shelves to provide even more storage, in an apartment you can never seem to find enough.  After fighting through the Saturday Bed Bath & Beyond crowds, I had the rack assembled in less than half an hour.  The rack fits perfectly in the previously wasted corner and provides us with winter organization for coats, hats and gloves (in the lower baskets) as well as a better system for sheets and extra linens (in the upper baskets).  I used the same baskets in my jewelry closet.  The open layout allows easy access and hopefully will help the coat dumping problem at the table. 20131020-150850.jpg 20131020-150958.jpg20131020-150947.jpgBaskets & Garment Rack: Bed Bath & Beyond

Fall Tree

20131007-123903.jpg
I love fall! Leaves are turning beautiful colors and adorning our lawn! We decided to to bring a little bit of fall inside and created a beautiful tree to hang on our fridge.

materials

20131007-124248.jpg
Large sheet of paper
Glue
Leaves
Markers

directions

20131007-124354.jpg
Go on a leaf hunt to find your favorite leaves!

20131007-124536.jpg
Free hand draw a large tree. I am NOT an artist, by any means, but was able to create his beauty.

20131007-124700.jpg
Have your child choose a leaf and then either tell you where they want you to squeeze a drop of glue, or have your child squeeze a drop onto their chosen location. Have your child press chosen leaf down onto drop of glue. Continue this process until all leaves are used.

20131007-124931.jpg

20131007-124950.jpg

20131007-125007.jpg
In the spirit of fall, continue to add color with crayons and/or markers!

20131007-131757.jpg

Chevron Pumpkin

20131007-092910.jpg

Simple Chevron Pumpkin!

materials

20131007-093429.jpg
materials
Pumpkin
Painters Tape
Scissors
Spray Paint

directions

20131007-093322.jpg

20131007-093557.jpg
Create a pattern towards the top of your pumpkin, using small pieces of cut painters tape. I did not measure the pieces of tape that I cut, nor did I measure the distance between each piece of tape. I wasn’t concerned with this pumpkin being perfect. If you are, just measure the tape and distance between each piece, so that it’s perfect.

20131007-093810.jpg
Follow top pattern an inch or two ( eye balled) bellow the top pattern. Cut pieces of painters tape and continue until your pattern covers the pumpkin.

20131007-093901.jpg

20131007-093910.jpg
Tape off stem, so that it is covered during painting.

20131007-094018.jpg

20131007-094027.jpg

20131007-094039.jpg

20131007-094048.jpg
Place pumpkin outside on top of something that you don’t mind getting a little paint on. Spray your pumpkin with chosen color paint. I ran out of paint, but again, I wasn’t shooting for perfection, so I wasn’t disappointed.

20131007-094314.jpg

20131007-094322.jpg

20131007-094328.jpg

20131007-094353.jpg

20131007-094336.jpg

20131007-094345.jpg
After paint is dry; slowly peel painters tape off of pumpkin.

Painted Pumpkins!

20130930-135906.jpg

Reagan loves to paint and asks to do so on a daily basis. She picked out a few pumpkins at a local market the other day and was super eager to ‘make them pretty’! I’m all about skipping the carving and adorning the pumpkins with bright beautiful colors instead.

materials

20130930-134909.jpg

20130930-135411.jpg

Pumpkins
Paint (I always try to use washable)
Stickers
Egg carton
Paint brushes
Something to cover your work space

directions
Reagan picked out three pumpkins and decided to sticker and paint two, while leaving stickers off the third.
Wipe dirt off pumpkins.
Ask your child which colors they want to use and where they would like the color placed within the egg carton.
If using stickers; stick them to the pumpkin before painting.
Have them use the color names when asking for more of a specific color.
Involve your child with the clean-up process.
GET CREATIVE!!!

20130930-134921.jpg

20130930-134931.jpg

20130930-134944.jpg

20130930-134954.jpg

20130930-135856.jpg