Forever 21 Finds

The other day while waiting to check out at Forever 21 in Soho I noticed one of the sales associates with a pile of untagged jewelry at the register. Among the pile I spotted what appeared to be lookalikes of Stella & Dot’s Renegade Cluster Bracelet . Although I’ve seen it on countless of the fashion blogs I read, it was never something I was dying to have.

At $59, the bracelet was too trendy to be worthy of that price tag.  But for a Forever 21 price, sure! Why not?  I immediately spoke up and asked him if they were for sale. He shot back with a sharp “no” and looked back down at the keyboard. I put my headphones back on and continued to wait in line. Less than a minute later the girl behind me in line was tapping on my shoulder and pointing to the guy. He asked if I still wanted them because they were available and he was searching for the price. I quickly replied yes and he said he’d keep looking. The girl who had tapped me on the shoulder did so again but this time asked if I was going to buy both the silver and the gold. She looked bummed when I told her yes and then rolled up her sleeve to reveal that she was wearing the renegade cluster and said, “it looks just like the Stella and Dot one!” Although it’s not an exact replica, as there are no crystal clusters, for the $6.80 price tag, it’s well worth adding it into a future stack.

20130511-201244.jpg

Forever’s version (only silver available online)

12 Hours of Entertainment

20130508-211556.jpg

I don’t think I will ever be one of those people who will ever say they packed for their two week vacation in a carry-on. I’d bet money on it actually. I know the benefits of not checking: baggage fees, lost/damaged/misplaced luggage and the overall hassle of the process. When I fly domestic to visit family or for short trips, I can manage. However, when flying internationally, I justify checking a bag for several reasons. First and foremost, weather can be unpredictable and you need options. Secondly, I have a sweating thing and I can never wear the same shirt more than once without it being washed. I also get bored easily so I need options for entertainment on a flight and since baggage fees don’t typically apply for your first bag, I can pack a carry-on that suits the needs of 12+ hours of entertainment and comfort.

Before I traveled to China last year to visit our brother, I went on a hunt for the perfect carry-on bag. Requirements included but were not limited to lots of storage pockets, designated compartment for laptop/iPad, and easy access to documents like tickets and passport. After searching the blogosphere and Pinterest I found the answer! Unfortunately, many others had as well and the bag was on back order until after my trip. I bit the bullet anyways and spent way more than I ever would have because I knew it was a good investment. This bag has surely not been a disappointment and still serves as my bag for my daily work commute. And what is this bag you may ask? Lo & Sons O.G.

Their site has engaging videos and photos that show all the features of their bags. I took their lead and snapped some photos as I packed for my recent trip to Turkey. I am by no means a travel expert but I’ve made a few stops around the world and learned some tips along the way.

20130508-211923.jpg

From top left:
Eye mask & Neck Pillow: necessities for sleep
Travel Books: to read, prep and share with my travel partners en route
Us Weekly: longtime subscriber and they don’t offer a free iPad version (Real Simple, In Style and Vanity Fair were loaded up digitally to save space and weight)
Travel Wallet: typically I do a wallet cleanse before a big trio and take out all the gift cards and other miscellaneous to make it easy to navigate the necessities.
iPad Keyboard, and Case (fits keyboard and iPad): I keep a travel blog that I share with family and friends to log days away; it not only keeps you in touch, you’ll be amazed at how much you forget by the end of the trip. Travel Pod also allows you to create books using your entires and photos!
Sunglasses
Frends Headphones: my new daily faves!
Chargers and converters: and iPad camera connector
FlipCam
Traveling medicine cabinet: toothbrush, toothpaste, eye drops. Lip balm, hand sanitizer, Tide pen, deodorant, pens, Advil, vitamins and some sleeping assistance
Monogrammed Passport Case : I love monogrammed things, necklaces, bags, notecards, you name it. My dear friend got me this as a holiday gift this year!
Travel jewelry case: I travel with my jewelry in my carry-on, just in case!
(Not pictured but necessary: compression socks!)

All zipped up!

20130508-215136.jpg

Empty & Packed

20130508-215256.jpg                    20130508-215303.jpg

My absolute favorite part of this bag when navigating airports and beyond is its ability to slide over the handle of a suitcase and not flop off.

20130508-215352.jpg

Blueberry Muffins

Martha has done it again! I made these delicious Blueberry Muffins that I found on her site and they are absolutely delicious! I didn’t take step by step photos, because Reagan was awake and there was just too many things happening at once. The next time around I will make a very small amount of the crumble topping. Even after generously topping all 12 muffins, I still had tons left over. You will need a had or stand mixer for this recipe, that is unless you have speedy wrists and can get the desired egg and sugar consistency without an electronic device.

REAGAN LOVED THESE MUFFINS!!

Martha’s Recipe 

Ingredients:

For The Crumb Topping
1 1/4 cups all-purpose flour
1/2 cup packed light-brown sugar
1/2 teaspoon salt
3/4 teaspoon ground cinnamon
1/2 cup (1 stick) unsalted butter, melted and cooled

For The Blueberry Muffins
3 cups plus 2 tablespoons all-purpose flour
1 tablespoon baking powder
1 teaspoon salt
6 tablespoons (3/4 stick) unsalted butter, softened, plus more for tin
1 1/4 cup granulated sugar
1 large whole egg plus 2 large egg yolks
1 teaspoon pure vanilla extract
1 cup milk
2 cups fresh blueberries
Granulated sugar and mace, for topping (optional)

Directions

Make the crumb topping, if desired: Whisk together flour, brown sugar, salt, and cinnamon in a bowl. Pour in melted butter and toss with a flexible spatula until large crumbs form.

Make the muffins: Preheat oven to 375 degrees. Line standard 12-cup muffin tins with paper liners.

Sift together flour, baking powder, and salt into a bowl.

With an electric mixer on medium speed, cream butter and granulated sugar until fluffy.

Add eggs and vanilla; mix until well combined. Reduce speed to low; alternate adding reserved flour mixture and milk, beginning and ending with flour. Gently fold in berries by hand.

Divide batter evenly among prepared cups; if desired, sprinkle generously with granulated sugar and mace. Alternatively, sprinkle crumb topping evenly over batter in each cup.

Bake until light golden on top, rotating tins halfway through, about 30 minutes. Cool in pan on a wire rack 15 minutes before turning out muffins. Serve warm or at room temperature.

This is what was left over from the crumb topping

Bra Service!


I’m absolutely in LOVE with the service that True&Co. provides. It takes everything out of shopping for a bra that I hate…

#1- the old ladies measuring you with their creepy cold hands

#2- using the one shirt that you wore to the store as the end all be all for how your boobs will look in the rest of your clothing (at least your staple go to pieces)

#3- the constant thought that there is a camera somewhere watching everything go down

#4- knowing that once you take home this rather expensive piece of material; you will probably hate it, never wear it and end up not returning it because going back to the mall, parking your car and trying to return something without the receipt (because you lost it) all with an 18 month old is NOT happening!

So thank you, True&Co., thank you for giving me my first ever fabulously bearable bra experience – it’s been a long 20 years.

I came across this company on NAT THE FAT RAT . She raved about the ease of ordering and the beauty of the bras that were sent to her, so I figured I had nothing to lose.

The process is so simple and there is no pressure to keep any of the bras that you try.

Here’s what you NEED to do:

Start by going to https://trueandco.com and filing out their two-minute Bra survey. Questions such as ‘How do your breasts rest in your bra?’, “Do your cups runneth underneath?’, “Ouch! Does your bra hurt?” Don’t worry about being confused by the questions, they have pictures, for us visual learners, indicating EXACTLY what they are talking about. This is a simple click and go survey, no long and tedious questions to answer.

After completing the survey you provide your email address and create a password. Then the shopping begins! The Bra Experts pick out two bras, that they believe you will LOVE, based on the answers to your survey questions and you get to pick out three bras from their fabulous selection!

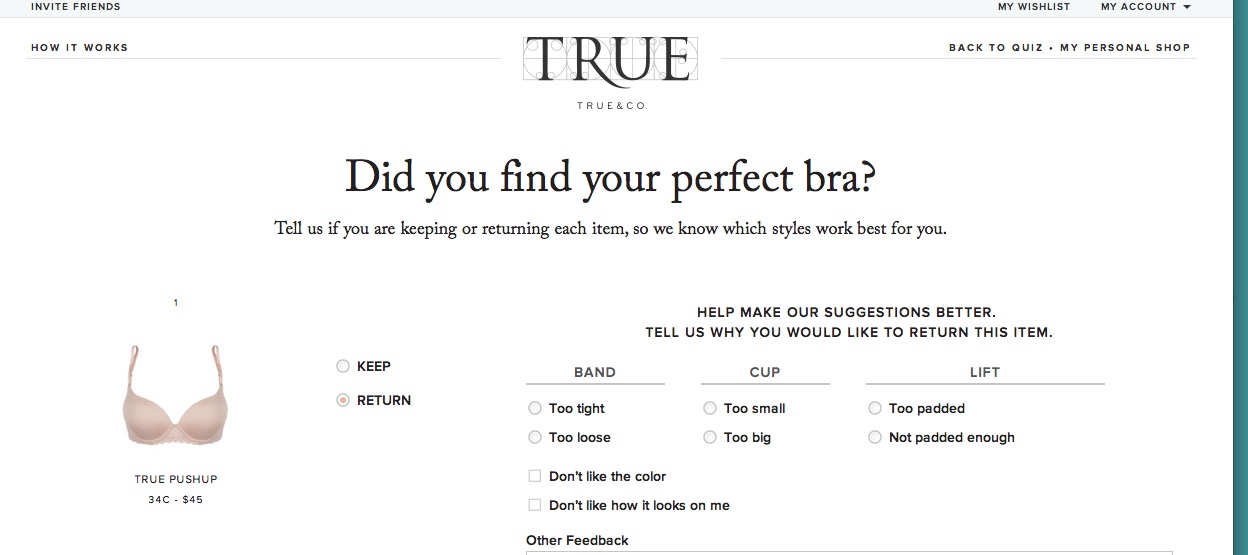
You pay a $48 deposit and they ship you the bras you chose! You have 7 days to try on the bras in the comfort of your own home. Keep the bras you want, return the bras you don’t. Print out and attach their return shipping label to the box that the bras arrived in–NO RETURN SHIPPING FEE!!! Pure awesomeness!!

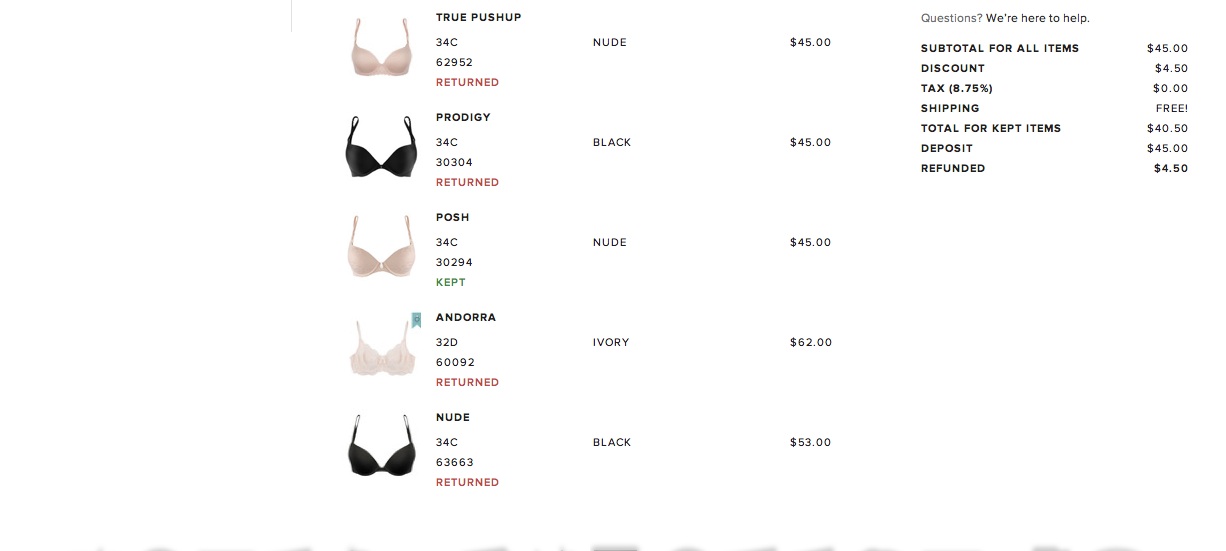
This service allowed for me to try on each bra underneath various articles of clothing, show my husband to get his opinion and best of all… everything took place in the comfort of my own home! All five bras that came were beautiful and fit in their own unique way. In the end, I only ended up keeping one bra. I’m still breast-feeding, so I needed a bra that would give a little for when I’m ‘full’ and not look ridiculous when I’m ’empty’. I will definitely be using the service when I’m finish with the beloved breast-feeding process.

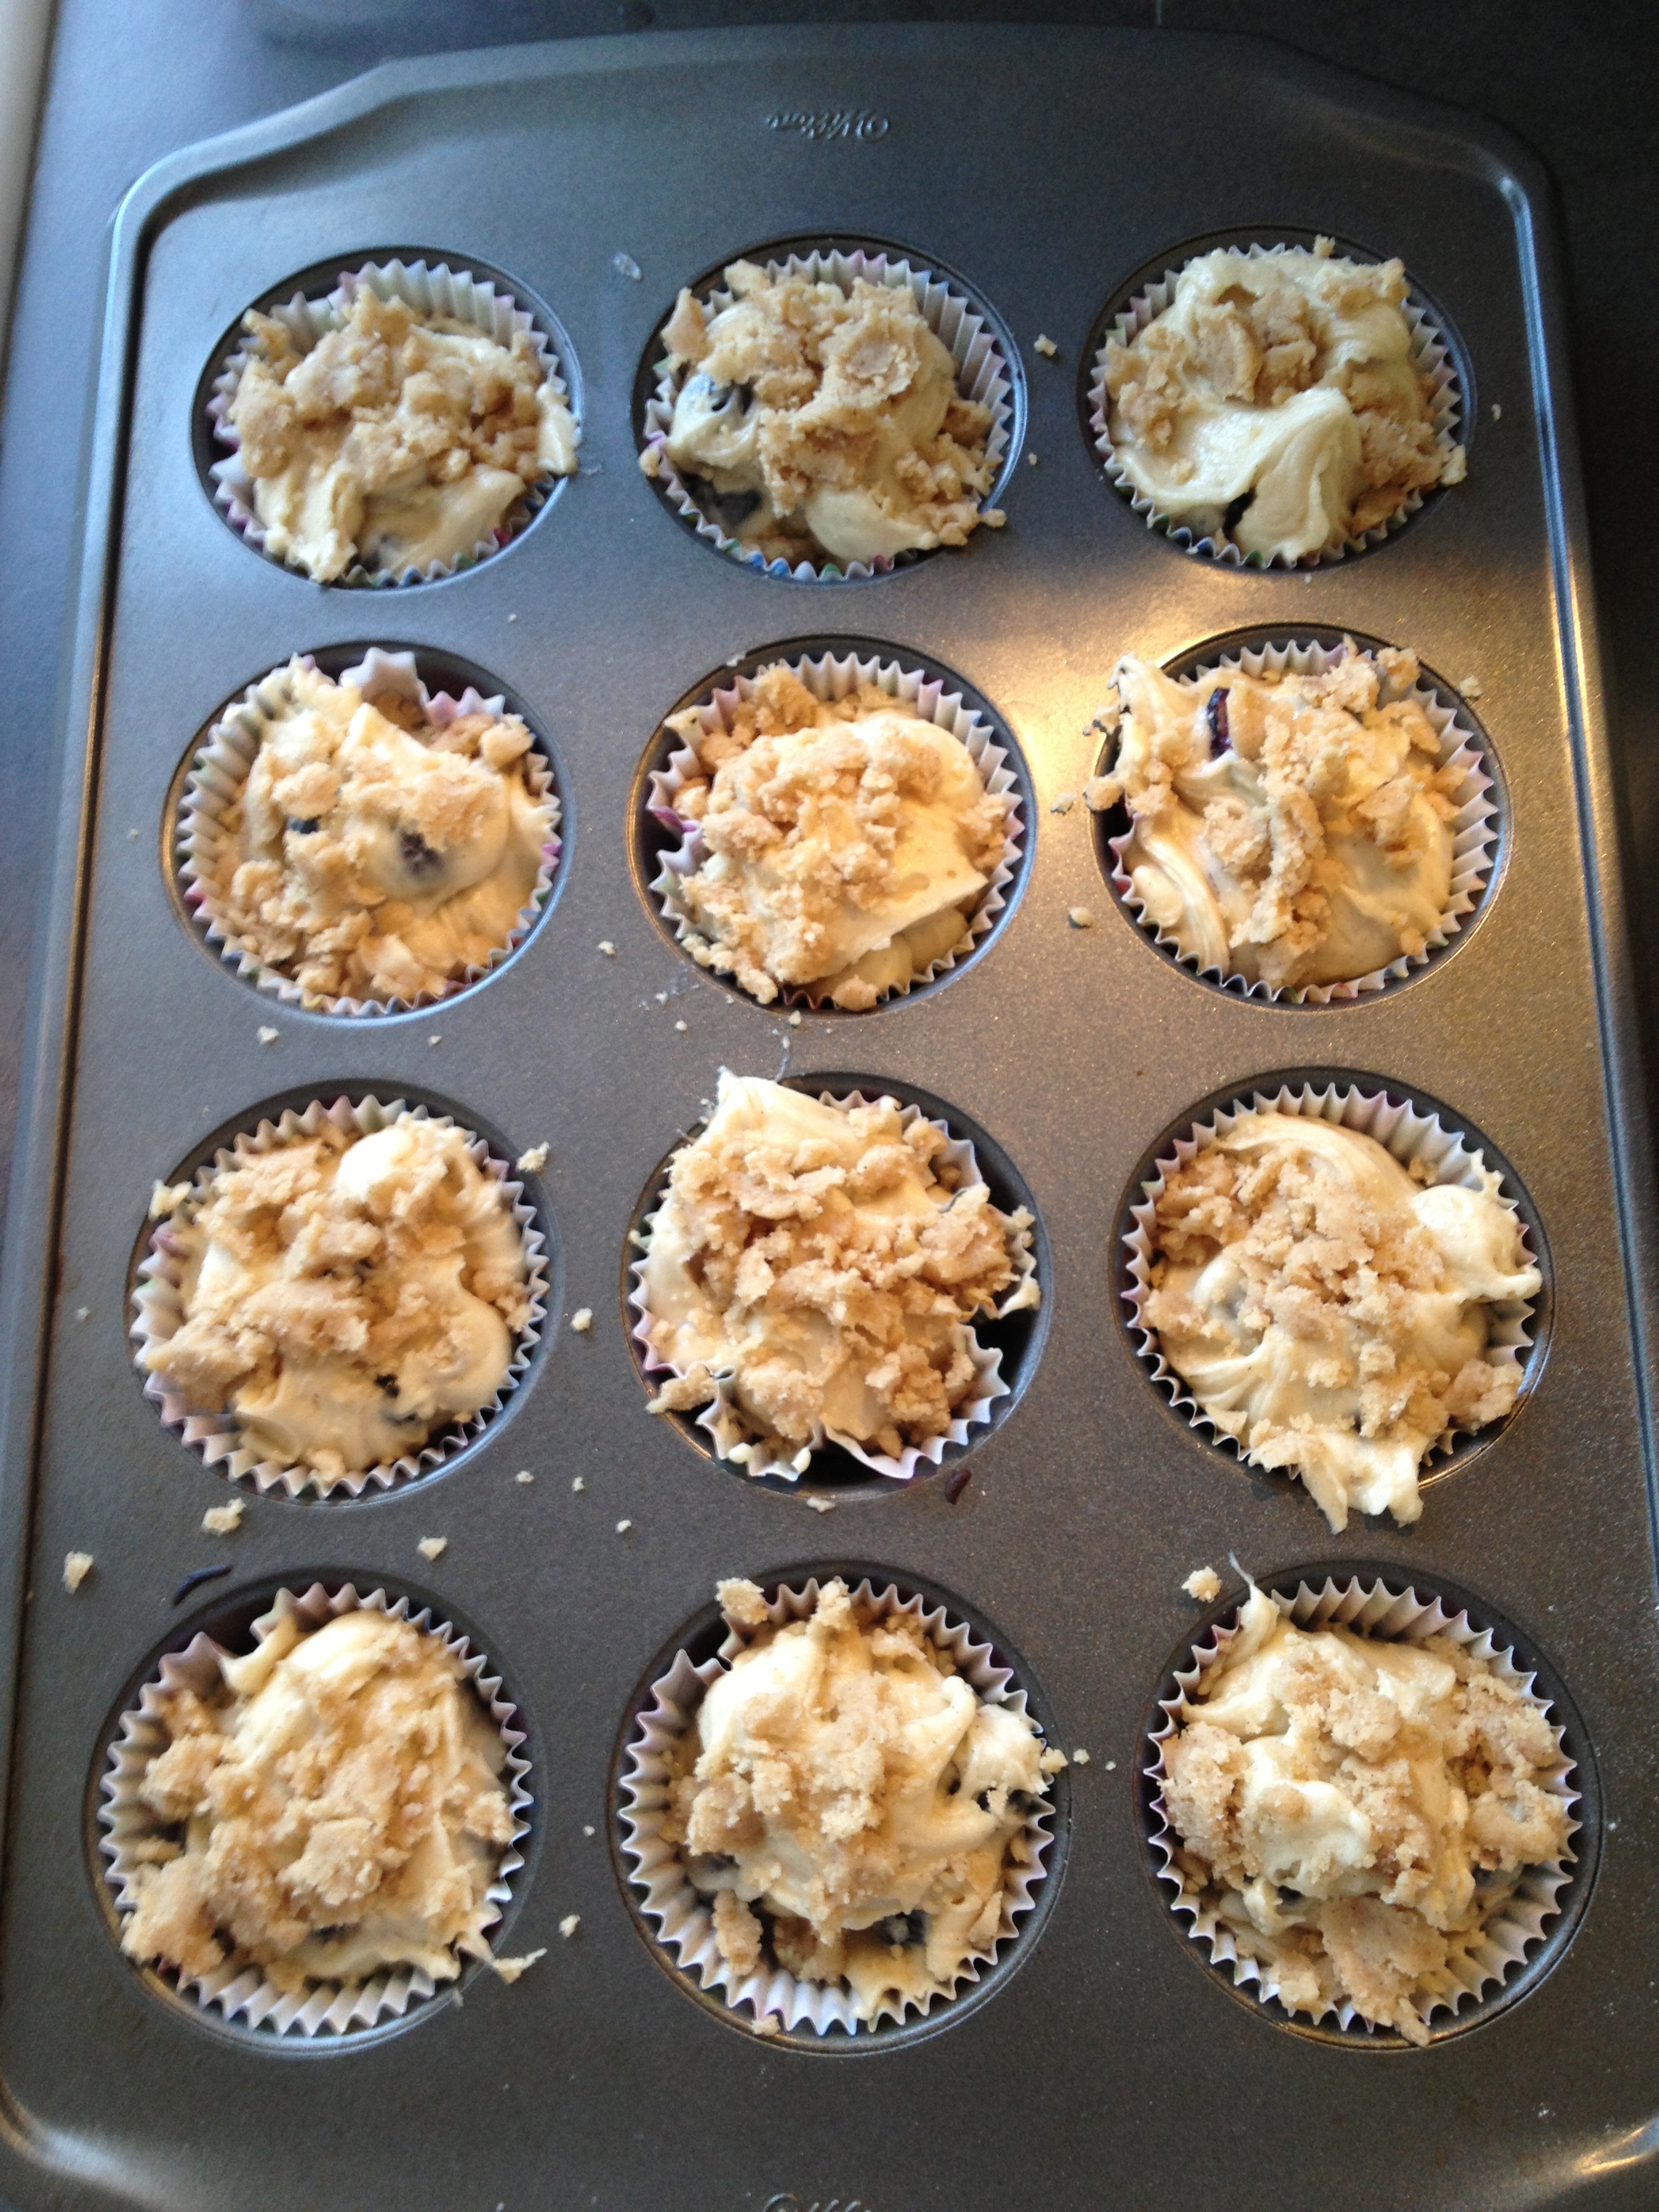
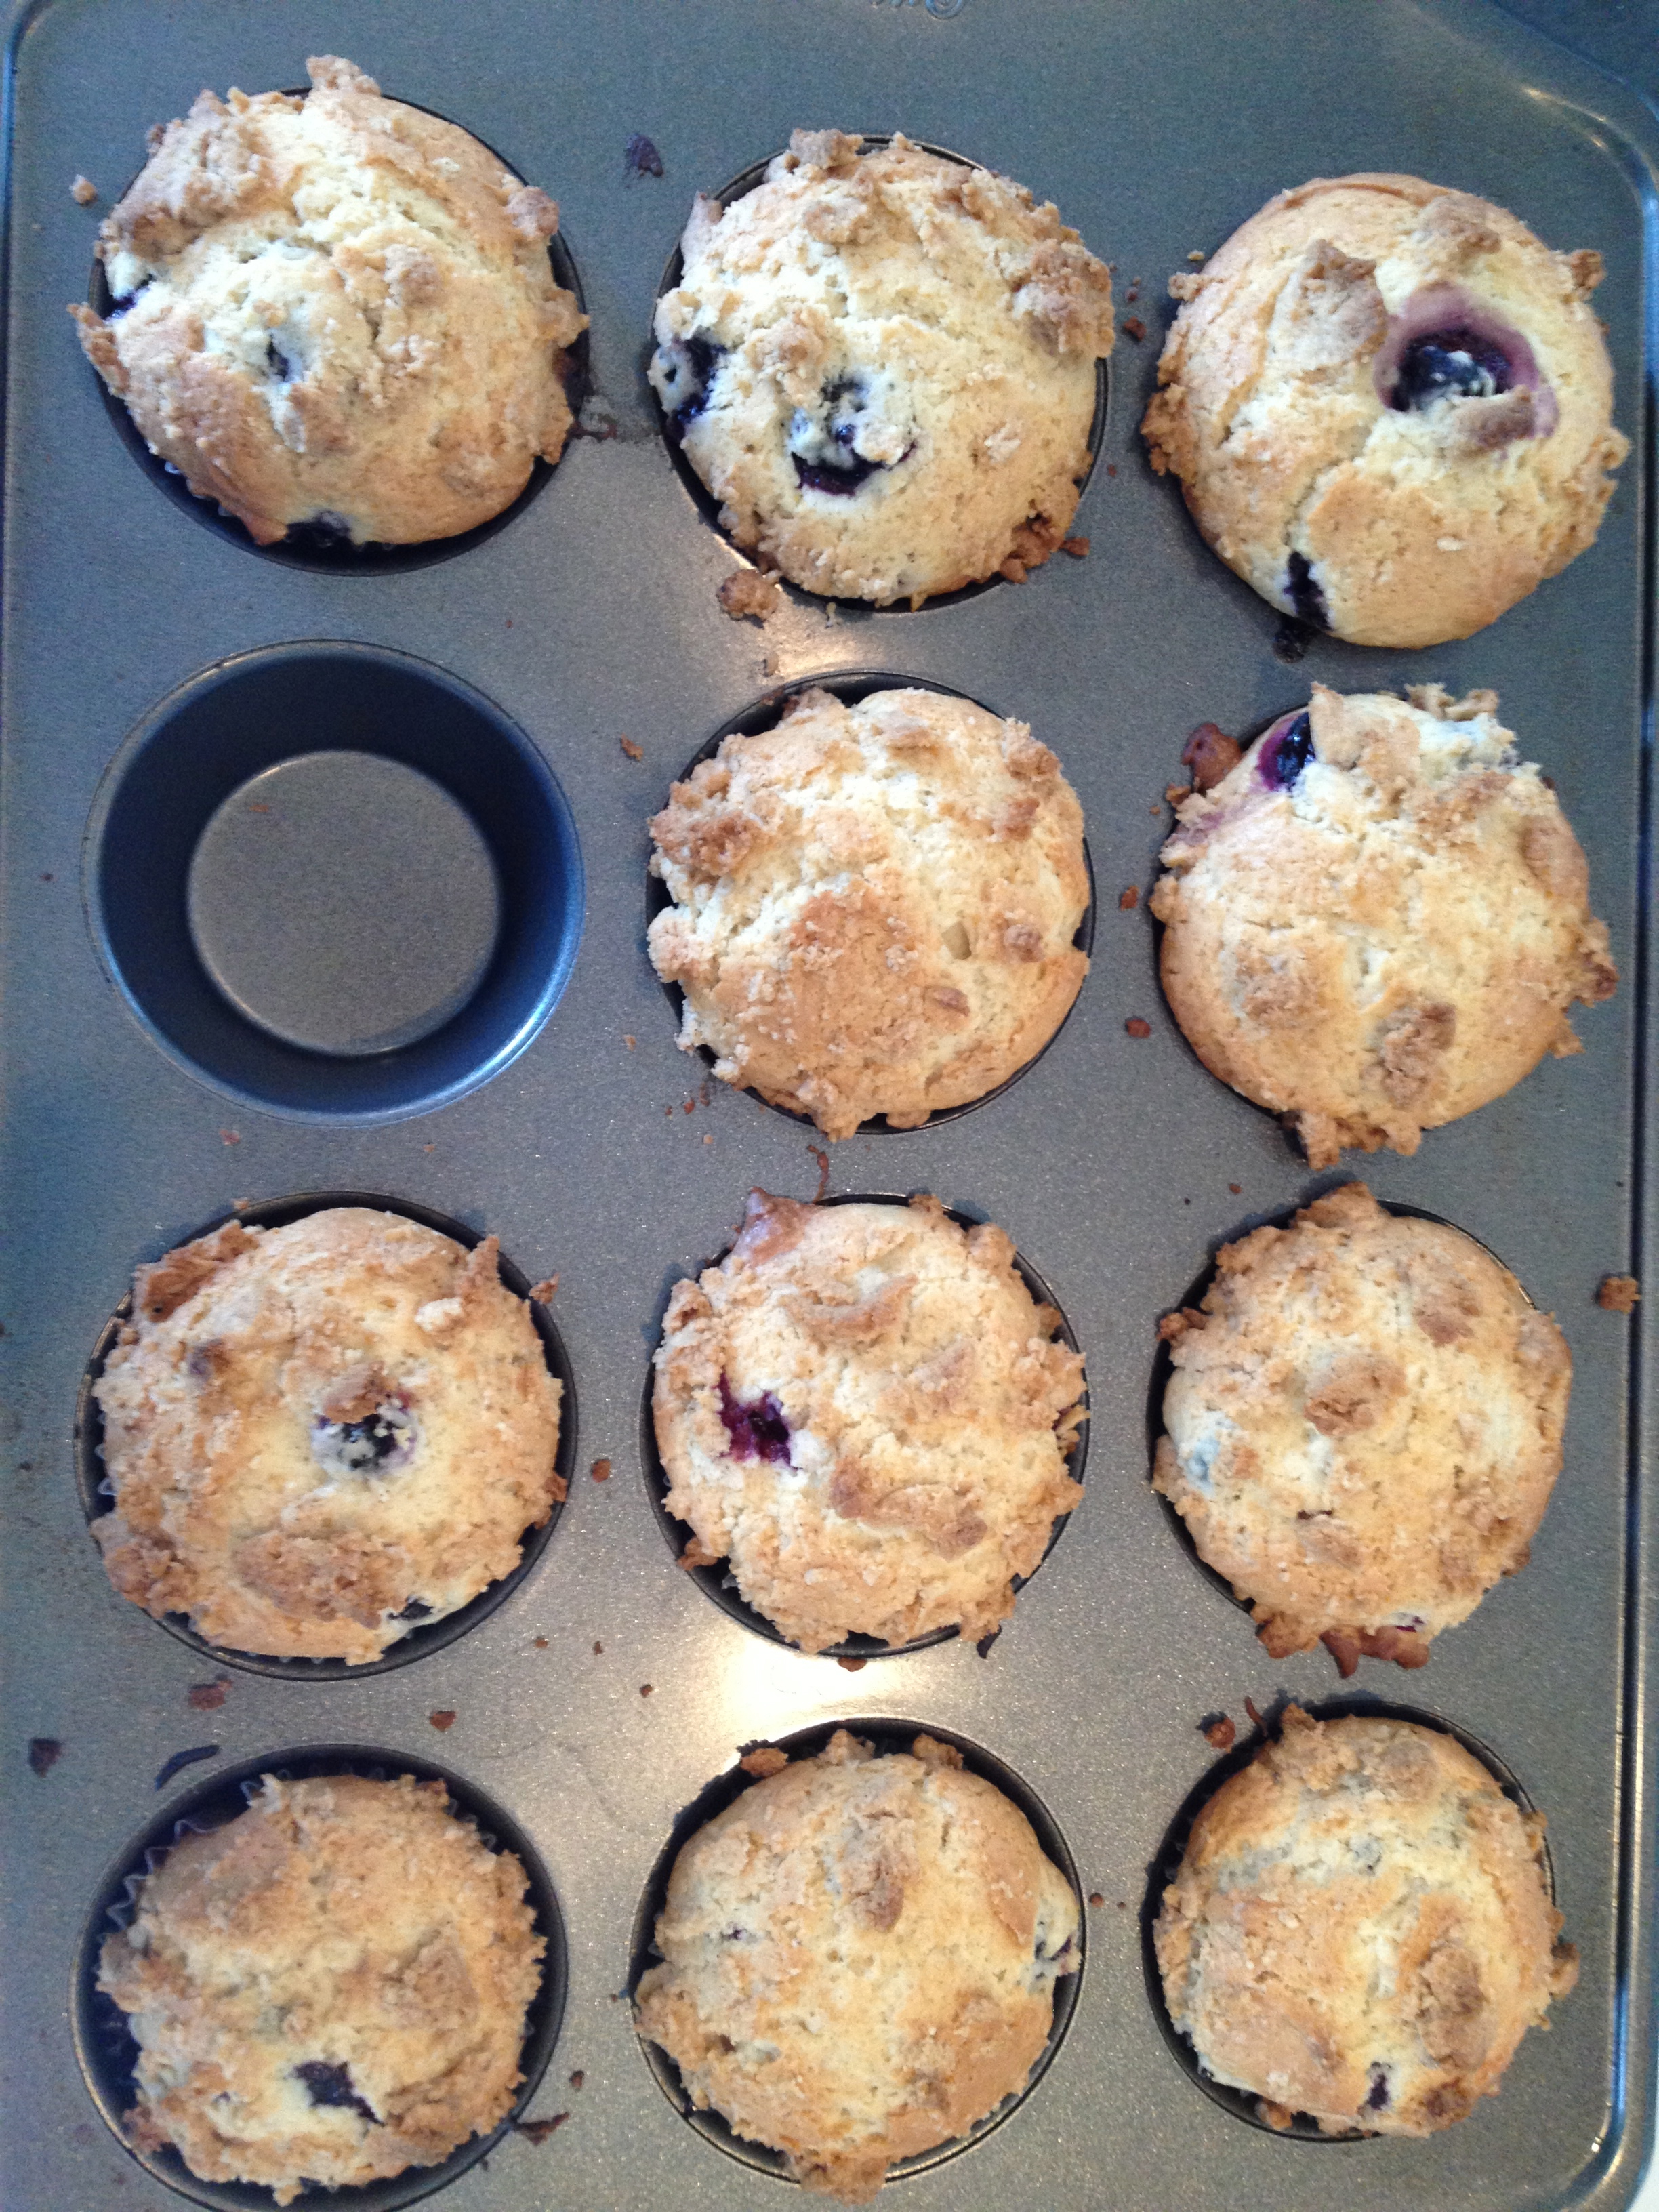
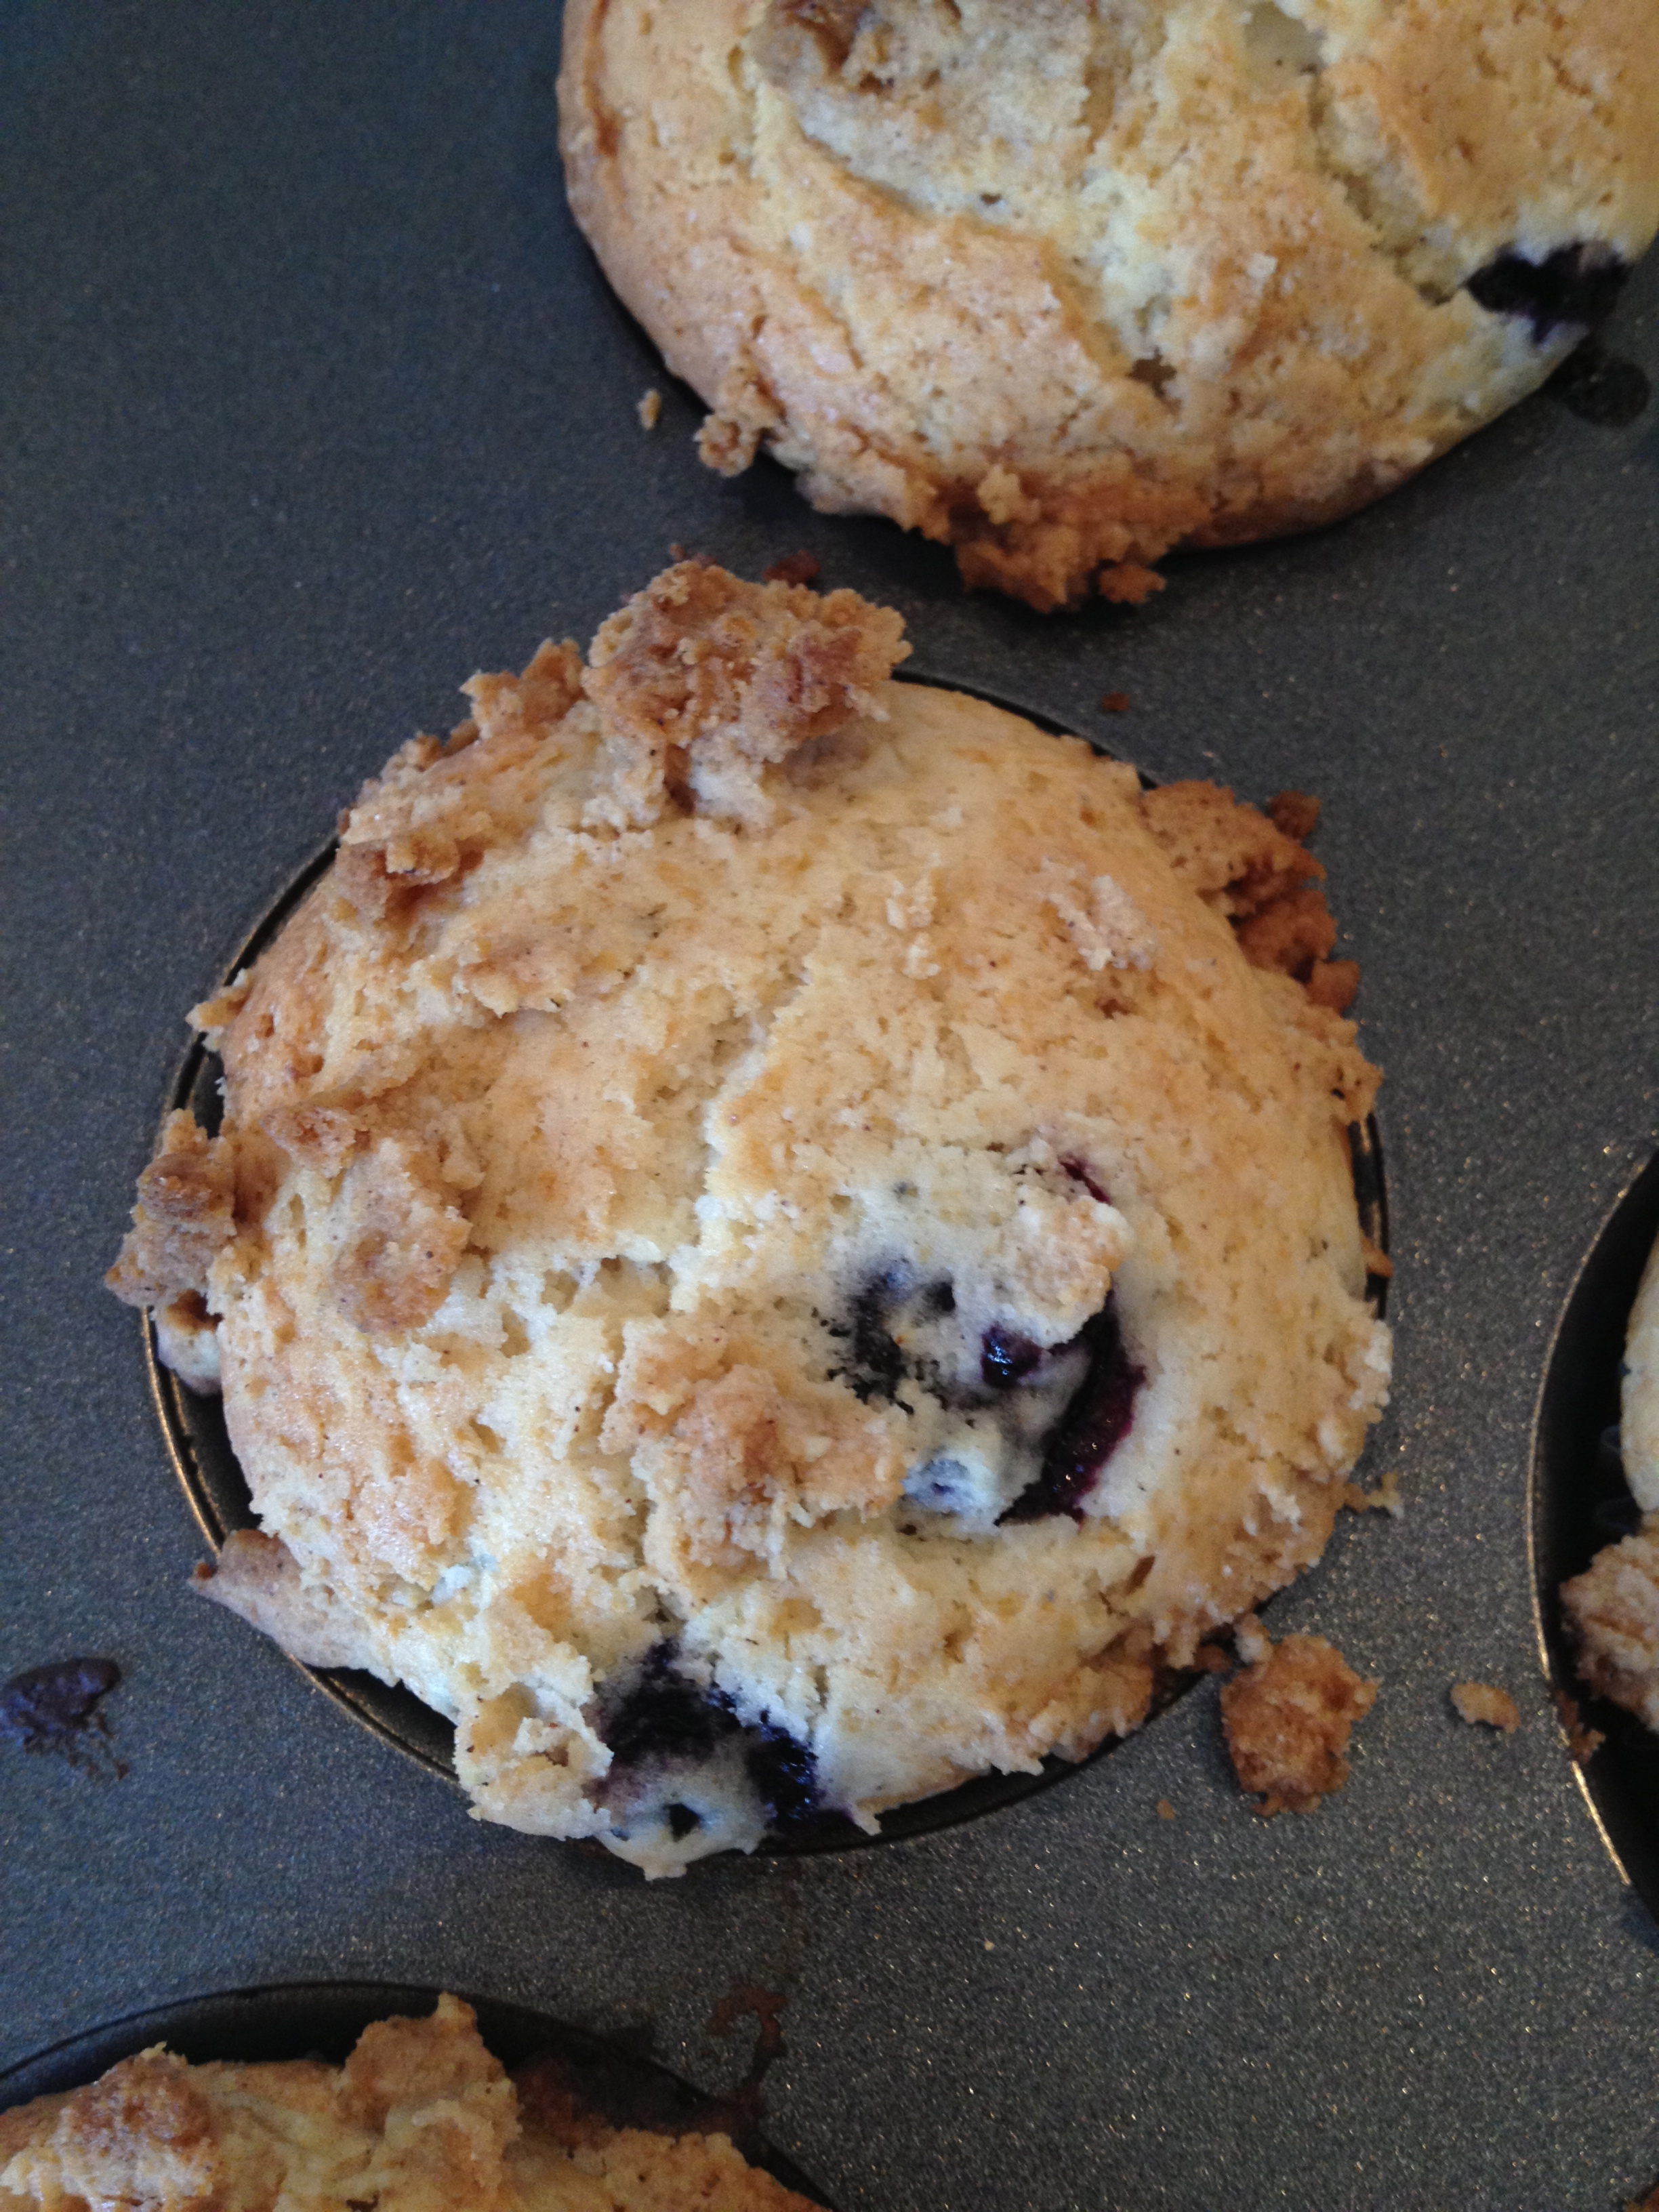
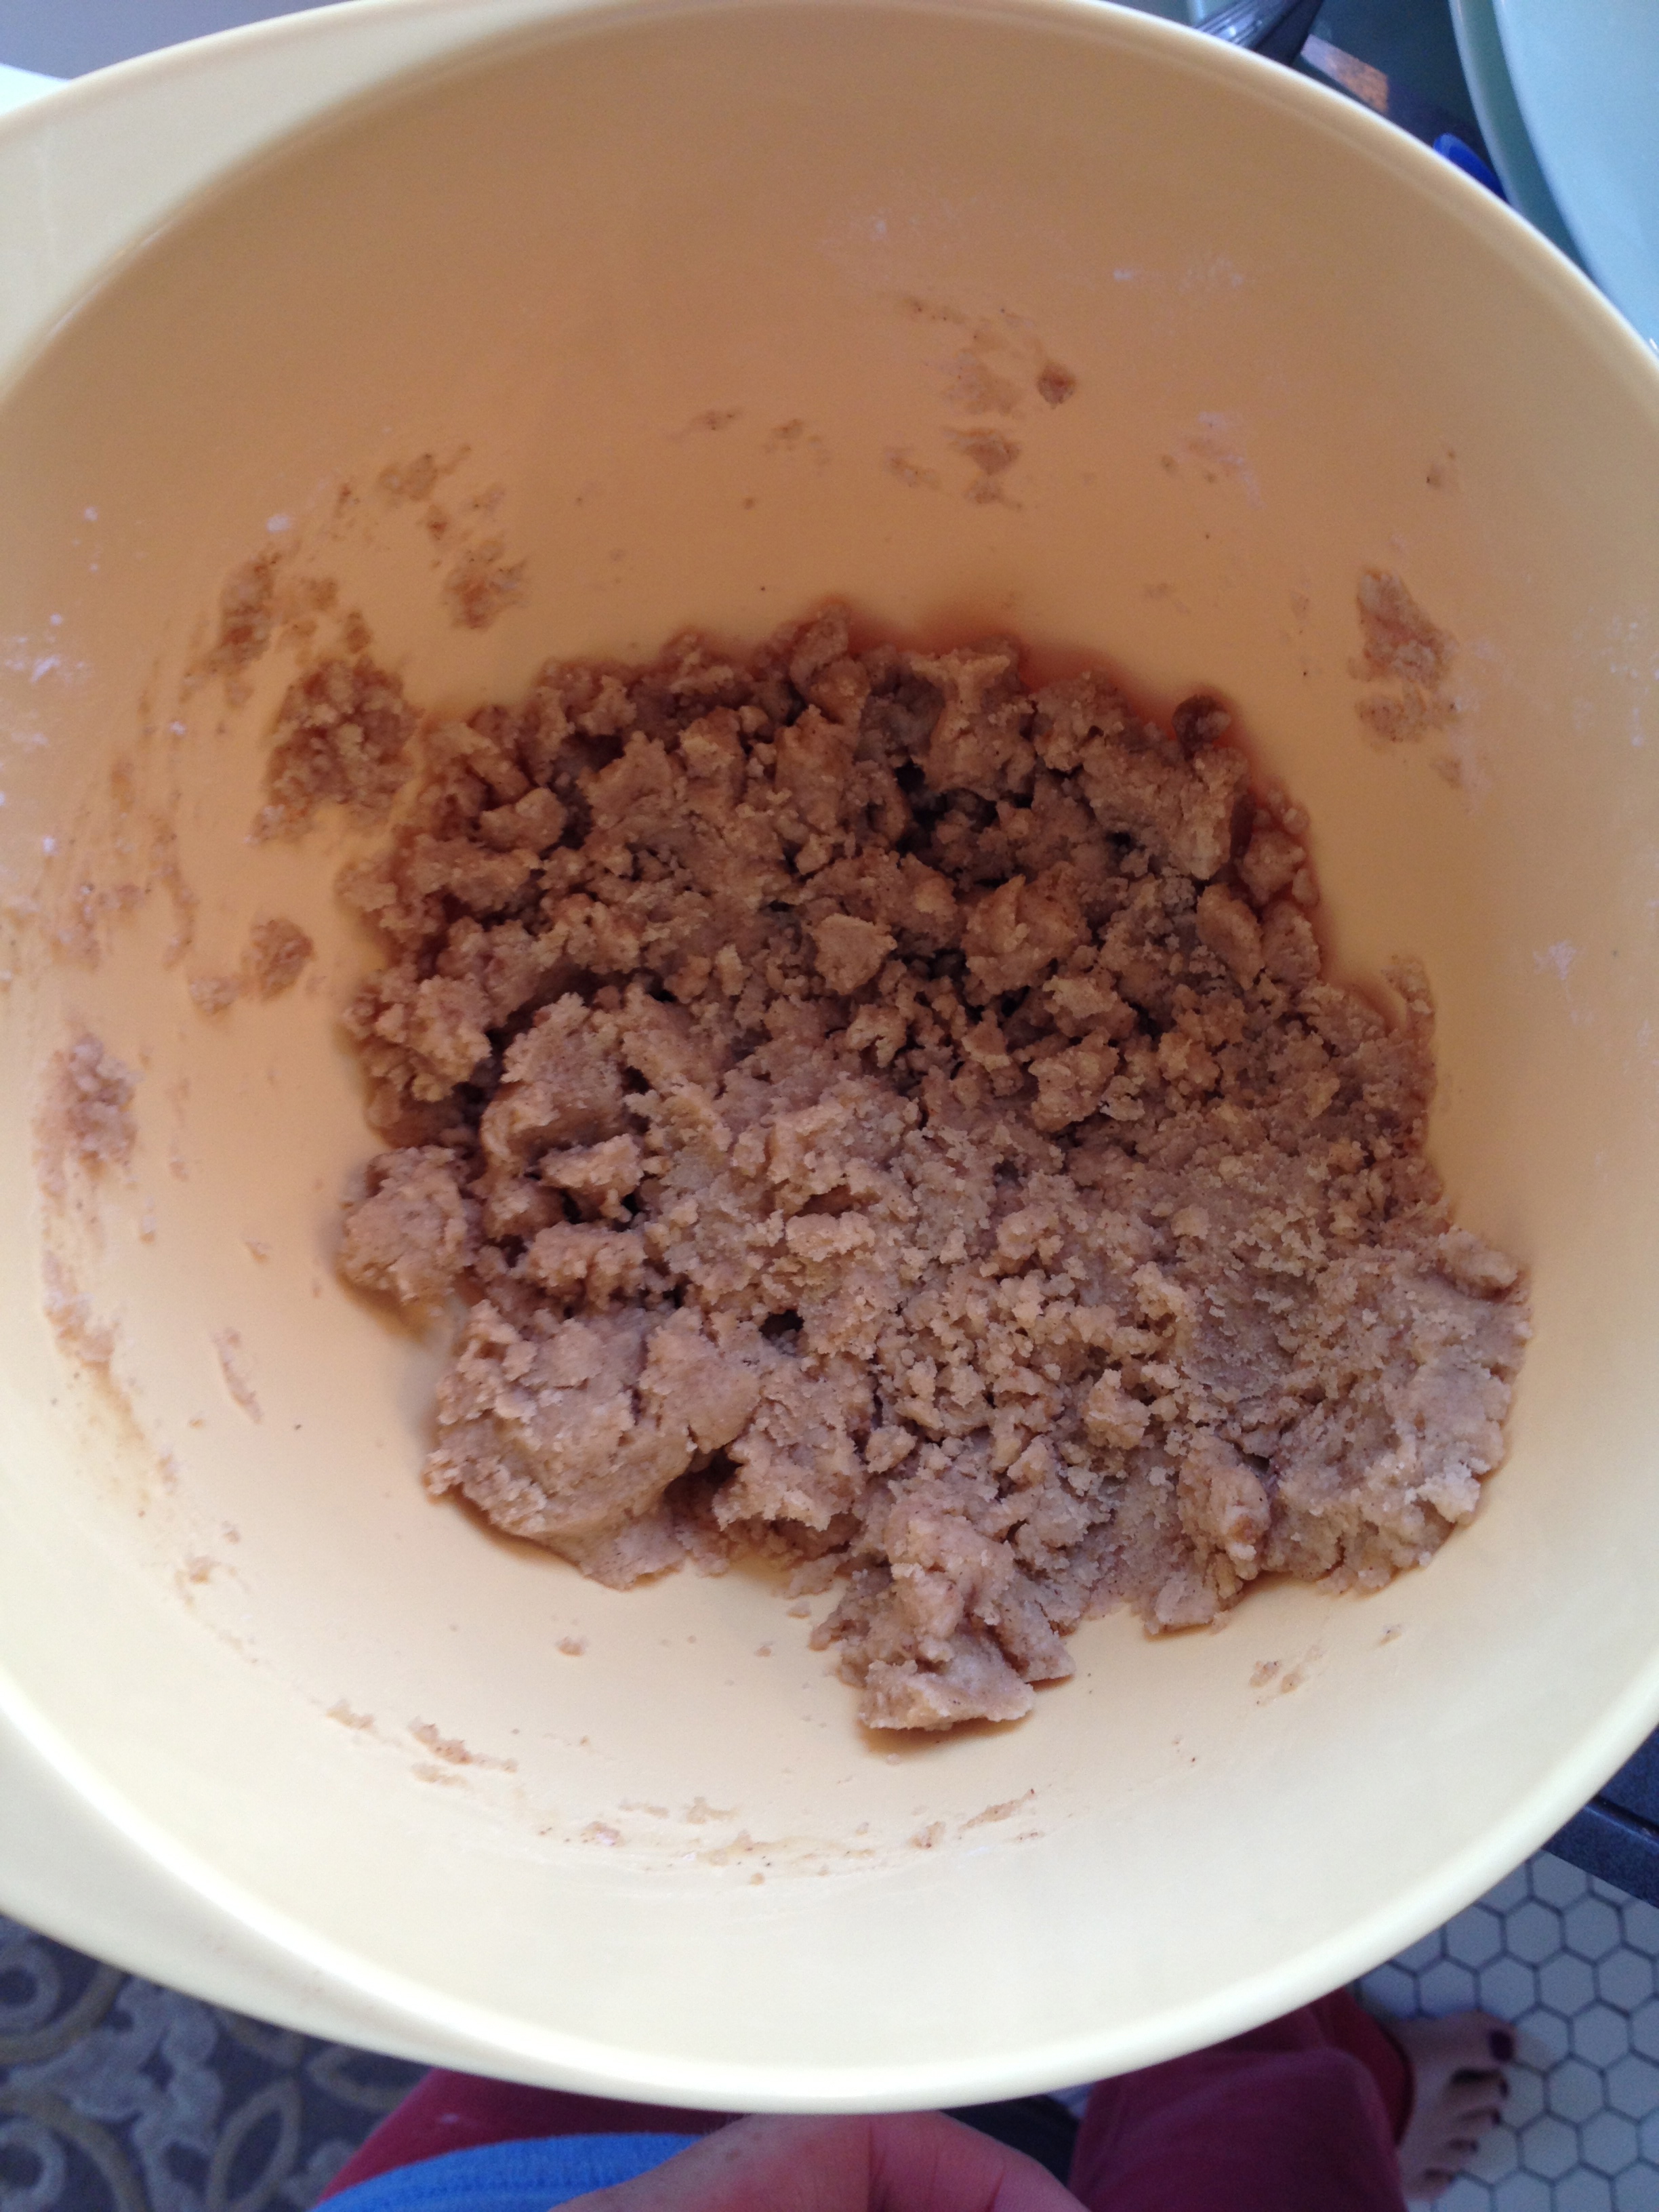
Here are a few pictures:


Happy Shopping! Mention that you saw True&Co. here at selectionsbysisters.com!

Chalk Paint!


It’s a beautiful day in the neighborhood and I’m so lucky that Reagan LOVES to play outside! I have been eyeing various chalk paint pins on Pinterest and knew that Reagan would be head over heels in love with the idea of being able to paint the driveway! Today seemed like the perfect day to DIY some chalk paint and let Reagan display her artistic talents in a new and exciting way!

We headed to the dollar store to grab some paint brushes and a muffin tin. Pinterest suggested using a muffin tin to hold the paint. We ended up leaving with a coloring book, hot pink plastic plates, a neon yellow bucket, two plastic pink veggie trays, a ball- Reagan is just a bit obsessed with balls at the moment-, foam paint brushes and larger bristle paint brushes. I don’t think that there is a person in this world that can go into the dollar store and not find more than one piece of crap to buy. I bought multiple brushes and two veggie trays, to use instead of muffin tins, in hopes that some of the neighborhood kids would be outside and we could invited them over to play.

The chalk is super easy to make and came off of our clothes rather easily. I would still recommend wearing clothes that you don’t mind ruining, just incase. Reagan participated from start to finish with this project and really seemed to enjoy it. Unfortunately, the actual painting part of the activity didn’t really hold her attention for as long as I had hoped. You see, the chalk paint, when first painted onto the driveway was super light and got darker over time as it dried. This isn’t the best process for an 18 month old that is looking for instant gratification.

After about ten minutes of painting, Reagan ended up collecting rocks in a sand bucket and dipping them into different paint colors. I was ecstatic that Reagan, independently, thought up this extension to the activity that I introduced. She took what she knew about the paints and used the knowledge she had to create something new and different! Woot! Woot!

We cleaned up by washing out tools under the outdoor faucet.

Ingredients
(I tripled this recipe)
1/4 cup corn starch
1/4 cup water
food coloring

Materials
paint brushes
veggie tray, muffin tin, something to hold the paint
Spoon
Medium sized bowl

Mix corn starch and water together until there are no lumps.

Pour into veggie tray spaces.

Add food coloring and stir.

Paint…or dip rocks, whatever works!


This is what we saw looking out Reagan’s bedroom window before nap time!