Peanut Butter Energy Bites

Life as a stay-at-home mom to a three year old and four month old is…busy!! Add to that training for a marathon and some may call me crazy. There truly are not enough hours in the day for a mom to fit in everything that needs to be done. Trying to squeeze workouts in means sometimes training in the wee hours of the morning or late at night after the kids are in bed. I’m typing this post now at 10:30 p.m. after just finishing a ten mile tempo run…ouch. Like many moms to little ones, my meals sometimes consist of whatever my son doesn’t finish. Peanut butter and jelly sandwich crusts, half a banana or partially eaten yogurt. Not exactly the stuff to provide the energy I need to keep up with nursing a baby or chasing after a toddler. These energy bites are the perfect pick-me-up! I love them as a snack throughout the day or even pre or post workout.

photo(7)

Ingredients

2 cups rolled oats
1 cup Peanut Butter
1/3 cup Agave nectar
1 tbs. Chia seeds
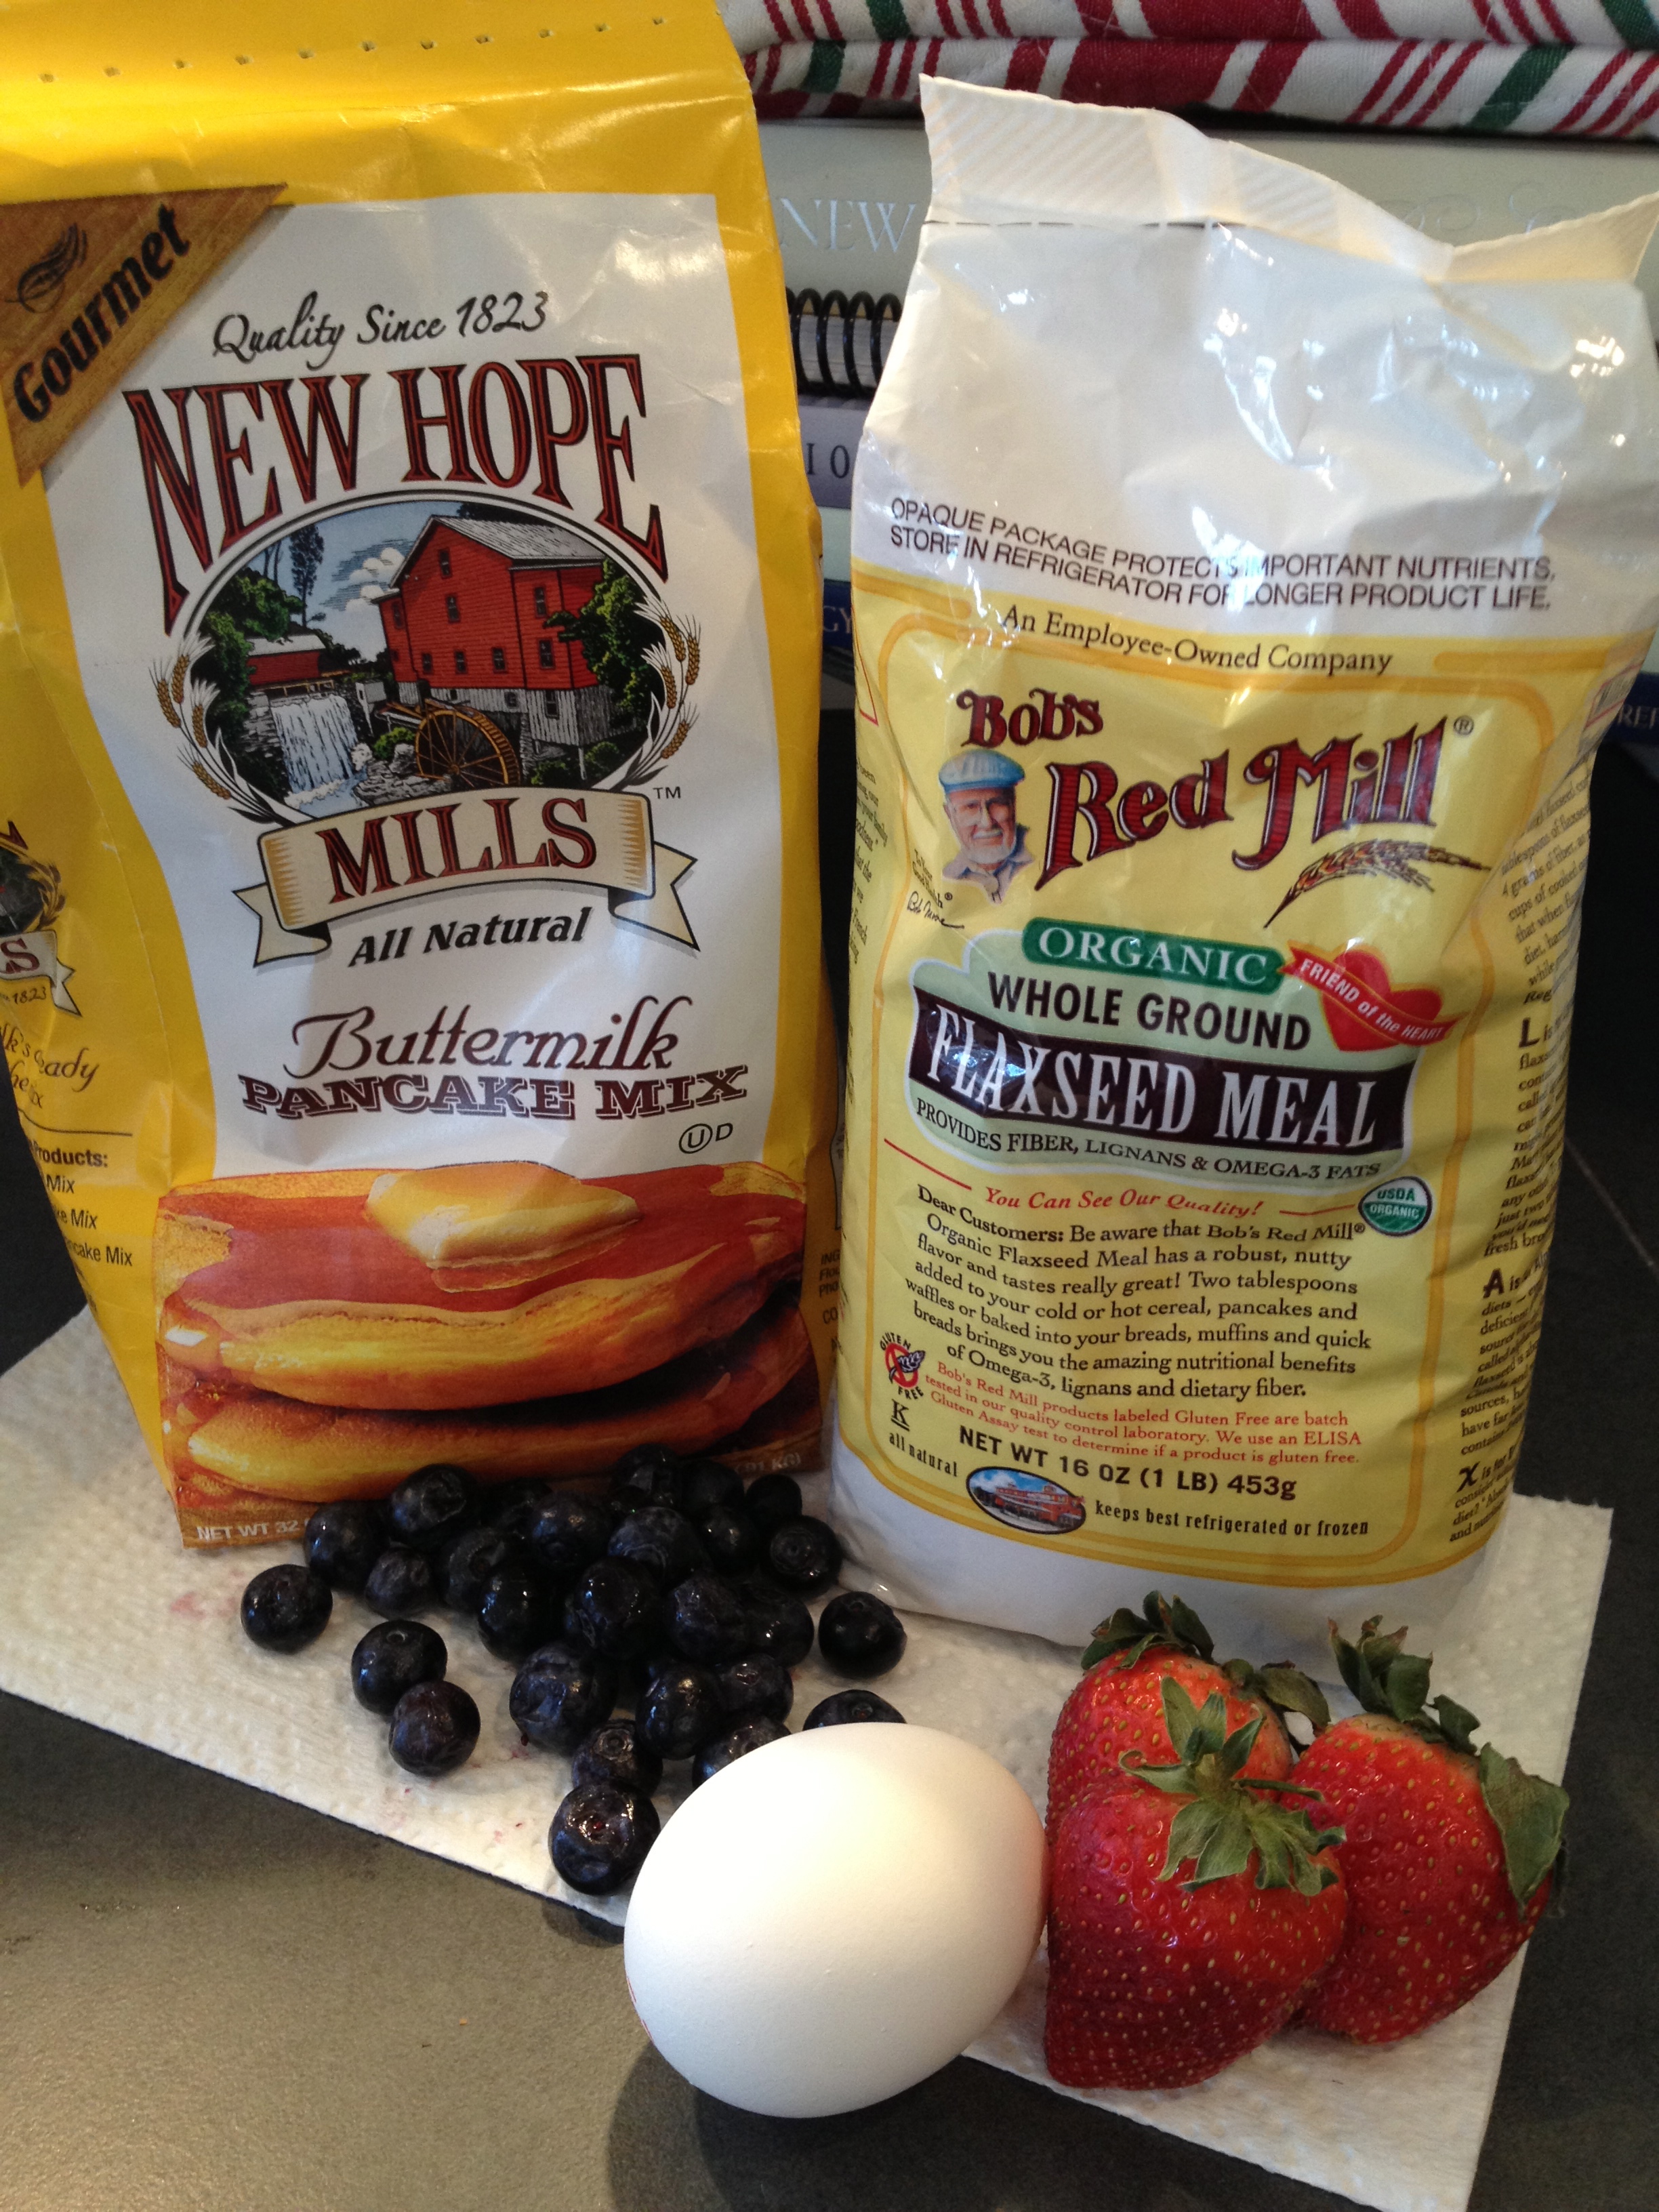
2 tbs. ground Flax seed
1 scoop Protein powder
1/2 cup (or more!) chocolate chips

These ingredients are extremely flexible. If you don’t have agave nectar, use honey. If you are sharing with the little ones you probably want to skip the protein powder. I will find any way to sneak flax seed into my family’s diet and usually try to include it in most of our baked goods. It adds a powerful punch of Omega-3s and dietary fiber. You could even add coconut flakes, raisins or nuts.

photo(8)

photo(9)

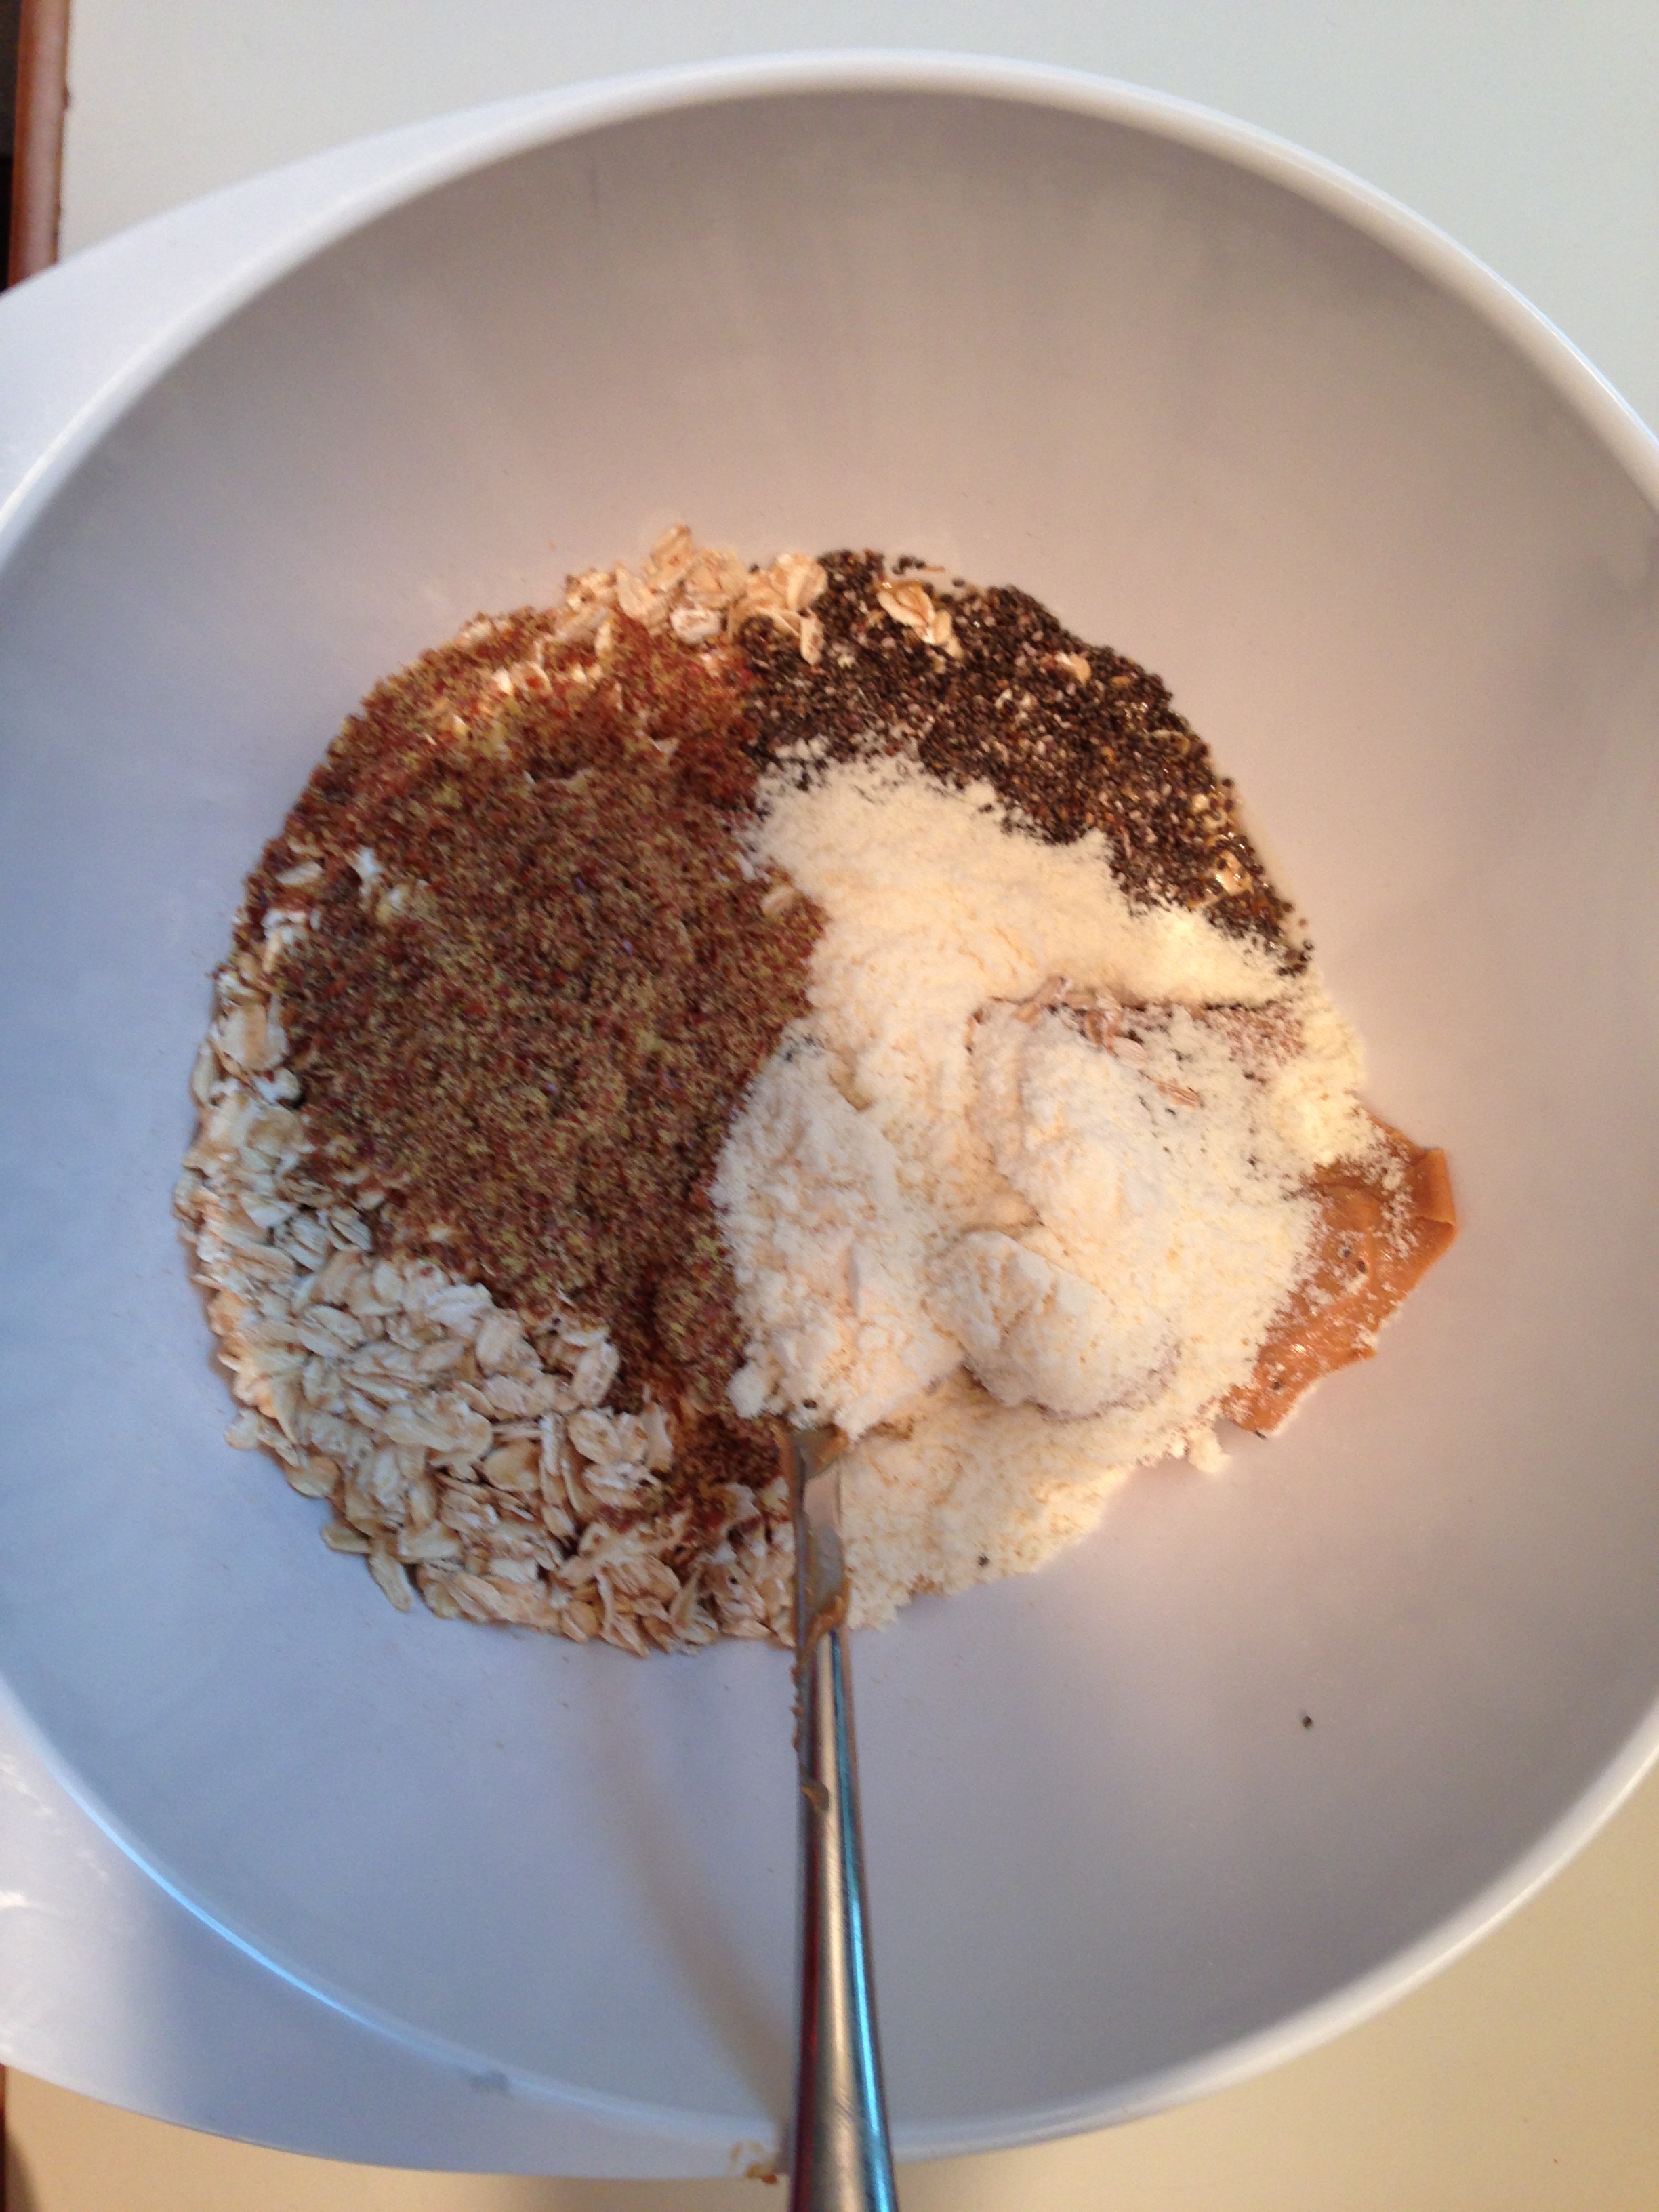
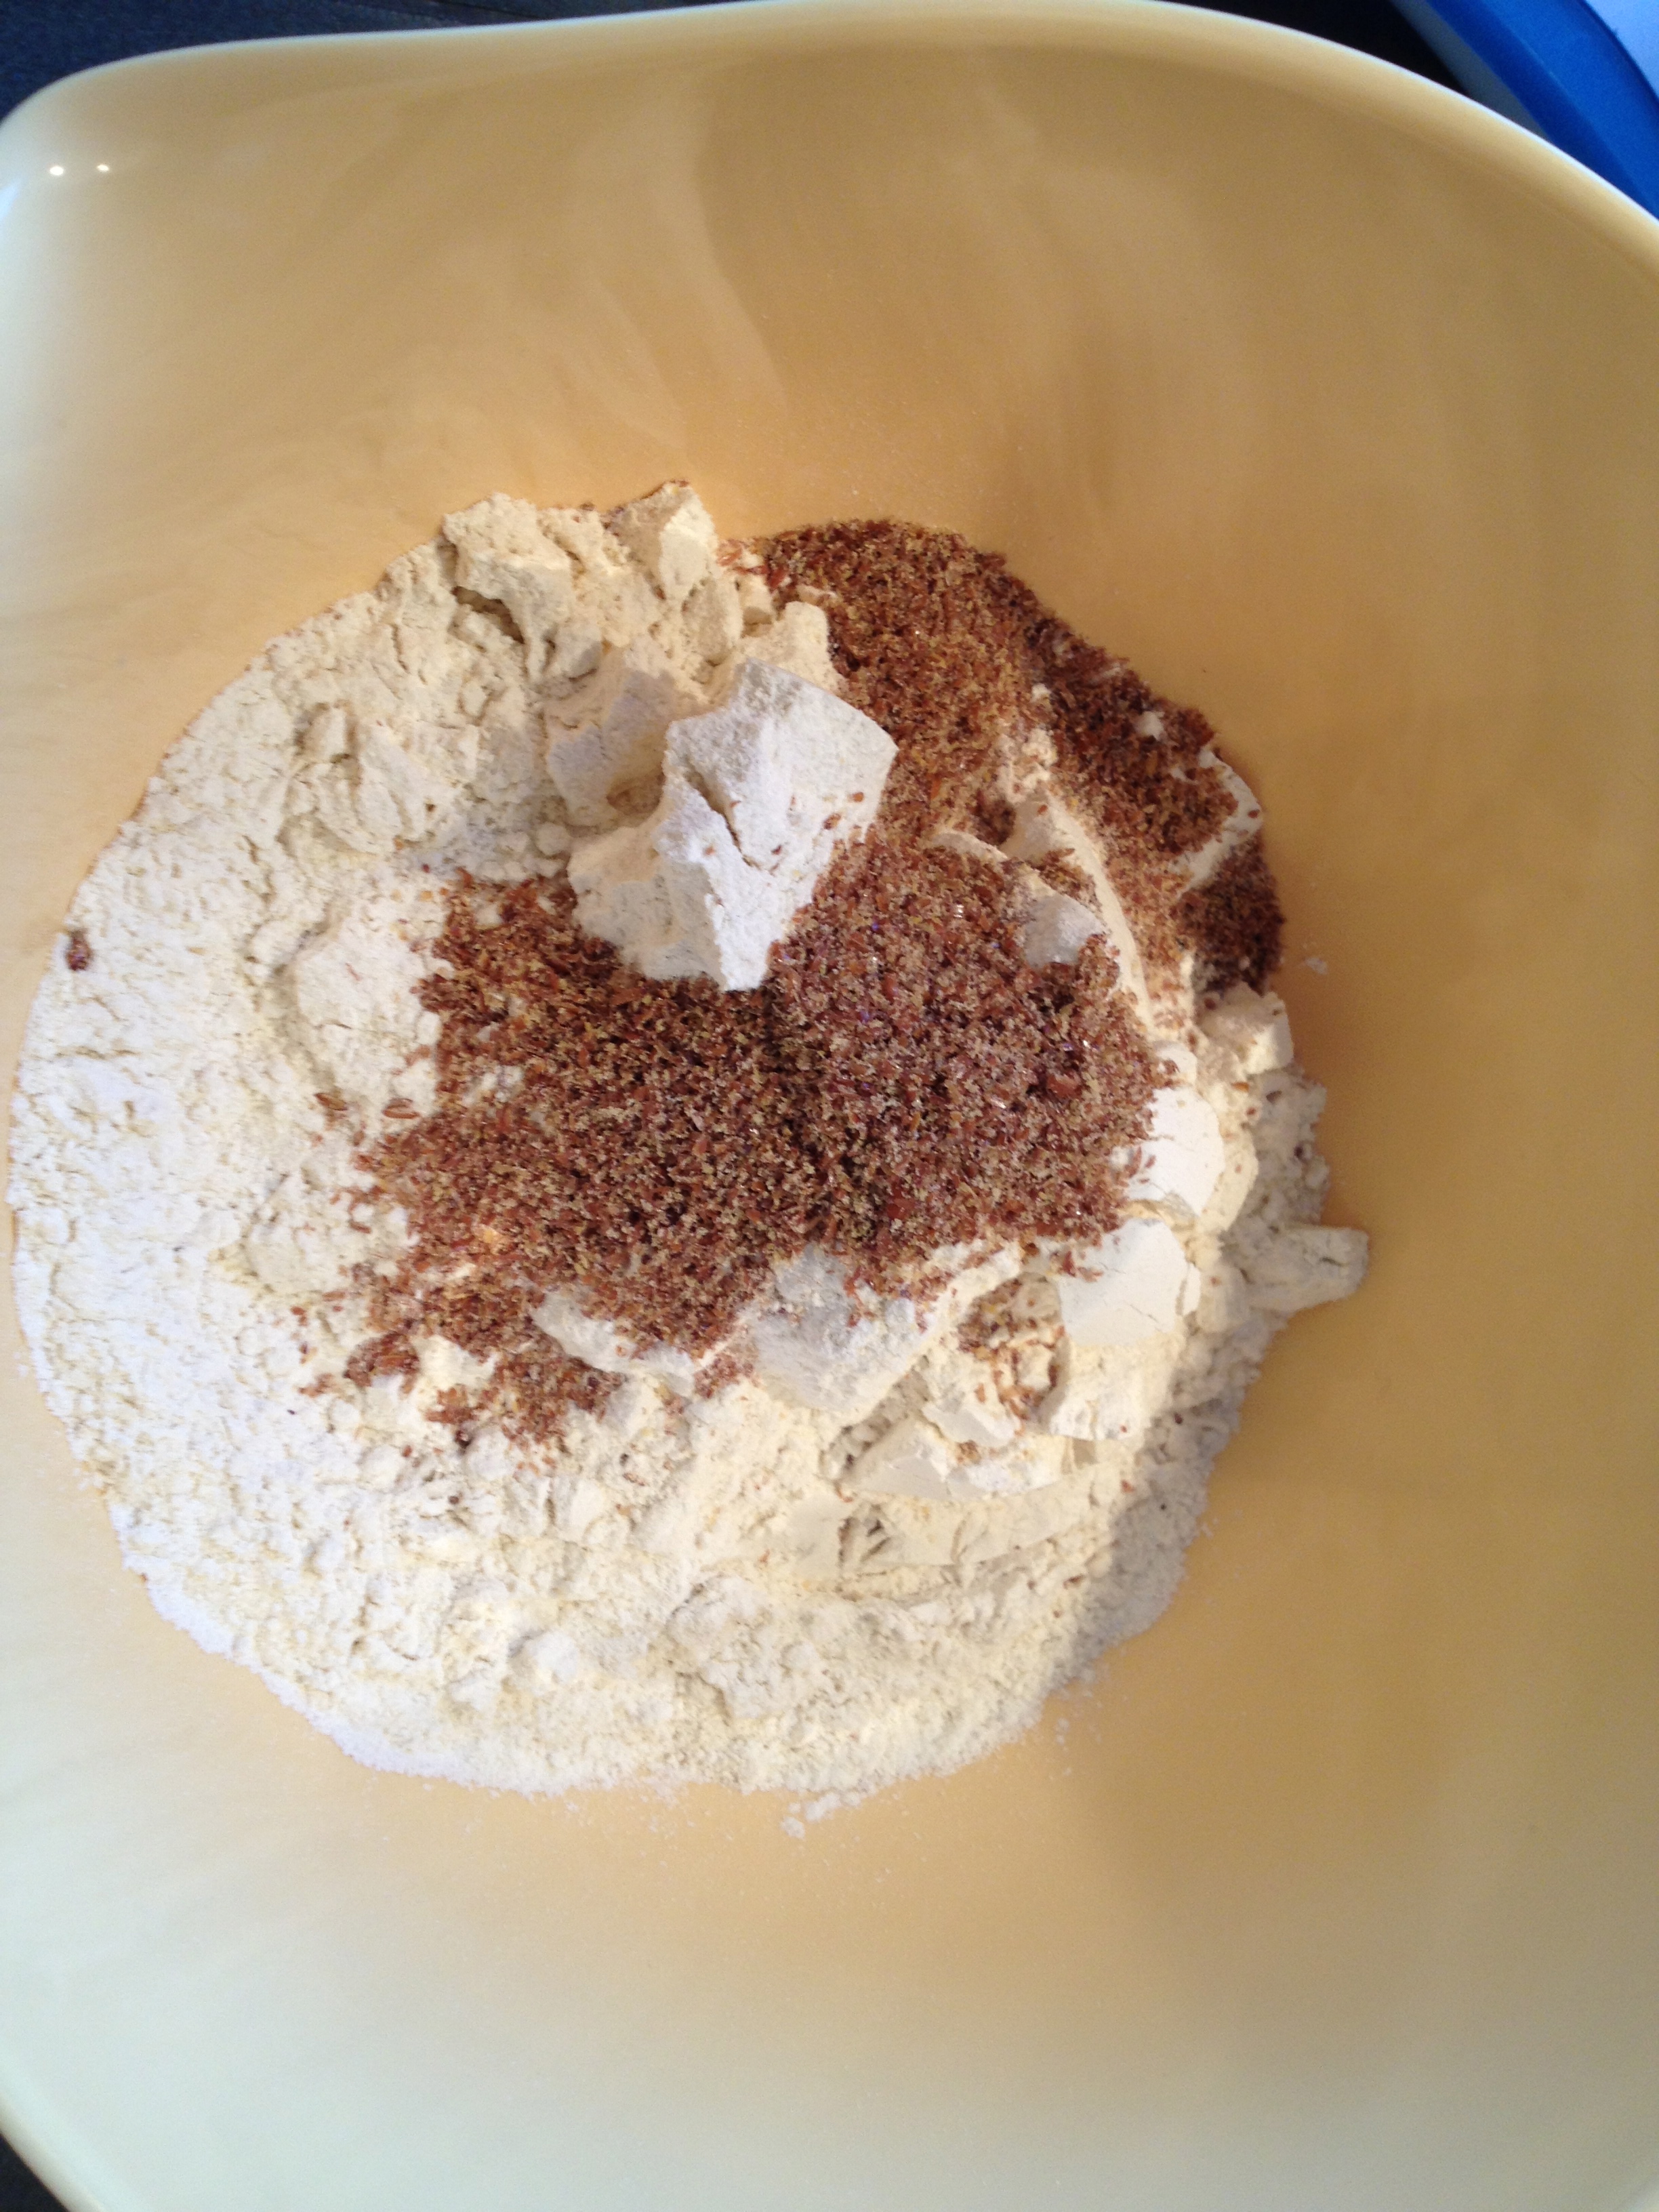
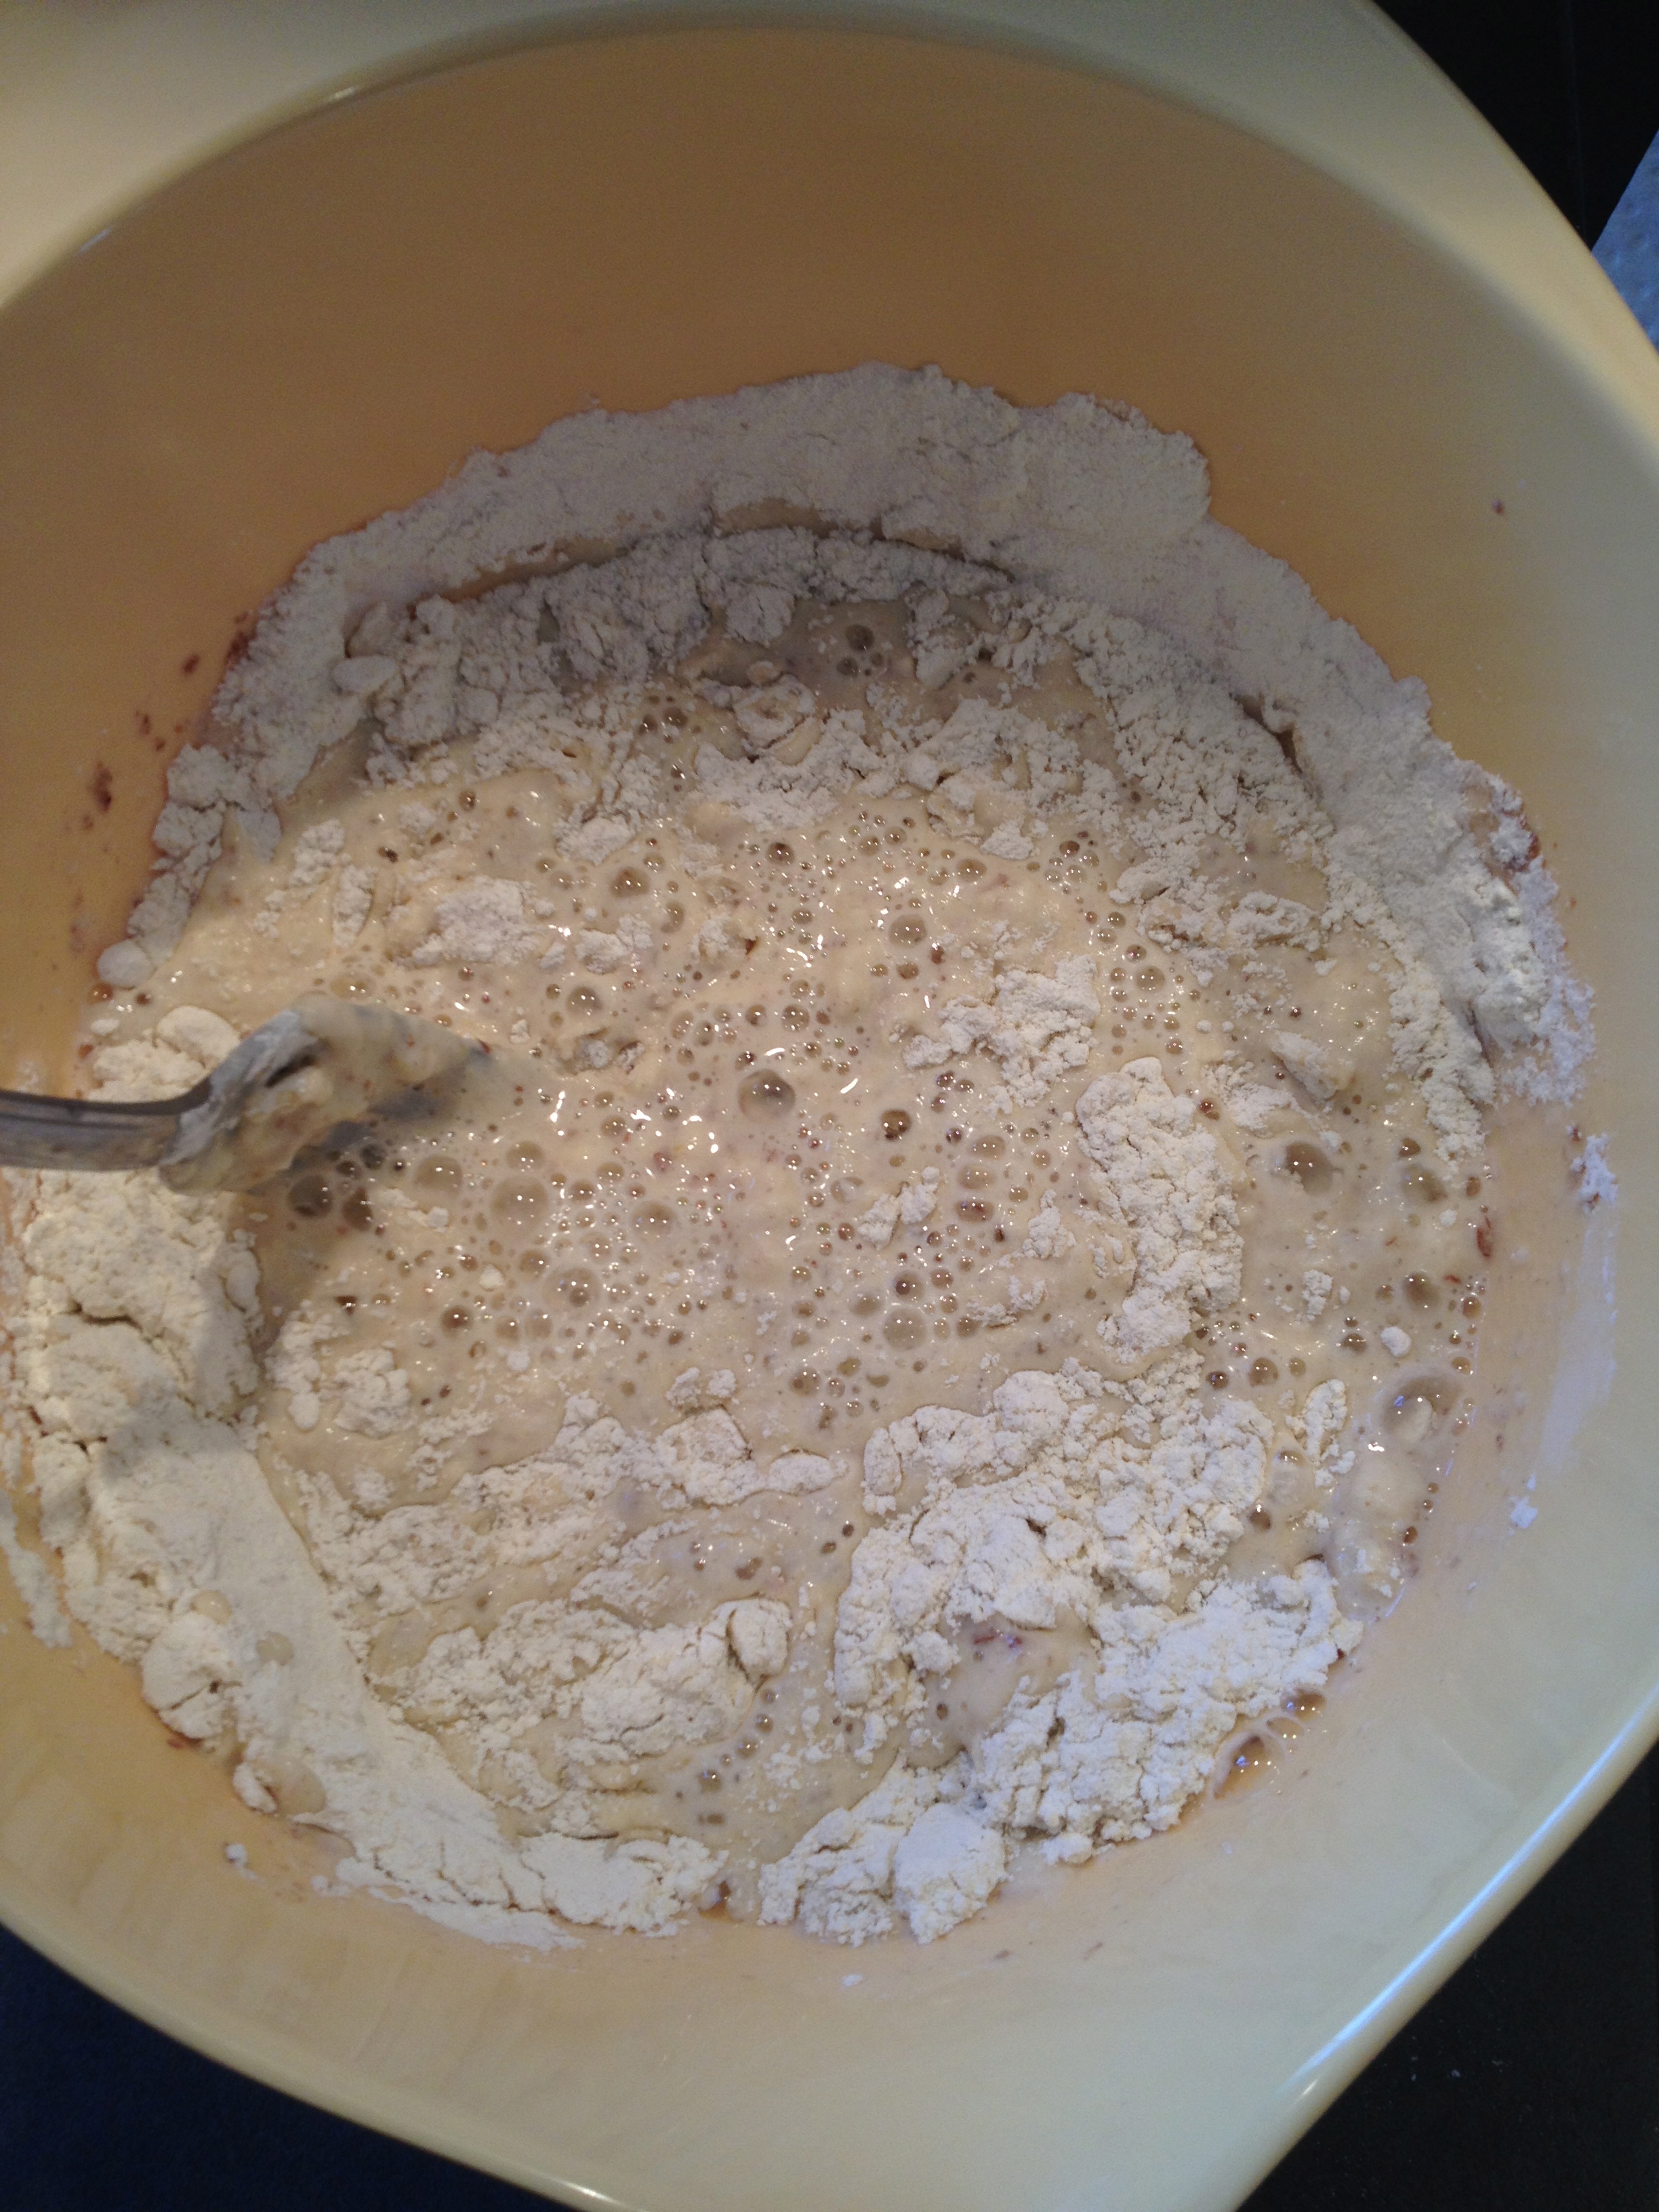
Place all ingredients in a bowl and stir. The batter will be very thick. Roll into tablespoon size balls and place in the fridge to chill. Store balls in an air tight container in the fridge. I promise they won’t last long!

Clean that Microfiber!


I’m embarrassed to admit that I had no idea how disgusting it was underneath the arms of my couch. One afternoon, Reagan had to turn her body to get between a chair and the couch, because I had yet to move the couch back to its original spot after vacccuming, and she came through with a dirty shoulder. YUCK! And the culprit…yup, Colby. Colby must rub his head against the underneath of the couch arm when he goes to look out the family room window. After 4 years of rubbing his sweet little hairy head, a very dirty underarm has developed.

Pinterest came to the rescue once again, with this super easy microfiber cleaning trick.

Materials
Spray bottle containing Rubbing Alcohol (as much rubbing alcohol as you think you will need. I used an empty window cleaner bottle that I rinsed out with hot water and filled with 1/2 cup of alcohol.)
White bristle brush
White sponge or a sponge similar in color to the microfiber color

USE WHITE OR A SIMILAR COLOR TO THE MICROFIBER FOR BOTH THE SPONGE AND BRISTLE BRUSH–IF USING A DIFFERENT COLOR THE COLOR MAY TRANSFER ONTO THE COUCH, WHICH WOULD DEFEAT THE ENTIRE PURPOSE OF CLEANING IT!

These are picutes of the underneath of the couch arms…I know, right.

Saturate spot with alcohol. Do not drench, just spray so that the entire area is wet and covered. Open a window or two so that the alcohol smell is not bothersome to you.

Using your sponge, rub the spot until the dirt is removed. Use some elbow grease and really rub hard. I used two sponges, one for each arm. Here is a picture of a dirty sponge, next to a clean sponge. Water stains microfiber, so I’m not sure that it would be super brilliant to rinse sponge and then use right away.

Allow the spot to dry. After about 20 minutes both of the areas that I sprayed were dry.

With the bristle brush, in a circular motion, rebuff the area that was just cleaned.

I am super pleased and can’t wait to clean other areas of the couch where Reagan’s sippy cups and snack filled hands have been.

Pancake Muffins


The quest continues to find foods that Reagan will eat. Breakfast time is always a hit or a miss and usually consists of bites of toast, yogurt, fruit and Raisin Bran. I’m not a breakfast fan and pancakes are the absolute last thing that I would ever order at a restaurant, but I absolutely LOVE, LOVE, LOVE New Hope Mills Buttermilk Pancake Mix. I don’t know what it is about this pancake mix, but I am totally in love!

I was up super early this morning, so I decided that it was pancake day! I wanted to make something fun for Reagan to eat and decided on these adorable pancake muffins that I had seen on Pinterest. Reagan loves blueberry muffins and we had just picked up a bunch of blueberries at the market on Saturday, so…fresh blueberry pancakes here we come! (they are muffin shaped, so my hopes were high)

I’ve been adding Reagan’s DHA and probiotic to multiple meals lately, instead of just one. Since she hasn’t been really eating much, it’s pointless to add the entire serving of the DHA or the probiotic to say, just her yogurt at breakfast time. It’s such a waste, because she never eats the full serving of ANYTHING let alone something that I add the DHA or probiotic to.

Ground Flaxseed has also made its way into Reagan’s diet (mine and the husbands too). Flaxseed is known to have many healthy components, but is especially known for containing healthy amounts of Omega-3 essential fatty acids (good fats), lignans (antioxidant qualities), and fiber (soluble and insoluble). Reagan can benefit from ANYTHING healthy!!

I decided to make three different kinds of pancakes- strawberry, blueberry and plain. My husband is not a fruit fan, so the plain would be right up his alley. The amount of fruit depends on how much you want on top of each pancake muffin. I topped 4 muffins with 4-6 blueberries each, used 2.5 strawberries to top another 4 muffins and left 4 muffins plain.


Ingredients
2 cups New Hope Mills Buttermilk Pancake Mix
3 table spoons Organic Whole Ground Flaxseed Meal
1 egg
1 cup water
blueberries
strawberries
cooking spray

Materials
muffin tin
wire cooling rack
metal spoon
mixing bowl
metal fork

Add dry ingredients together.

Add egg and water- mix until smooth (no clumps)

Using cooking spray, coat bottoms and sides of muffin tin holes. I swipe insides of tin with paper towel so that they are not too greasy.

Fill muffin tin holes 3/4 full and then top with desired toppings.

Bake at 350 degrees for 10-12 minutes- The strawberry ones took a little longer- 14 minutes

Test with a fork to see if muffins are done- Stick a fork into two different muffins and if the fork comes out clean, the pancakes are done. Using a metal spoon remove pancakes from muffin tin holes and place on wire rack to cool.

These muffins were super yummy, but they were a total FAIL for Reagan. She picked out the fruit chunks and didn’t even attempt to try the tiniest bite of the pancake. Humph…there’s always tomorrow.

Flower Feeders


These bird feeders caught my eye when I saw them on Mommy Apolis a few weeks back. They seemed so simple, that I just had to give them a try. I totally blew the final finished product pictures…I didn’t take any. Oh- the holiday rush when both sets of families live in the same town.

I would definitely recommend a thinner cookie cutter. Our feeders took 48 hours to completely dry. After 24 hours they still were a bit soft to the touch.

Tons of cooking spray was used during this project…Several times I sprayed the inside of the cookie cutter, my fingers, and the metal tablespoon that I used to press the bird seed into the cutter. After making two feeders, I figured out that the back of a metal tablespoon was much more efficient, than my fingers, for pressing the seeds into the cutter.


Ingredients
3/4 cup flour
1/2 cup water
1 envelope unflavored gelatin (2.5 teaspoons)
3 tbsp corn syrup
4 cups birdseed

Materials
large mixing bowl
shaped cookie cutter- I used a flower for Spring
nonstick spray
straw for making a hole
parchment or wax paper or tin foil
cookie sheet
ribbon

Mix flour, water, gelatin and corn syrup.

Add bird seed and stir- I added one cup of seed at a time. It was easier to stir with a smaller amount of seed. I used two different types of seeds, a sunflower mix and then the other seed is a mystery to me… but, both came from my dads bird seed bins. I ended up using two cups of each type of seed.


Use a cooking spray to coat the inside of a cookie cutter and to spray your fingers.

Set cookie cutter on a wax paper lined cookie sheet. Spoon mixture inside of cookie cutter, pressing mixture firmly down into cutter. You want the seeds to be very compact, so that the feeder stays together. I began by using my fingers to press down on the seeds, but quickly found out that the back of a metal tablespoon worked so much better.

I used a sturdy plastic straw from one of Reagan’s sippy cups to make the hole for the string. I sprayed the entire portion of the straw that would be inserted into the seed. The mixture is super sticky from using the corn syrup, so I didn’t want the straw to stick. Twist and press down on the straw till you reach the wax paper.

Slowly lift the cookie cutter up and remove from seed. The cutter should slide right off, if you used enough spray.

My 4 cups of bird seed made five very thick feeders.

It took around 48 hours for the feeders to completely dry. The next time I do this project, I will definitely be using a thinner cookie cutter– quicker drying time and a lighter feeder to hang from a branch.

Reagan and I tied a yellow string through the holes of the feeders, so that our family could hang them in their yard for their birds, NOT SQUIRRELS, to enjoy!

Envelopes with Love


Reagan took one of her paintings that she made last week off of the fridge, held it up to me and said ‘paint mama paint’. Seriously, could she get any cuter? Without hesitation we headed to the basement and grabbed the needed materials. While setting up, I noticed the white envelopes that I had pulled out the night before to mail a letter to my cousin in Canada. What better way to show a little love to our favorite out-of-towners than custom made envelopes. As usual, I allowed Reagan to go to town and be as creative as she wanted. We talked about who we were going to send each envelope to and what we would put inside. This was a fantastic way to practice the names of the ones we love:)

Materials
envelopes
paint
paint brushes
dish for paint (we used a tupperware container because they’re easy to clean)
something to protect the surface of your table (we have a cardboard mat that we use)

Project is self explanatory. Allow your child to paint the envelopes one at a time. Allow to dry for at least an hour. Use a black Sharpie marker to address the envelope. IMG_4344