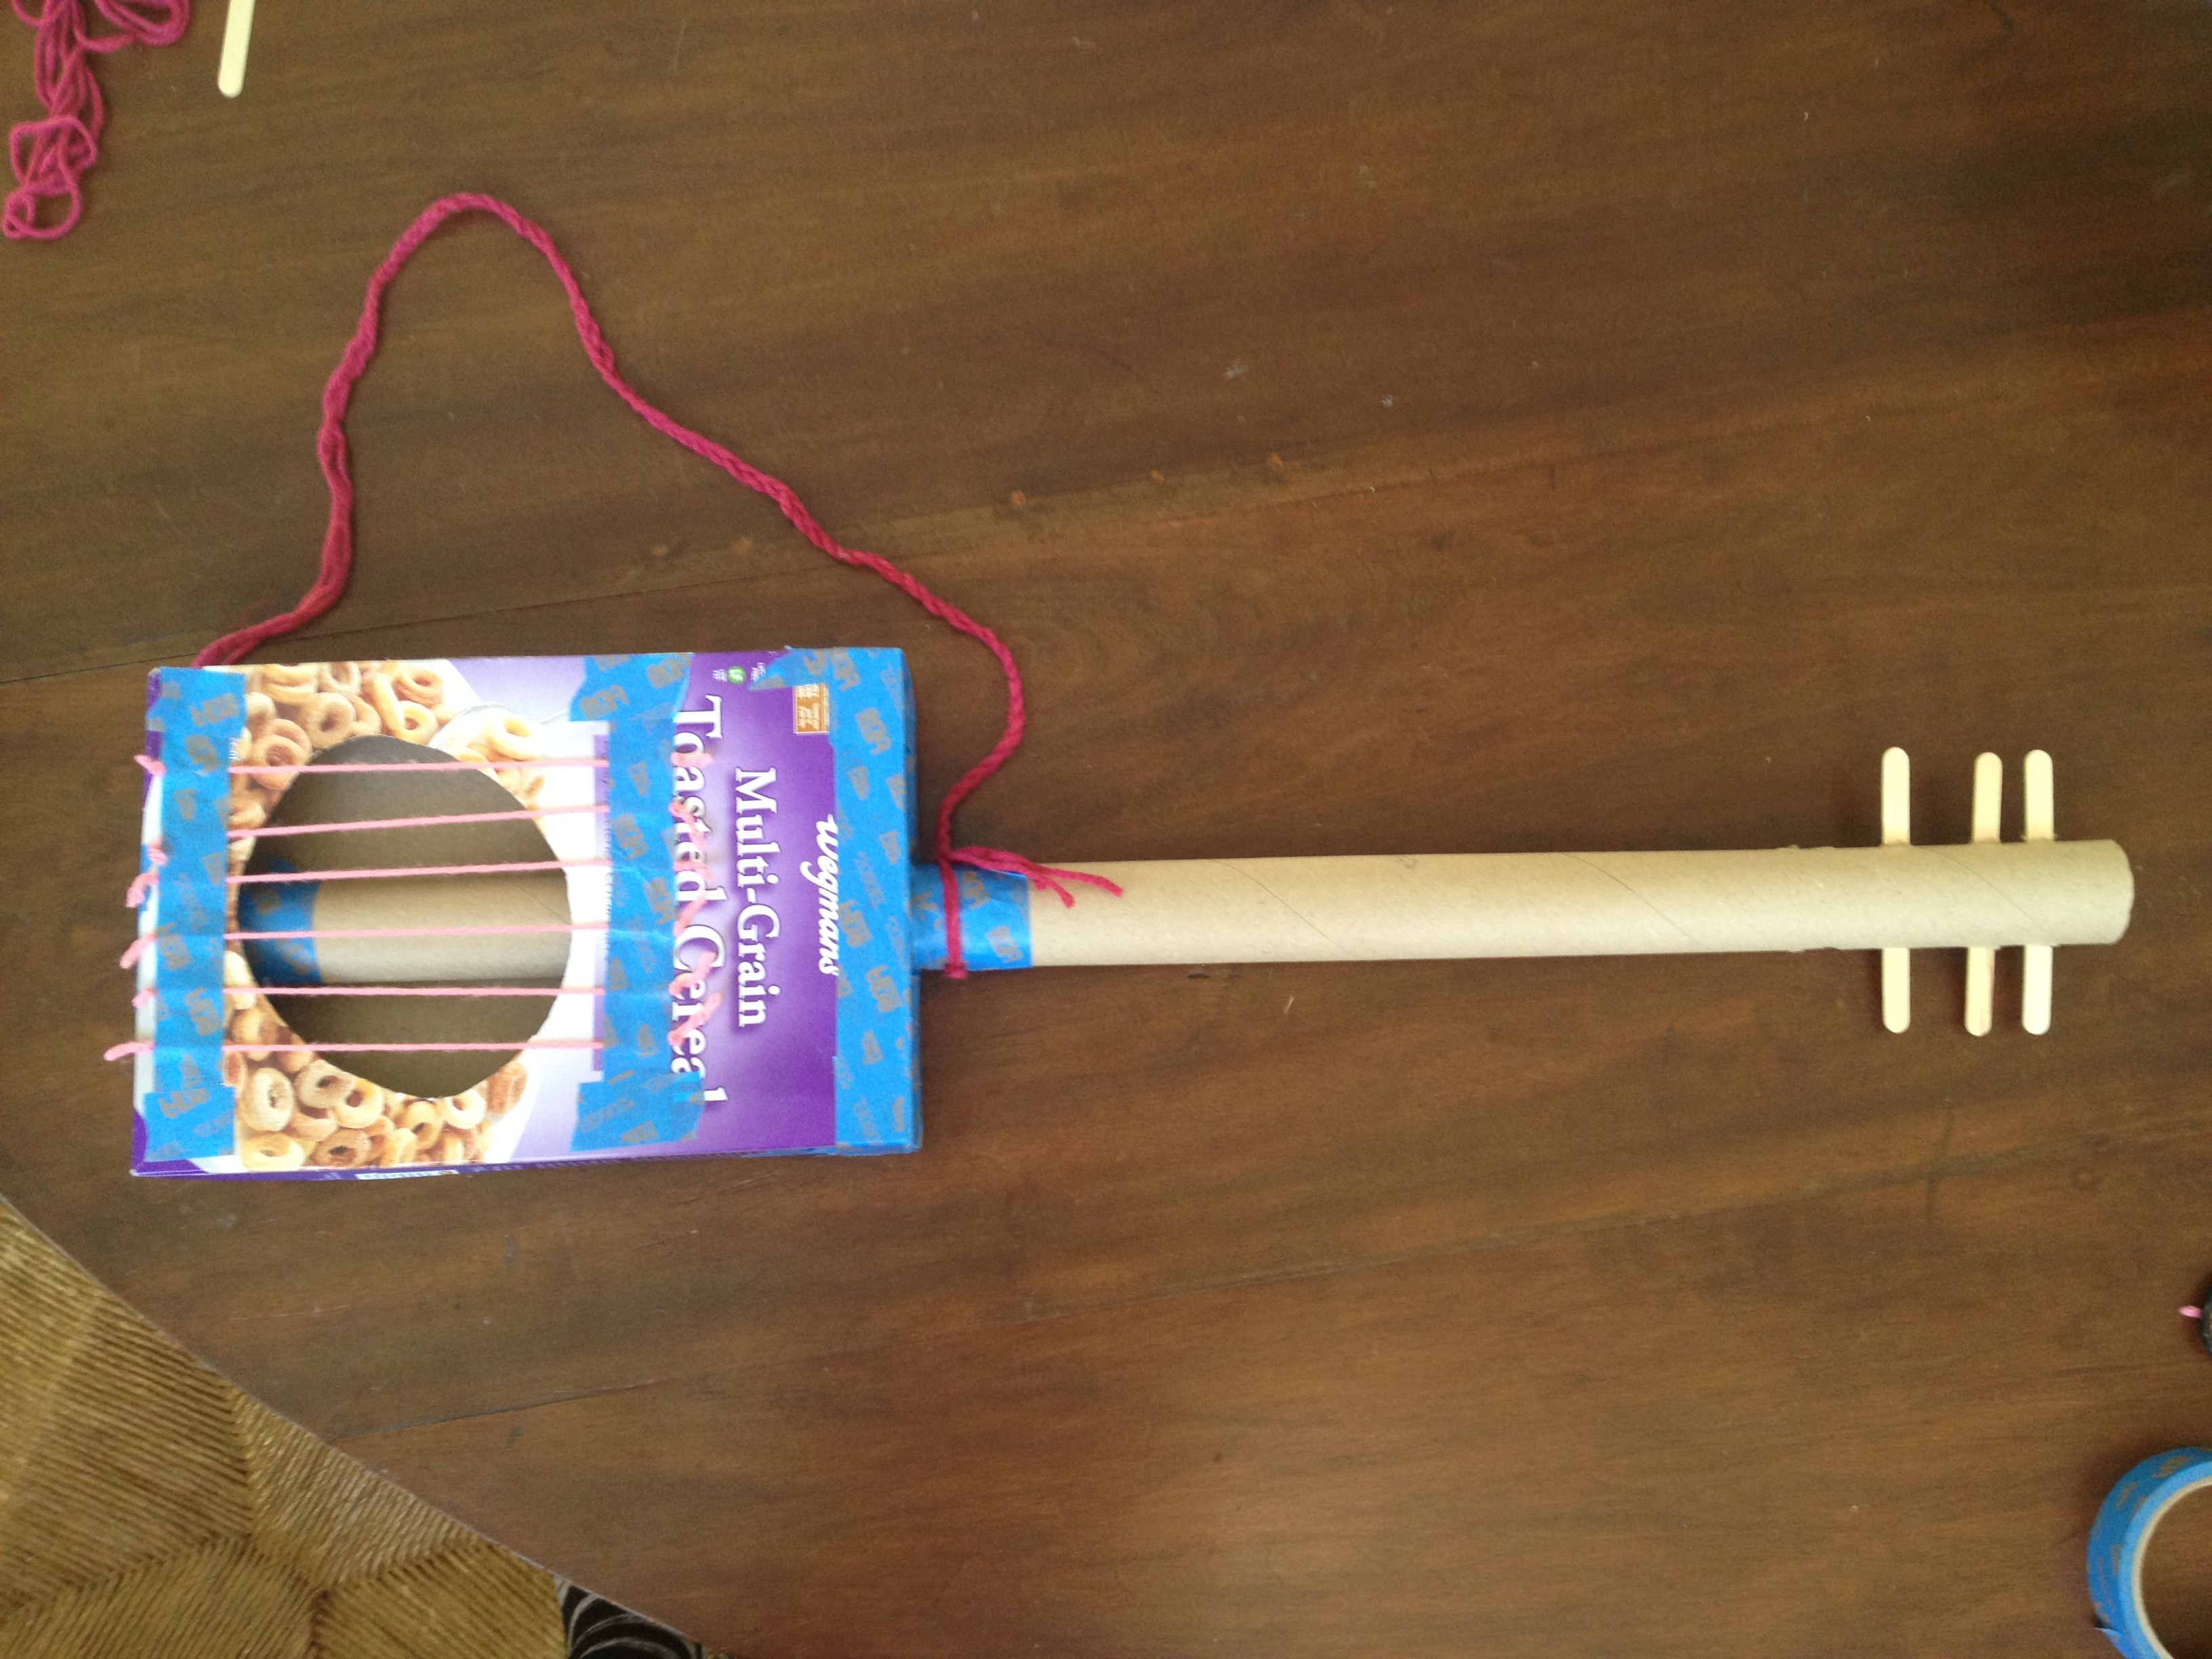
What young kid wouldn’t absolutely LOVE this guitar?

The strings gave me a run for my money and I had to take a different route, suggested by the husband, because the strings just weren’t staying put. I made the mistake of starting this activity while Reagan was awake, thinking that it would have been something that she could have participated in…sadly, it wasn’t. Older children could/should definitely participate in the construction process!
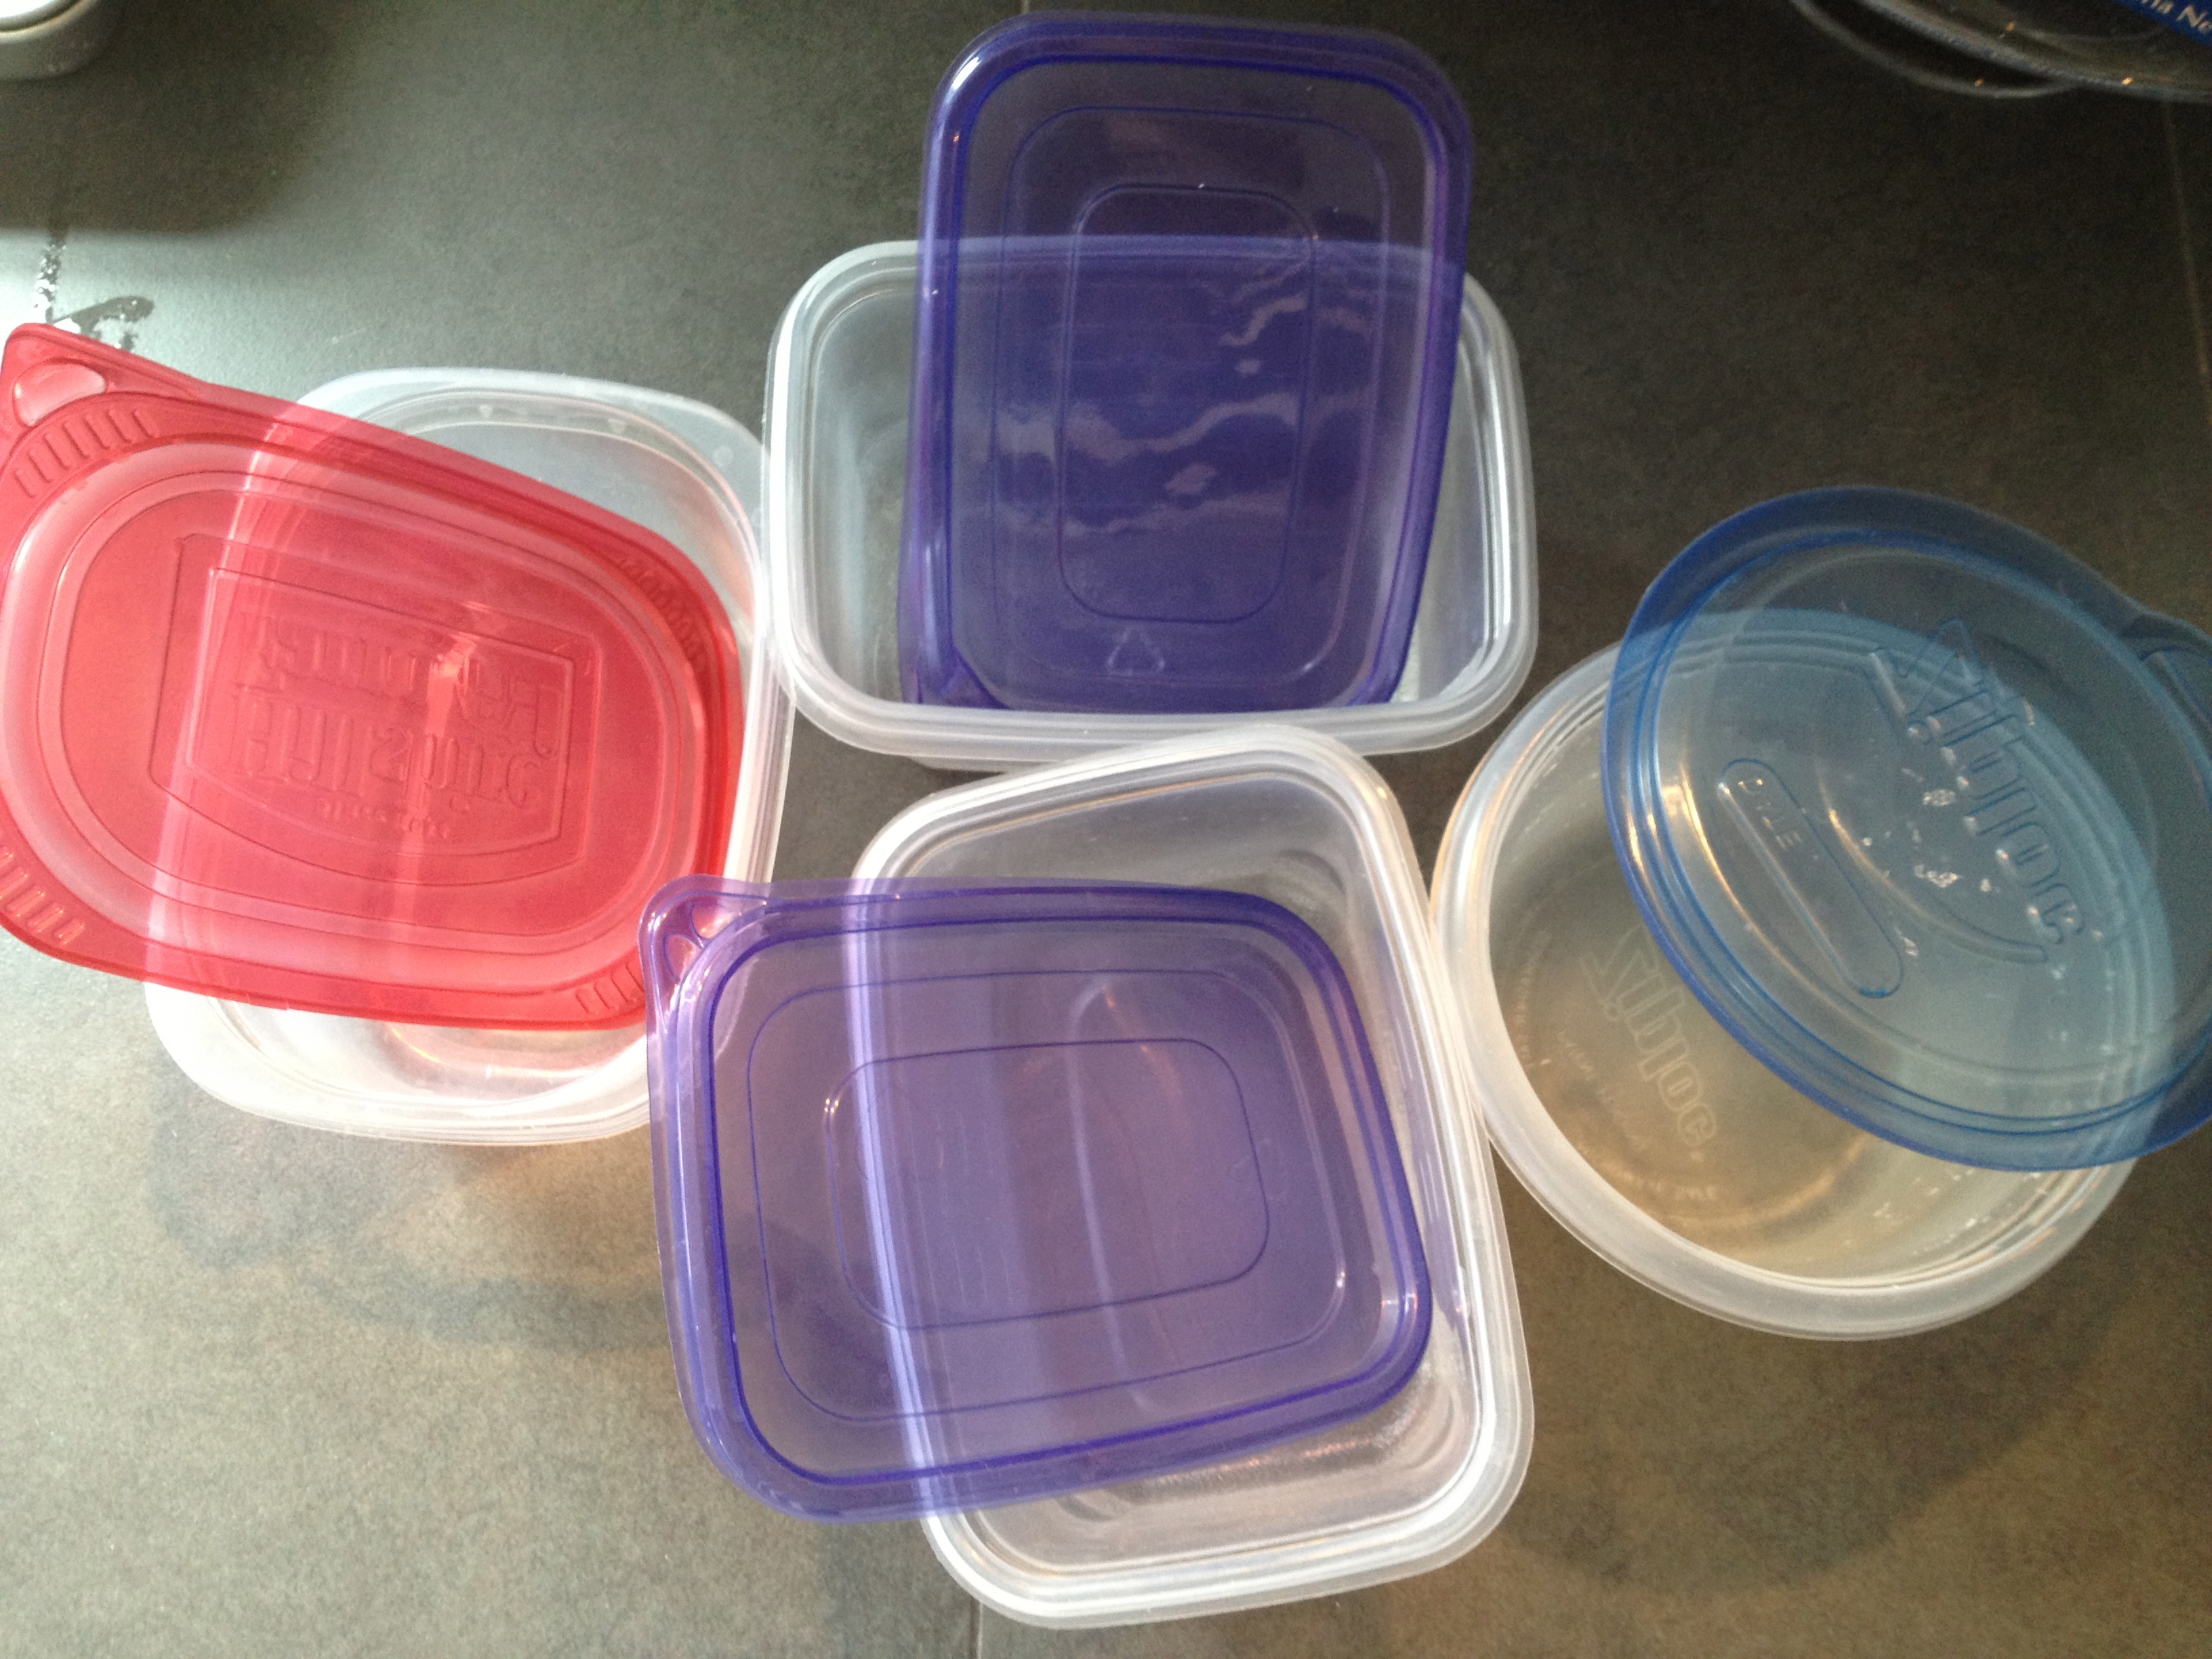
Materials:

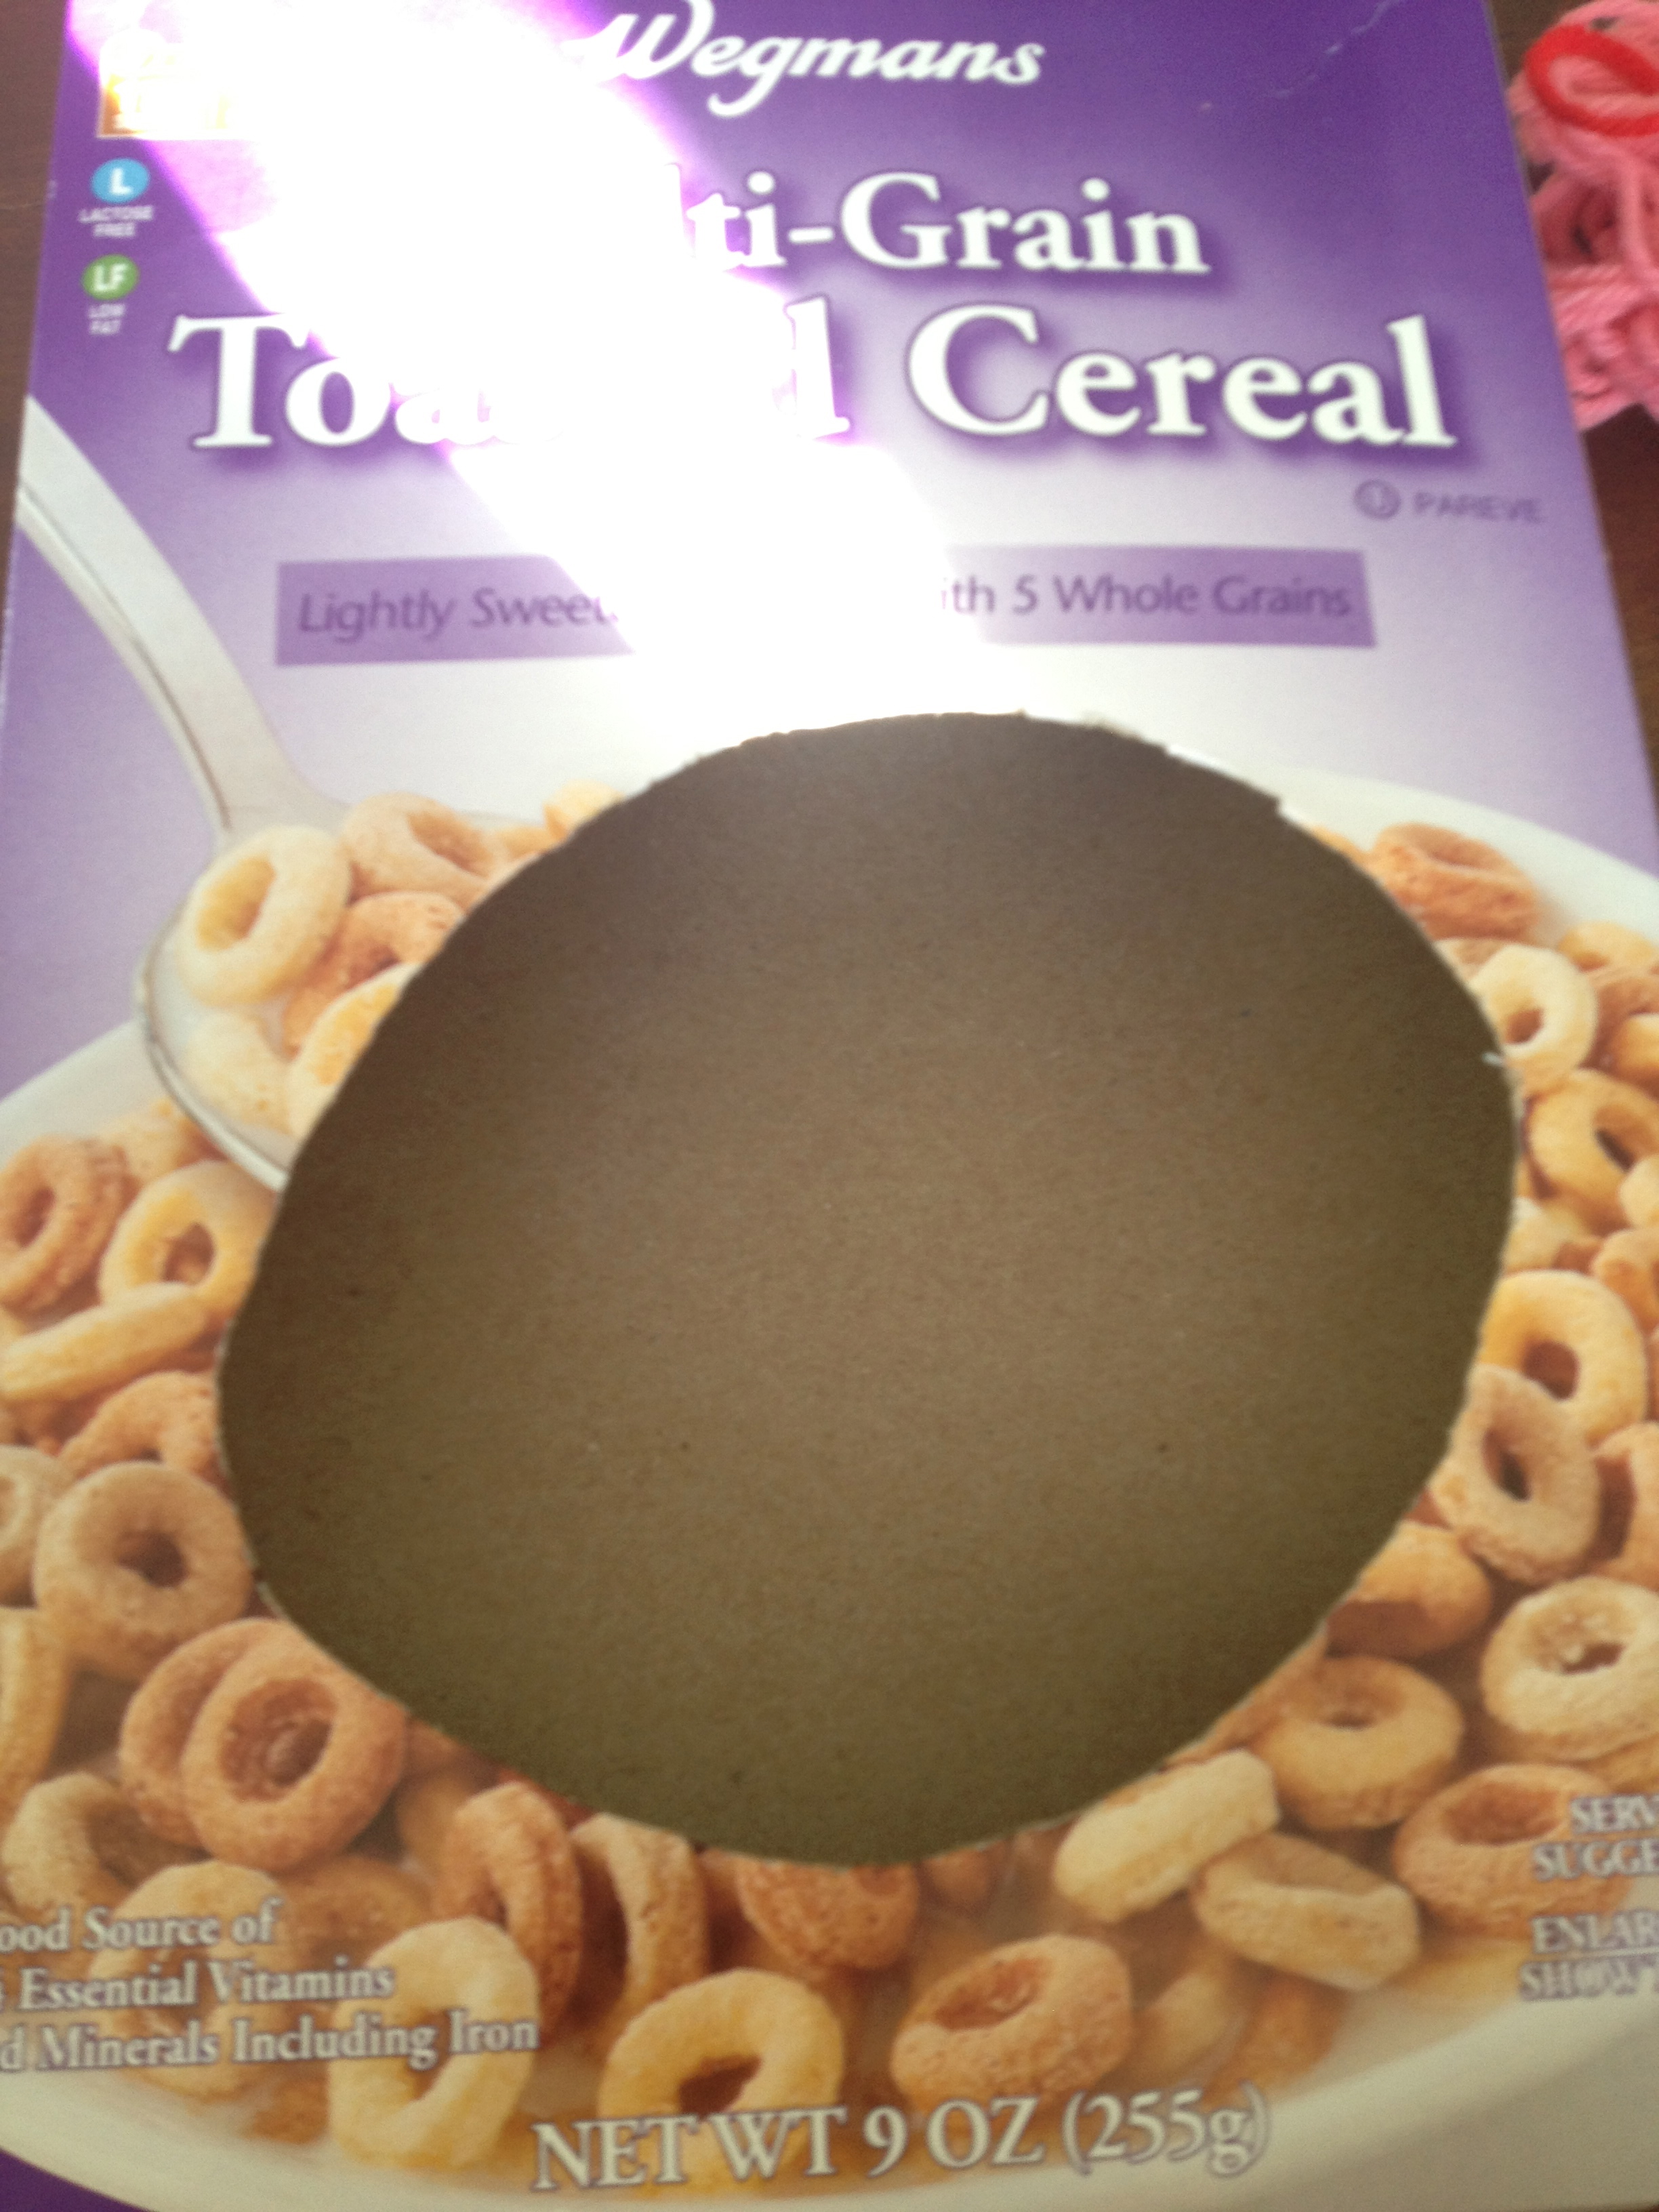
Empty Cereal Box
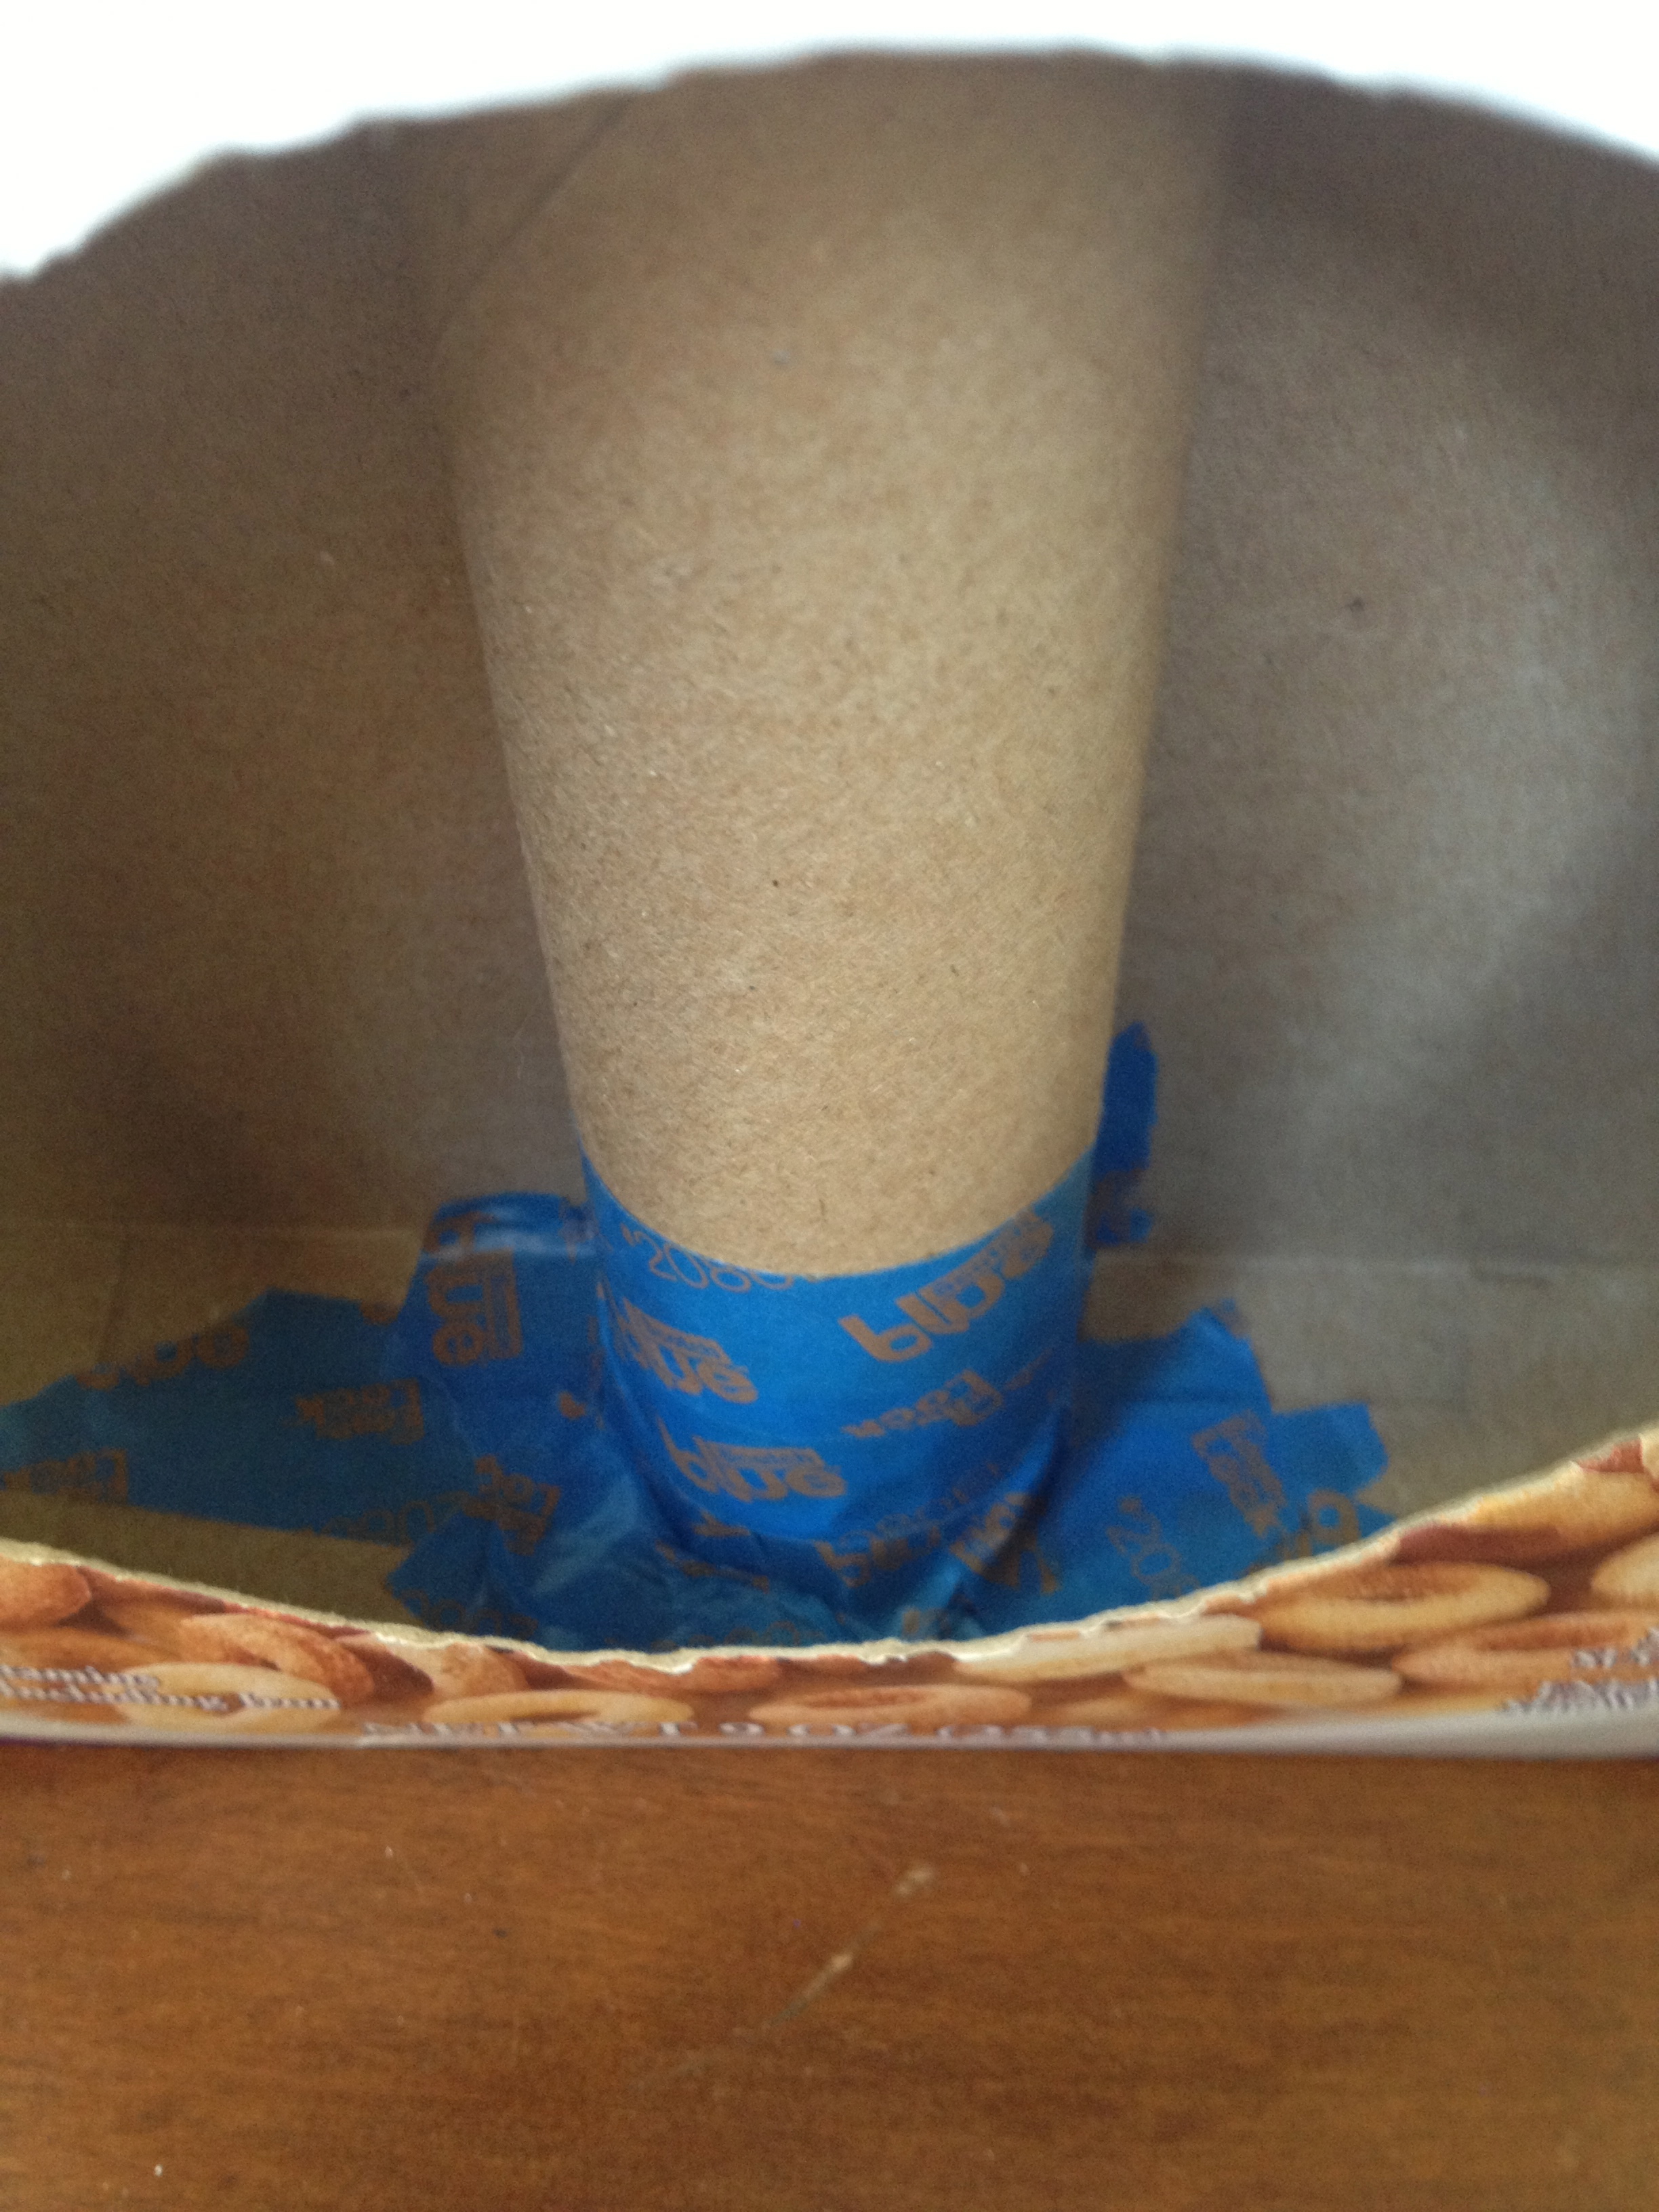
Empty Wrapping Paper Tube
Yarn
Tape
Scissors
Sharp Knife
3 Popsicle Sticks
Directions:
(FYI-I used painters tape, because that’s what I had on hand, HUGE mistake…it did not stick to the cardboard or hold the string down very well.)
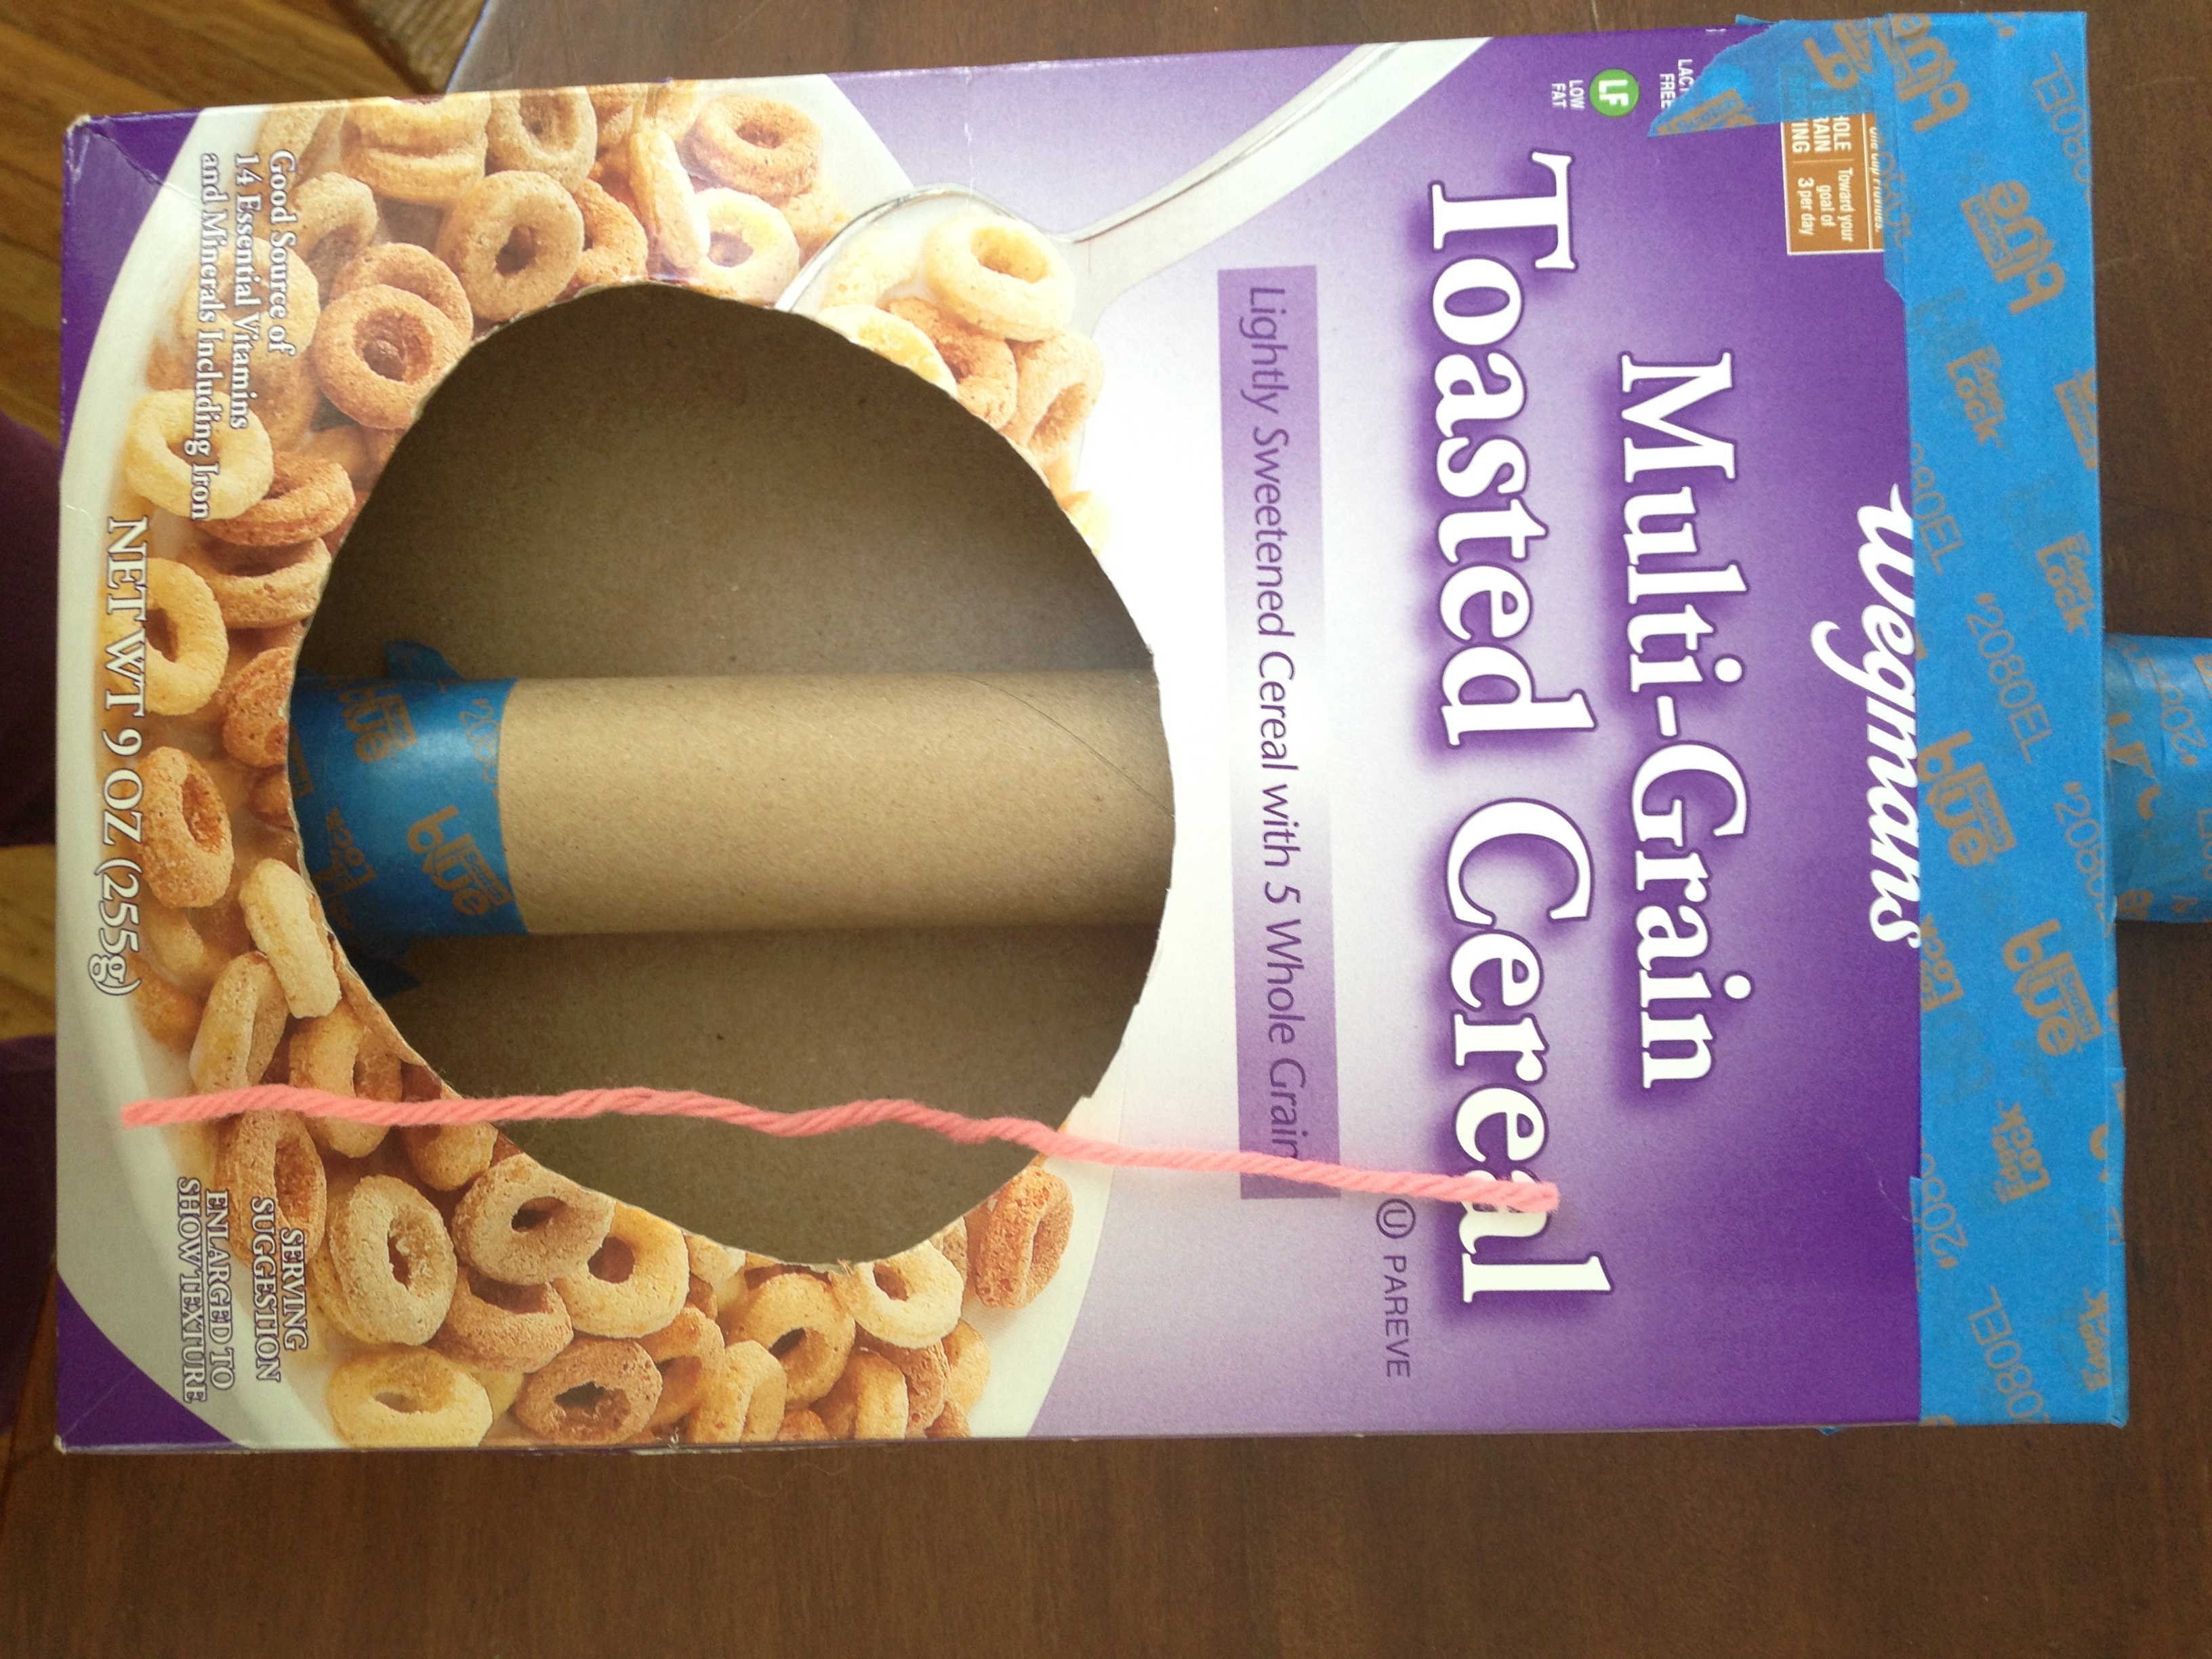
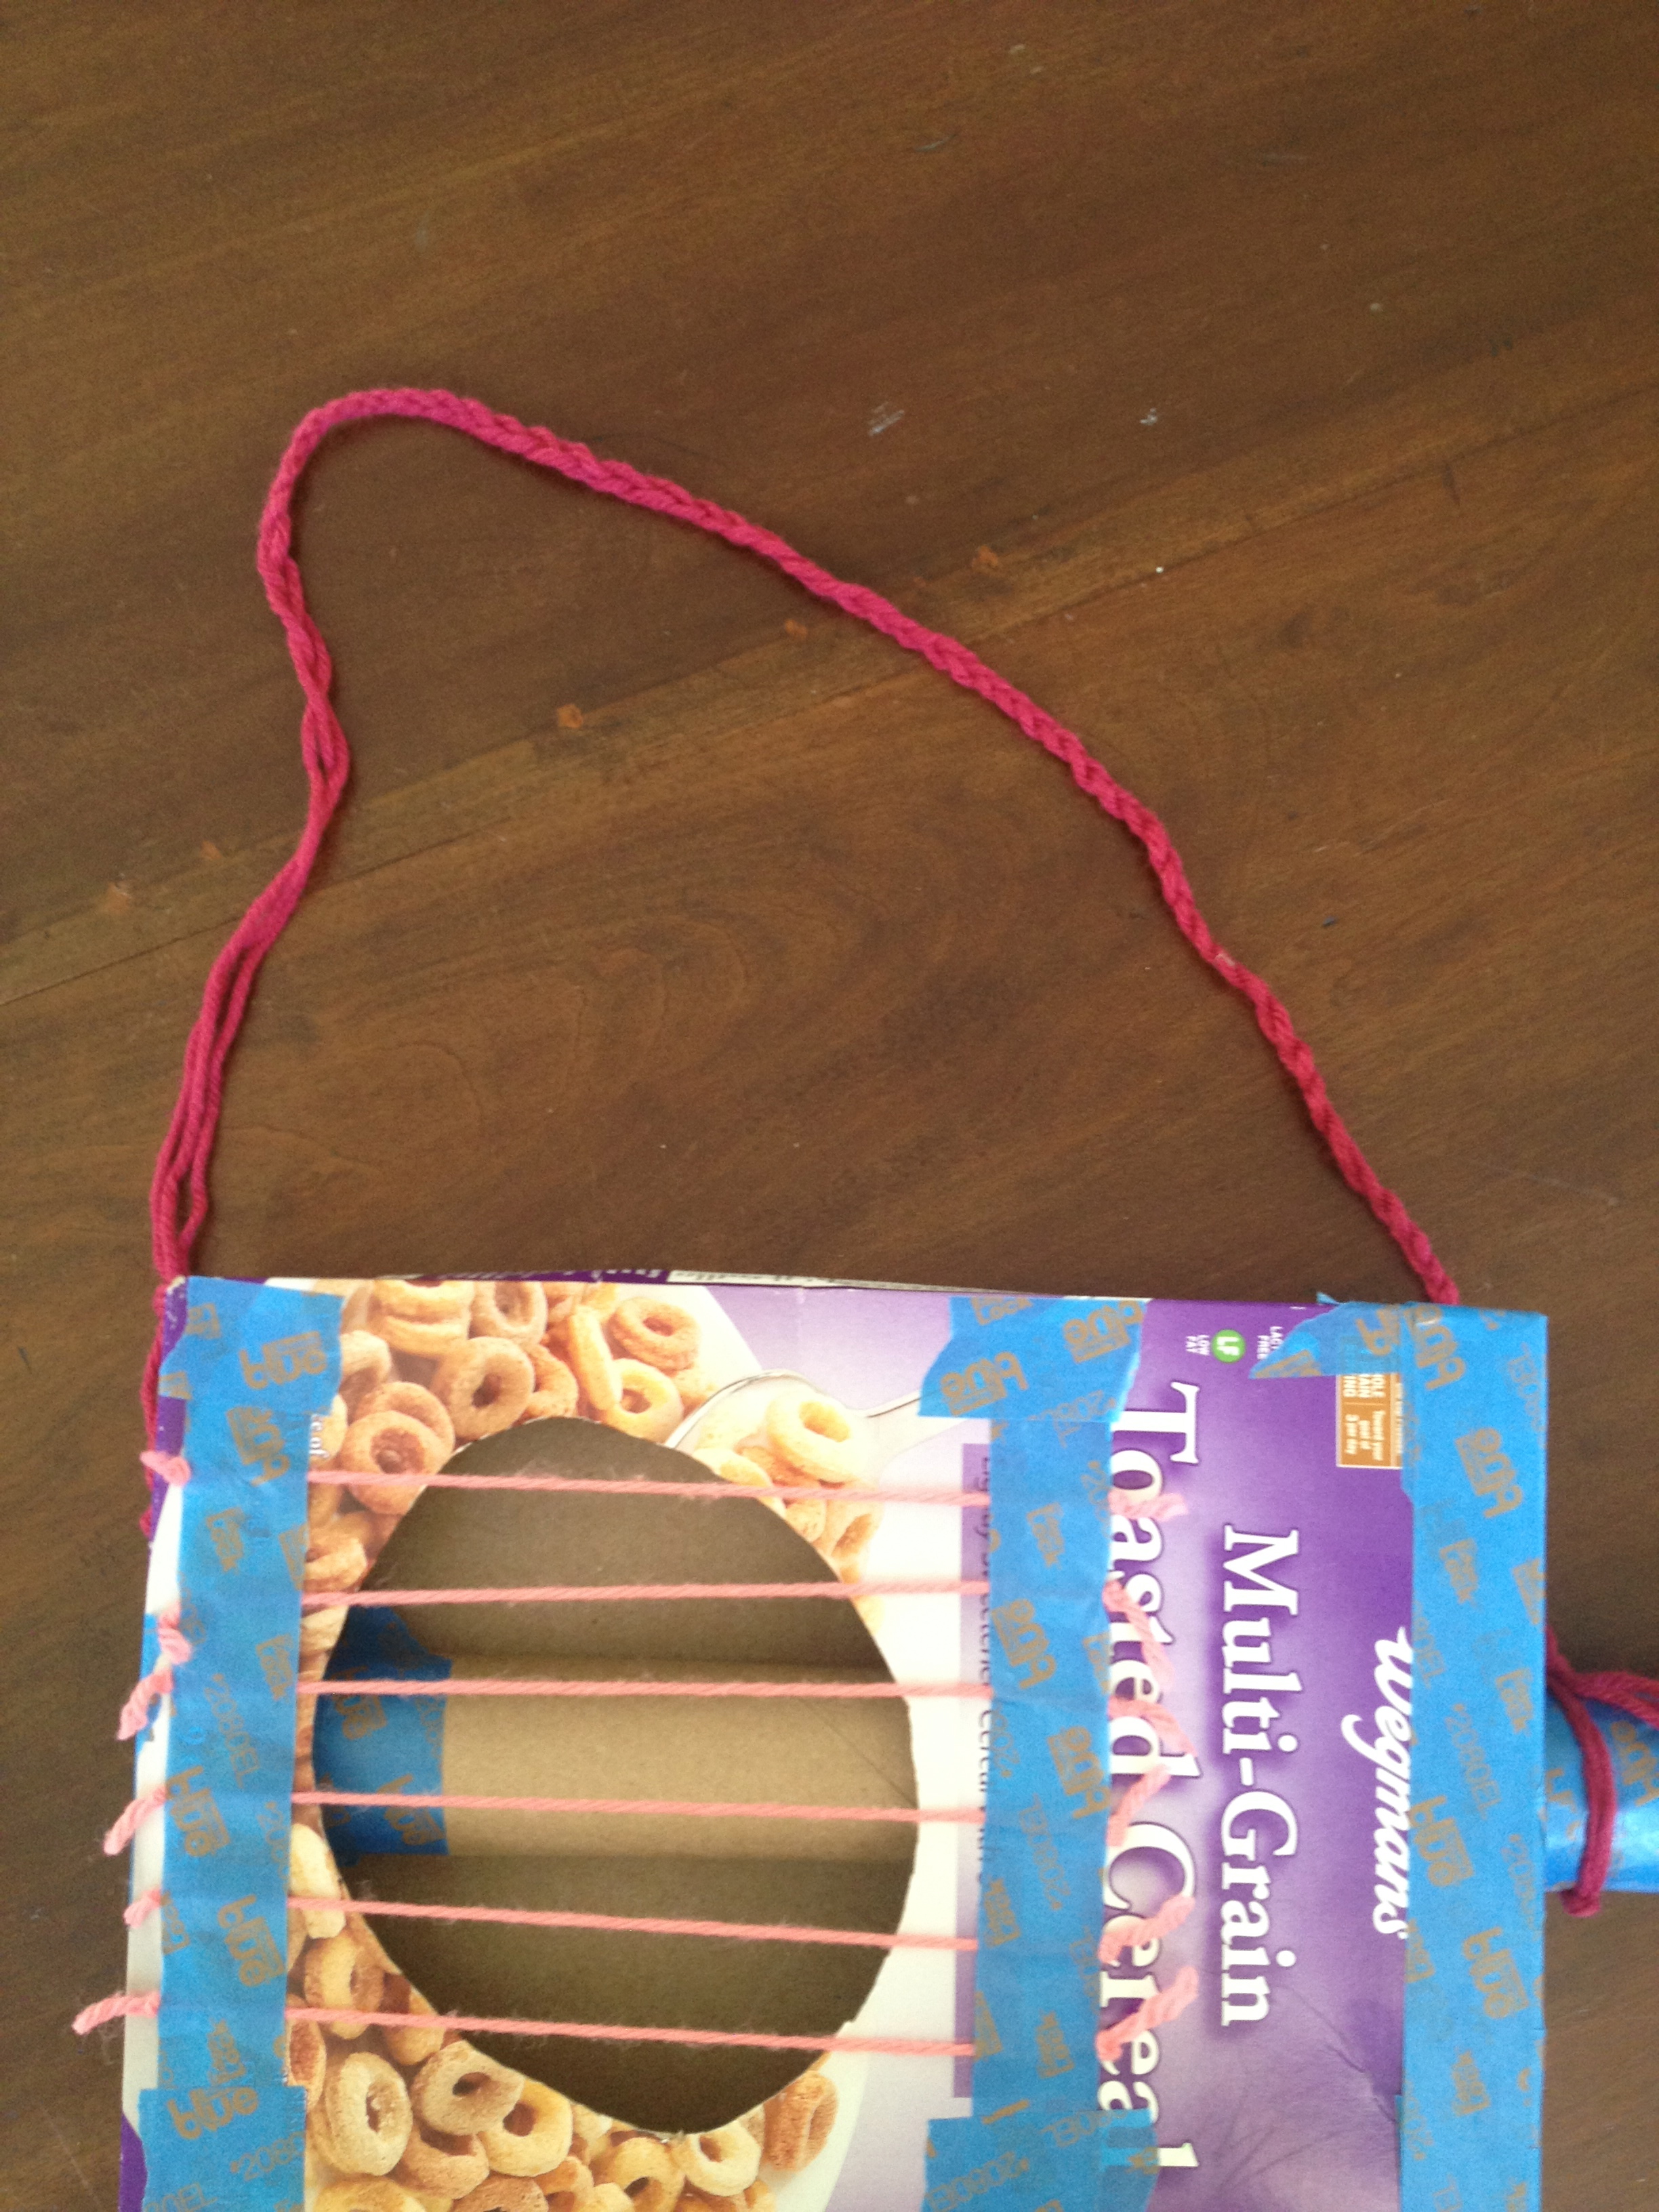
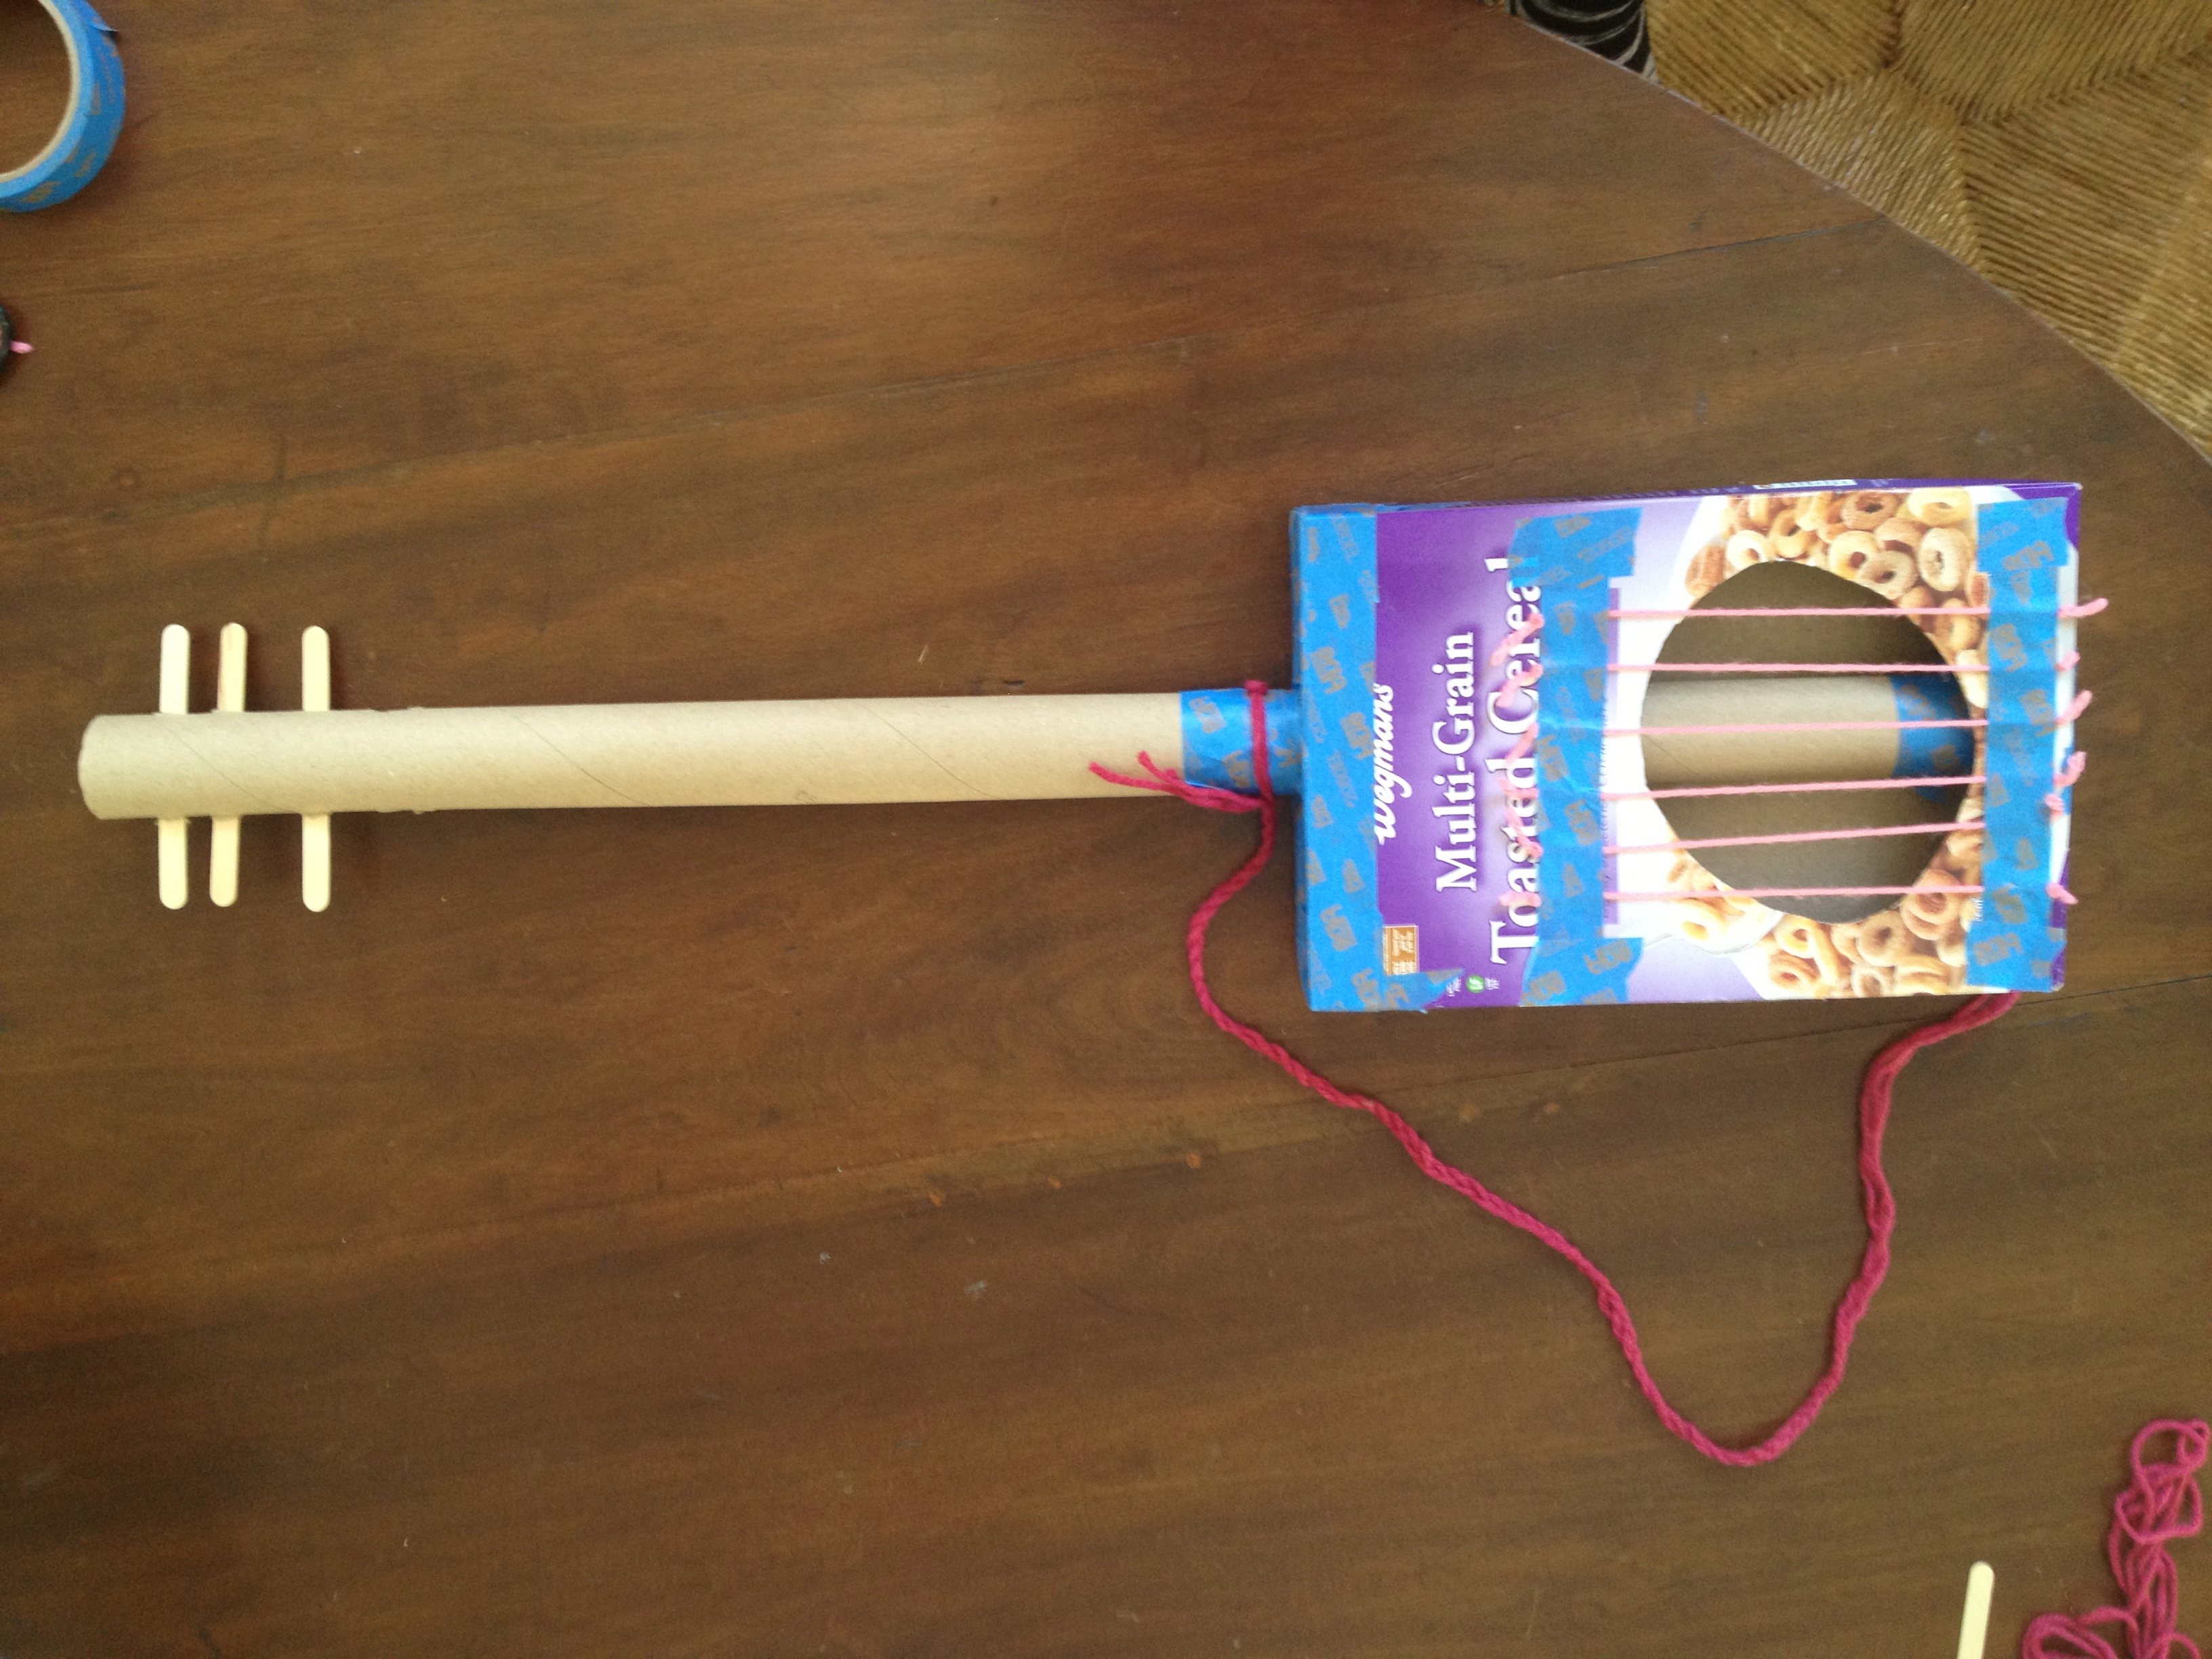
Cut a large hole towards the bottom front of the cereal box; I believe that it’s called the sound hole. Obviously I free-handed…lovely.

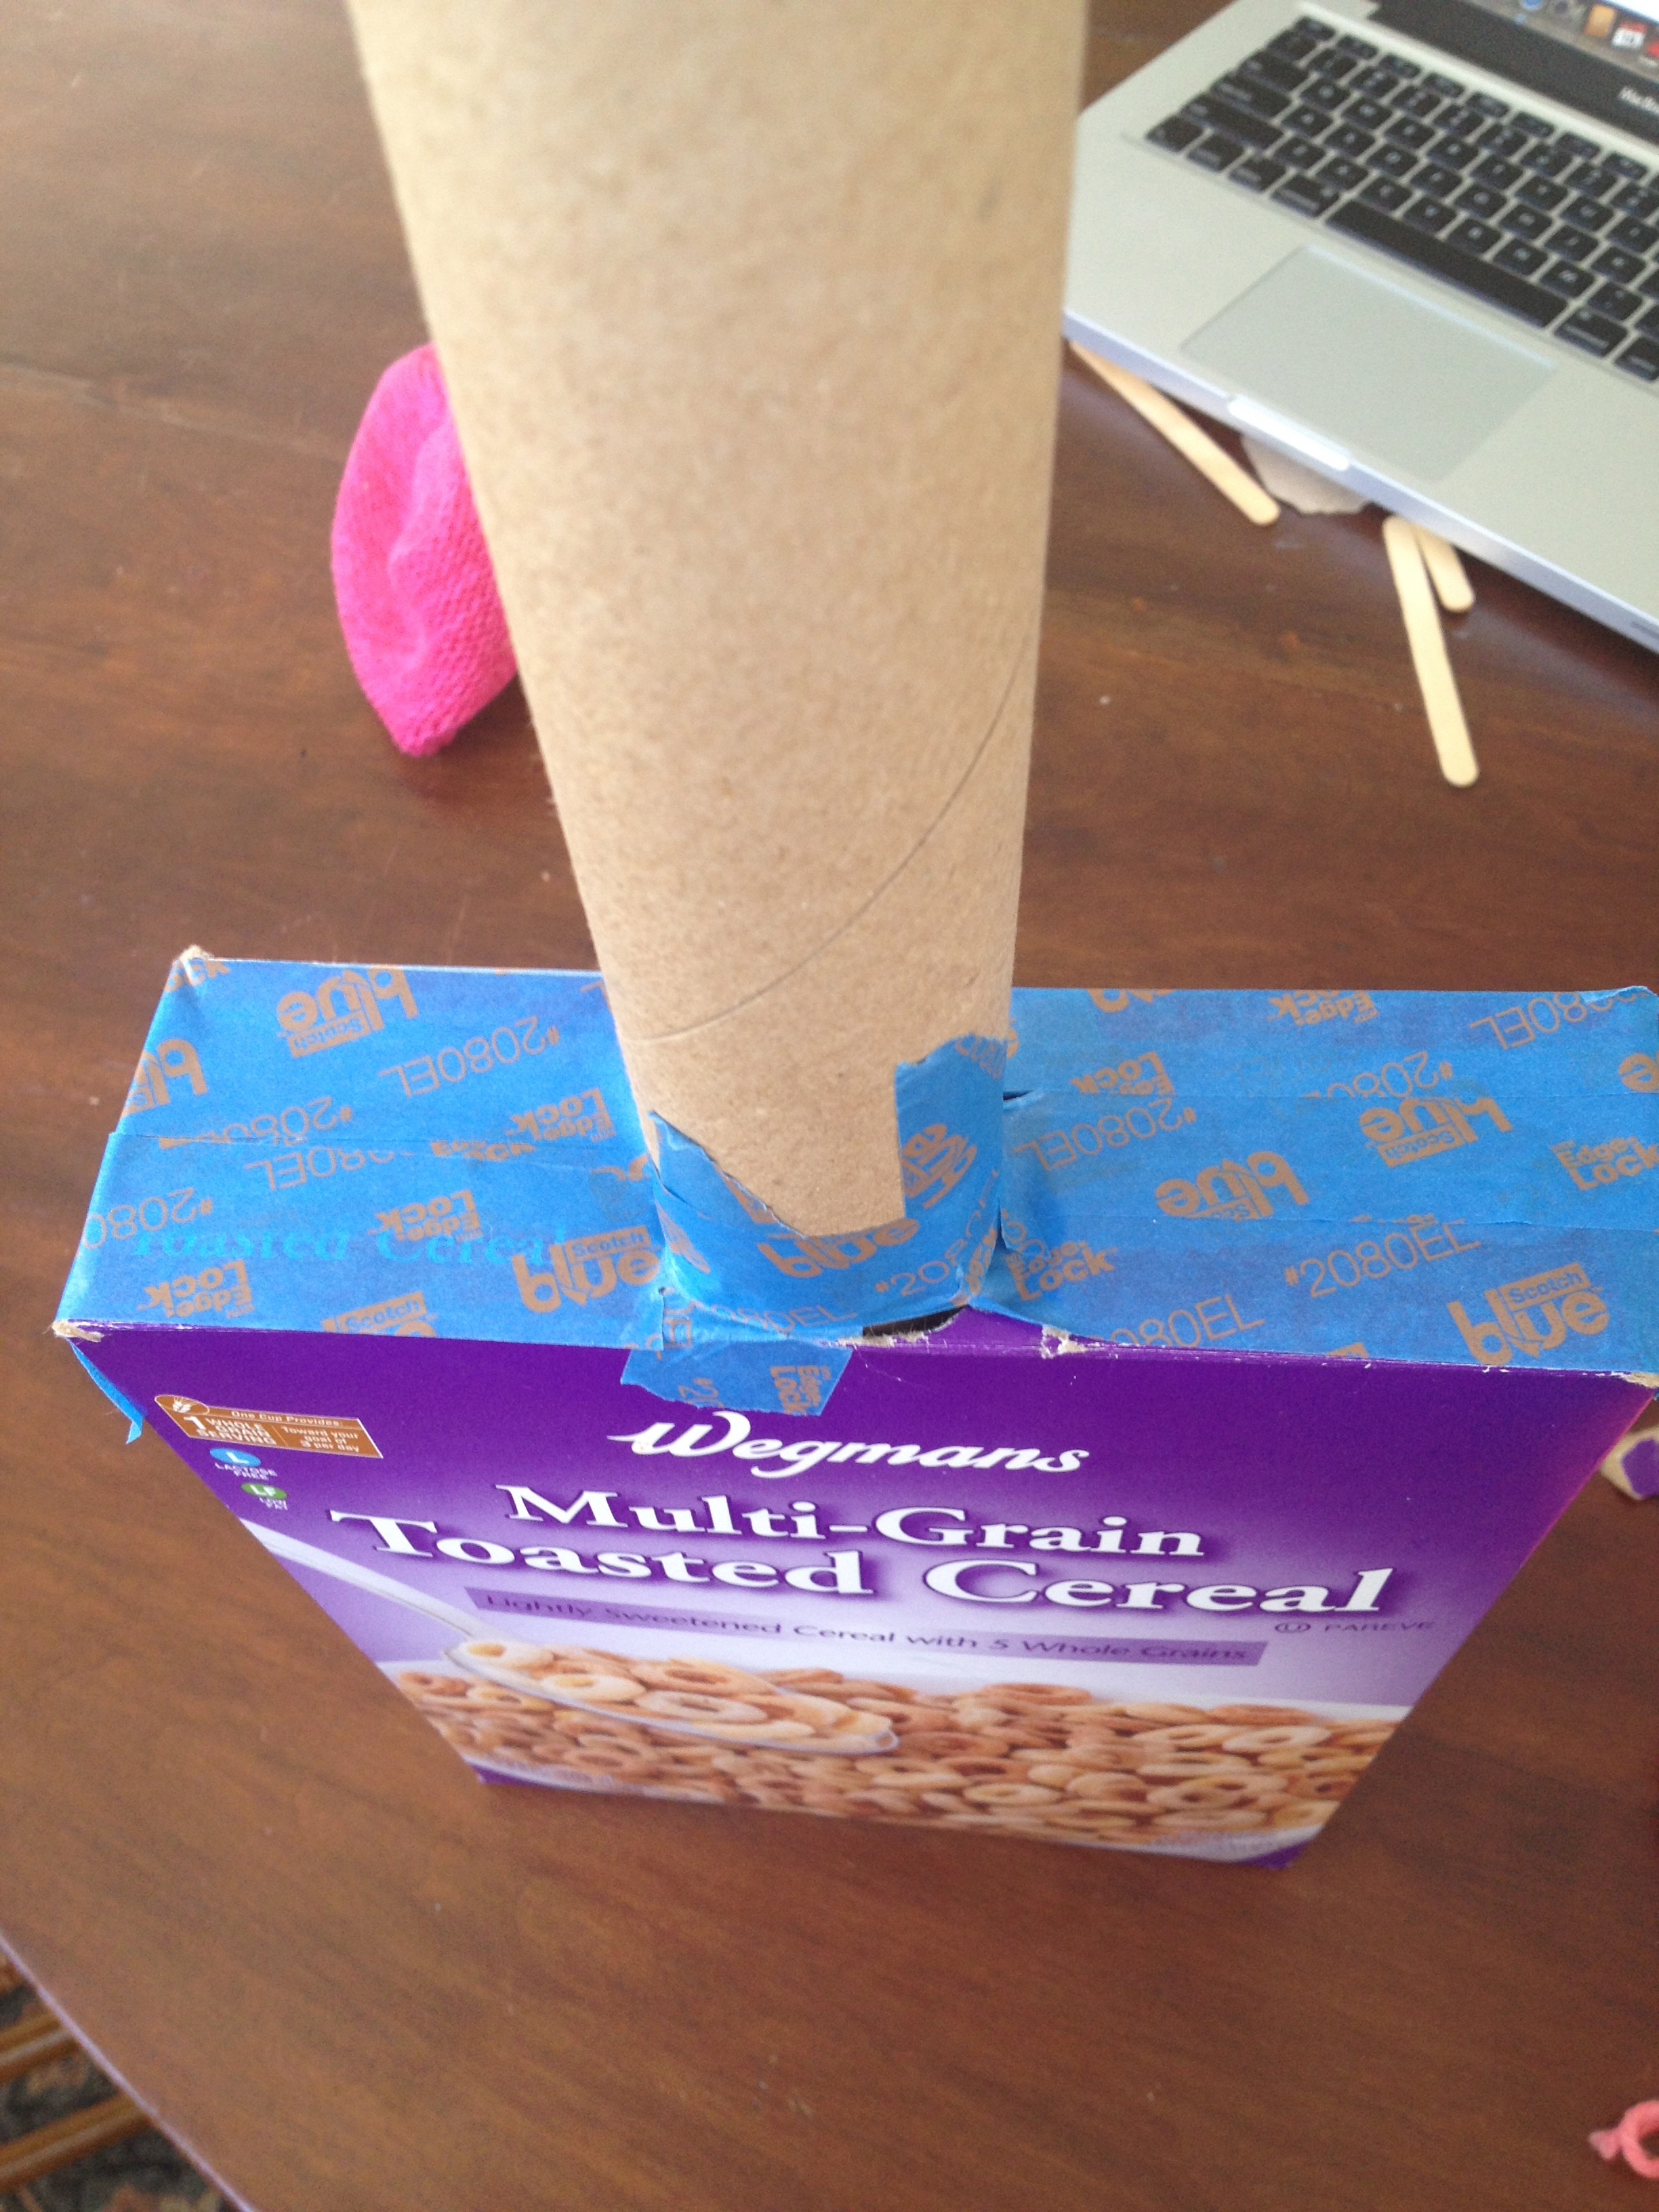
Place wrapping paper tube in top of box and then tear down sides of box top to form a perfect fit for the roll.


Tape the roll to the inside bottom of the box.

Once secure, tape the top of the box closed and secure the roll.


The first way that I attached the strings was a total bust. The strings didn’t stay in place and it was a lot of work. A few days after I began this project and the strings kept coming undone, I changed the setup. My husband suggested that I poke tiny holes into the cereal box , where the strings began and ended , and gently push the yarn knots through the holes. This worked out fabulously and three months later , the strings are still attached.
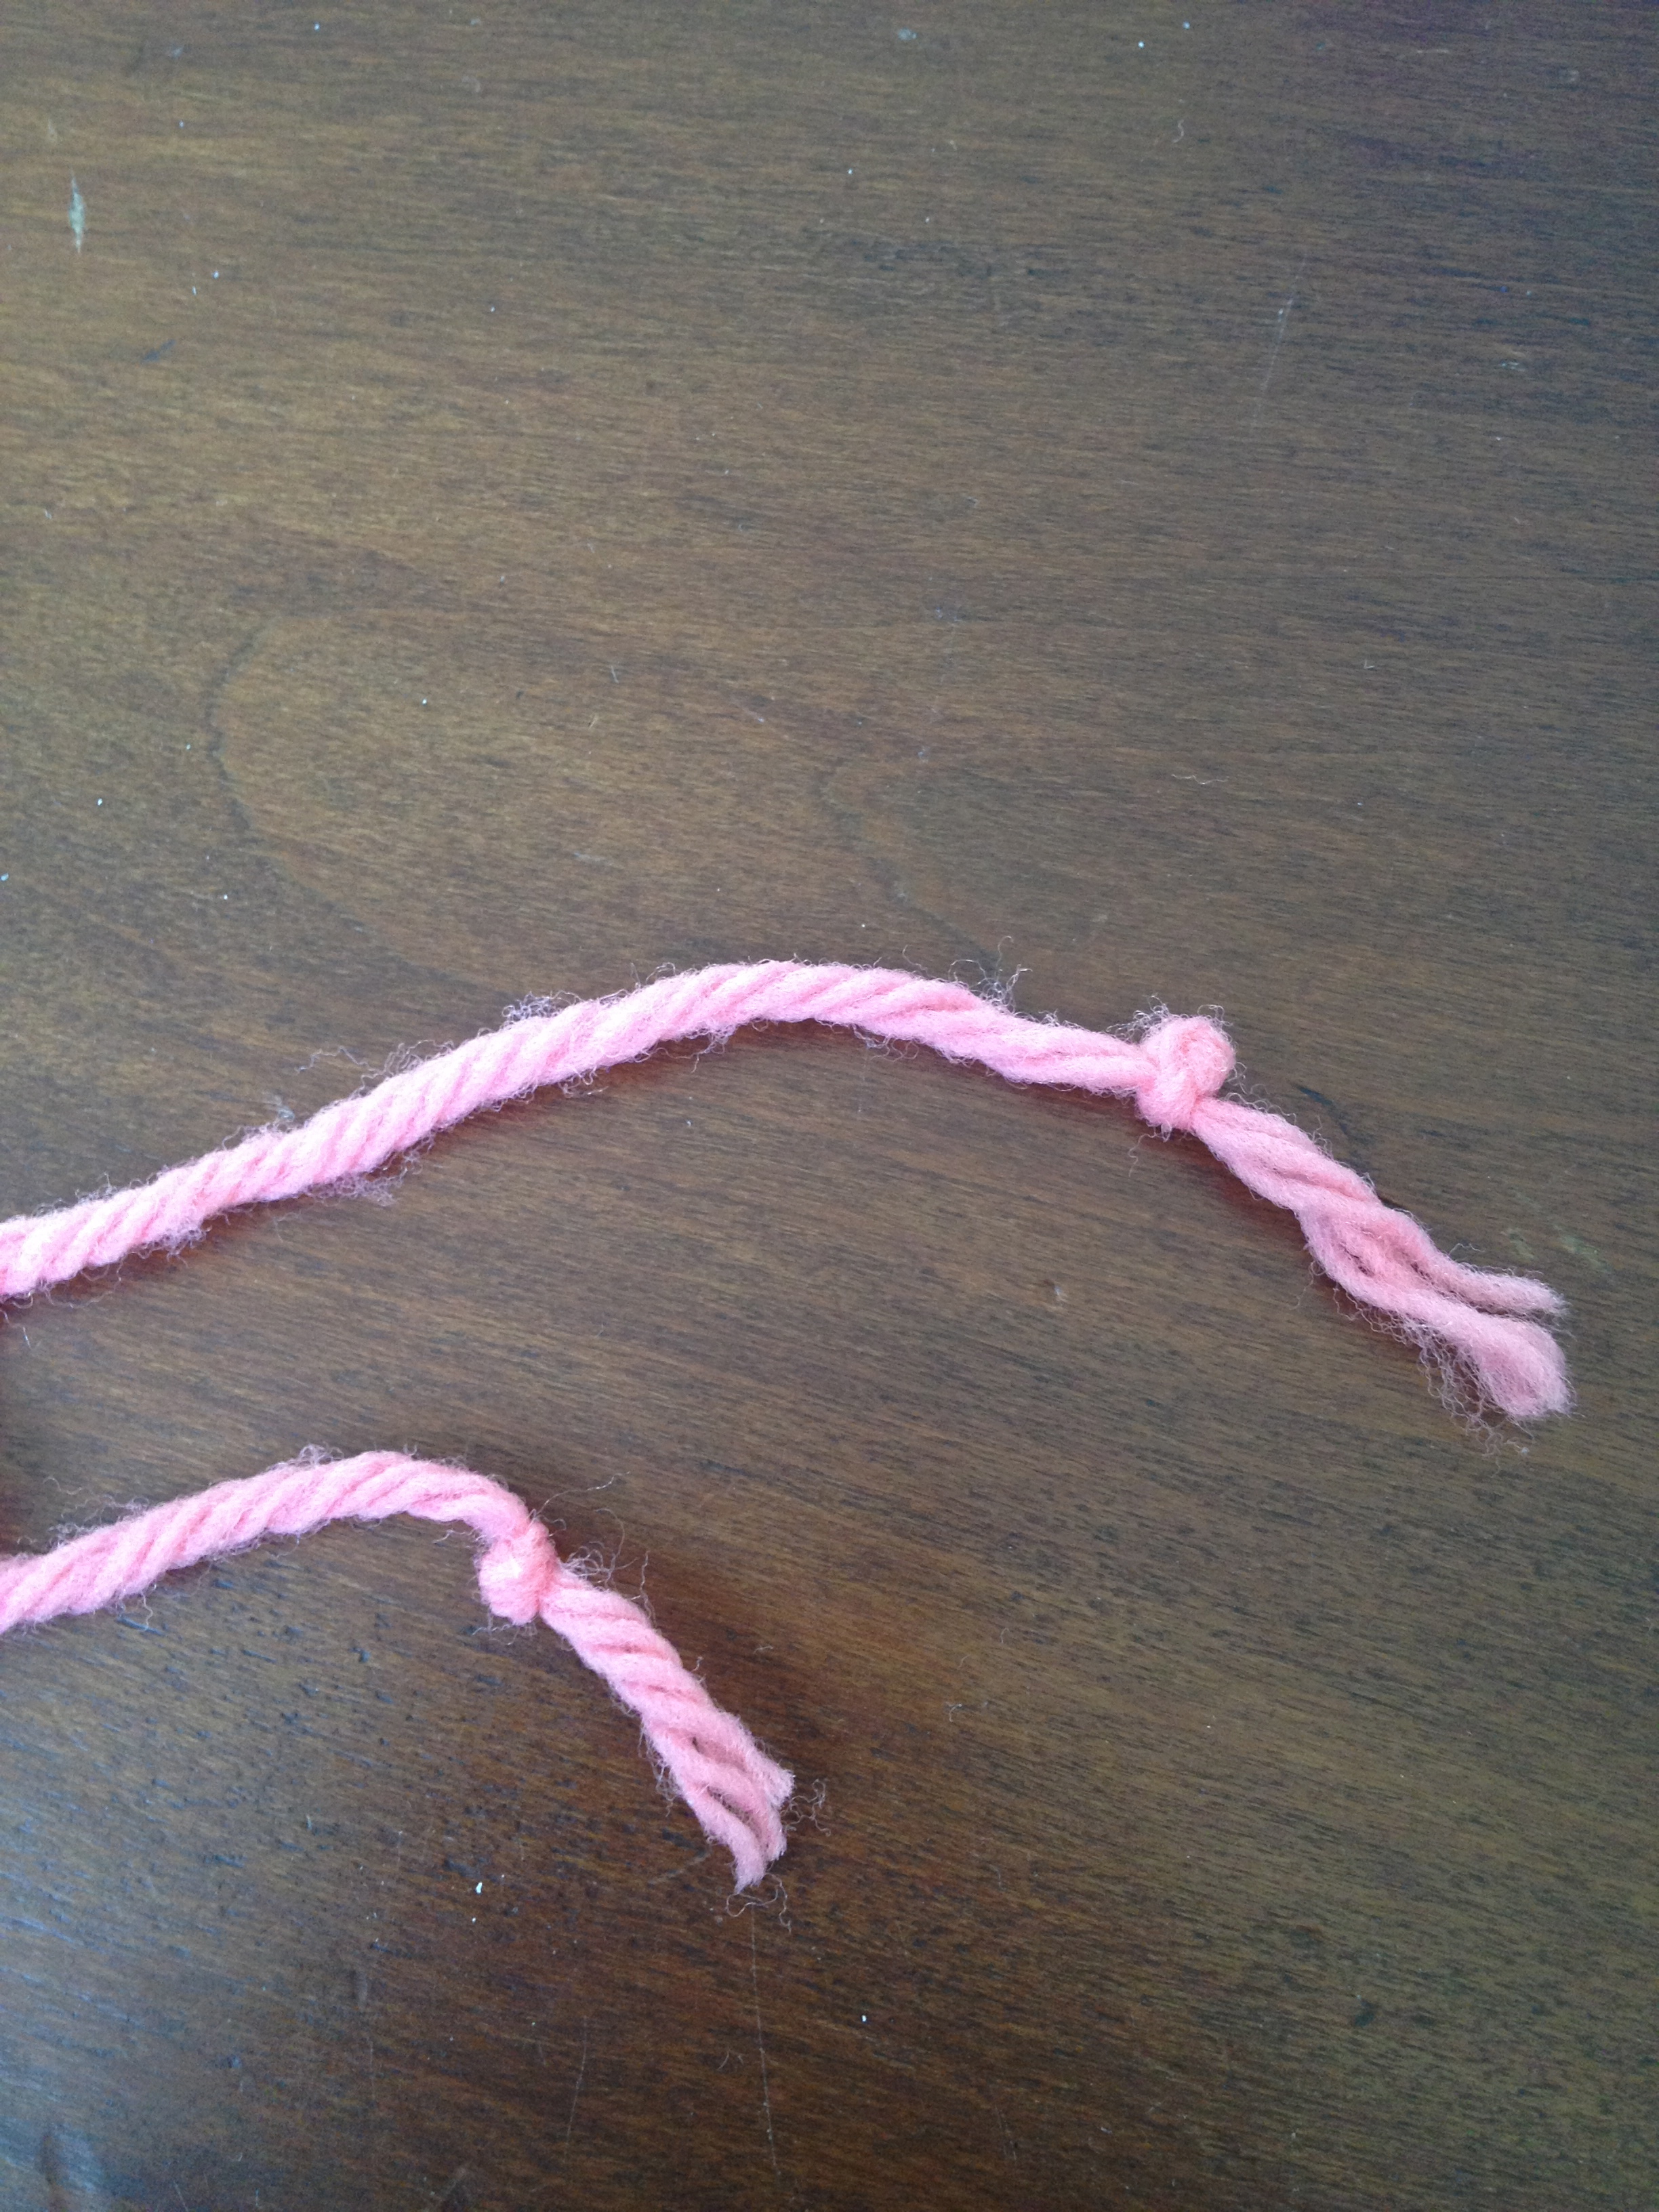
Measure the length of the yarn that you will need for the strings by placing it over the cut out sound hole. Once you have the correct length, cut six pieces exactly the same size.

Tie small knots into the ends of each side of the six strings.

This is where I went wrong the first time that I attached the strings. Unless you have some serious tape, I wouldn’t suggest tapping down the strings. Use the tip of a sharp knife to poke tiny holes and gently squeeze knots through.

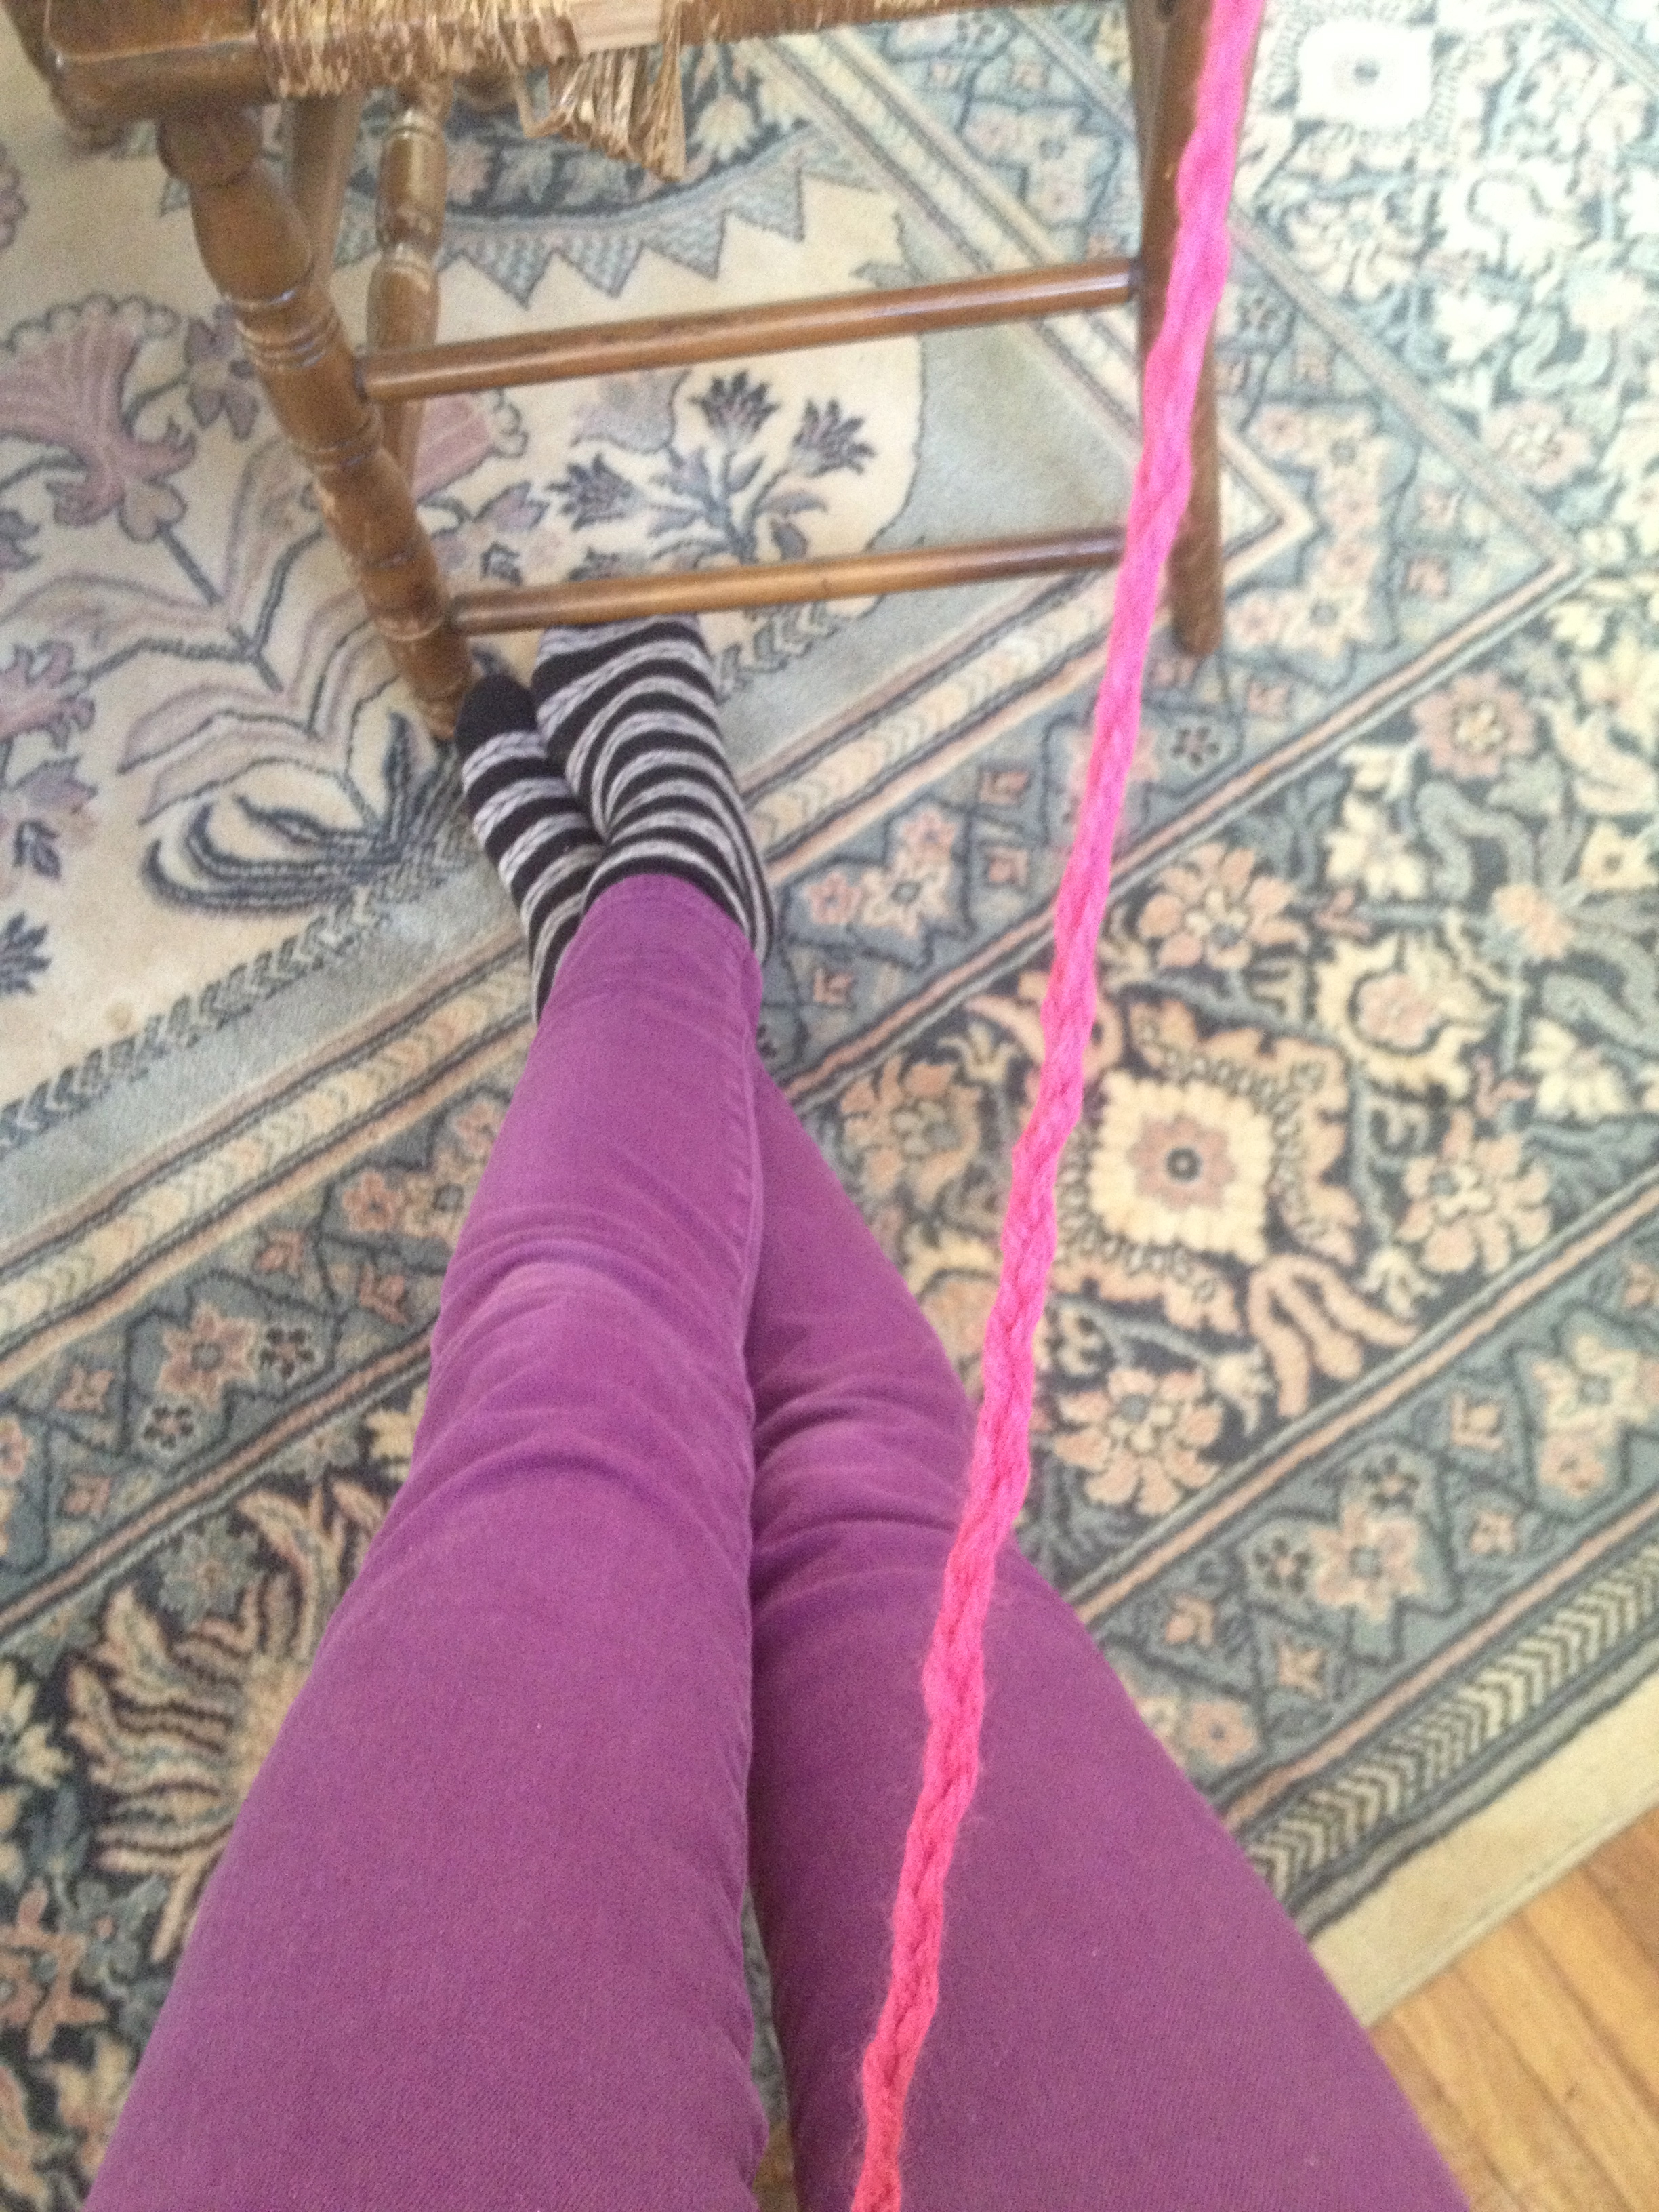
Cut three pieces of yarn, long enough for the guitar strap, attach to a chair and braid.

Tie one end of the braided yarn around the wrapping paper roll at the top of the cereal box and tape the other end of the braided yarn to the bottom of the cereal box. (This picture includes the taping down of the guitar strings)

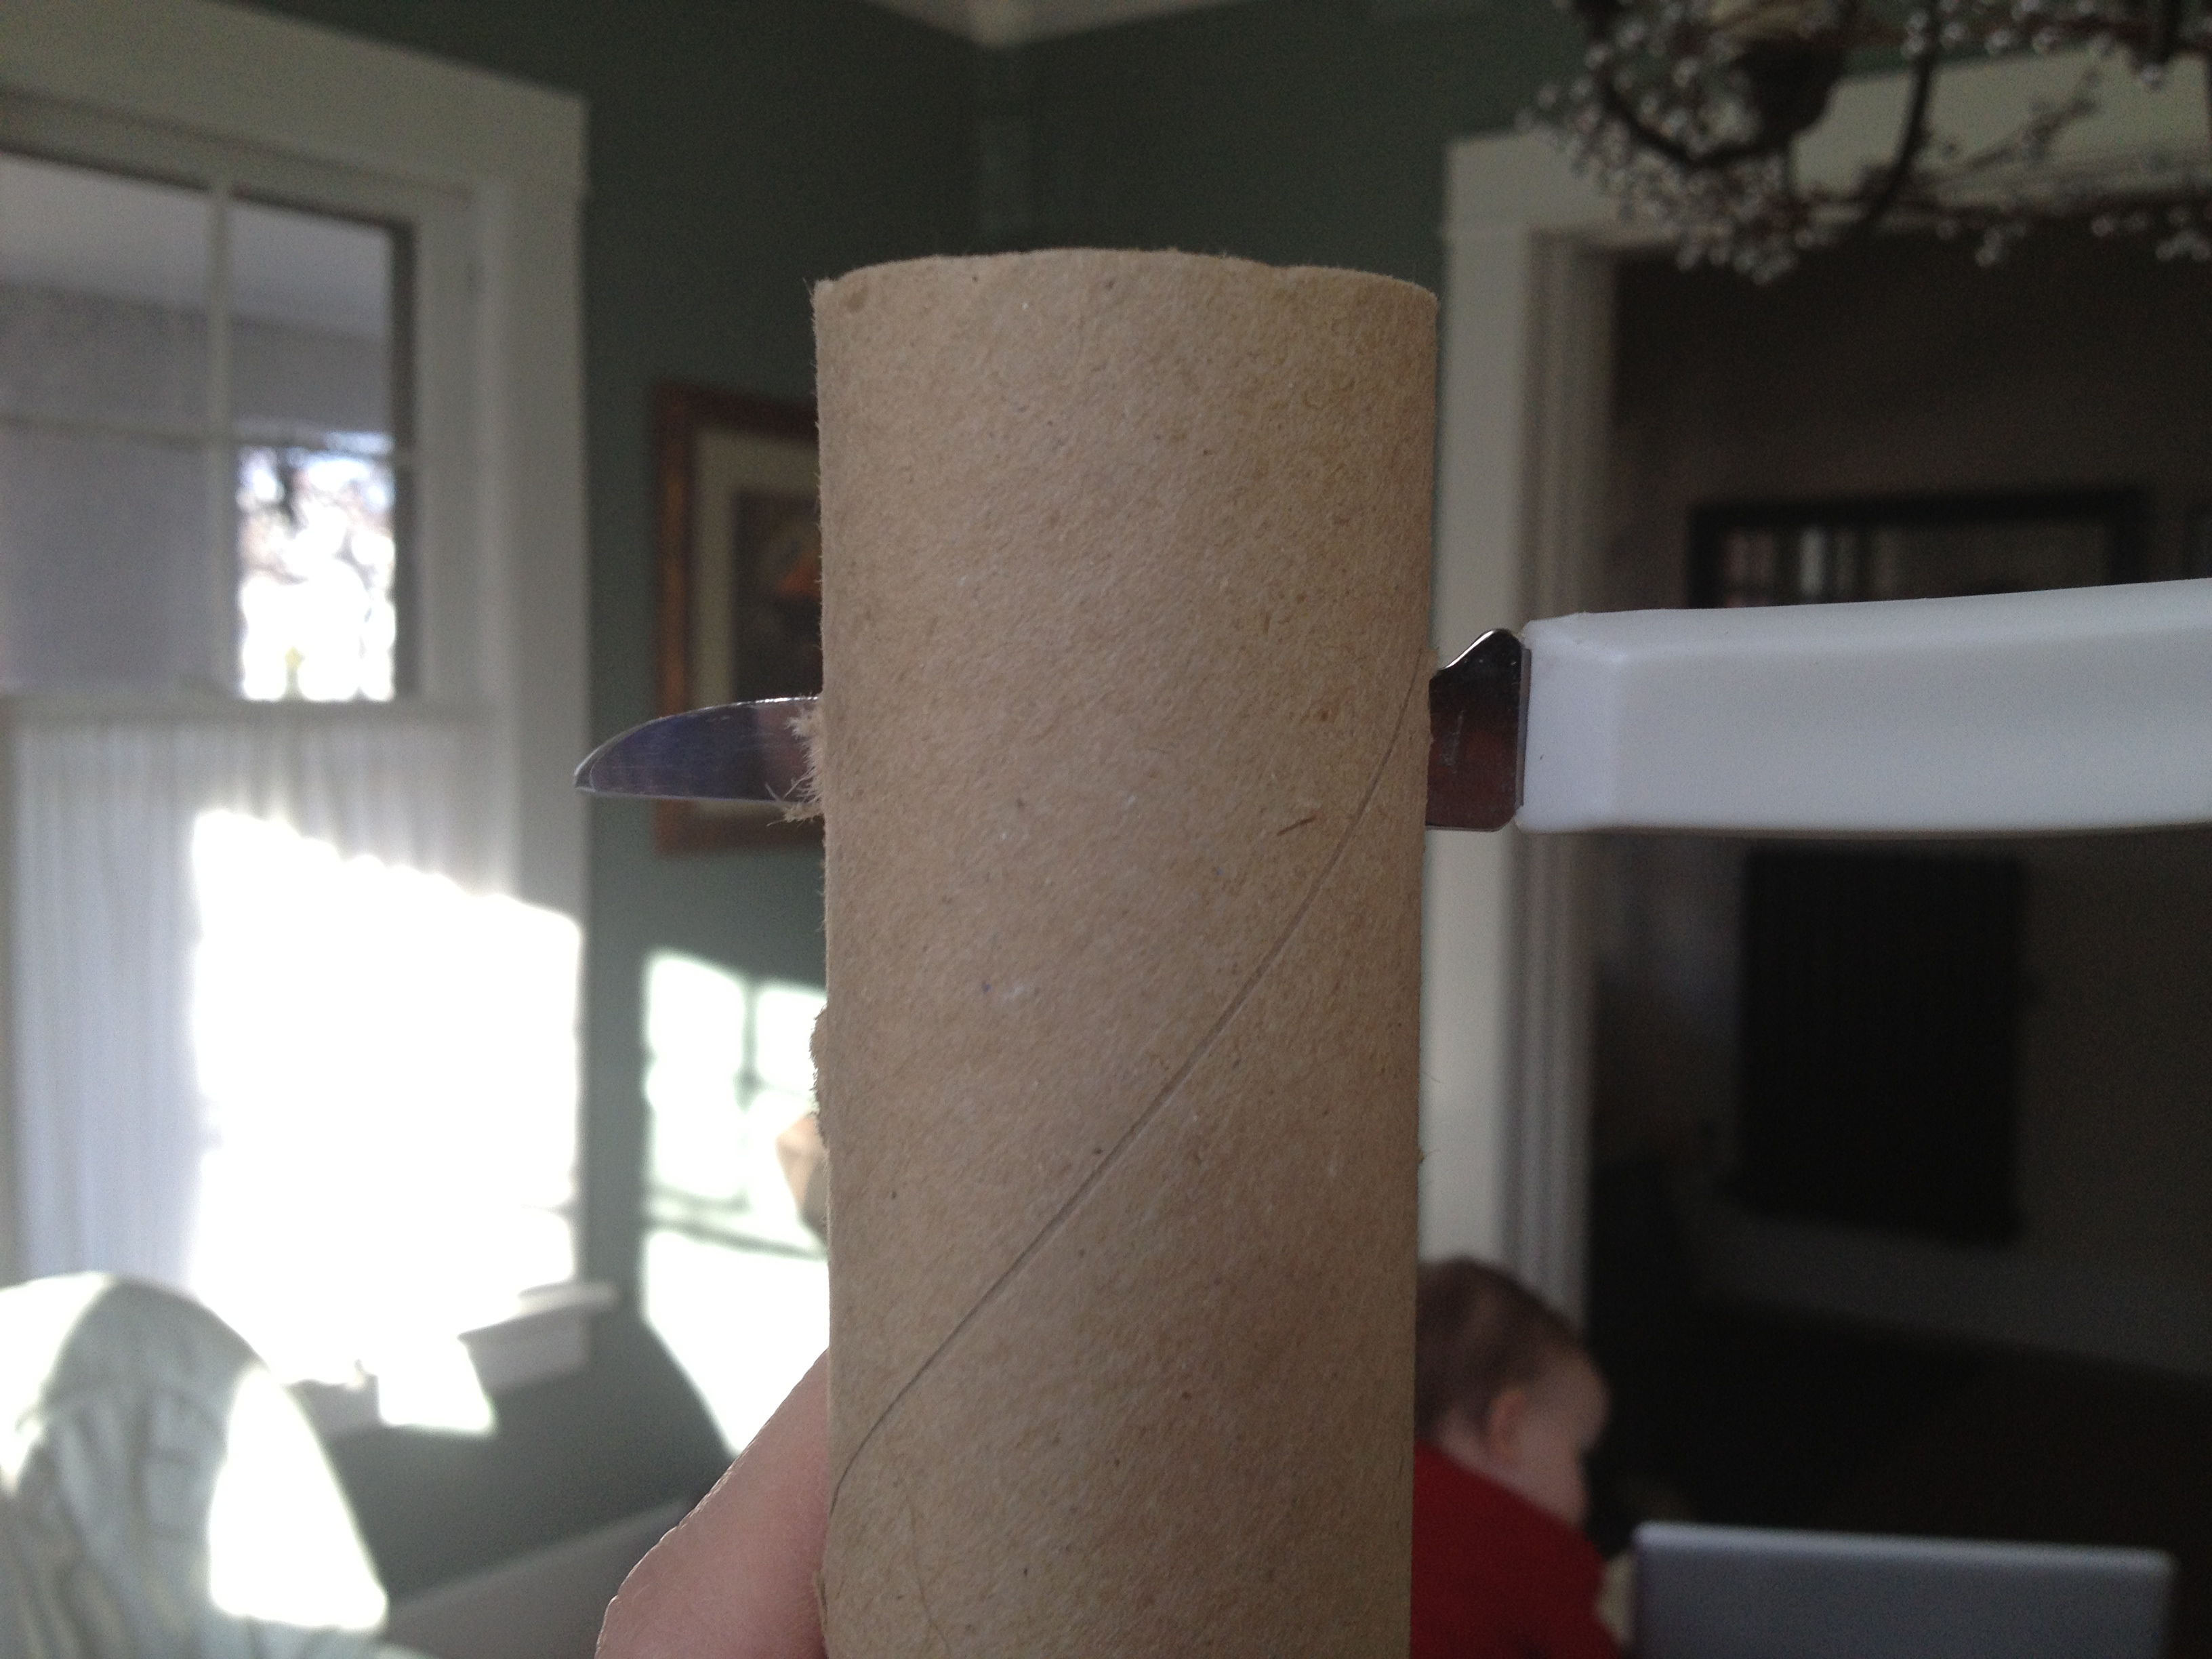
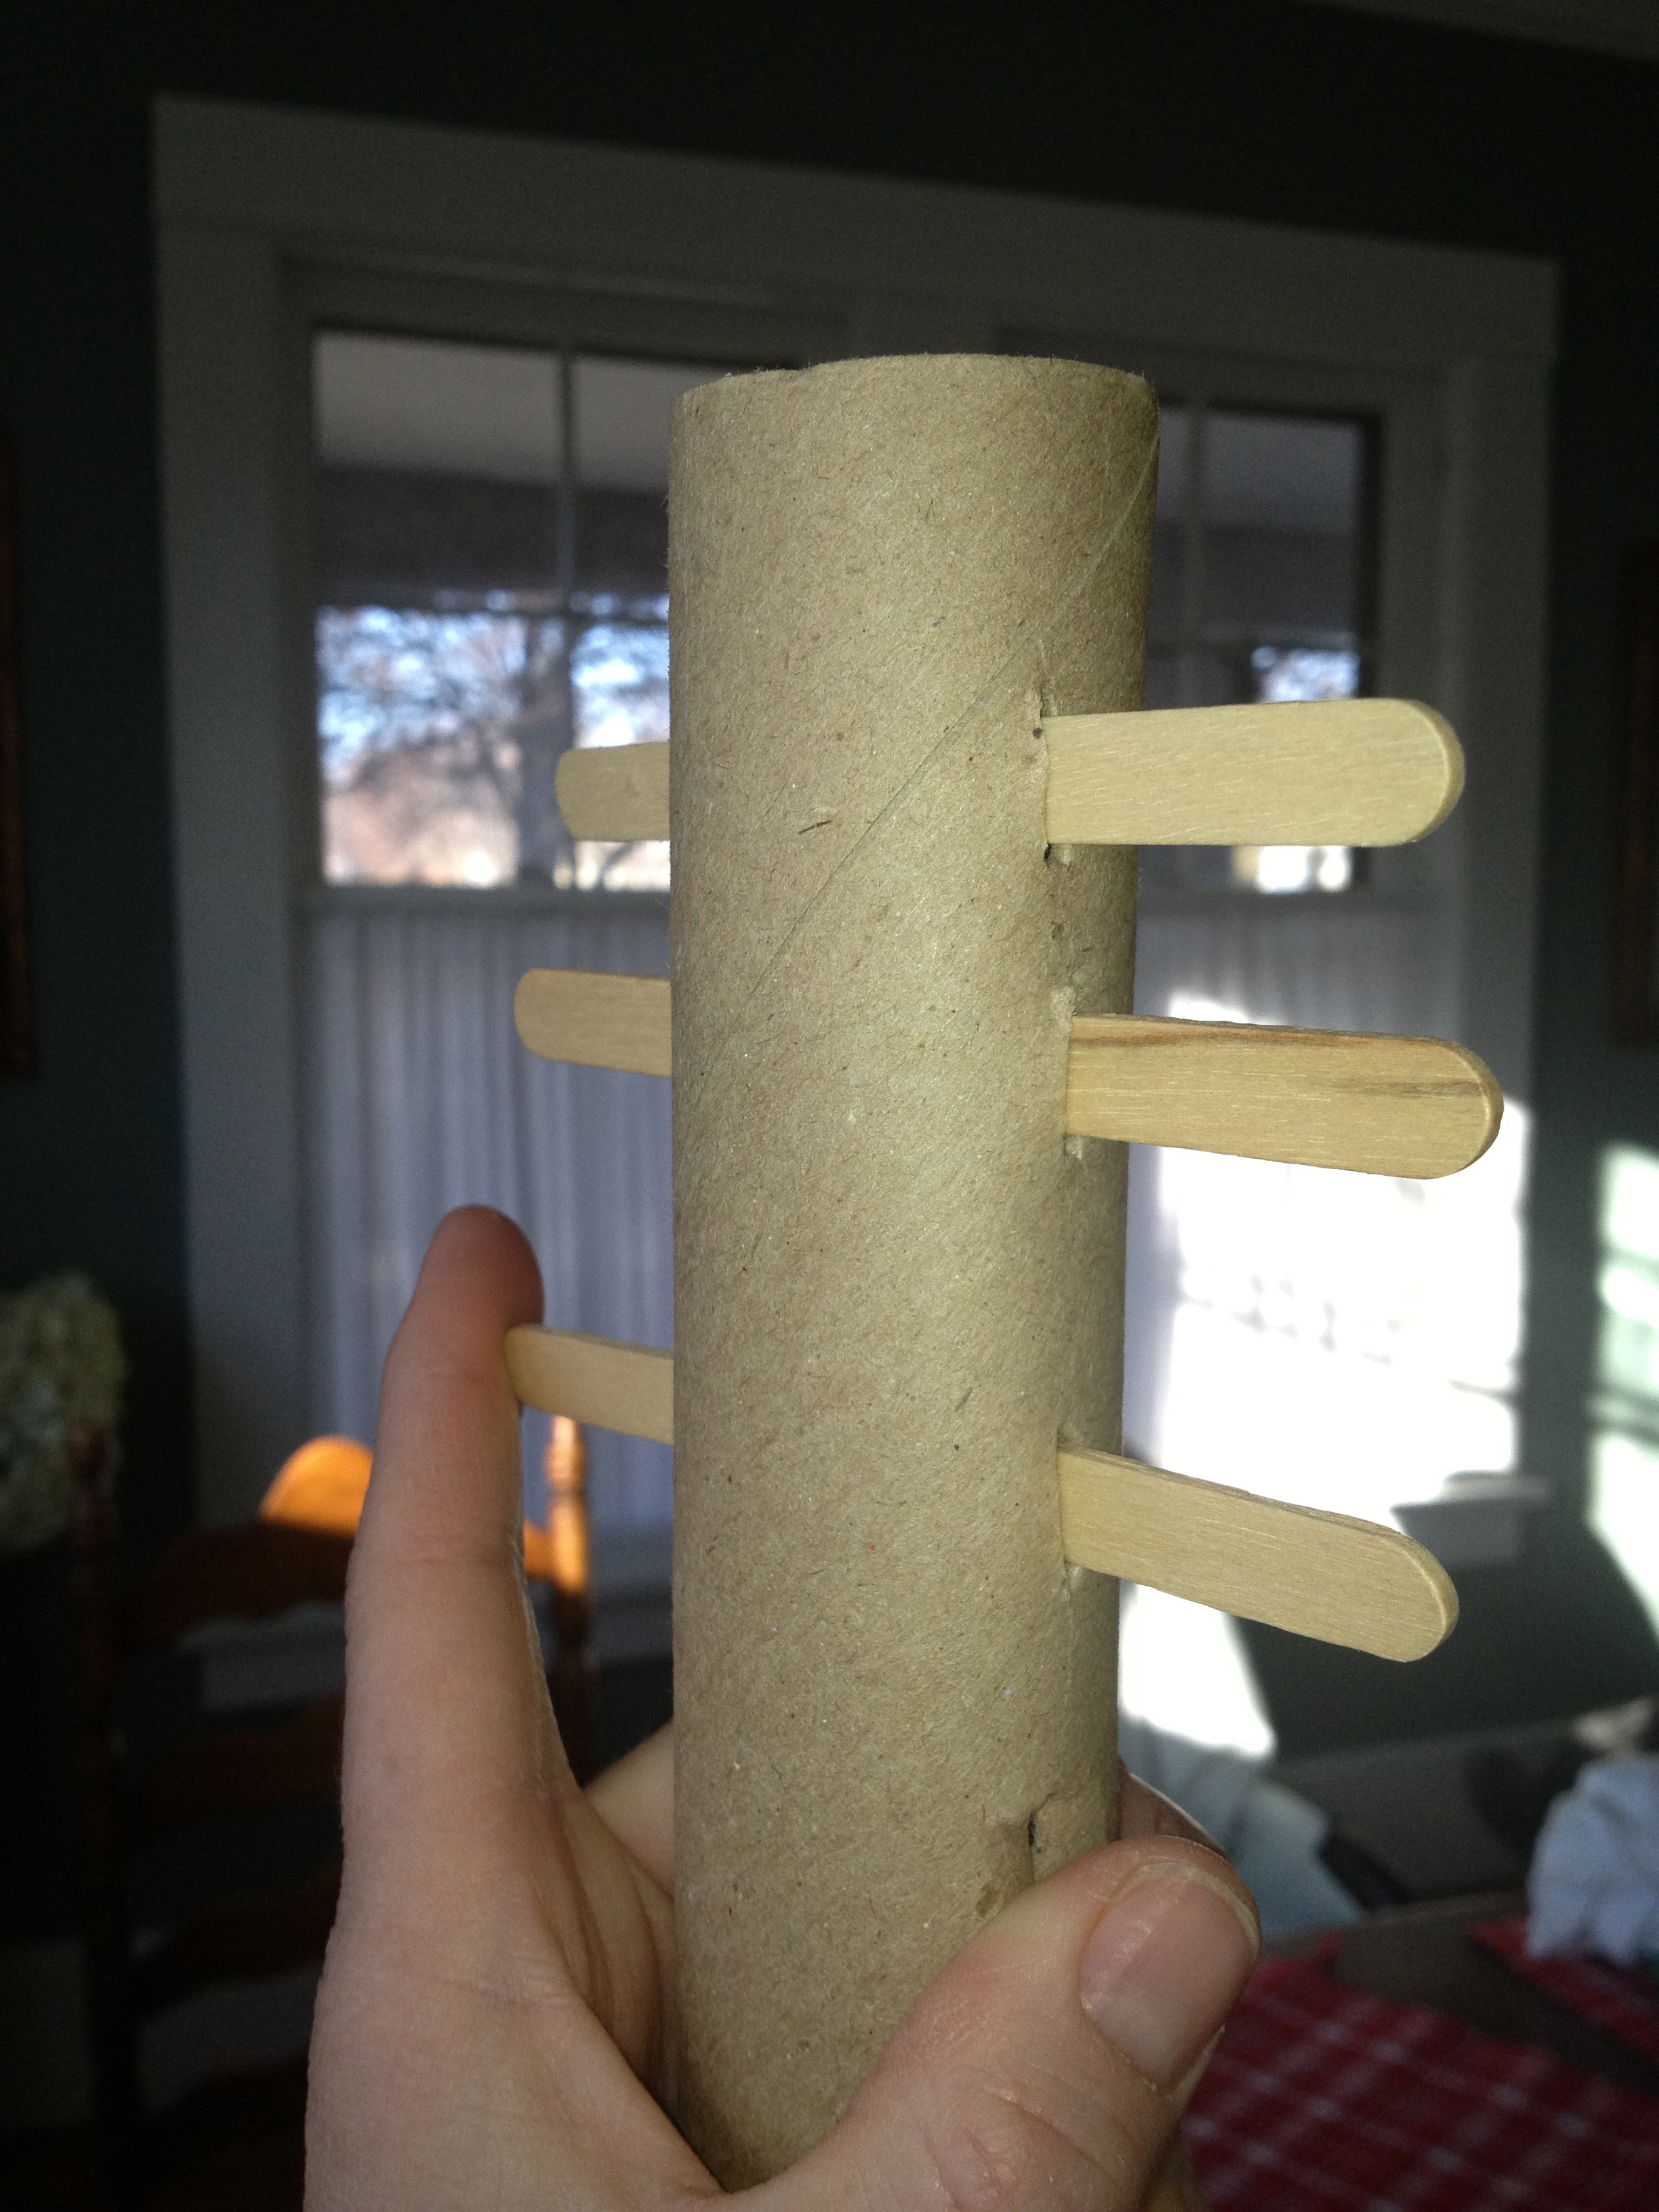
With a sharp knife, poke three popsicle stick sized/knife shaped holes at the top of the wrapping paper roll. If you attempt to make the holes the same size as the actual popsicle stick, then you can gently slide the popsicle sticks into place, without having to secure with tape. Push popsicle sticks trough roll.


TaDa! Home made guitar!