Painted Pumpkins!

20130930-135906.jpg

Reagan loves to paint and asks to do so on a daily basis. She picked out a few pumpkins at a local market the other day and was super eager to ‘make them pretty’! I’m all about skipping the carving and adorning the pumpkins with bright beautiful colors instead.

materials

20130930-134909.jpg

20130930-135411.jpg

Pumpkins
Paint (I always try to use washable)
Stickers
Egg carton
Paint brushes
Something to cover your work space

directions
Reagan picked out three pumpkins and decided to sticker and paint two, while leaving stickers off the third.
Wipe dirt off pumpkins.
Ask your child which colors they want to use and where they would like the color placed within the egg carton.
If using stickers; stick them to the pumpkin before painting.
Have them use the color names when asking for more of a specific color.
Involve your child with the clean-up process.
GET CREATIVE!!!

20130930-134921.jpg

20130930-134931.jpg

20130930-134944.jpg

20130930-134954.jpg

20130930-135856.jpg

Advertisement

Sparkly Mess

20130911-082304.jpg

Tons of glitter to brighten a gloomy day! I totally asked for a huge mess with this project, but Reagan wanted glitter, so we glittered!!!

materials

20130910-075245.jpg
Glue ( I like clear washable glue)
Glitter
Paper
Something to pour excess glitter into- we used an old box

What To Do

Cover work area- this project can get messy!! Place a piece of paper in front of your child, give them a glue bottle and assist in squeezing the glue onto the paper. Show them how to move the glue bottle left, right, up and down their paper, while squeezing the bottle. This is when I talk with Reagan about the glue being sticky. I encourage her to touch the glue with one of her fingers, so that she can feel the texture and stickiness.

20130910-075303.jpg

Show your child the different colors of glitter that you have and allow for them to select the color that they want to use. Guiding their hands at first, show them how to shake the glitter jar to completely cover their glue with glitter.

20130910-075314.jpg

20130910-075353.jpg

Assist your child, at first, in shaking the excess glitter off of their paper. We used an old box for our extra glitter.

20130910-075323.jpg

20130910-075329.jpg

Let the glue dry. Like I said before, this project can get messy, so be prepared!!

20130910-075414.jpg

20130910-075424.jpg

Have a SPARKLING day!

Car Painting

20130905-155132.jpg

Reagan has been totally into matchbox cars lately, so it was no wonder that on a recent Michael’s trip she was immediately drawn to a small wooden race car and a train engine. So, for a dollar a piece, we brought them home to be dolled up and played with!

Materials
Paint
Paint Brushes
Egg Carton
Wooden Toys
Something to cover work area

Directions
I like Reagan to be able to make her own choices, especially when she’s creating something. I line up the paint bottles in front of Reagan and have her choose which colors she would like and which egg hole each color should go in. We only squeeze a small amount of paint into each hole; that way when Reagan needs more of a specific color, she can ask for it by name (I need more ‘red’ paint). This activity aides in the strengthening of her color identification skills.

20130905-155247.jpg

20130905-155221.jpg

20130905-155235.jpg
The paint color will inevitably get mixed together, but who cares, it adds to their creativity. Fine motor skills are practiced by holding a paintbrush, dipping it into paint and then carefully placing it onto the wooden toy.

20130905-155241.jpg

The finished products are awesome! The race car has already been designated to daddy’s desk at work, while the train engine has already made it’s way into the ‘parking garage’ in Reagan’s playroom!

20130905-160510.jpg

Envelopes with Love


Reagan took one of her paintings that she made last week off of the fridge, held it up to me and said ‘paint mama paint’. Seriously, could she get any cuter? Without hesitation we headed to the basement and grabbed the needed materials. While setting up, I noticed the white envelopes that I had pulled out the night before to mail a letter to my cousin in Canada. What better way to show a little love to our favorite out-of-towners than custom made envelopes. As usual, I allowed Reagan to go to town and be as creative as she wanted. We talked about who we were going to send each envelope to and what we would put inside. This was a fantastic way to practice the names of the ones we love:)

Materials
envelopes
paint
paint brushes
dish for paint (we used a tupperware container because they’re easy to clean)
something to protect the surface of your table (we have a cardboard mat that we use)

Project is self explanatory. Allow your child to paint the envelopes one at a time. Allow to dry for at least an hour. Use a black Sharpie marker to address the envelope. IMG_4344

Moon Sand


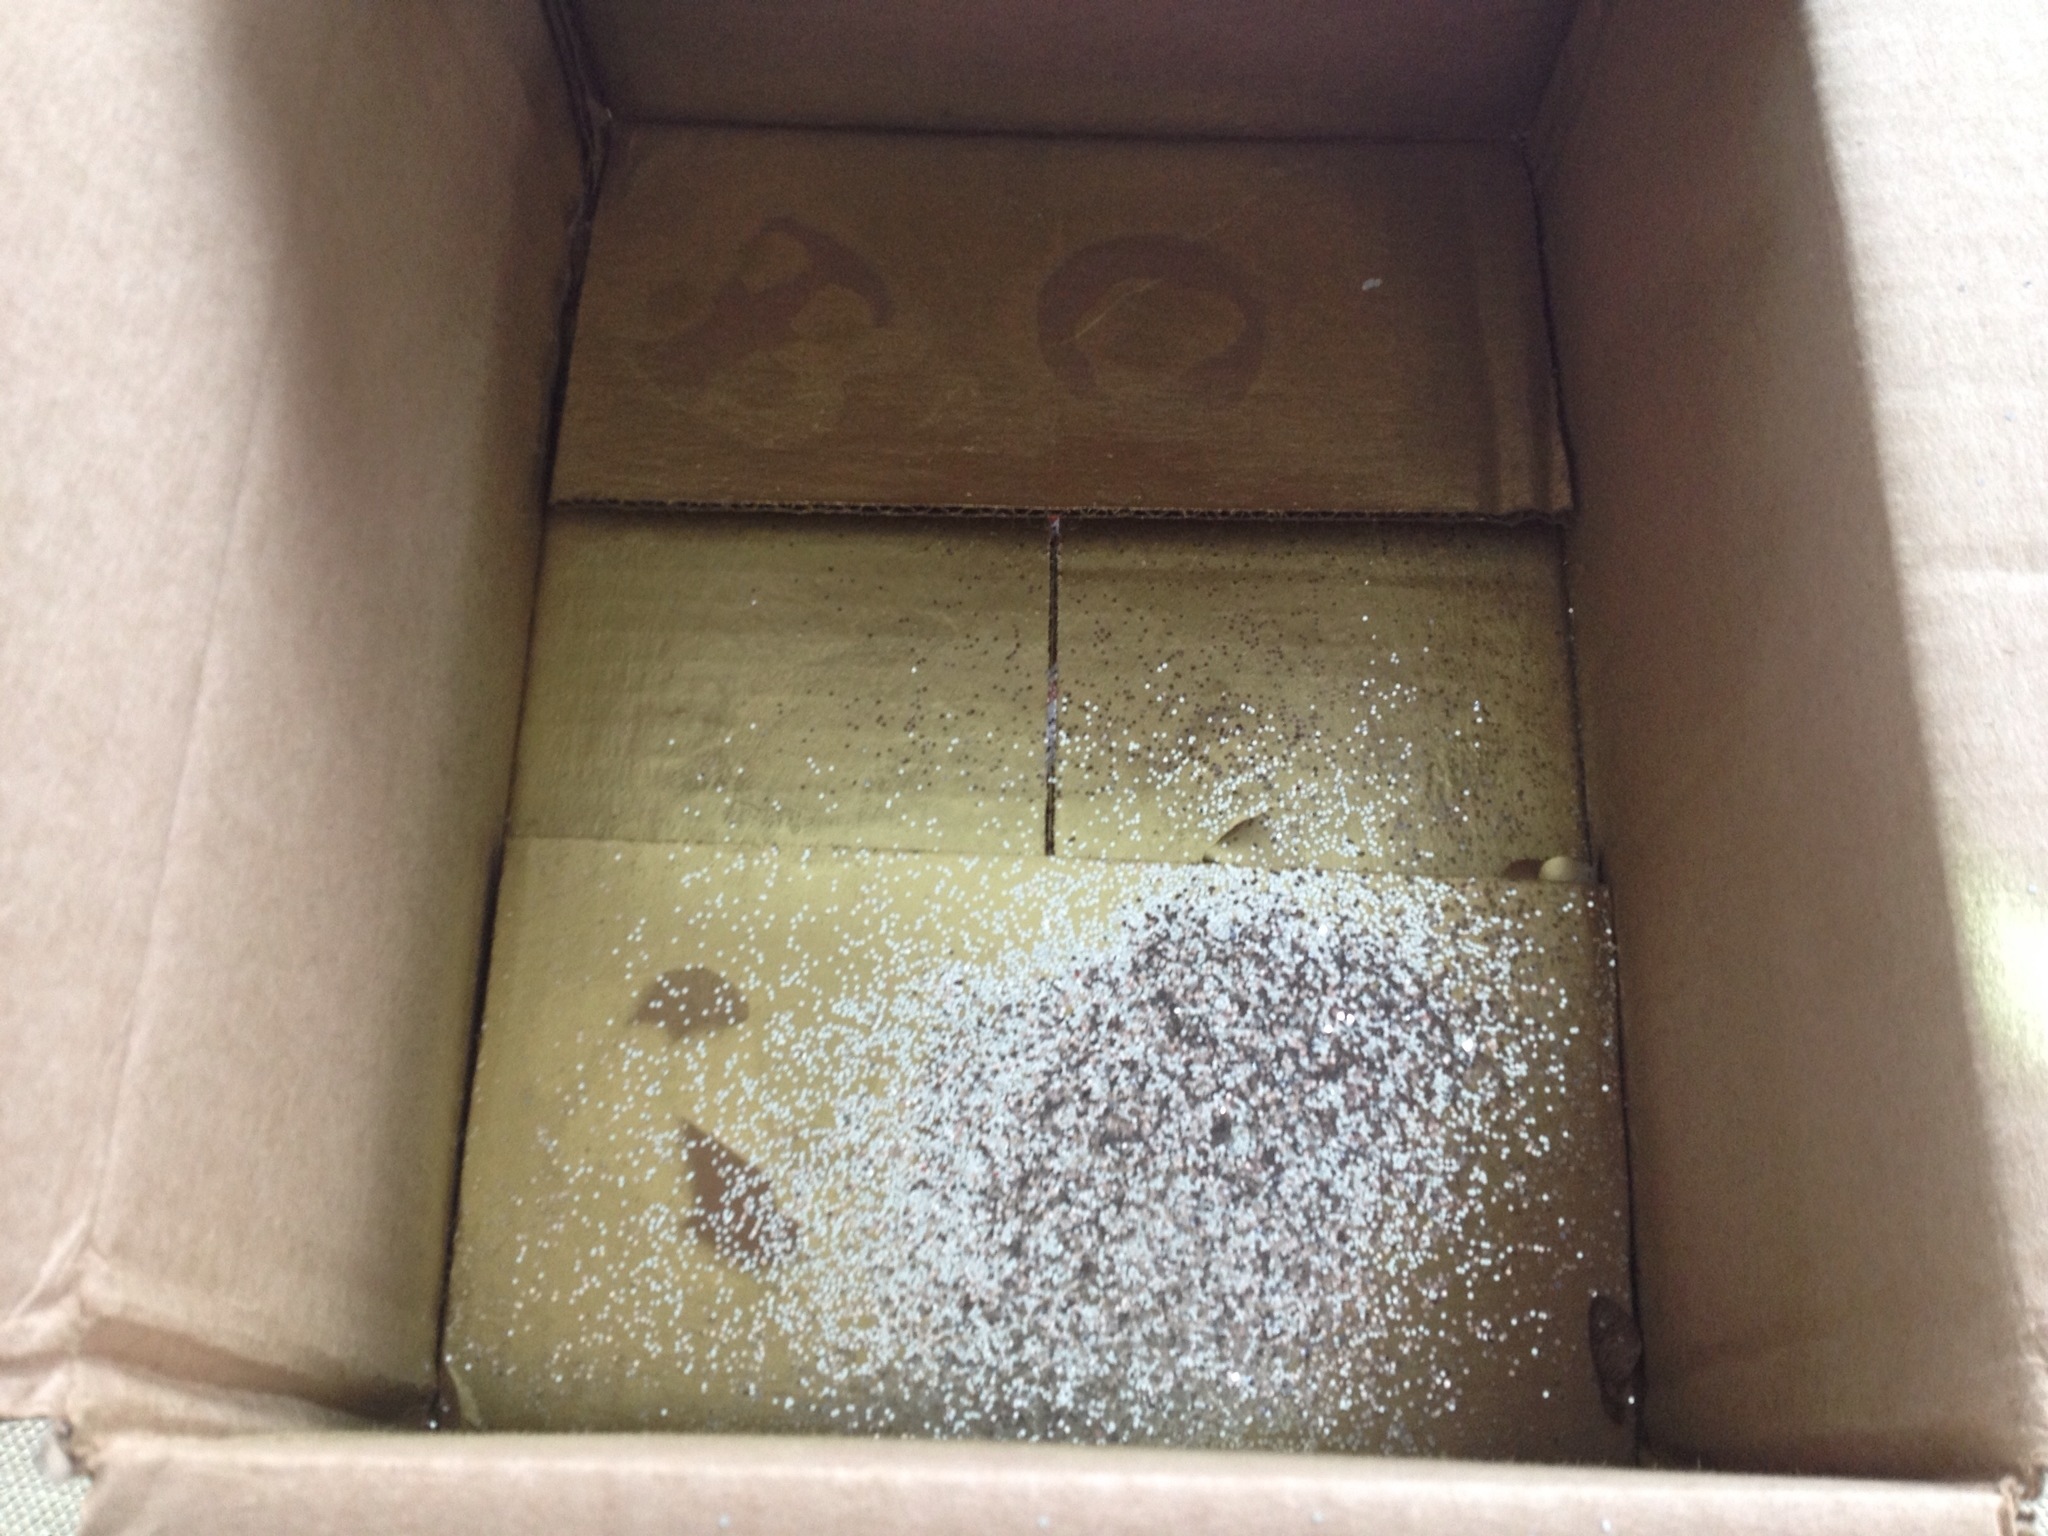
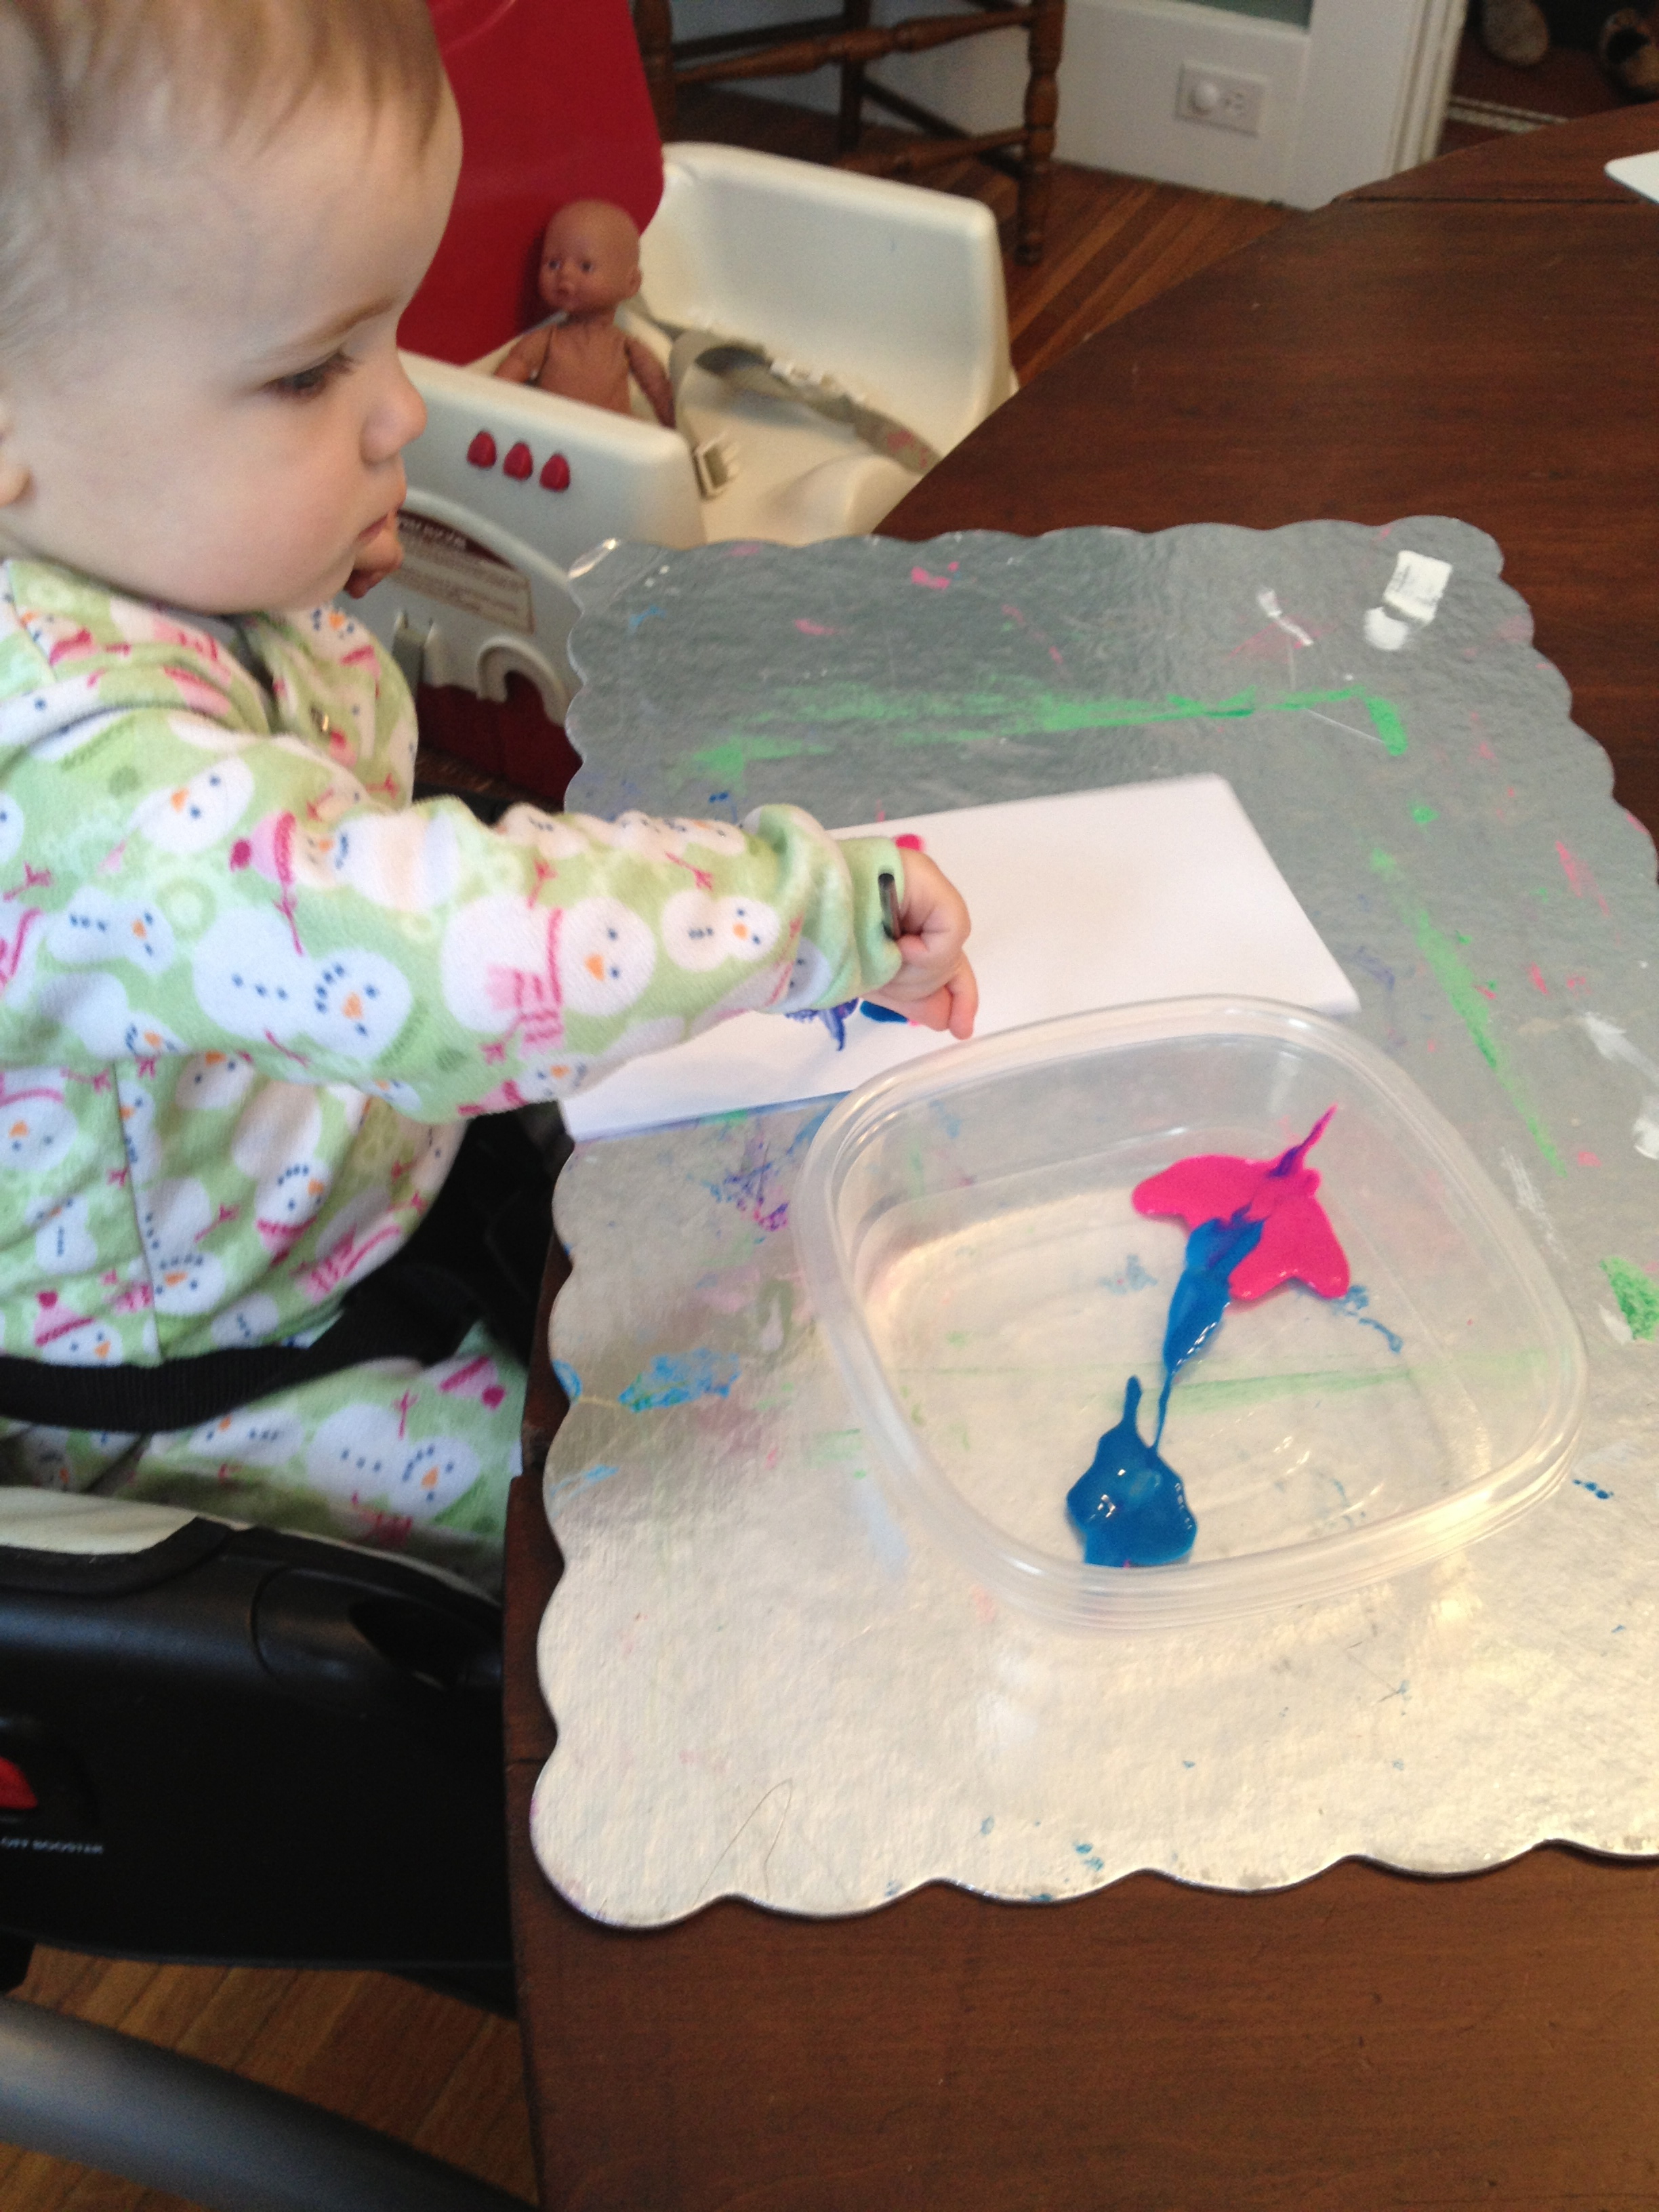
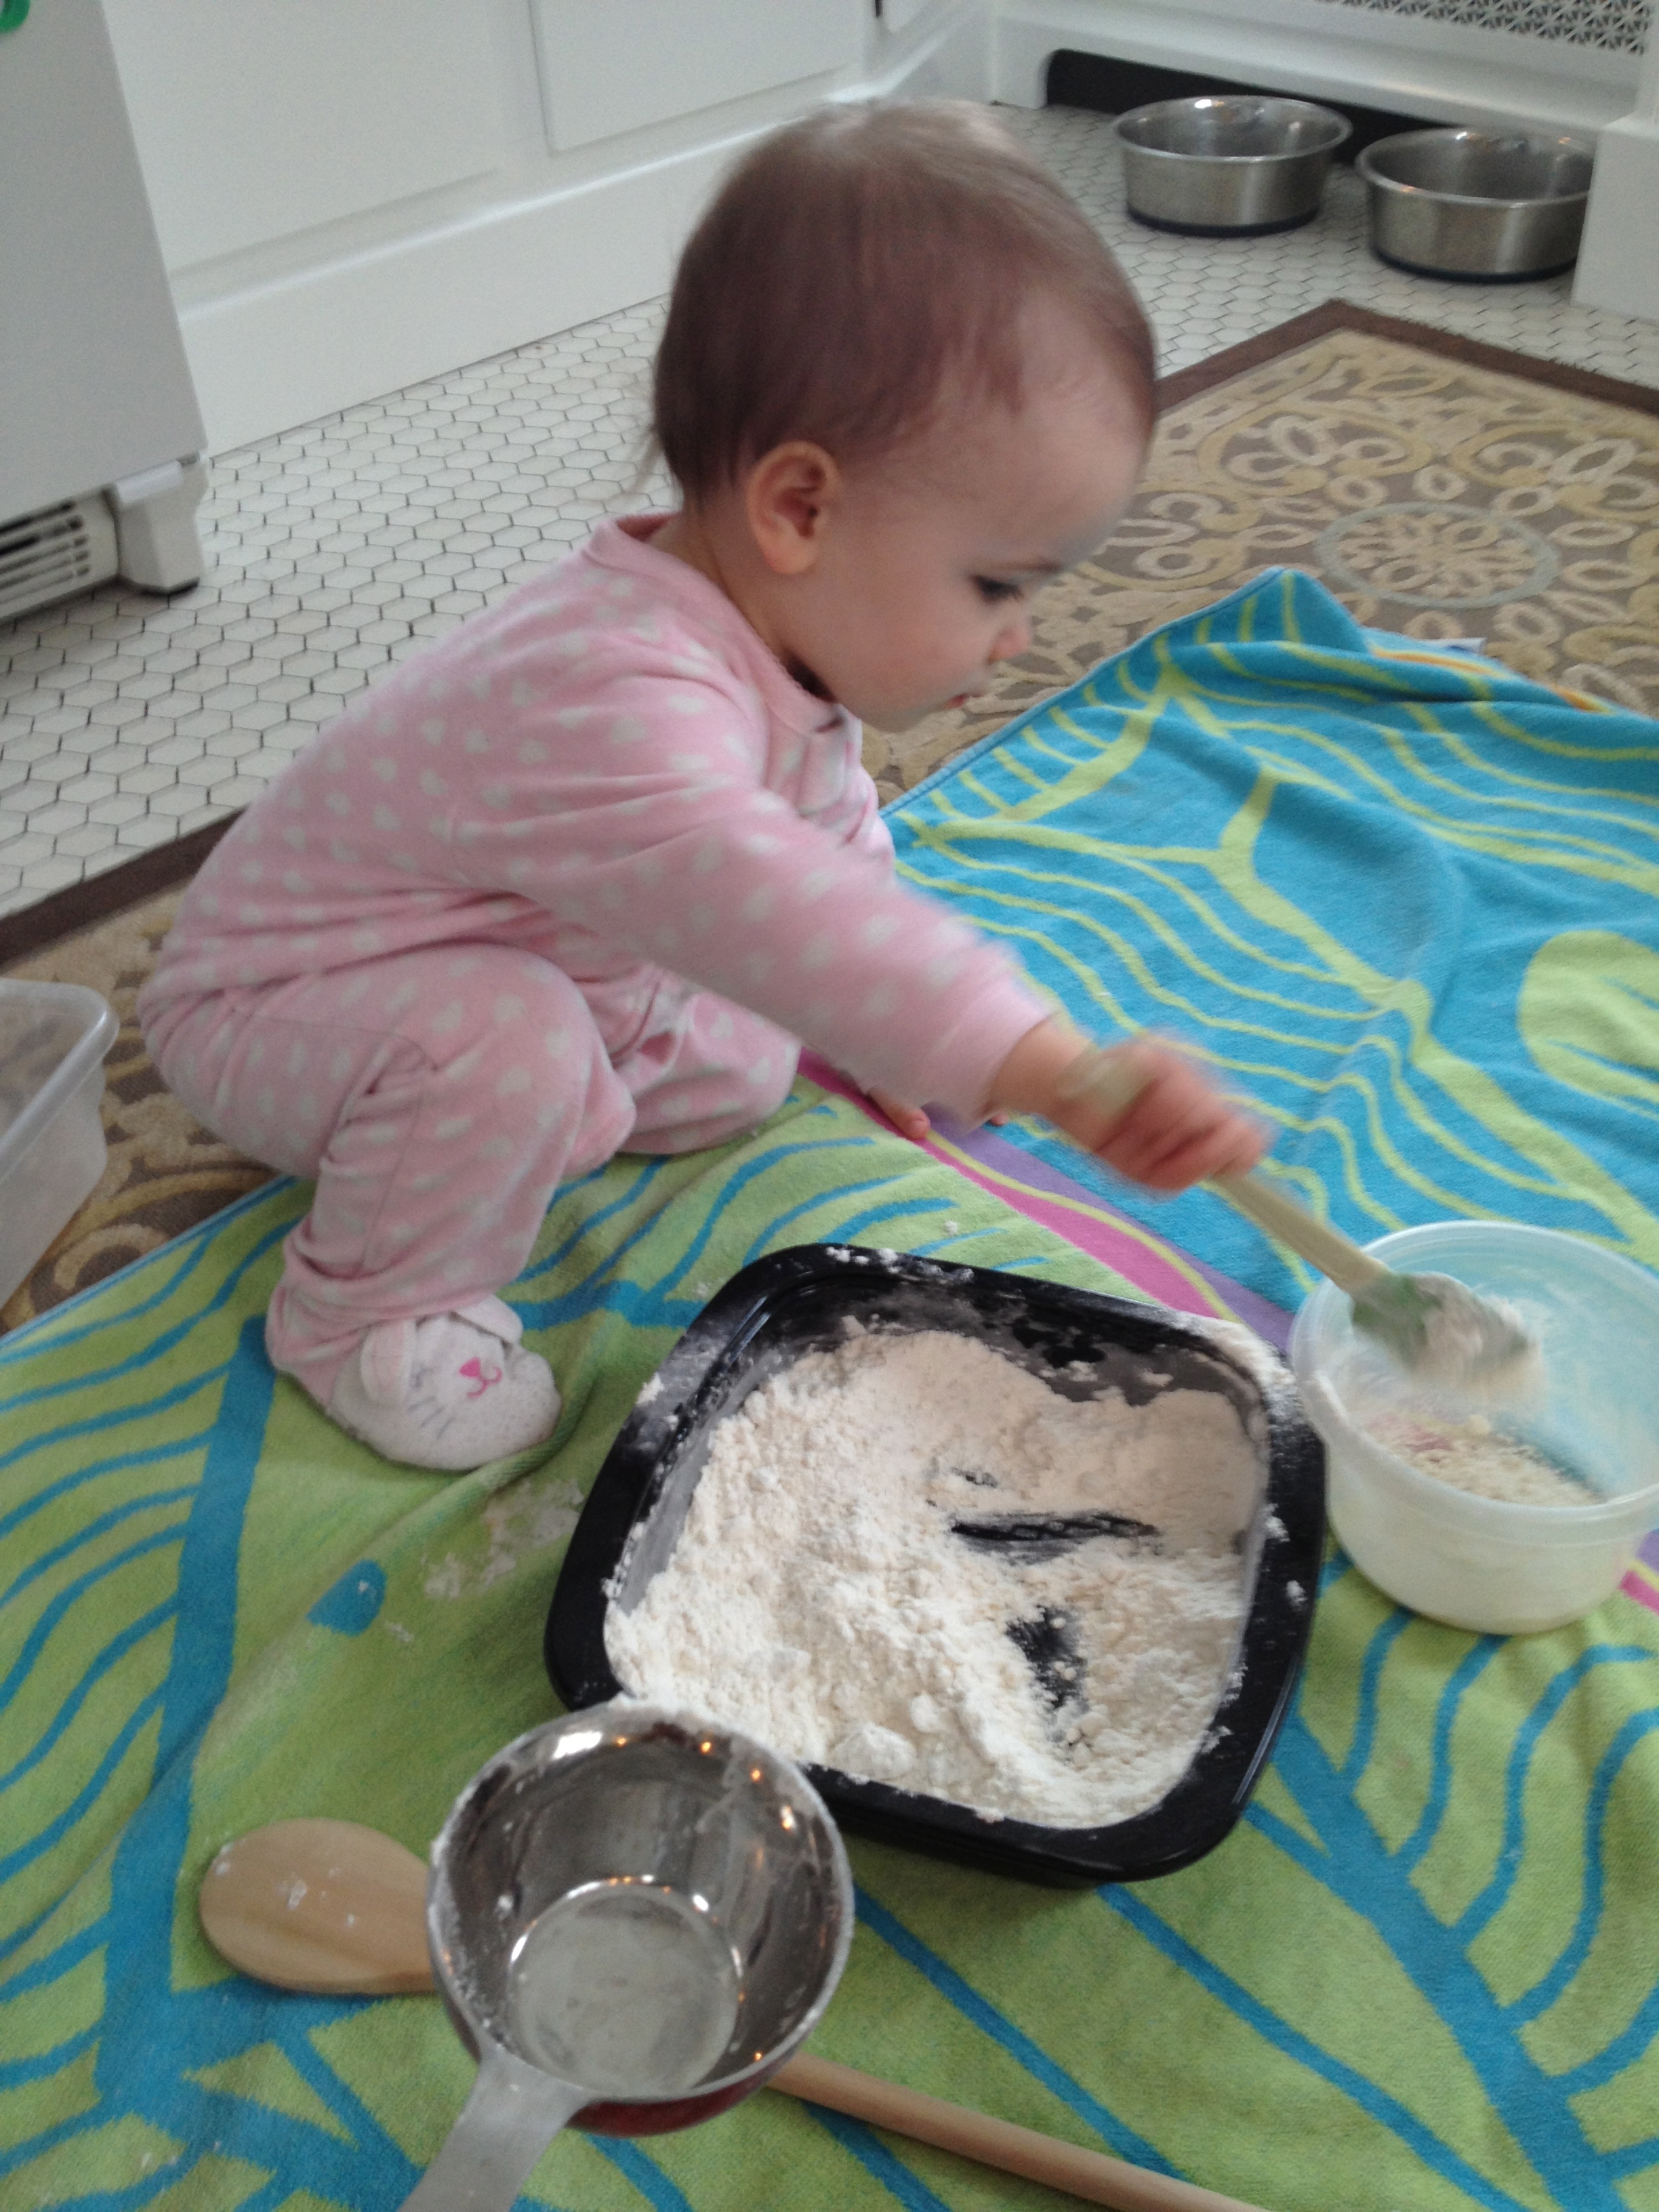
What a mess…but so much fun! I underestimated the power that flour has to get all over anything that is anywhere close to it. Reagan and I started this activity on a towel that I set down on top of the kitchen rug. Within minutes, I had to roll back the kitchen rug, because the flour was starting to get everywhere. We will definitely be doing this activity outside next time.

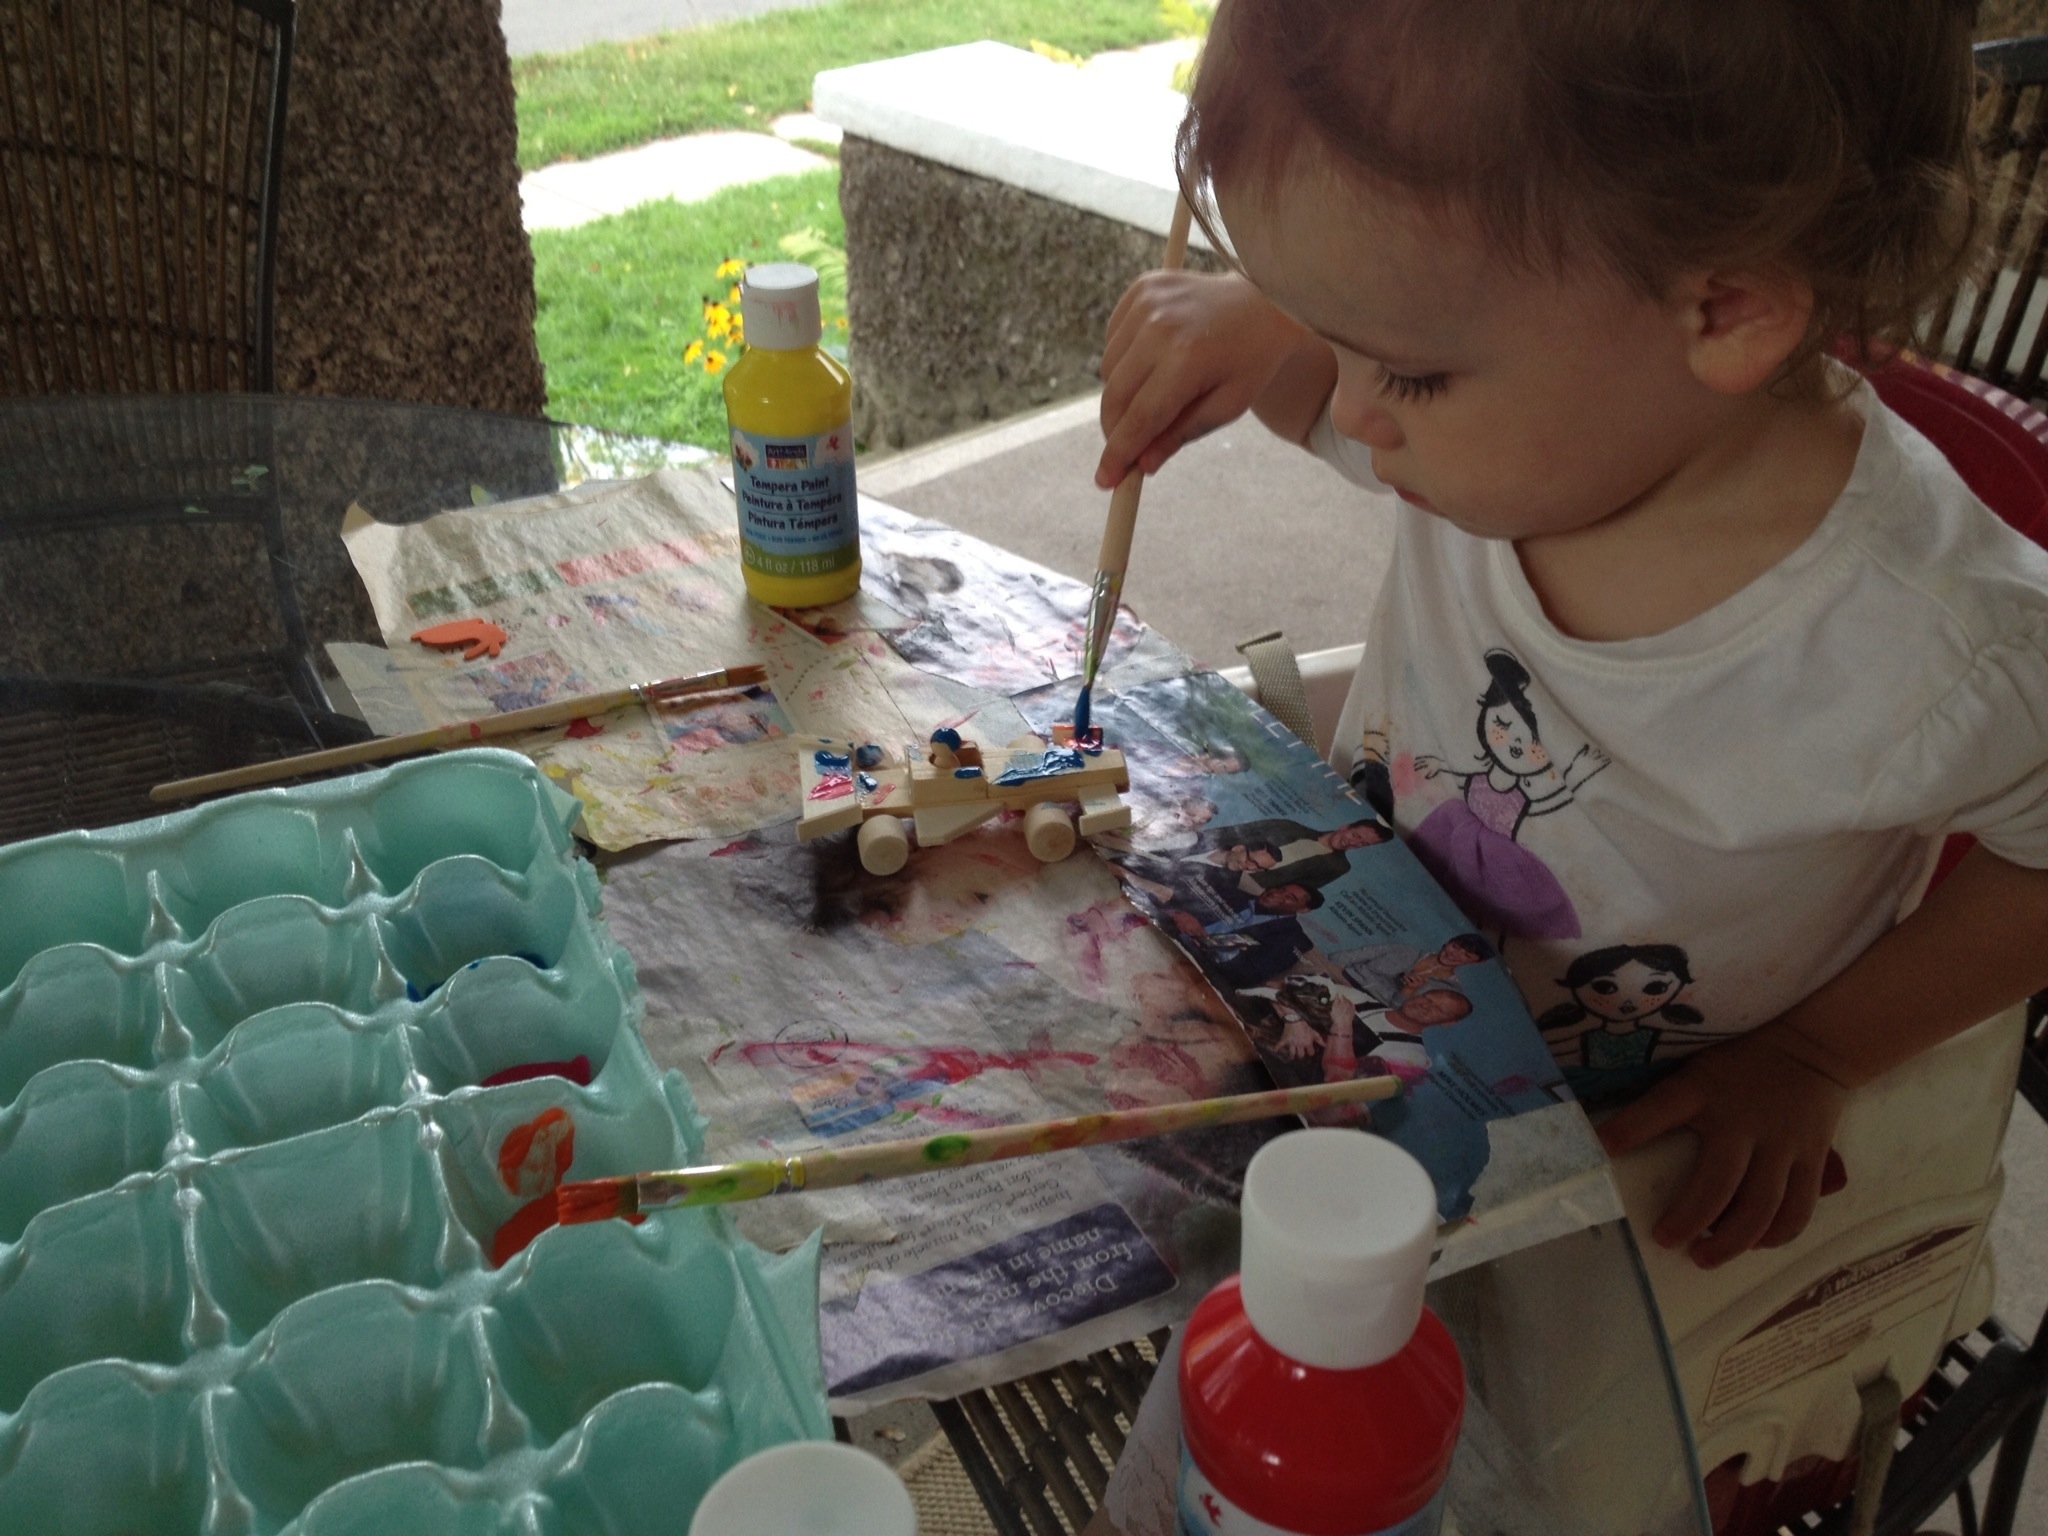
The amount of each ingredient depends on the amount of Moon Sand that you want to make. We used two cups of flour and just continued to add baby oil until we reached the consistency that we liked. Reagan used the measuring cup, measuring spoon, large spoon and spatula to stir the sand, scoop it from one container to the next, create sand mounds and so much more!
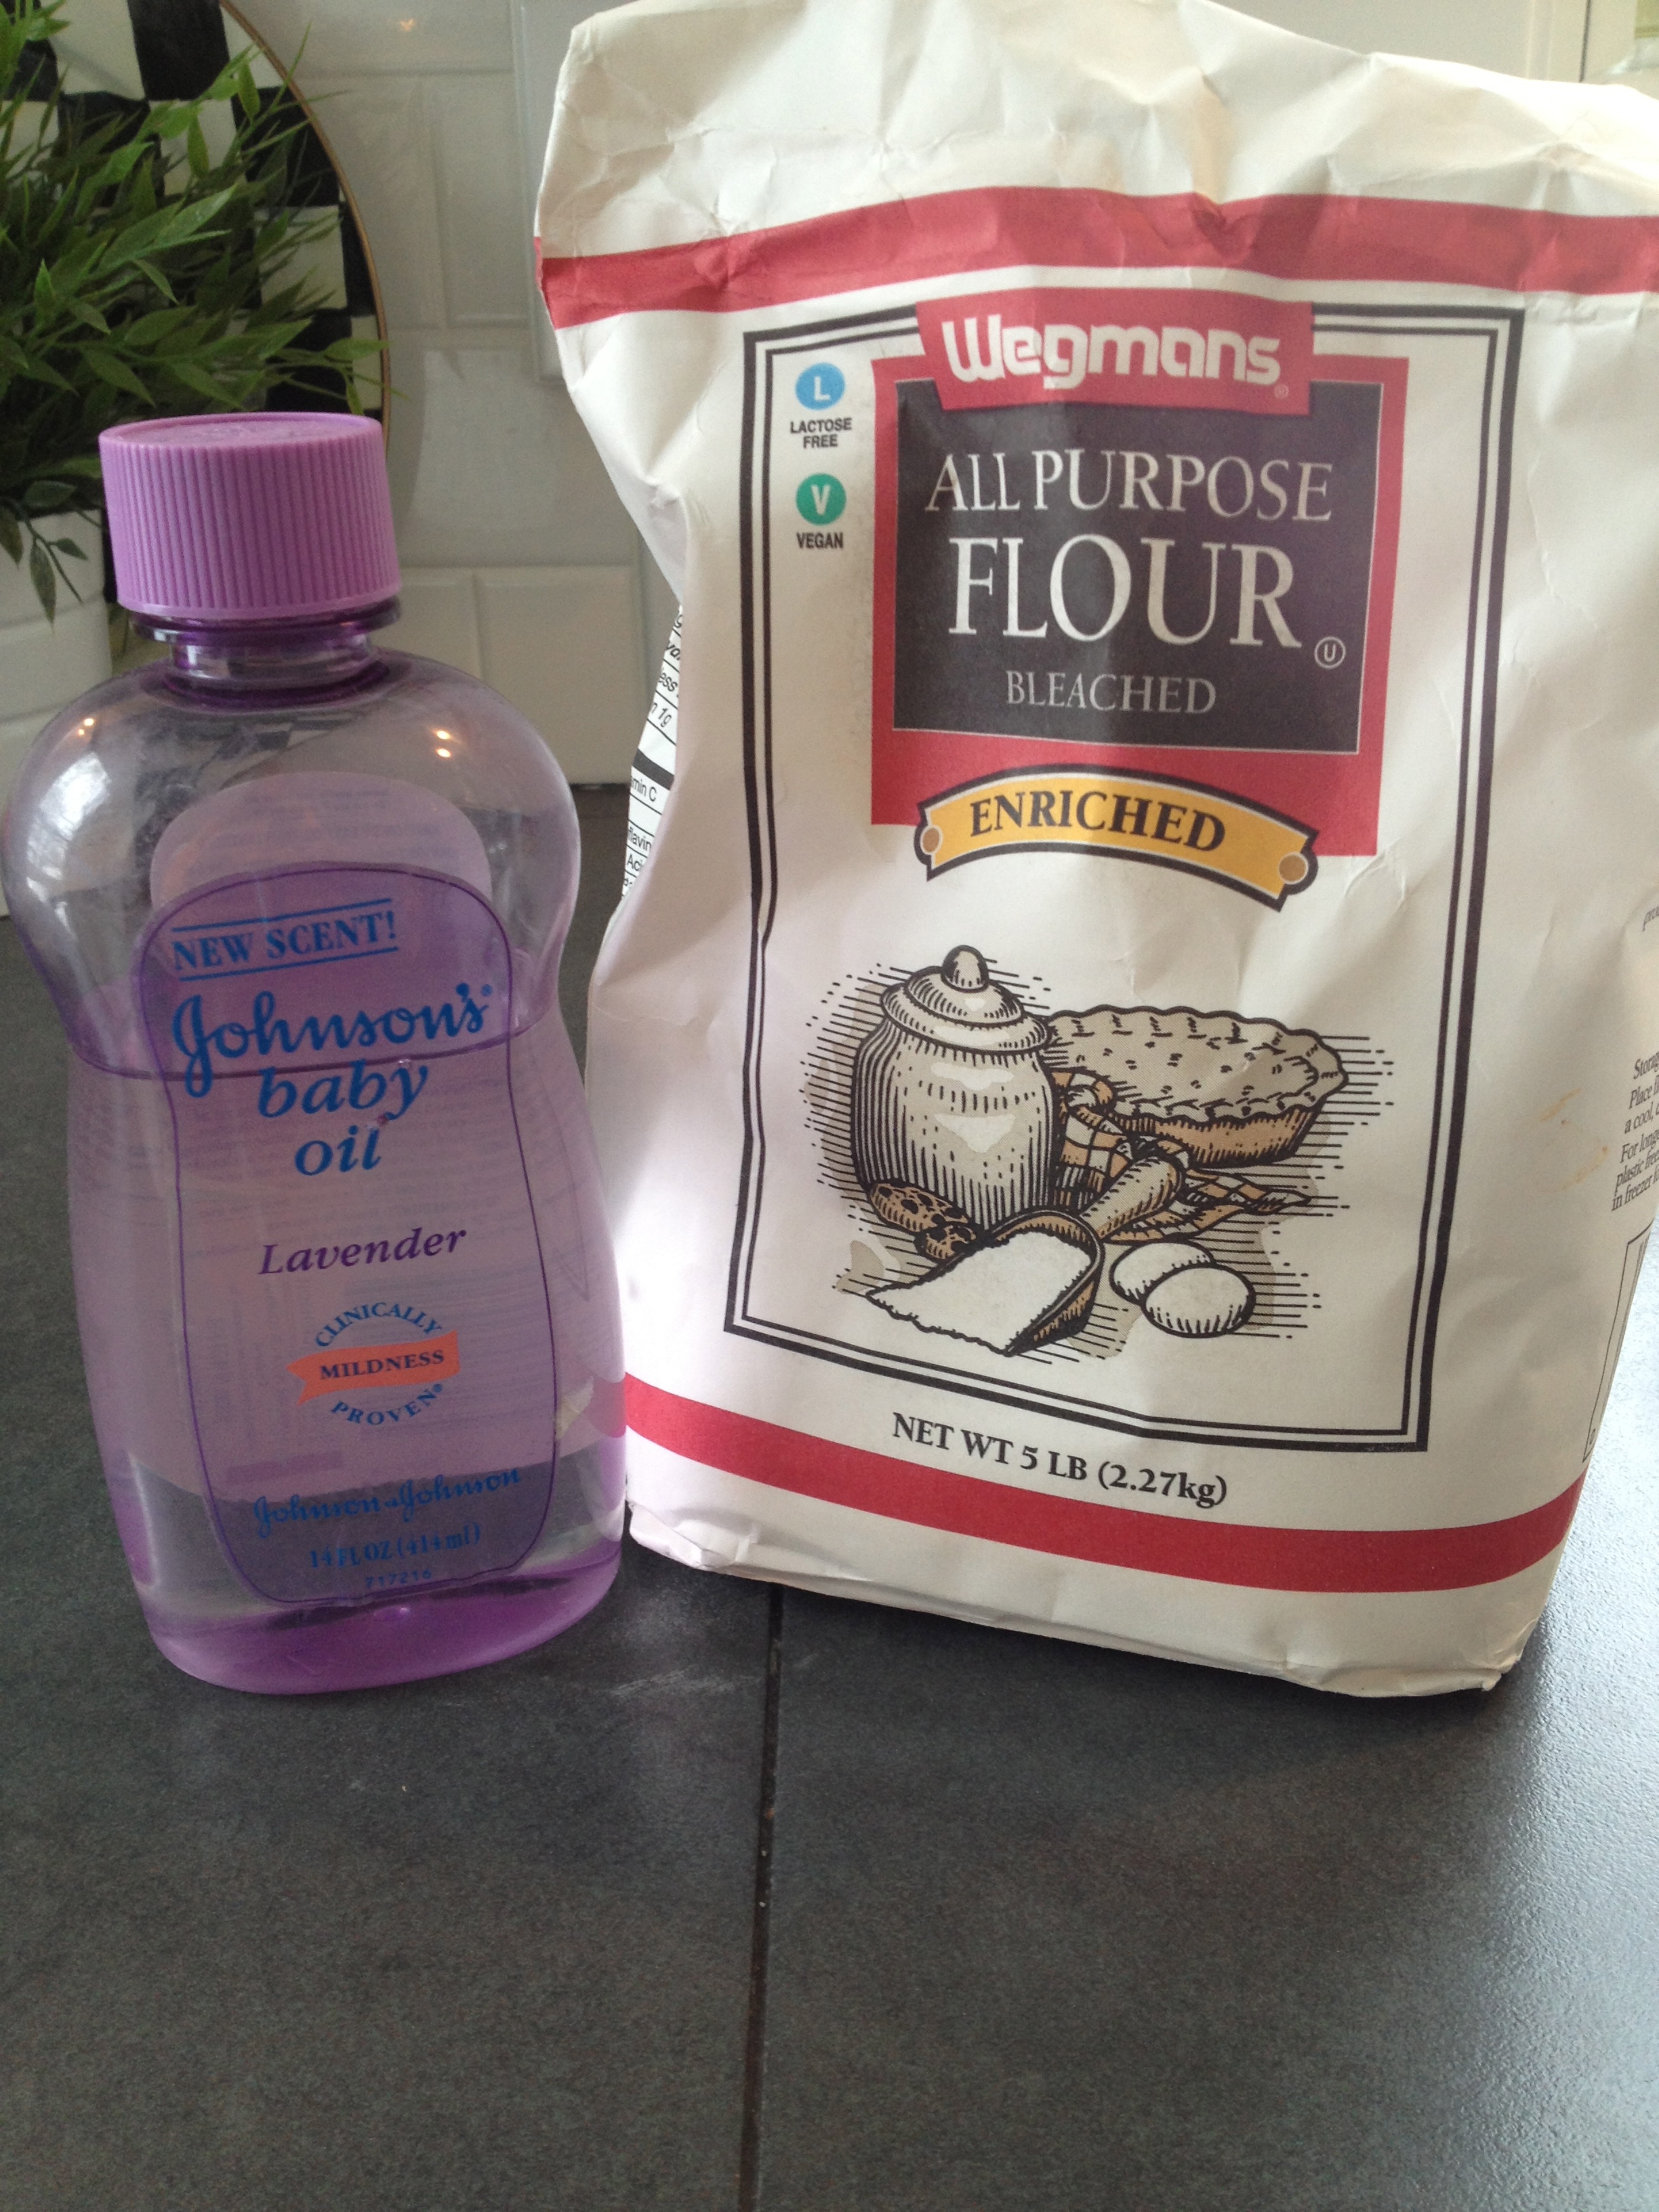
Materials
Flour
Baby oil
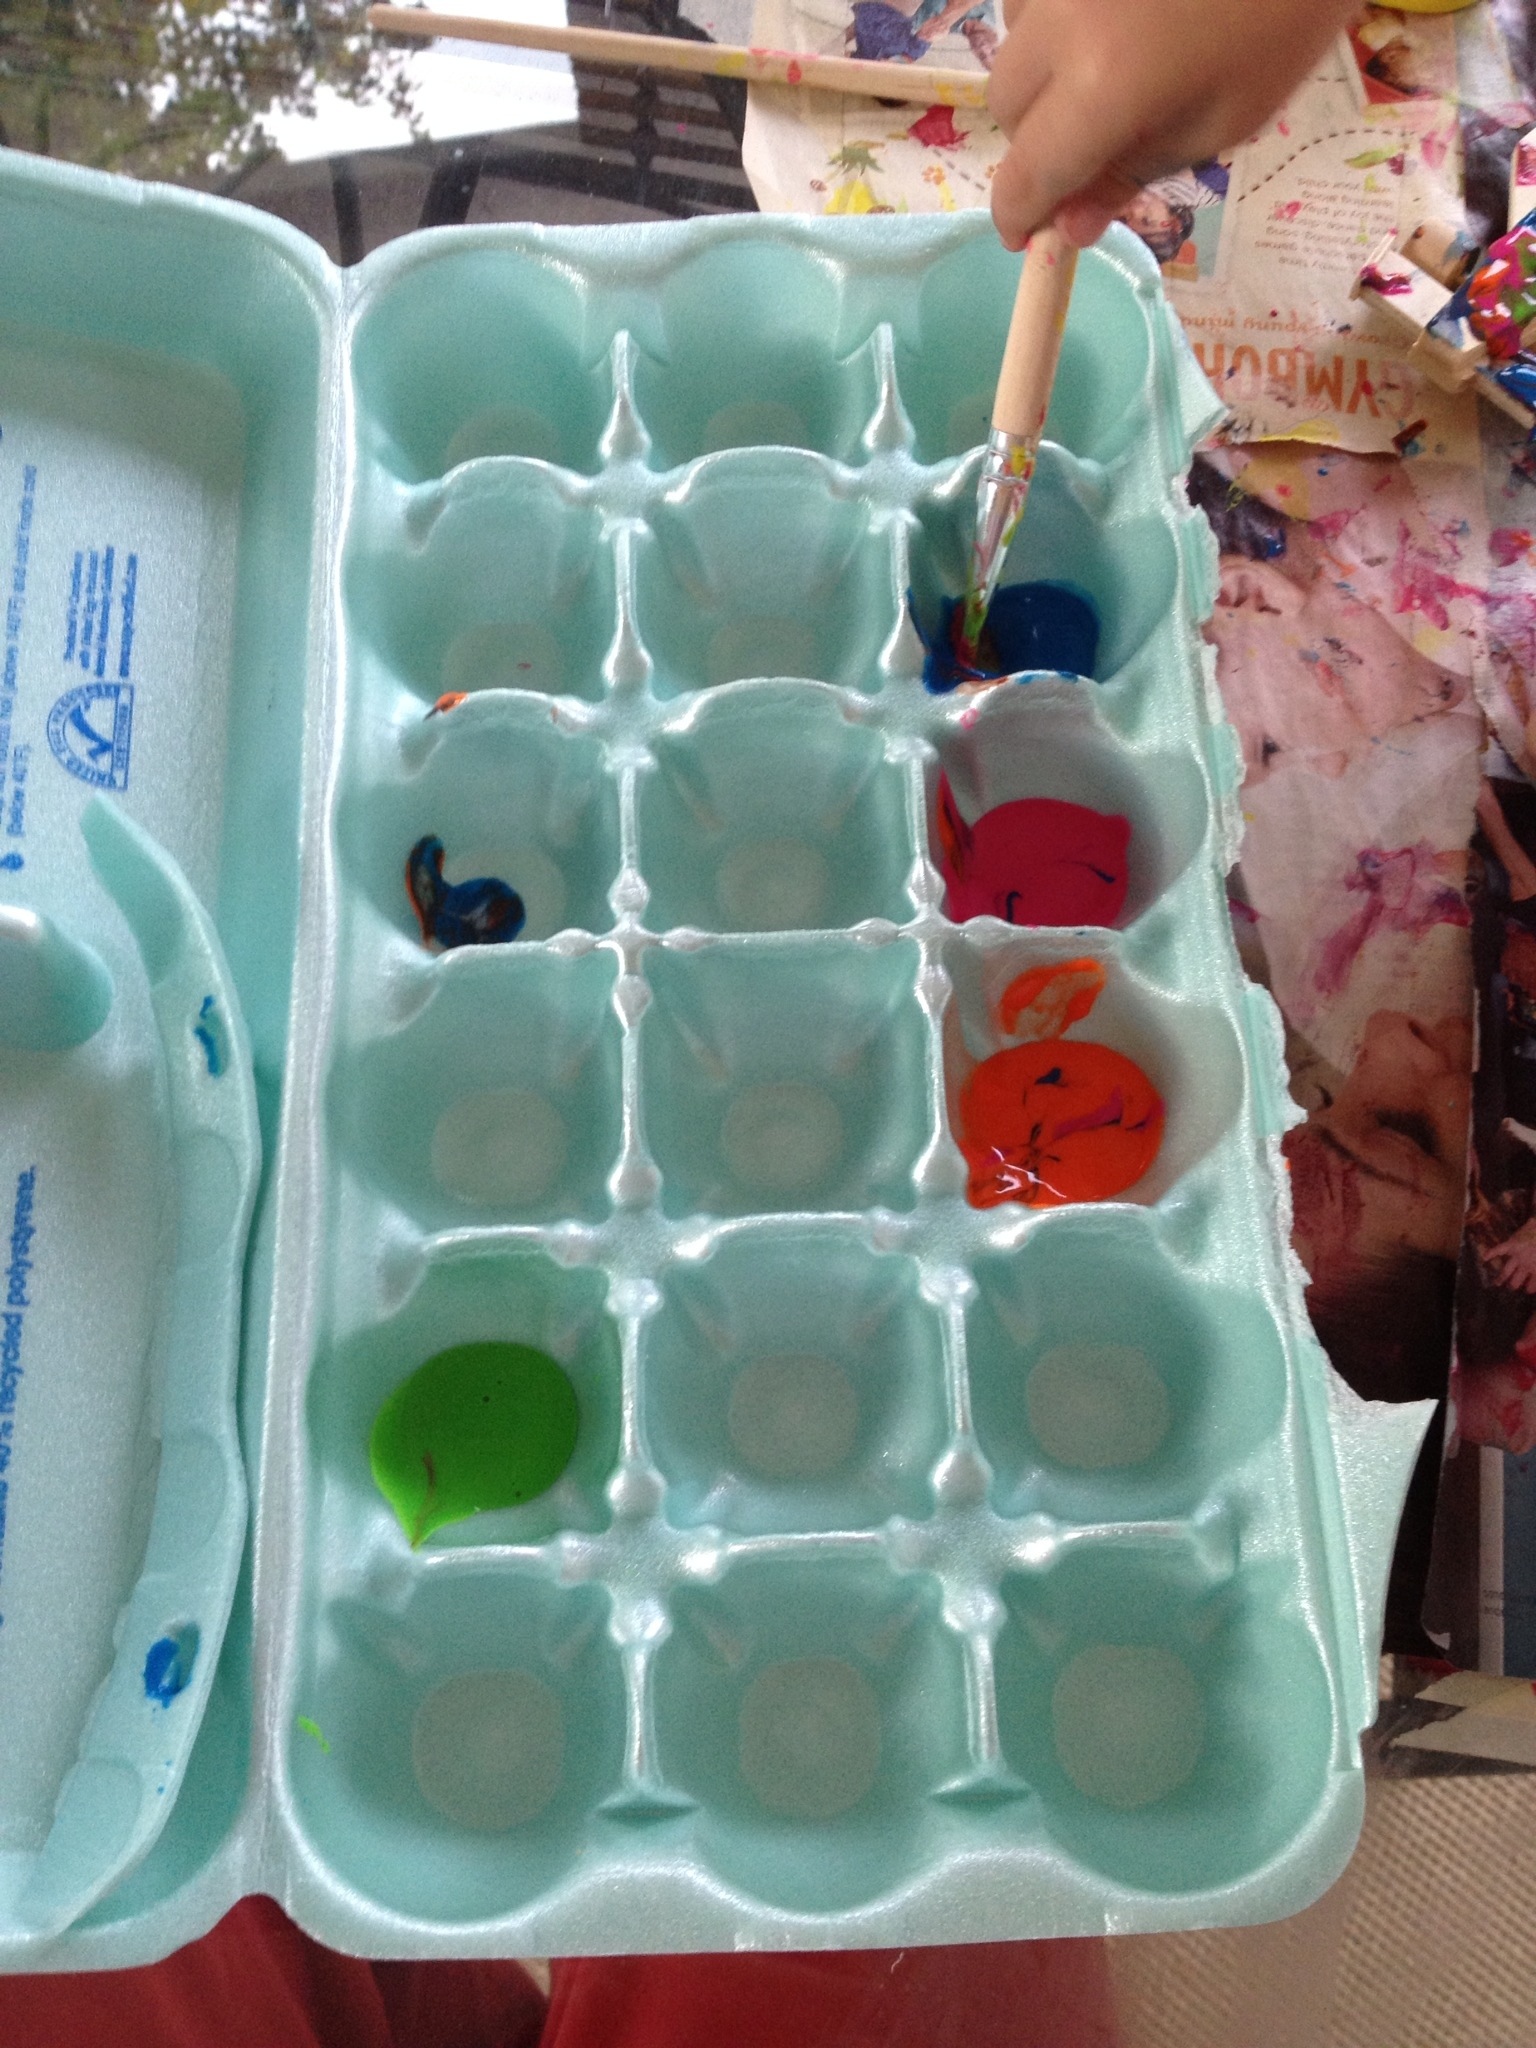
Bowl or Tupperware container
Measuring Cup
Measuring Spoon
Large Spoon
Spatula

Measure desired amount of flour into a bowl or plastic container that your child can manipulate easily. I used a glad plastic container that has side gripped handles that are thin enough for Reagan to hold onto and is large enough for her scoop in and out of, as well as to build in.

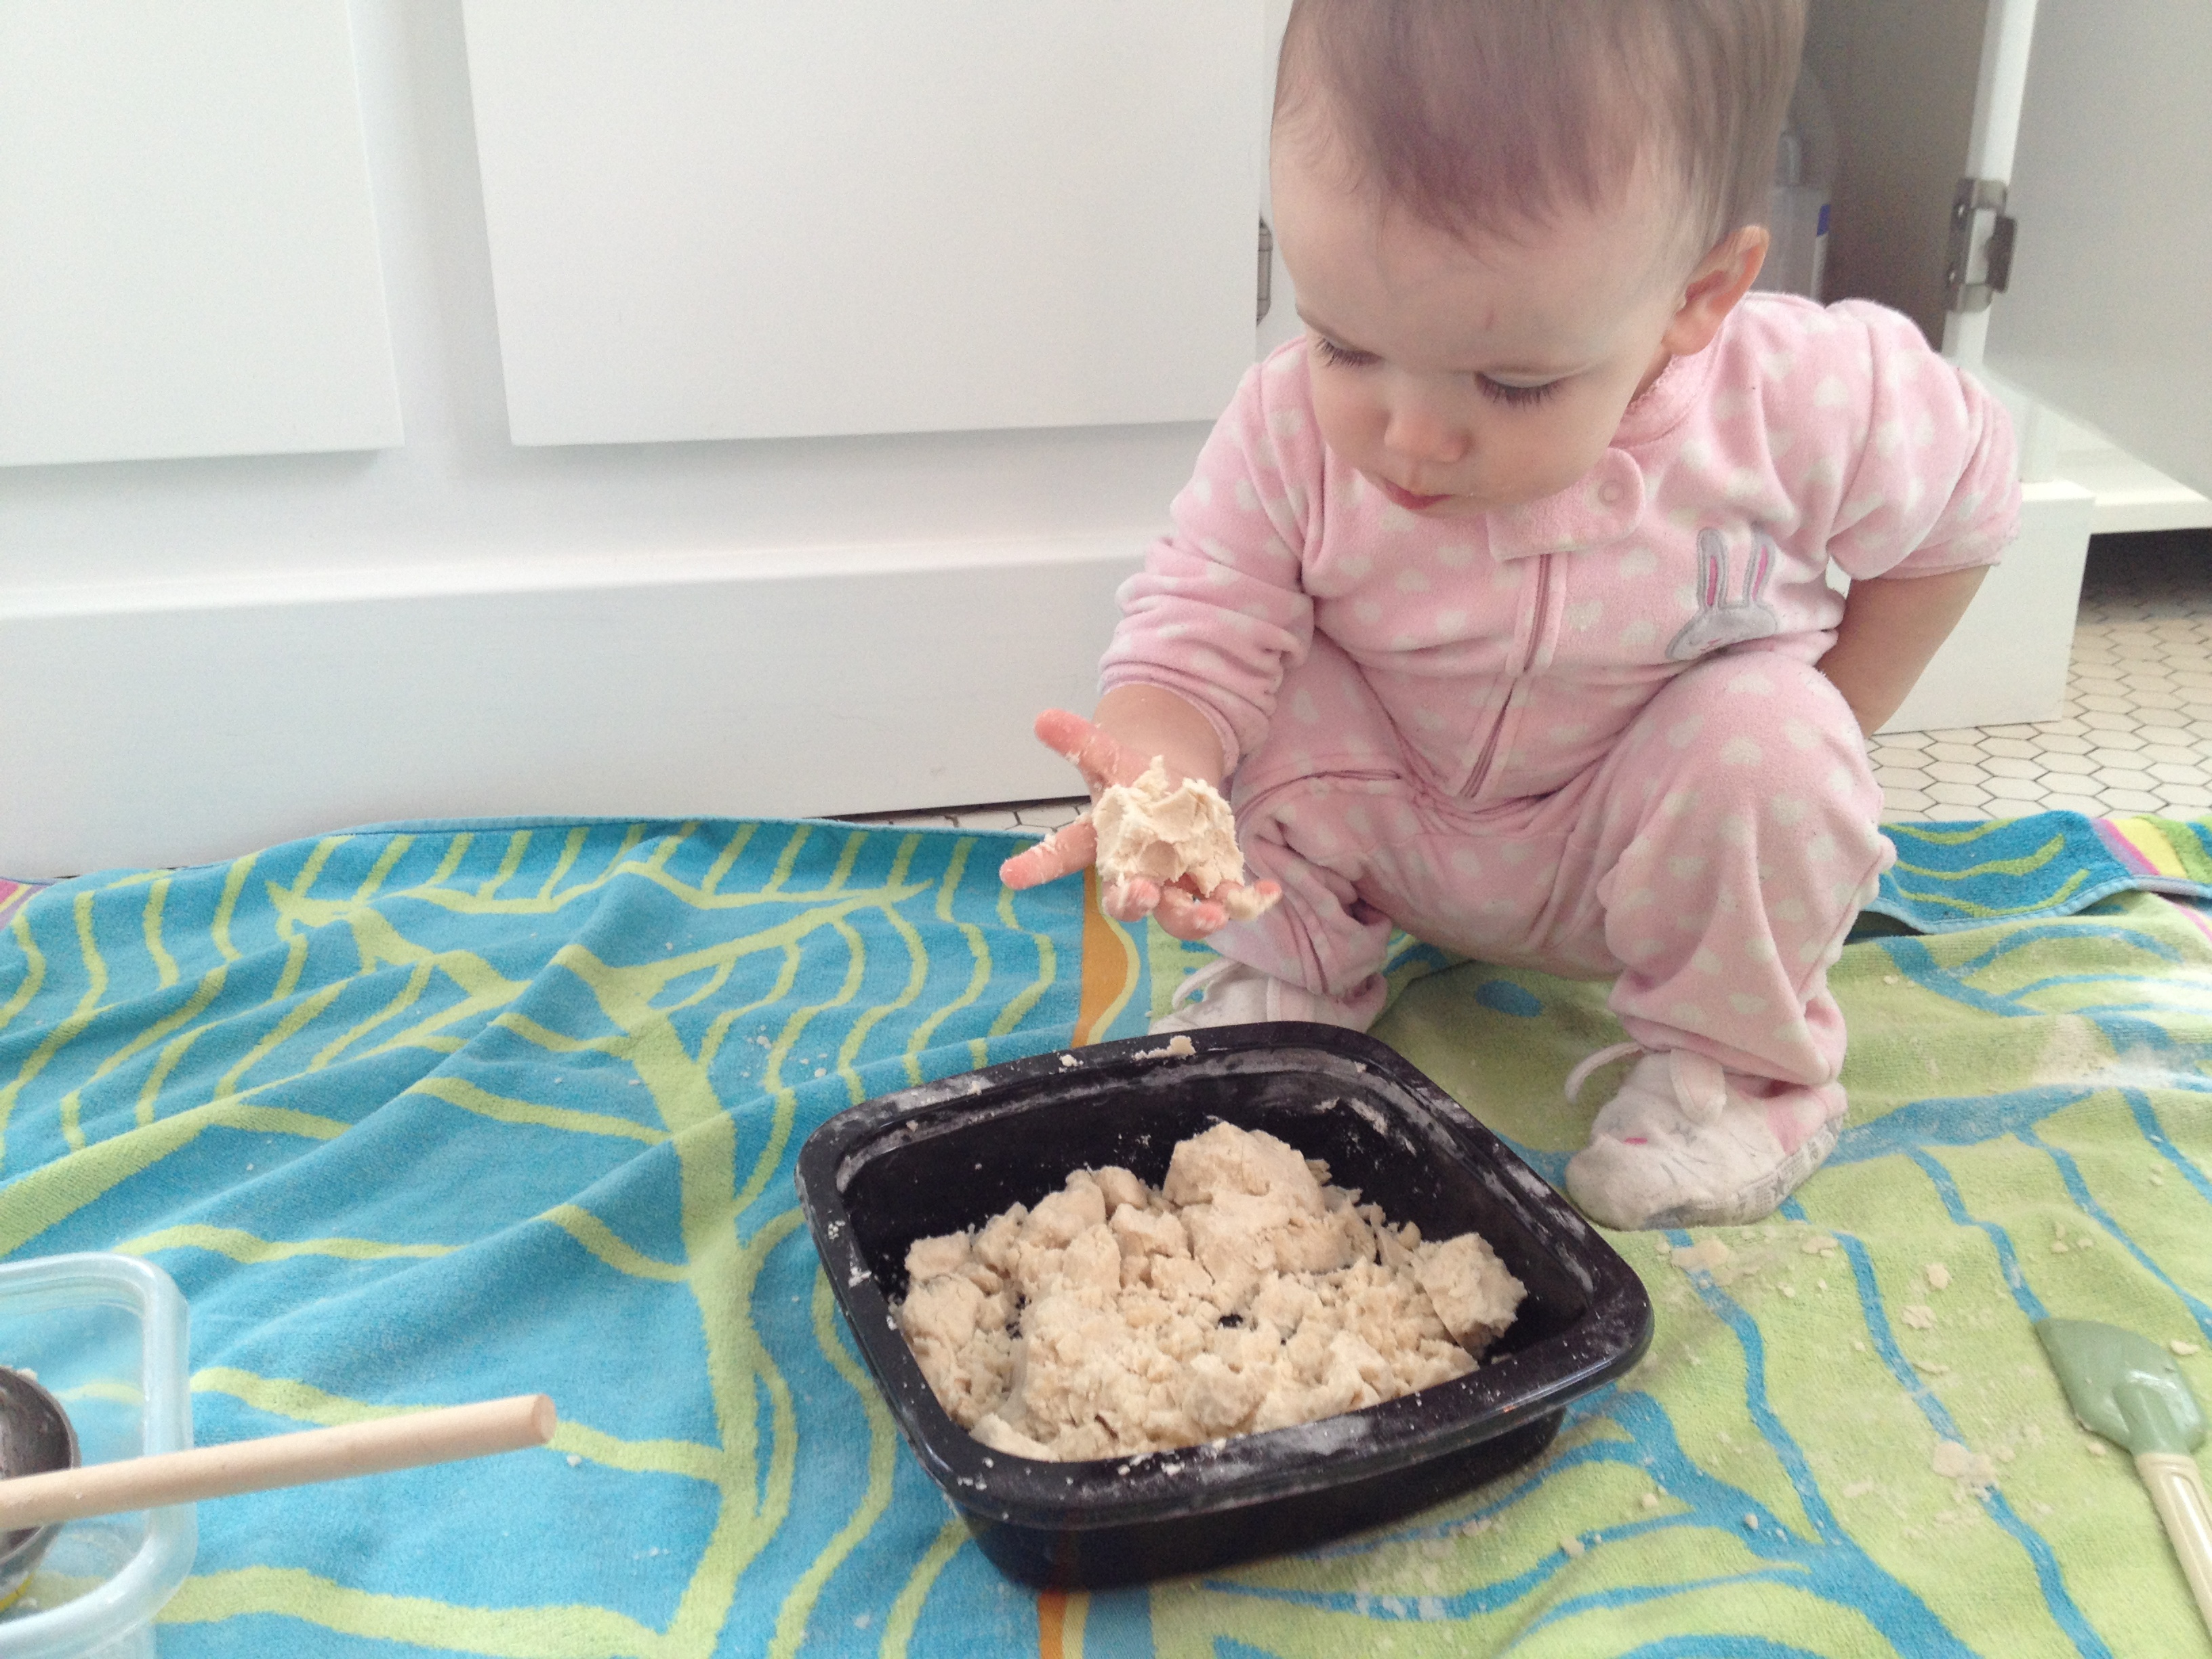
Add baby oil, stirring with a spoon or spatula and squeezing with your hands until desired consistency is reached. I wanted to be able to form balls with our sand, so I continued to add baby oil until we were able to do so. We probably added about 1/4 cup of baby oil- total guesstimate.

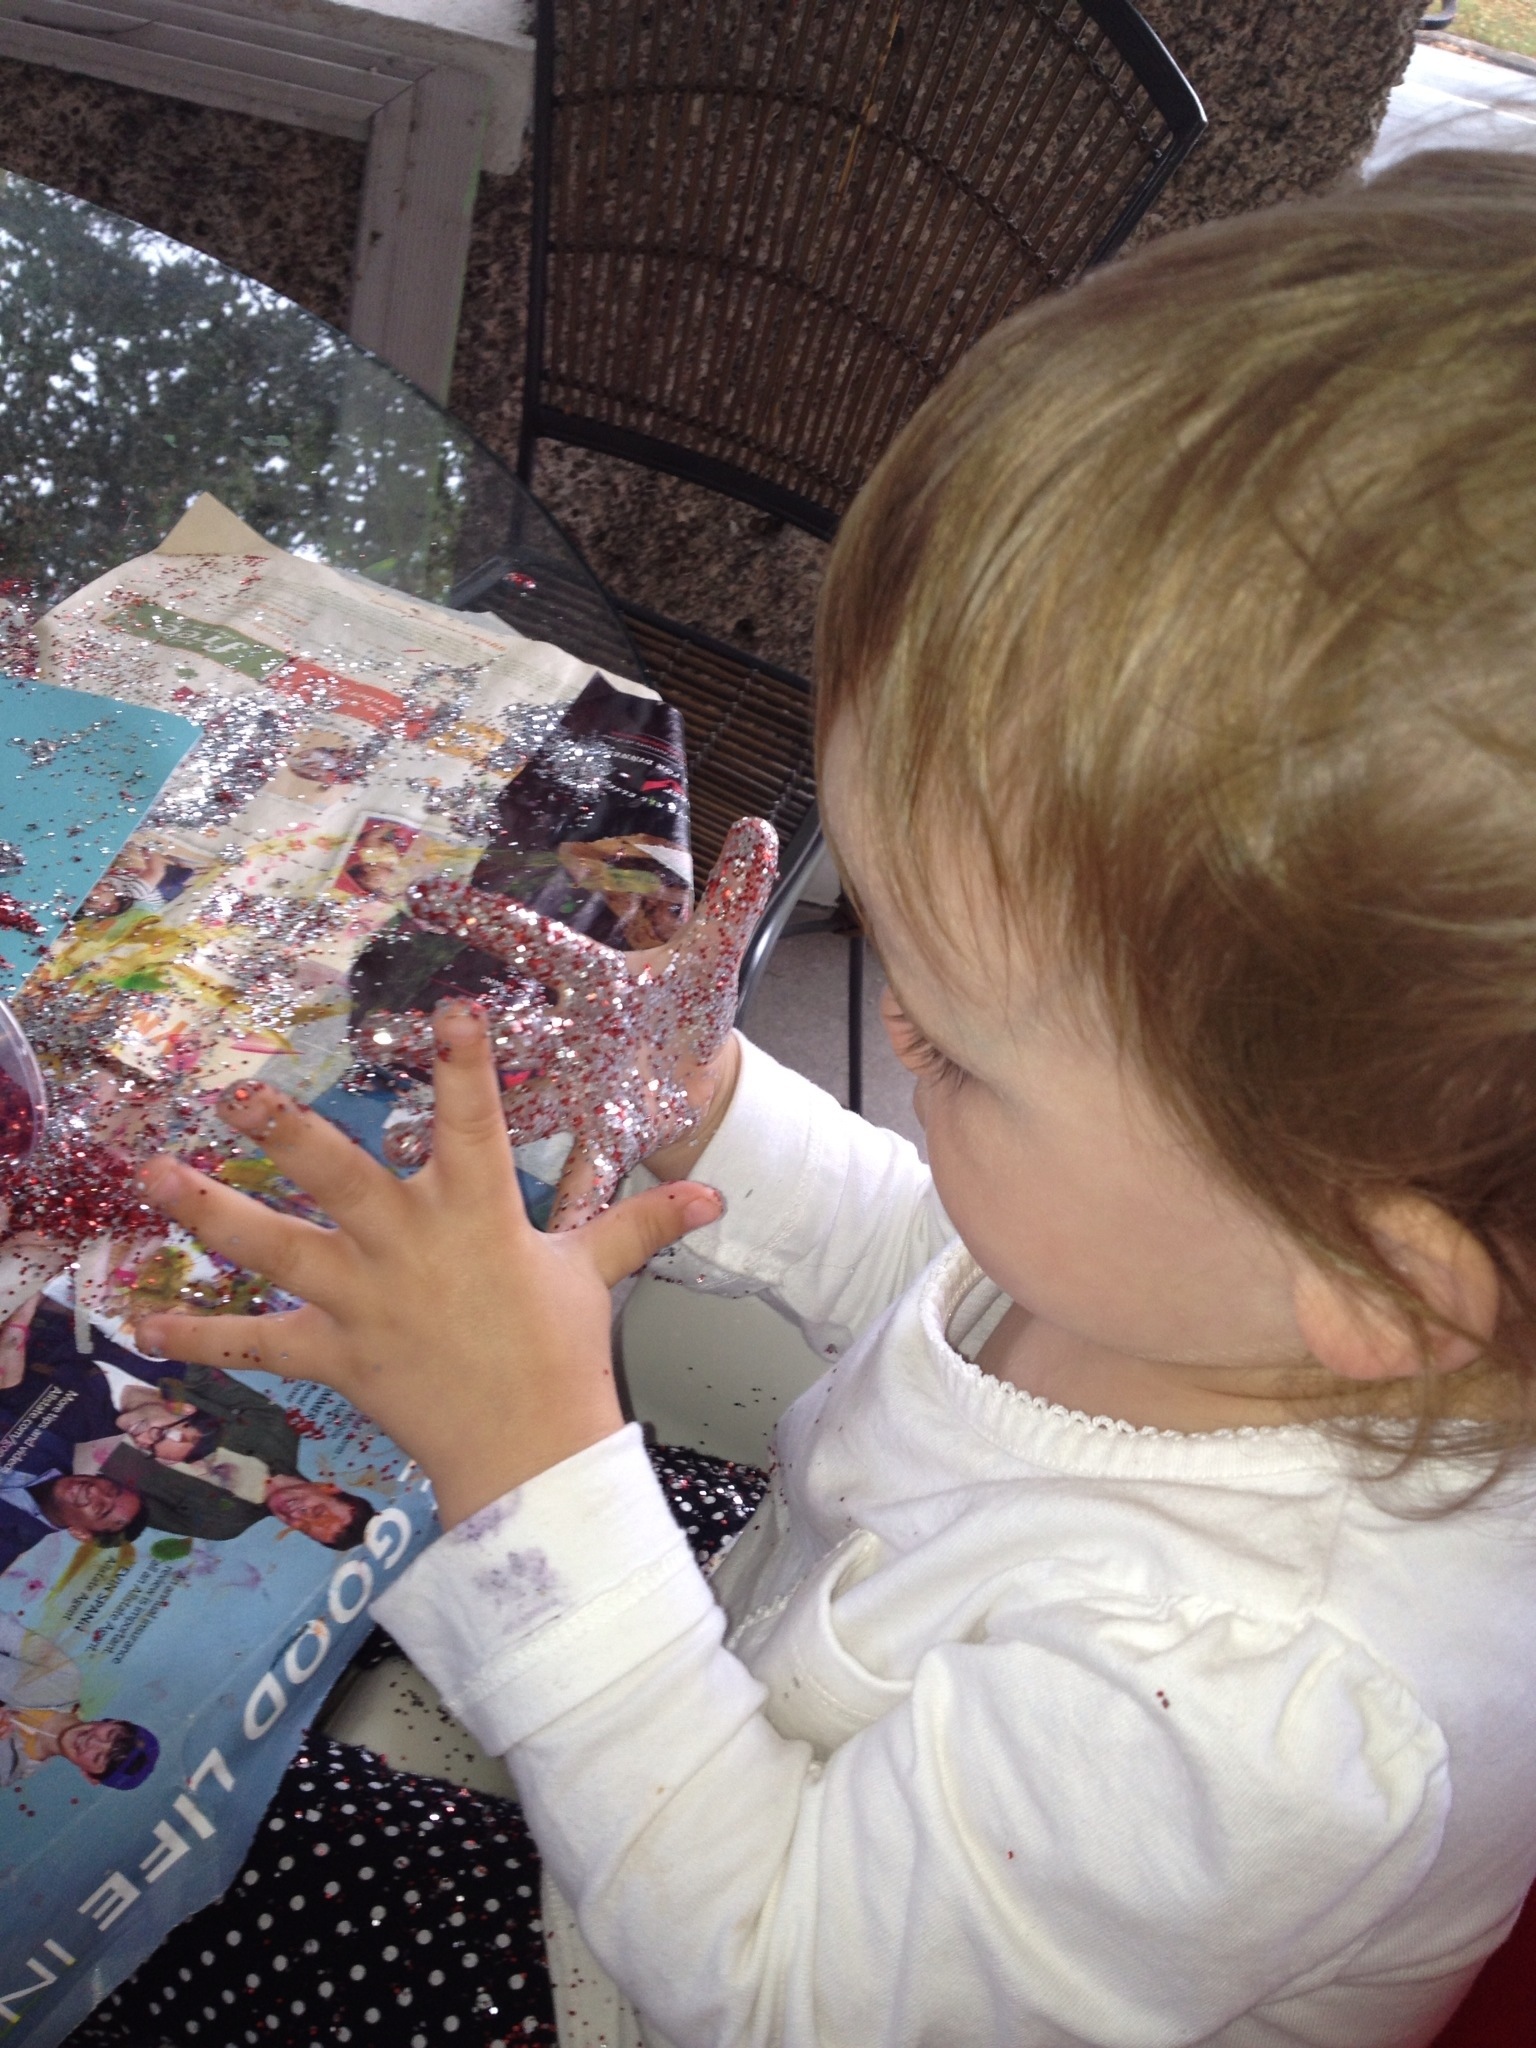
Reagan played for about 25 minutes with the Moon Sand and loved every minute of it! The baby oil made our hands super soft and left them smelling fabulous as well–thanks to the lavender-scented oil!

We threw away the Moon Sand, put the dishes in the dish washer and shook the towel outside before washing.