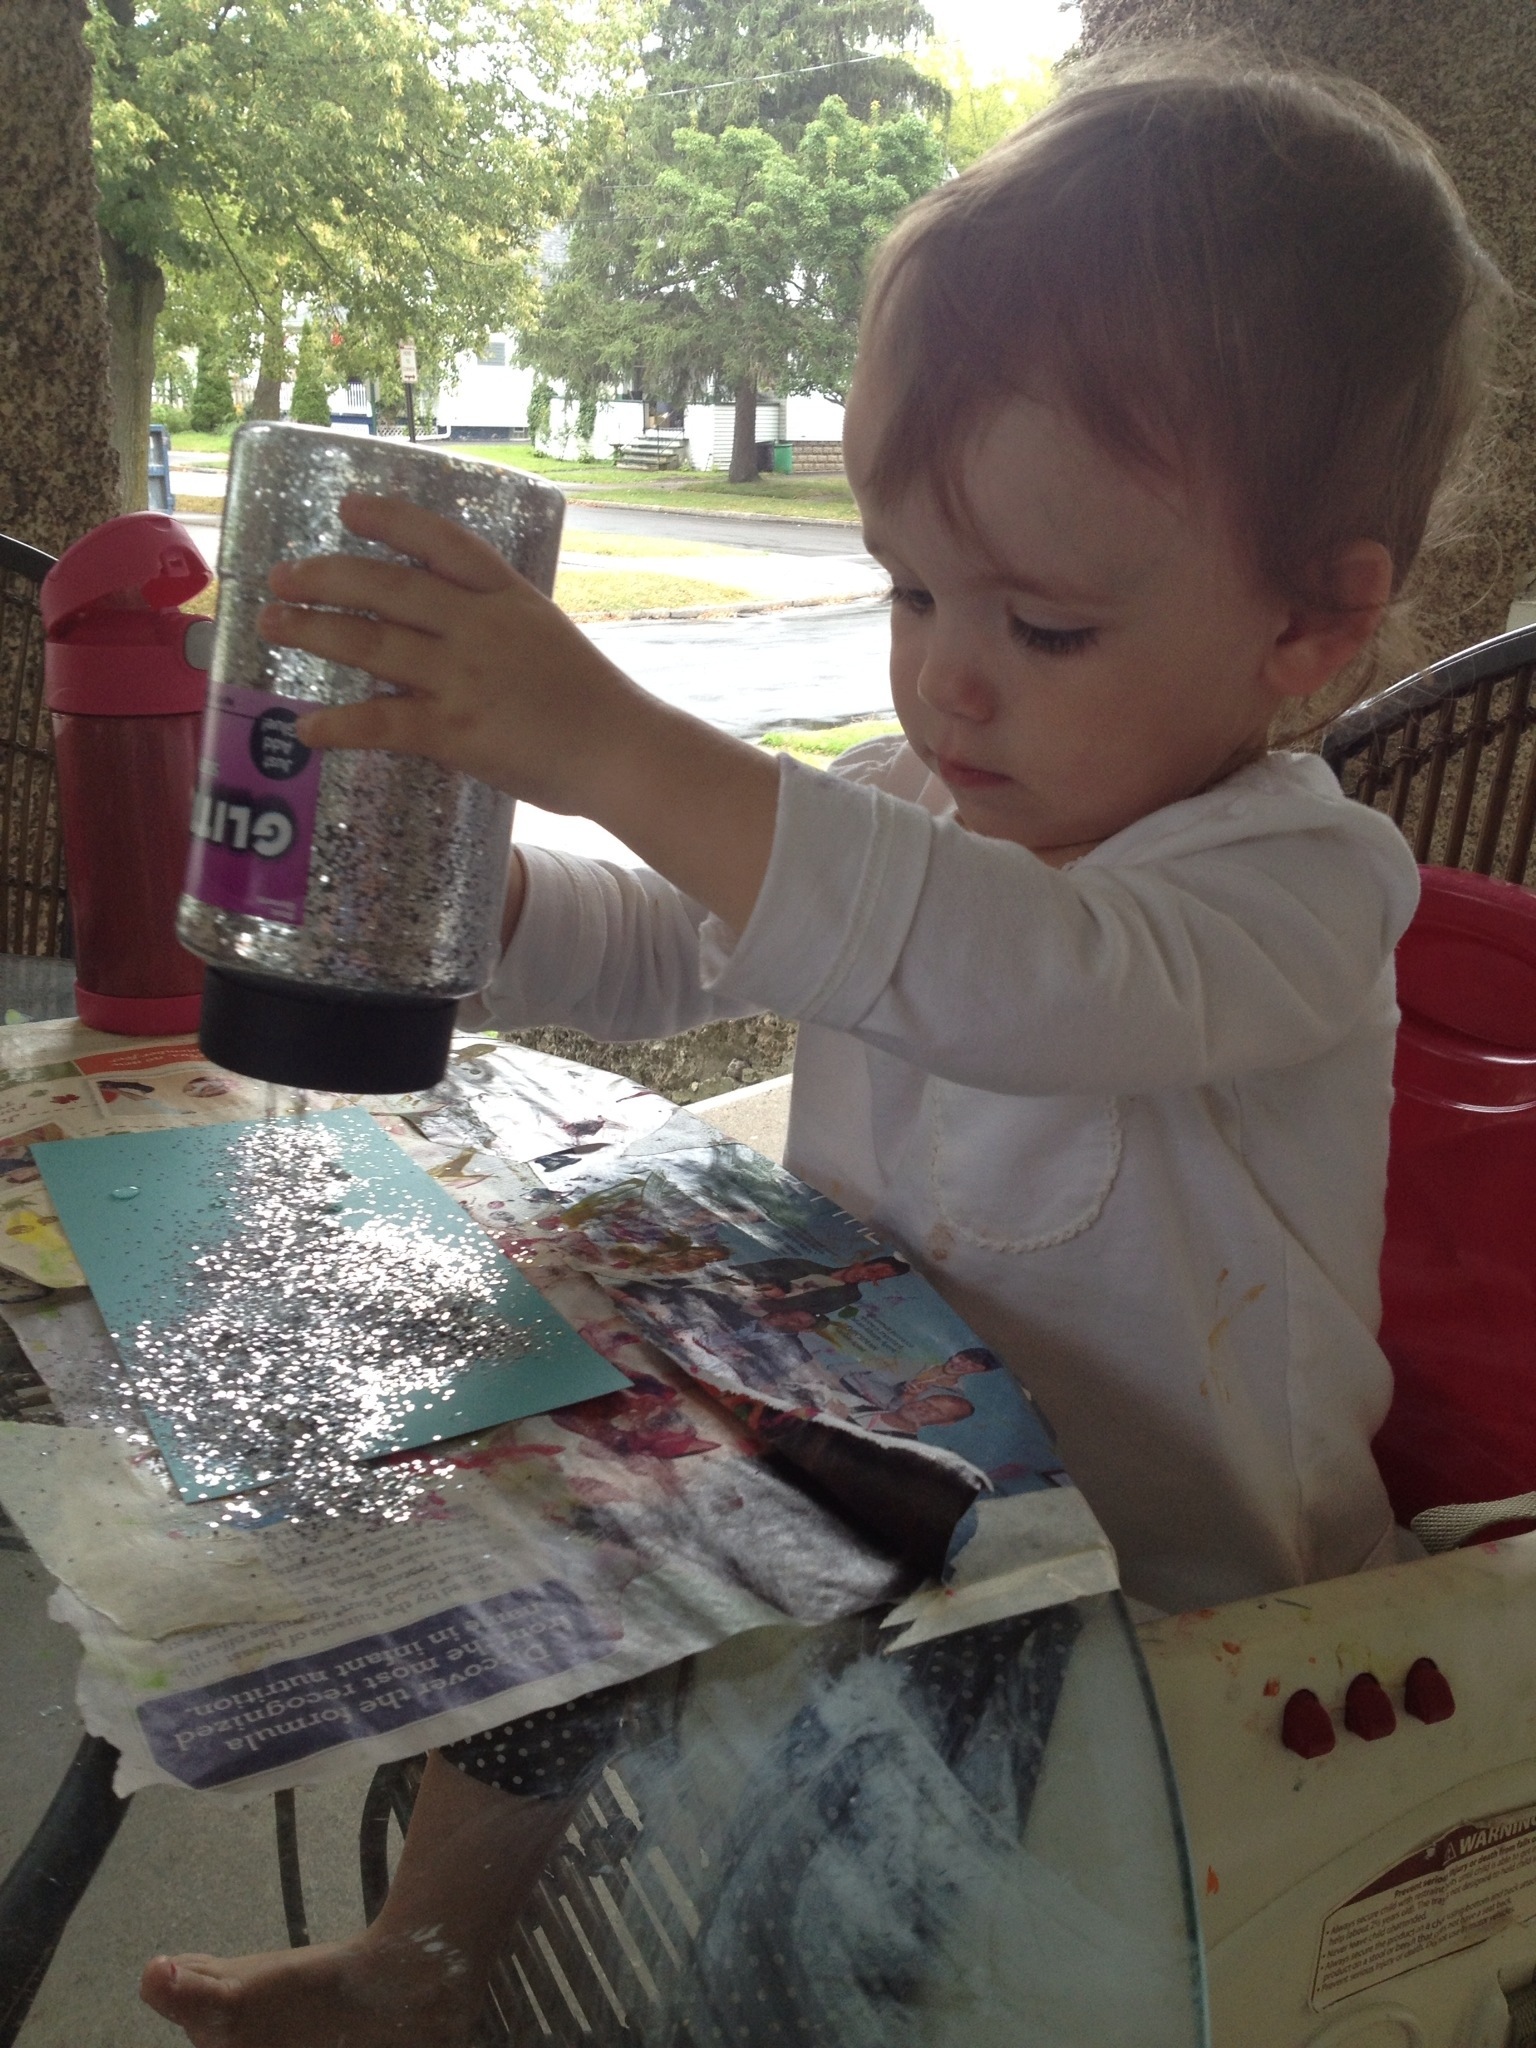
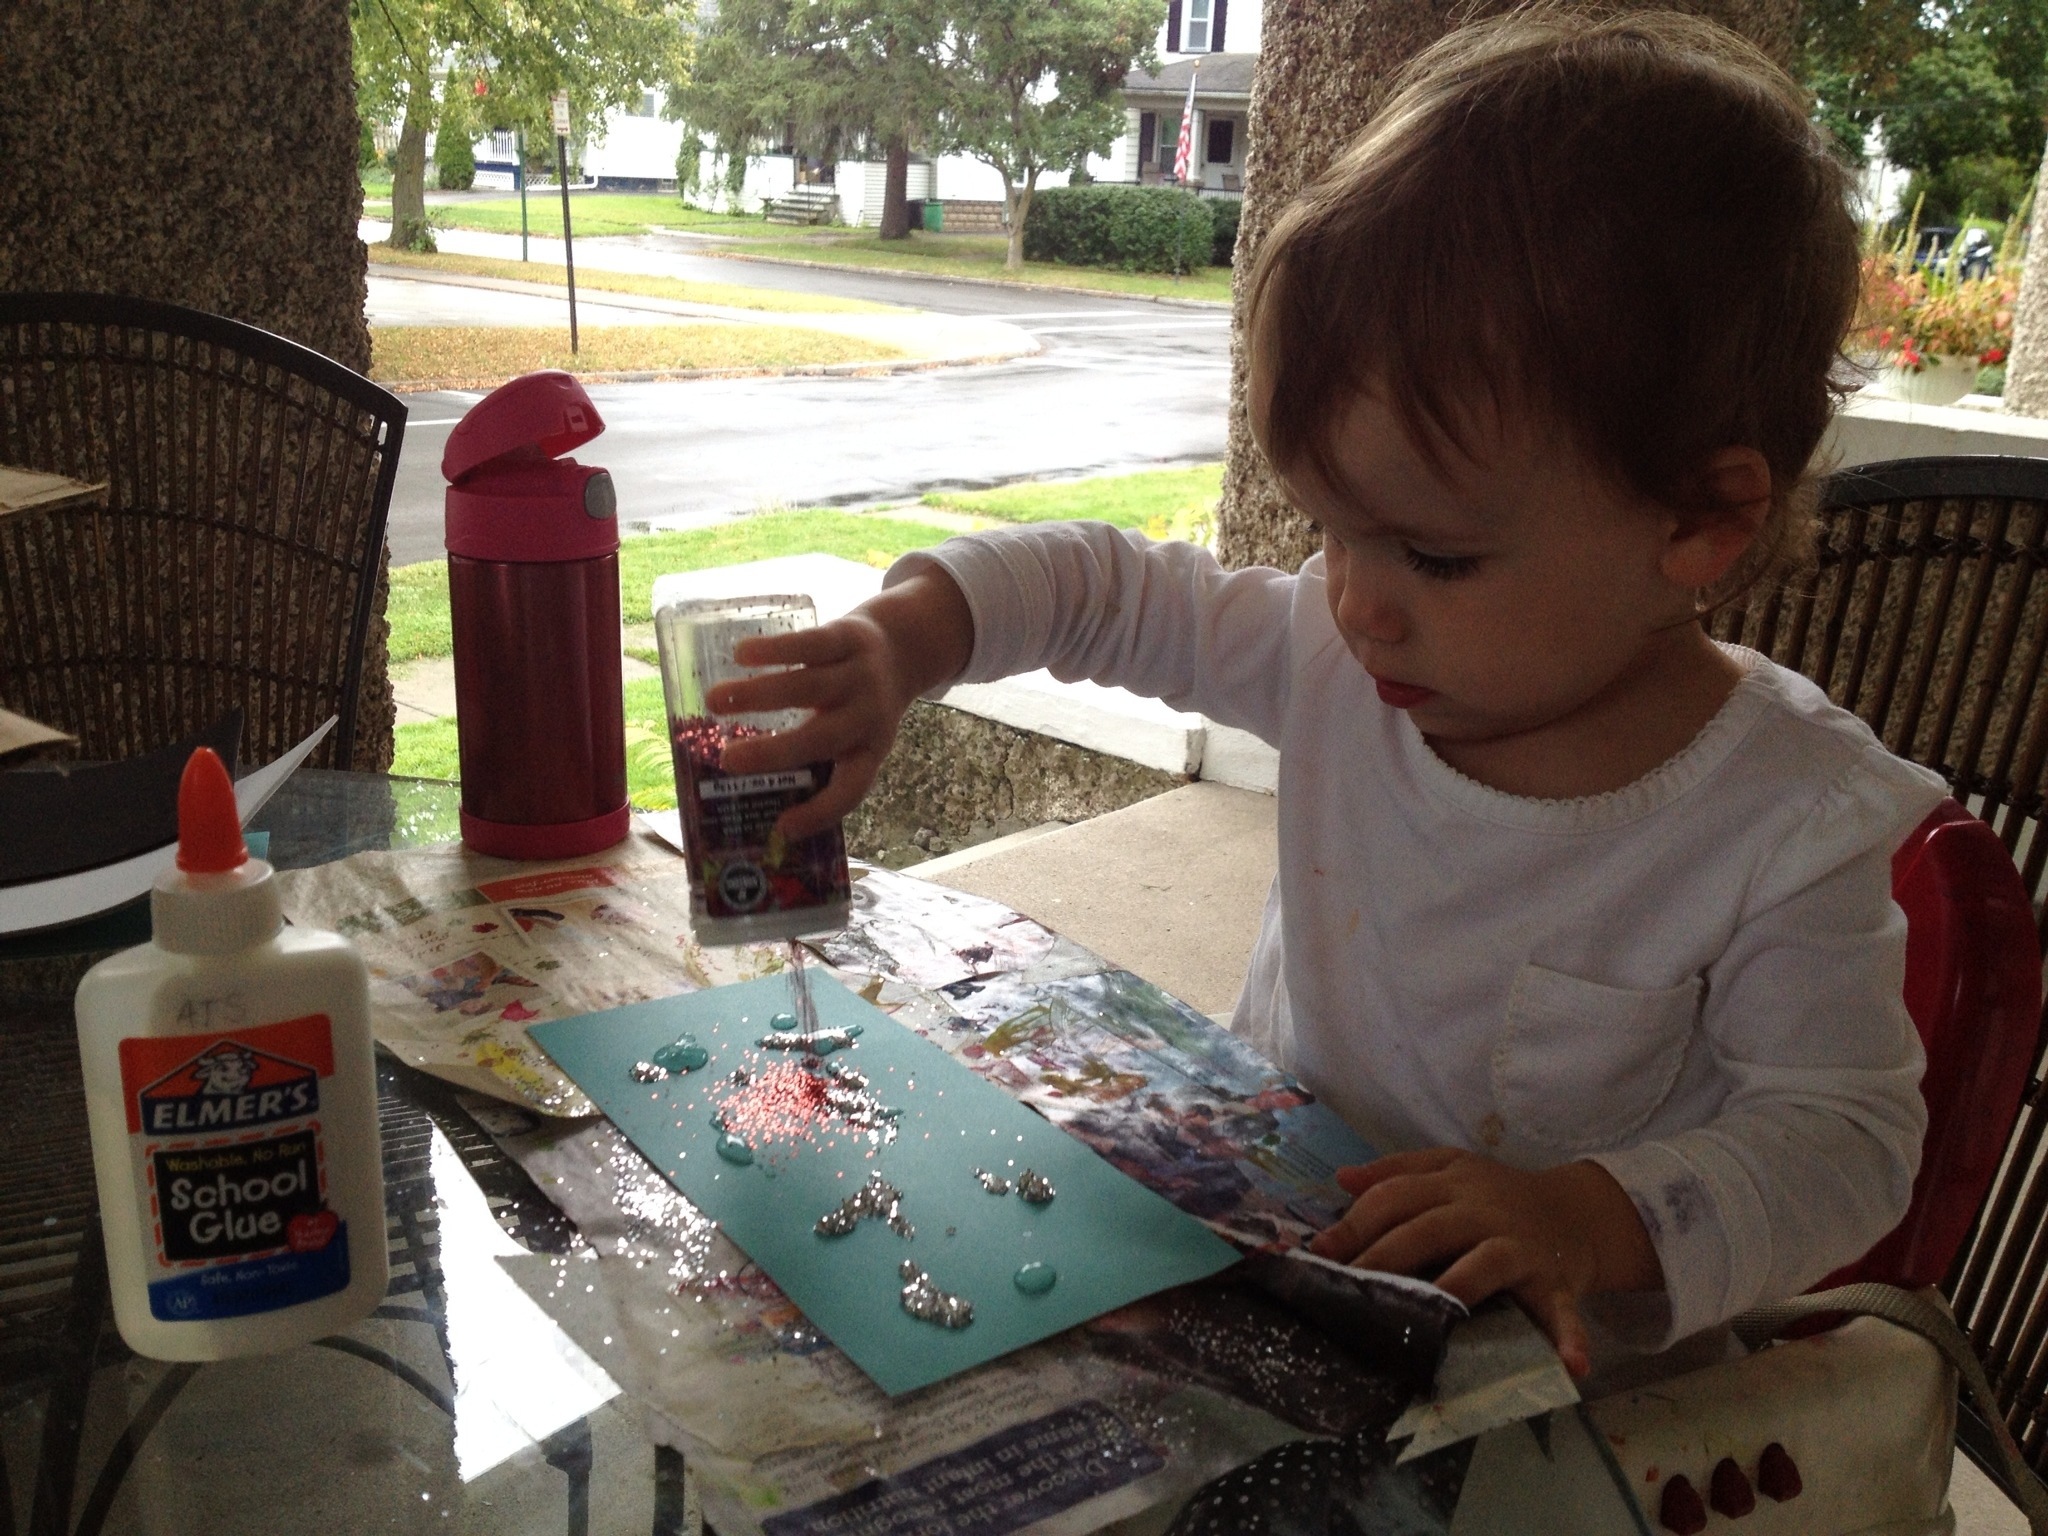
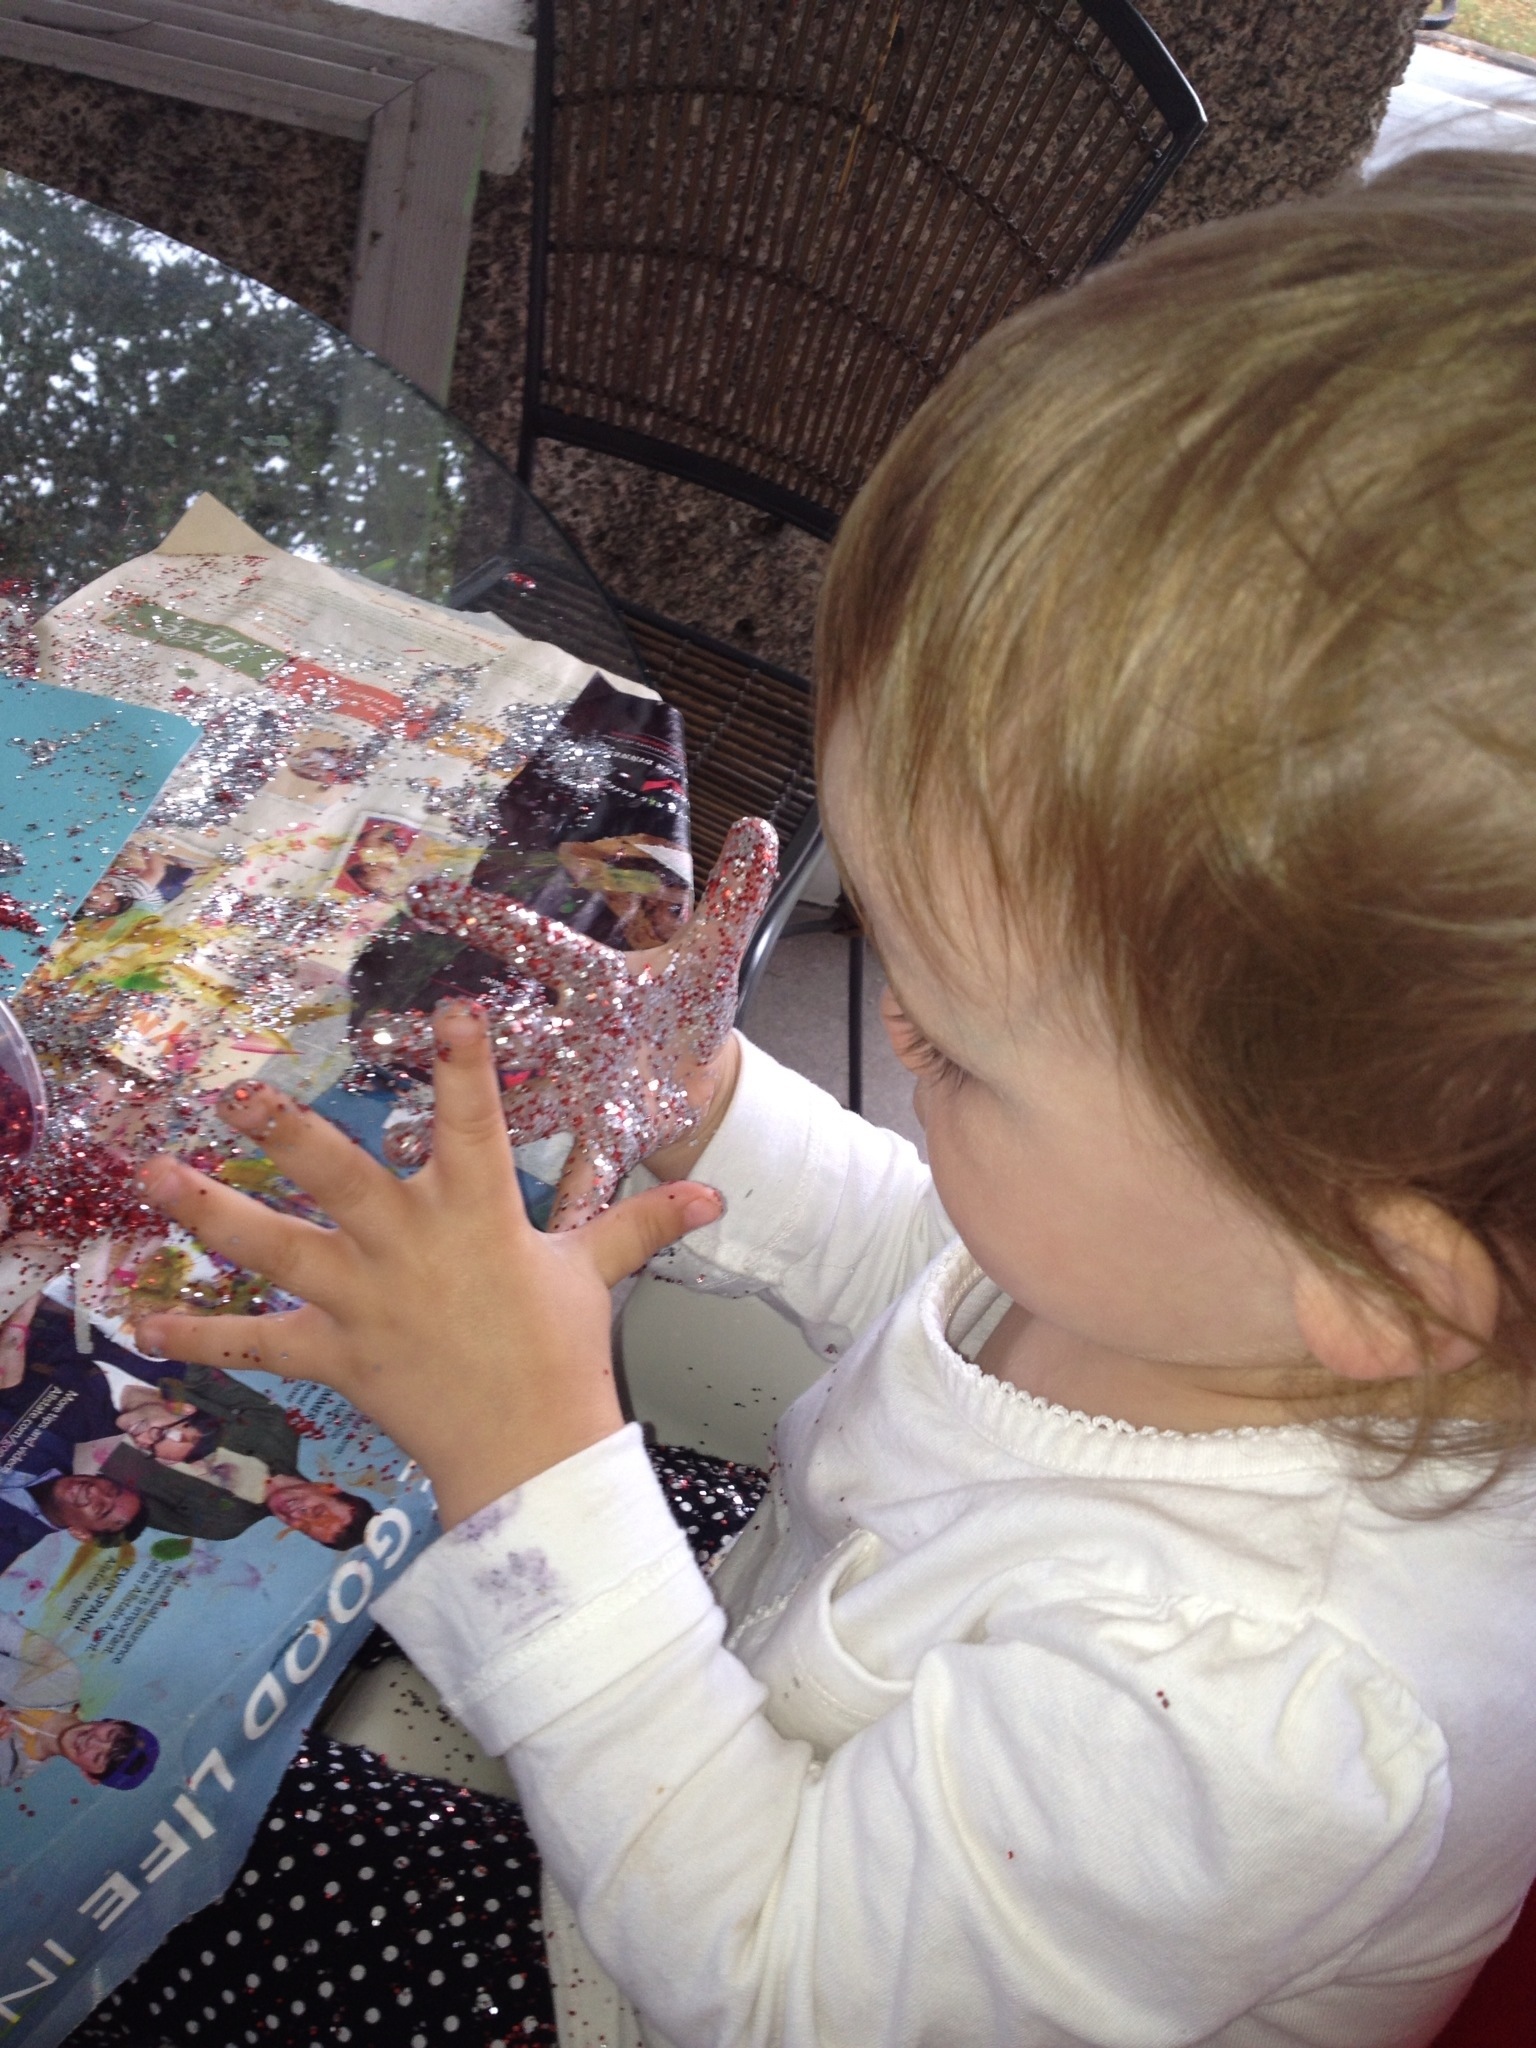
These snowflakes, originally found here, were super easy to make, but took a long time, 15 plus hours to dry. The plan was for this to be a craft for Reagan and I to do on a super chilly, 9 degree, day here in Rochester. Unfortunately, the only part of this craft that Reagan was able to participate in was the shaking of the glitter onto the glue. She wasn’t super disappointed, and luckily I still had left overs on hand from a Snow Man craft that we did a week or so back.
Materials
 Paper
Paper
Writing Utensil- we used a black marker
Wax Paper
White liquid Glue
Glitter- we used silver
Needle
Thread- we used white
Directions
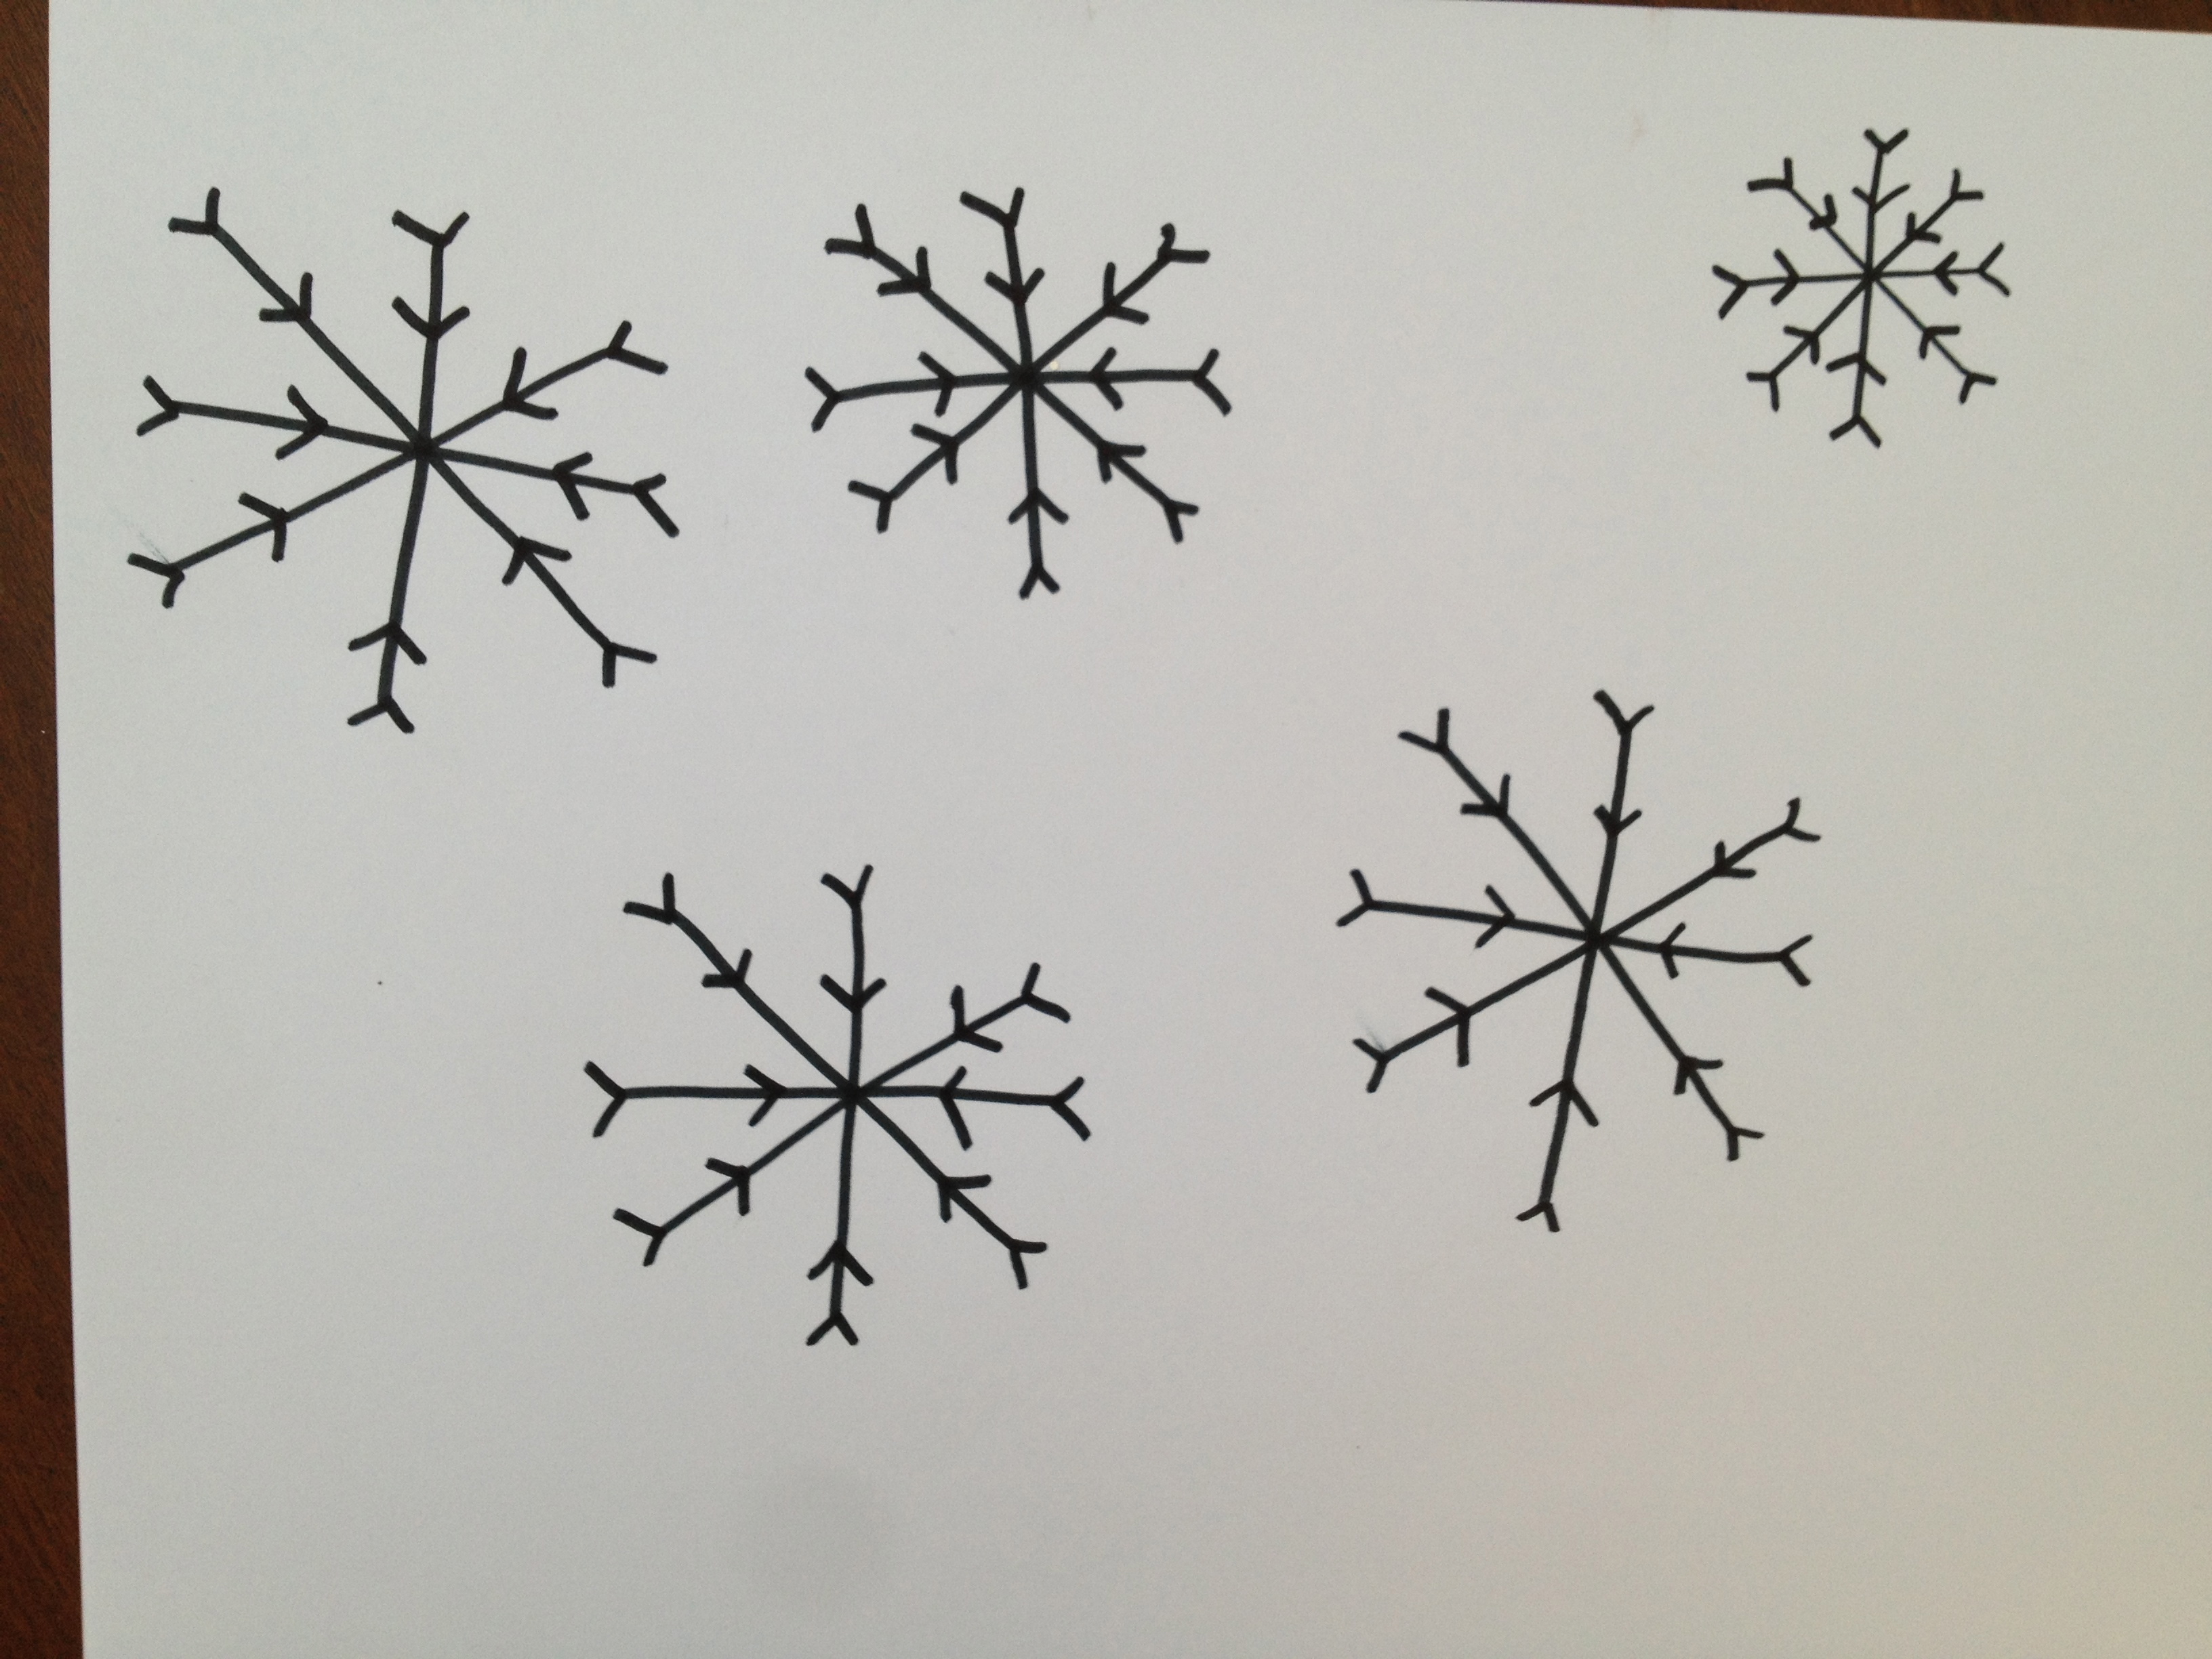 Free hand draw as many snowflakes as you would like to make onto a piece of paper.

 Cover your piece of paper with a sheet of wax paper. Using your glue, trace your snowflake.
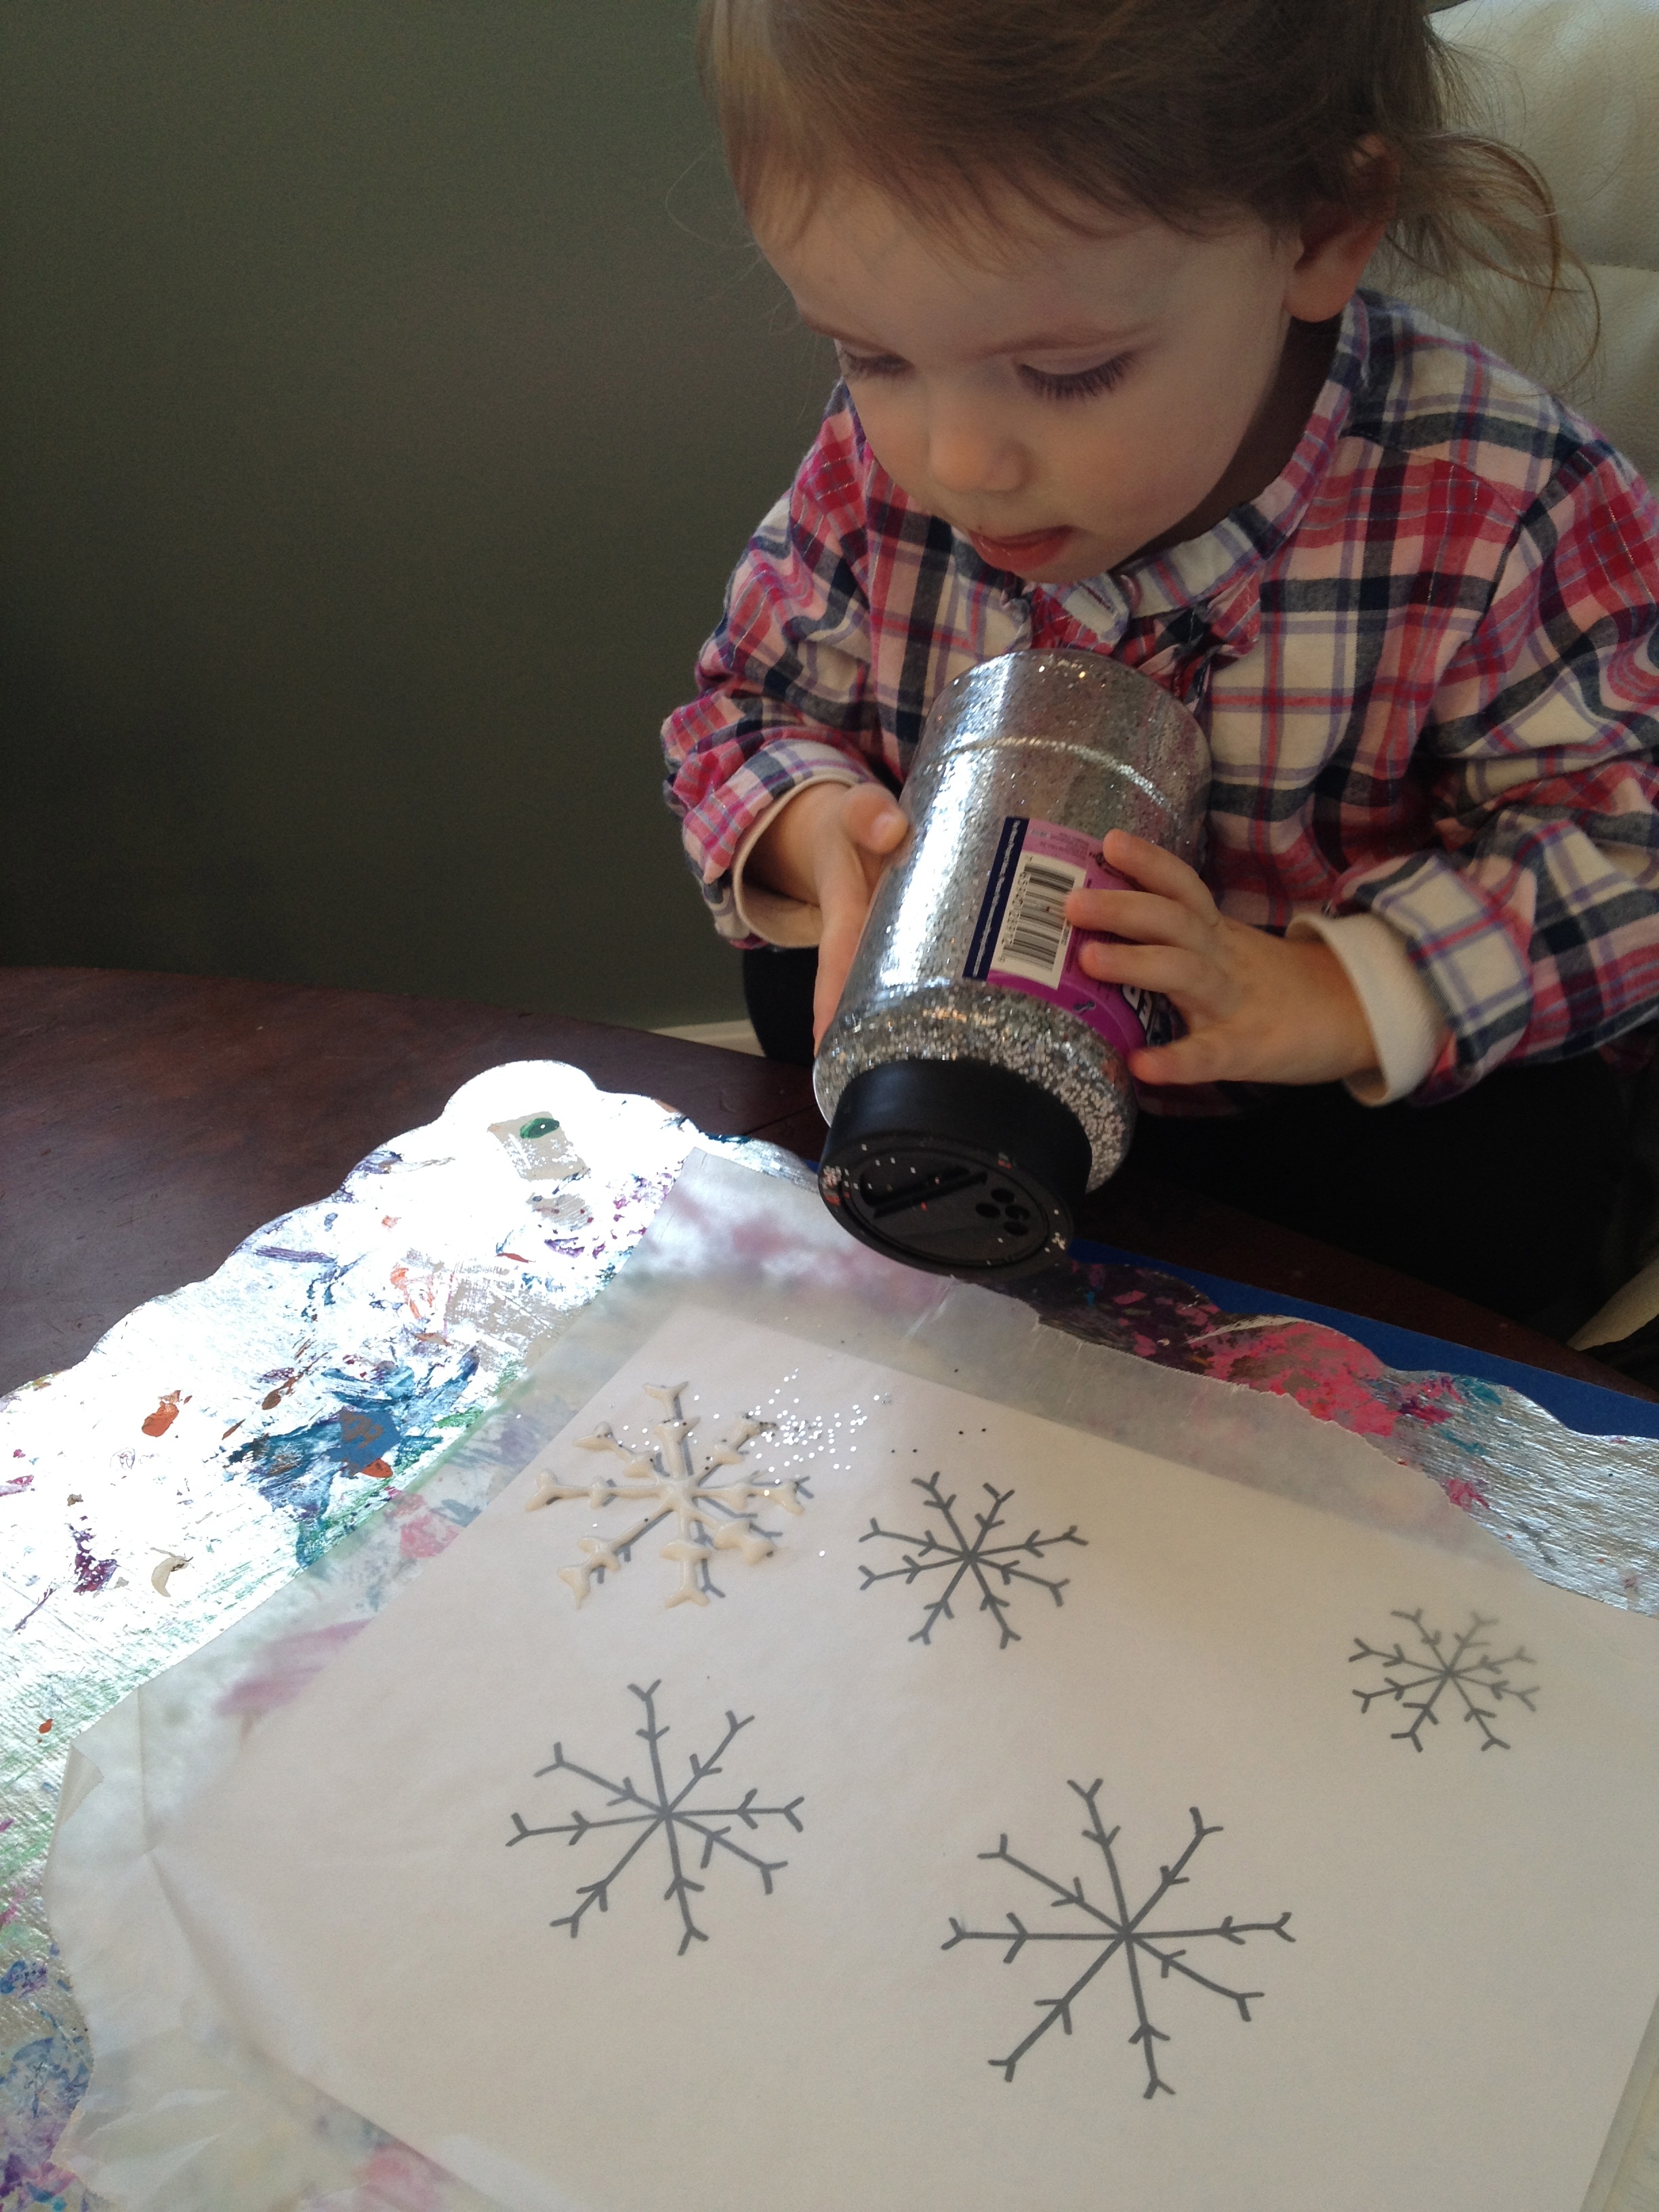

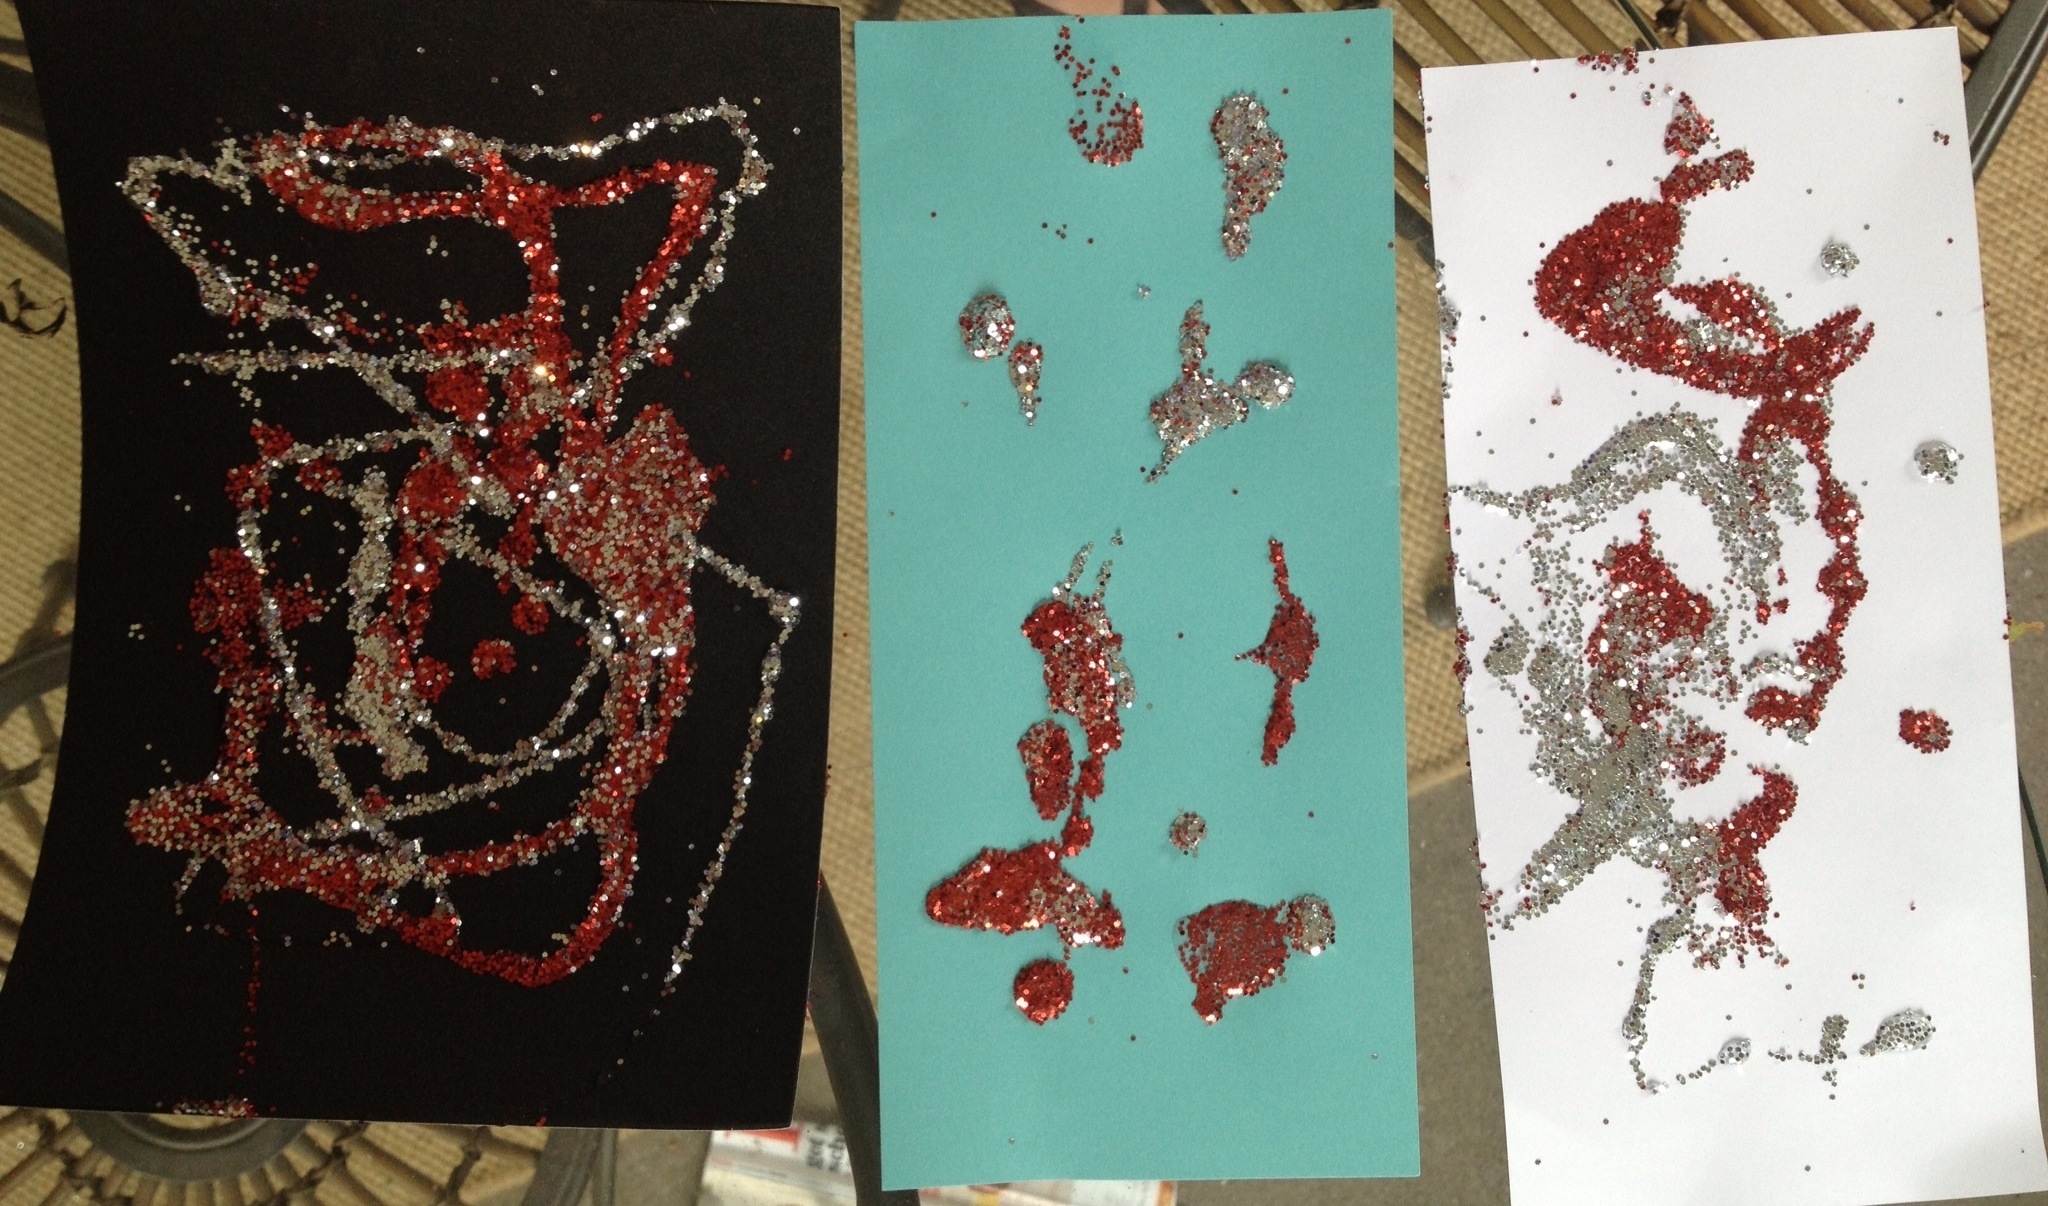
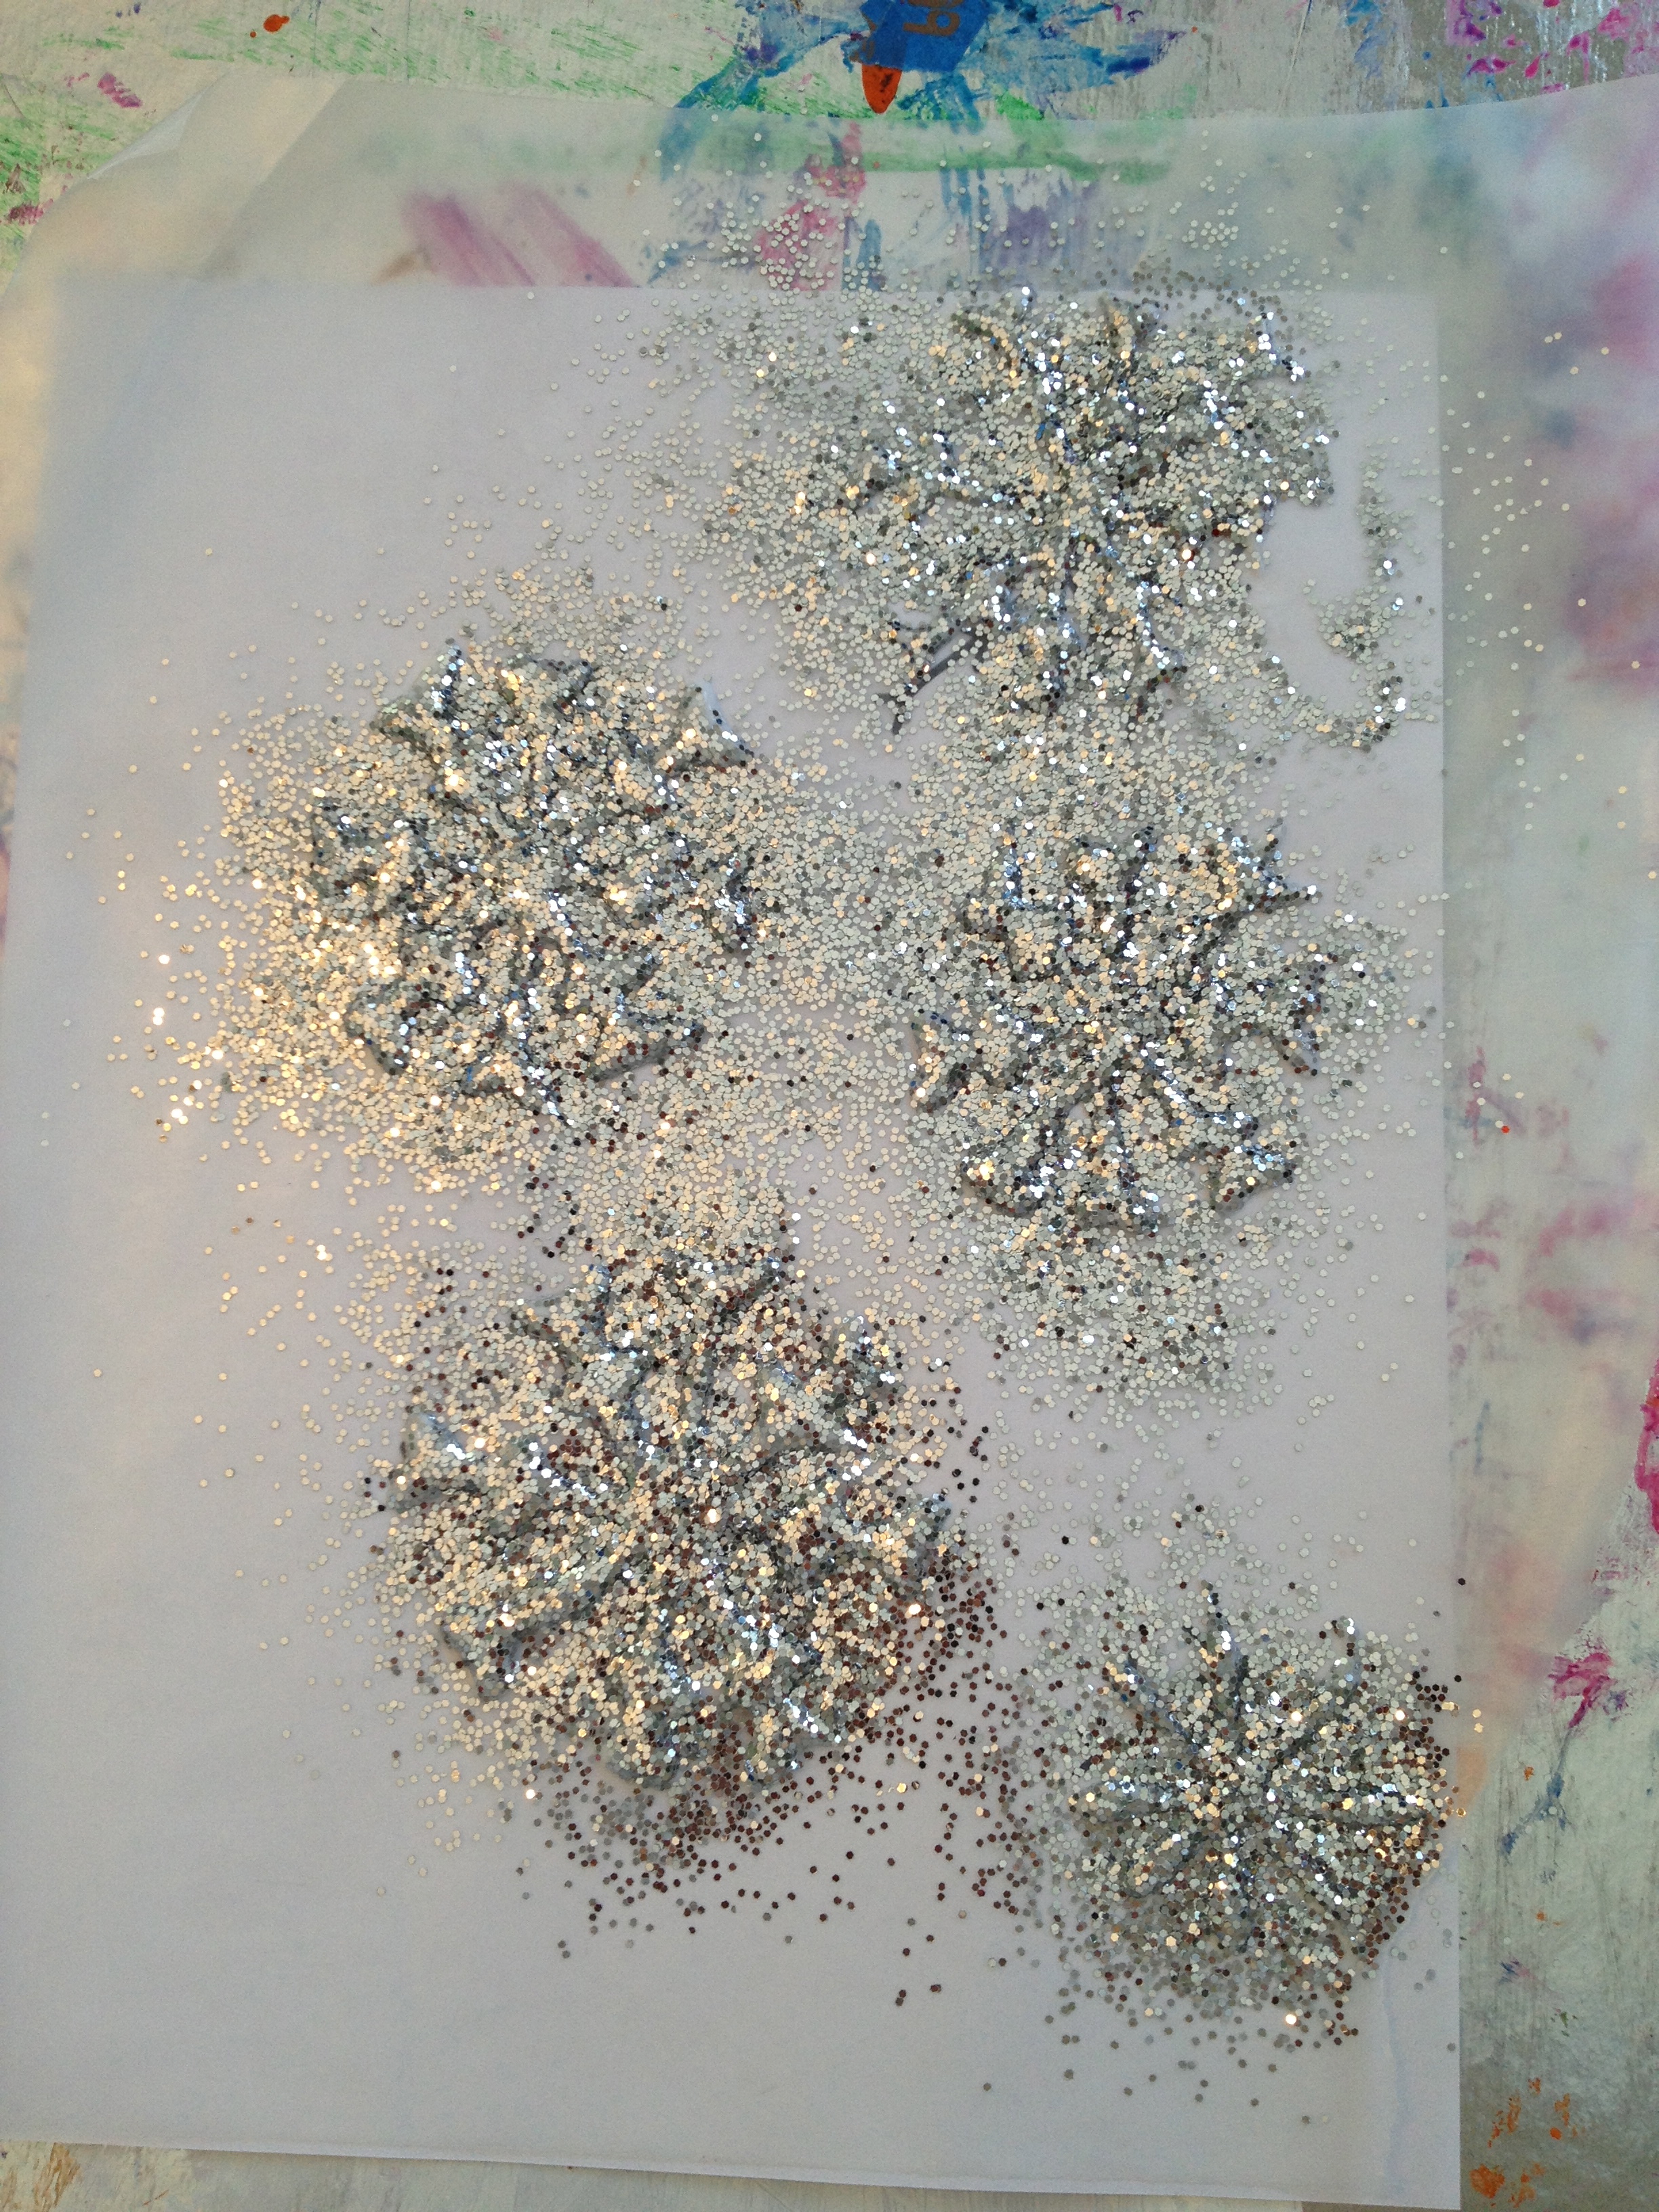 Cover snowflakes with glitter and leave to dry overnight.
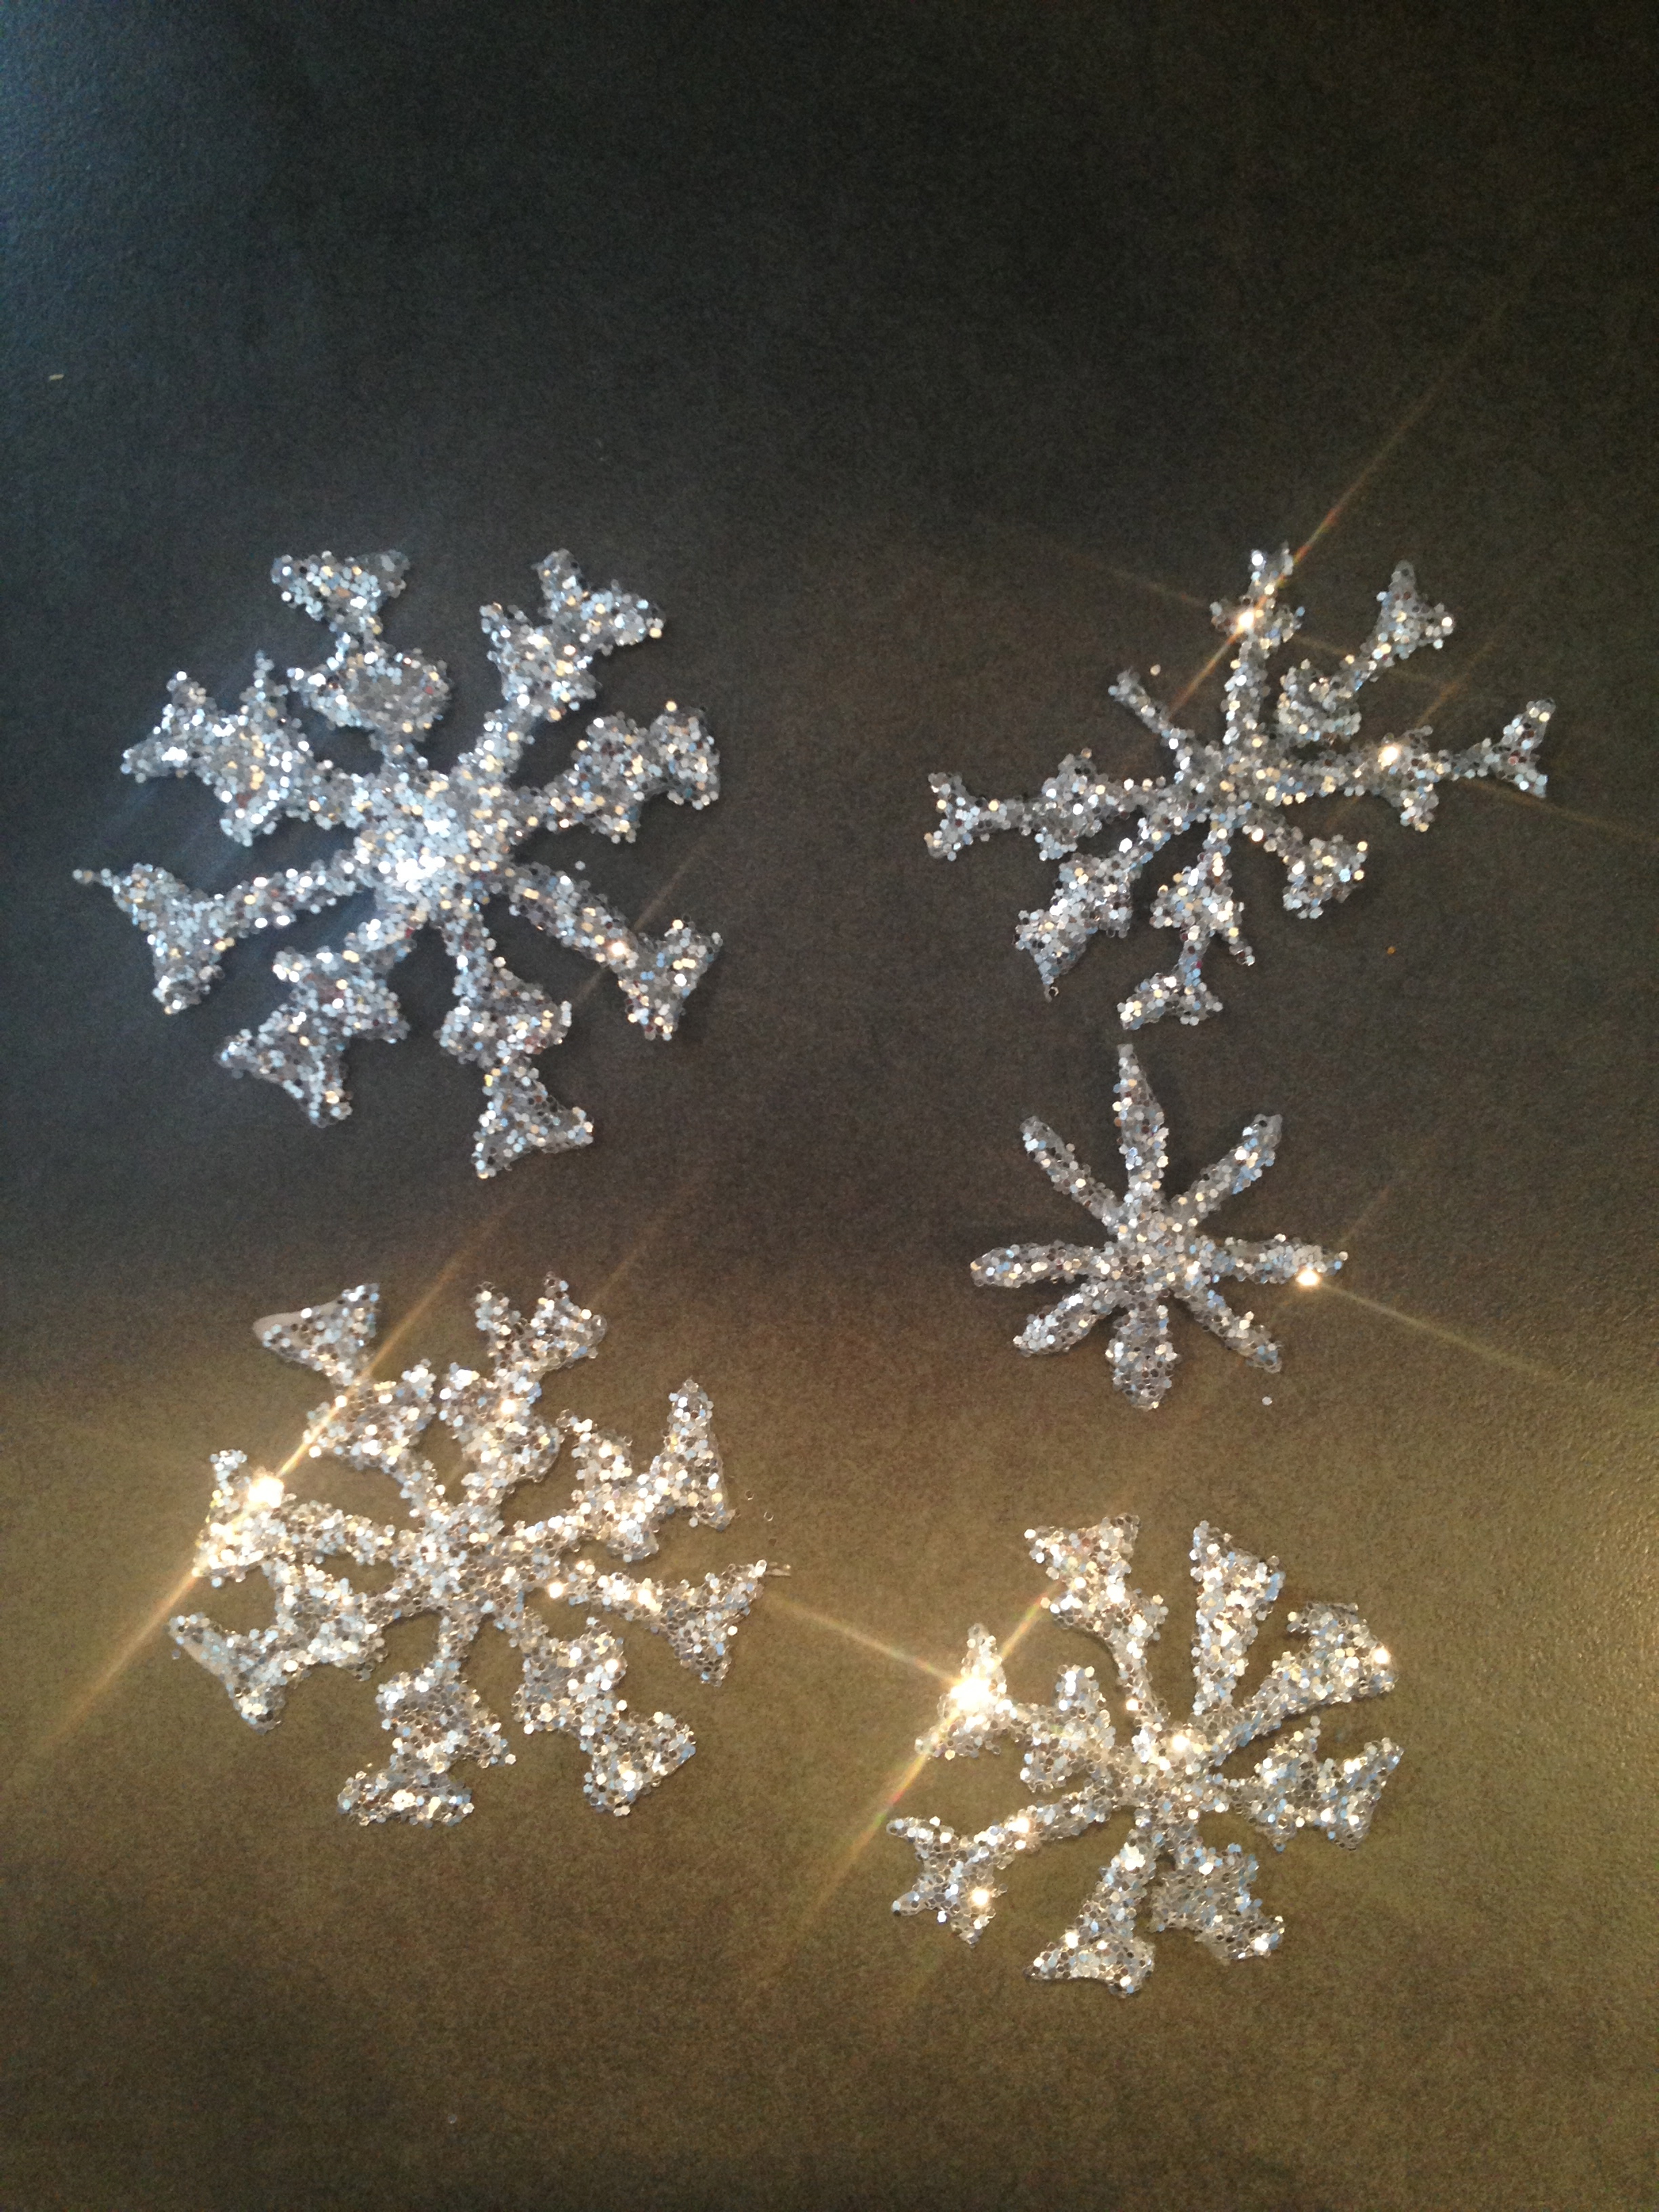 When completely dry; carefully peel the snowflakes off of the wax paper. I obviously wasn’t successful in peeling off each snowflake, but no snowflake is the same or perfect, so I we still used the ones that didn’t peel off perfectly.

 Using a needle and thread, poke a hole into the top of each snowflake and thread the string through. Tie a knot to create a loop.
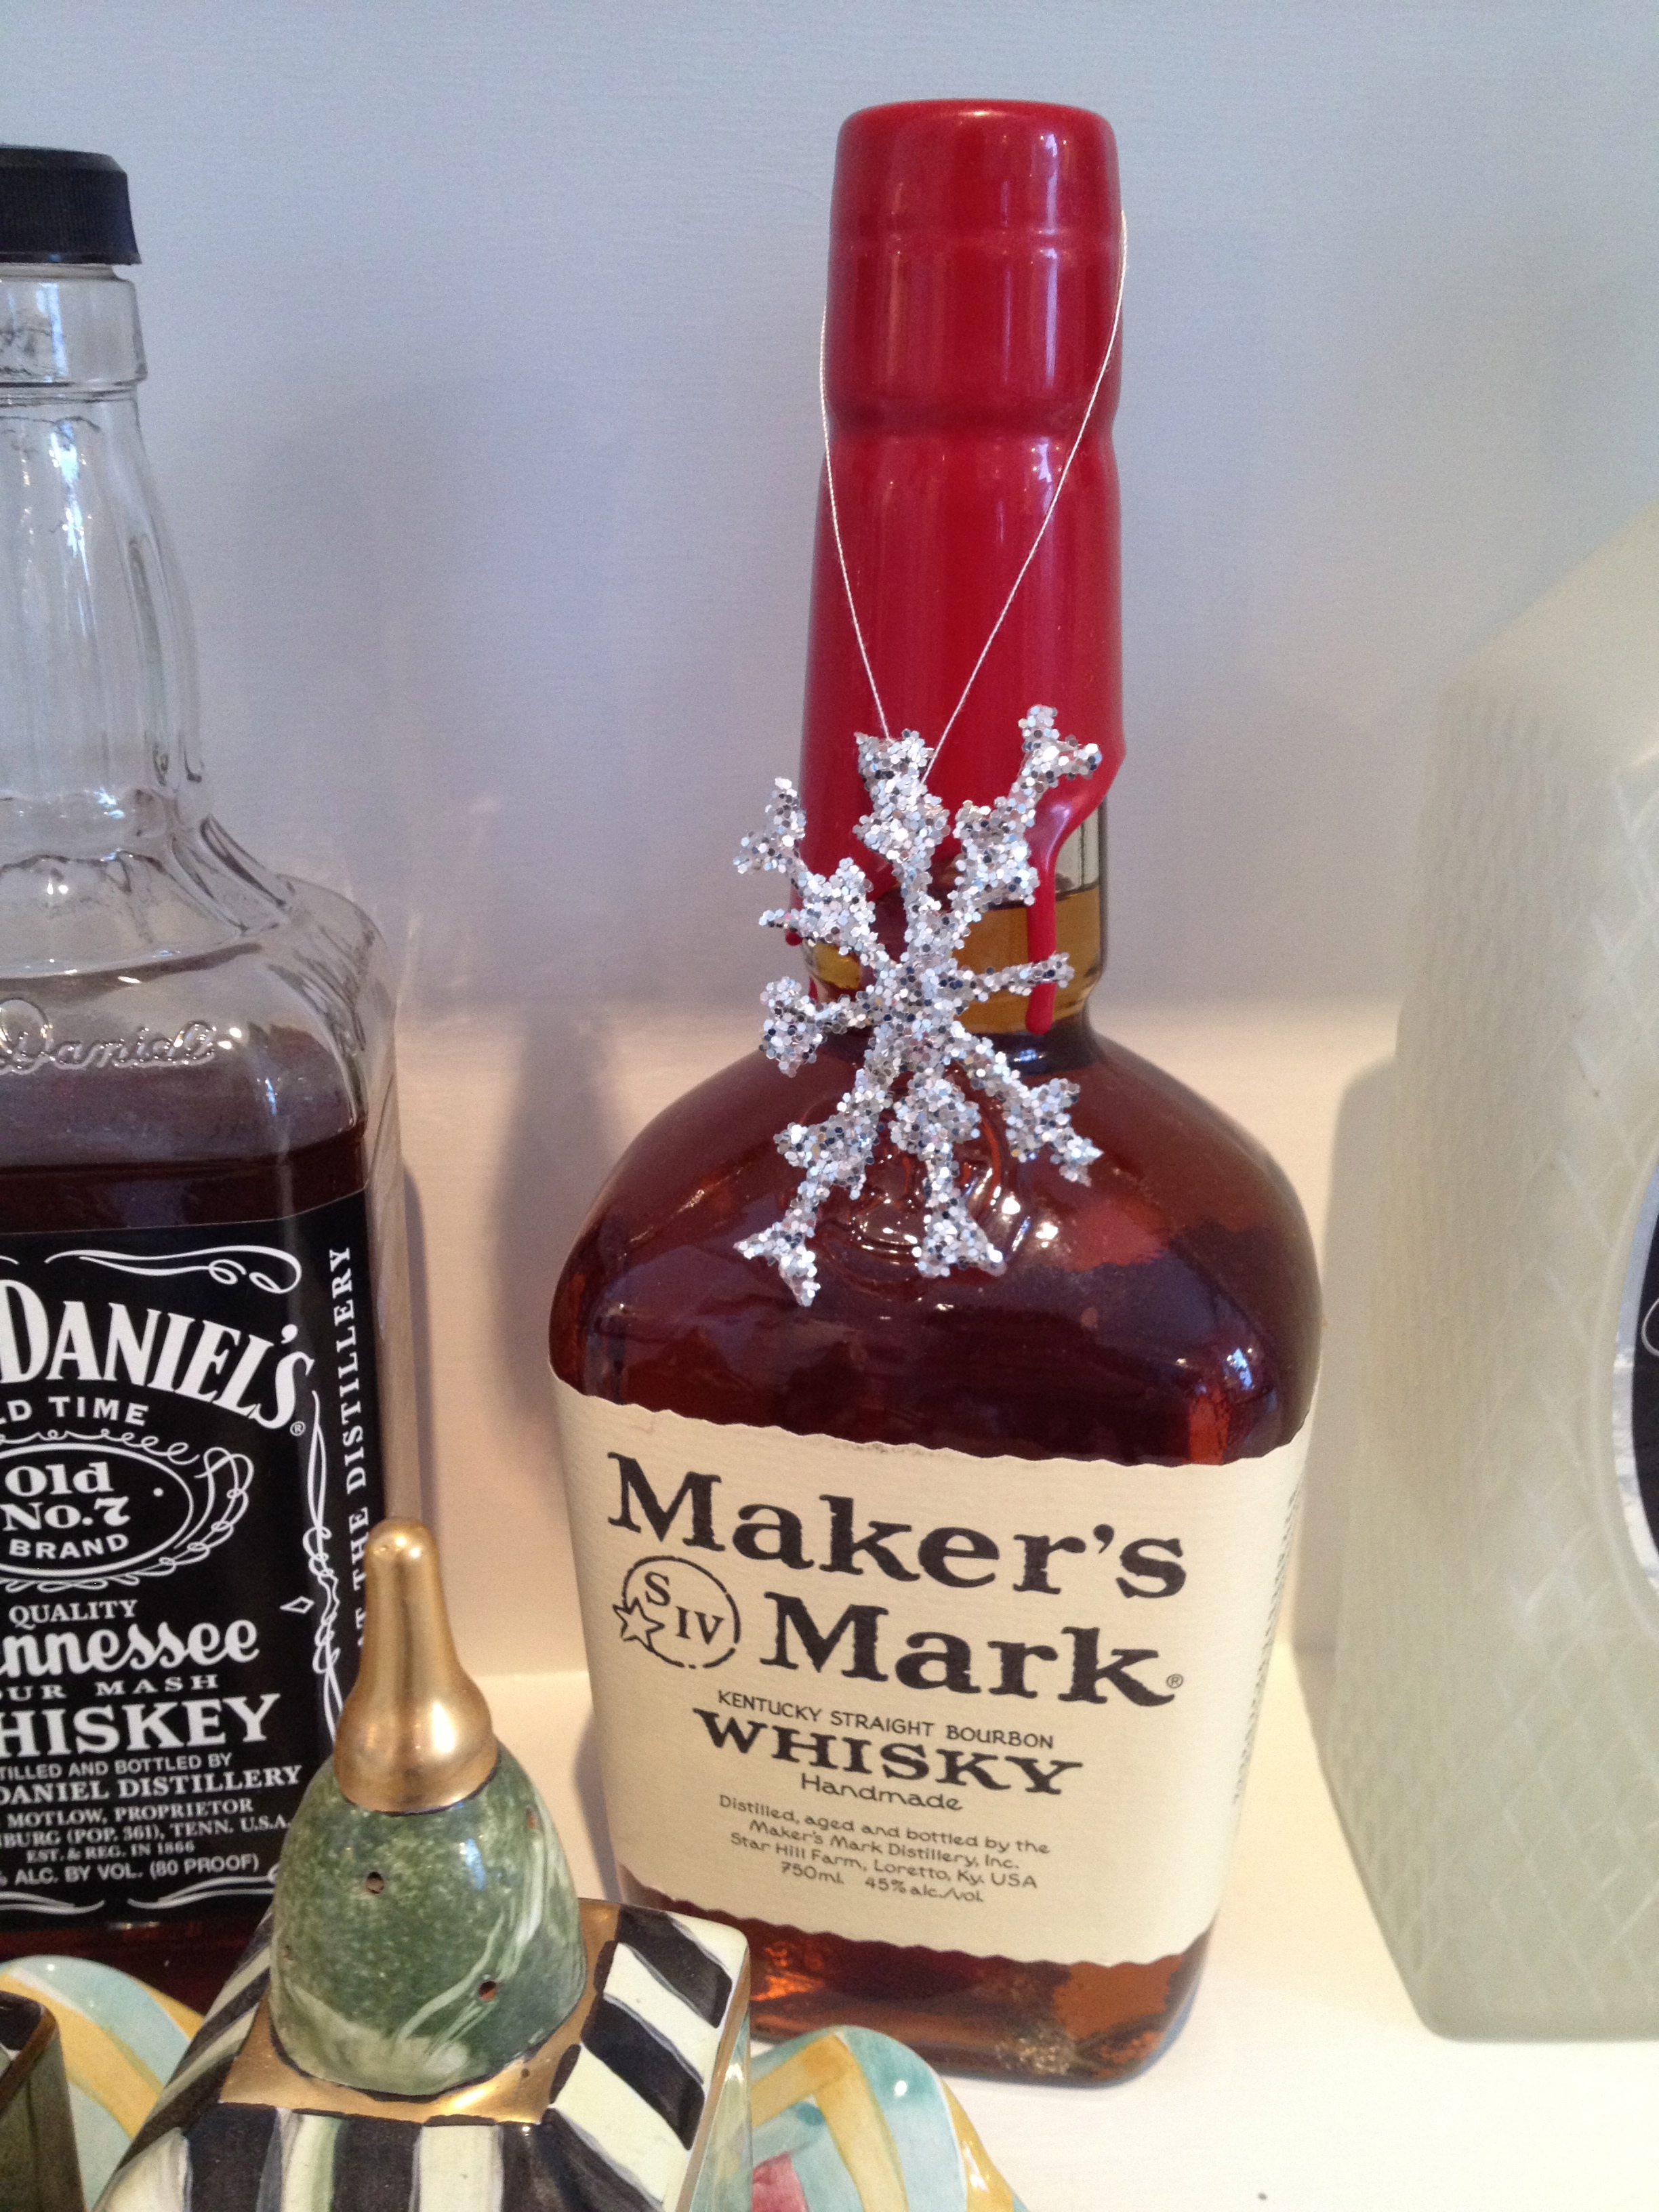

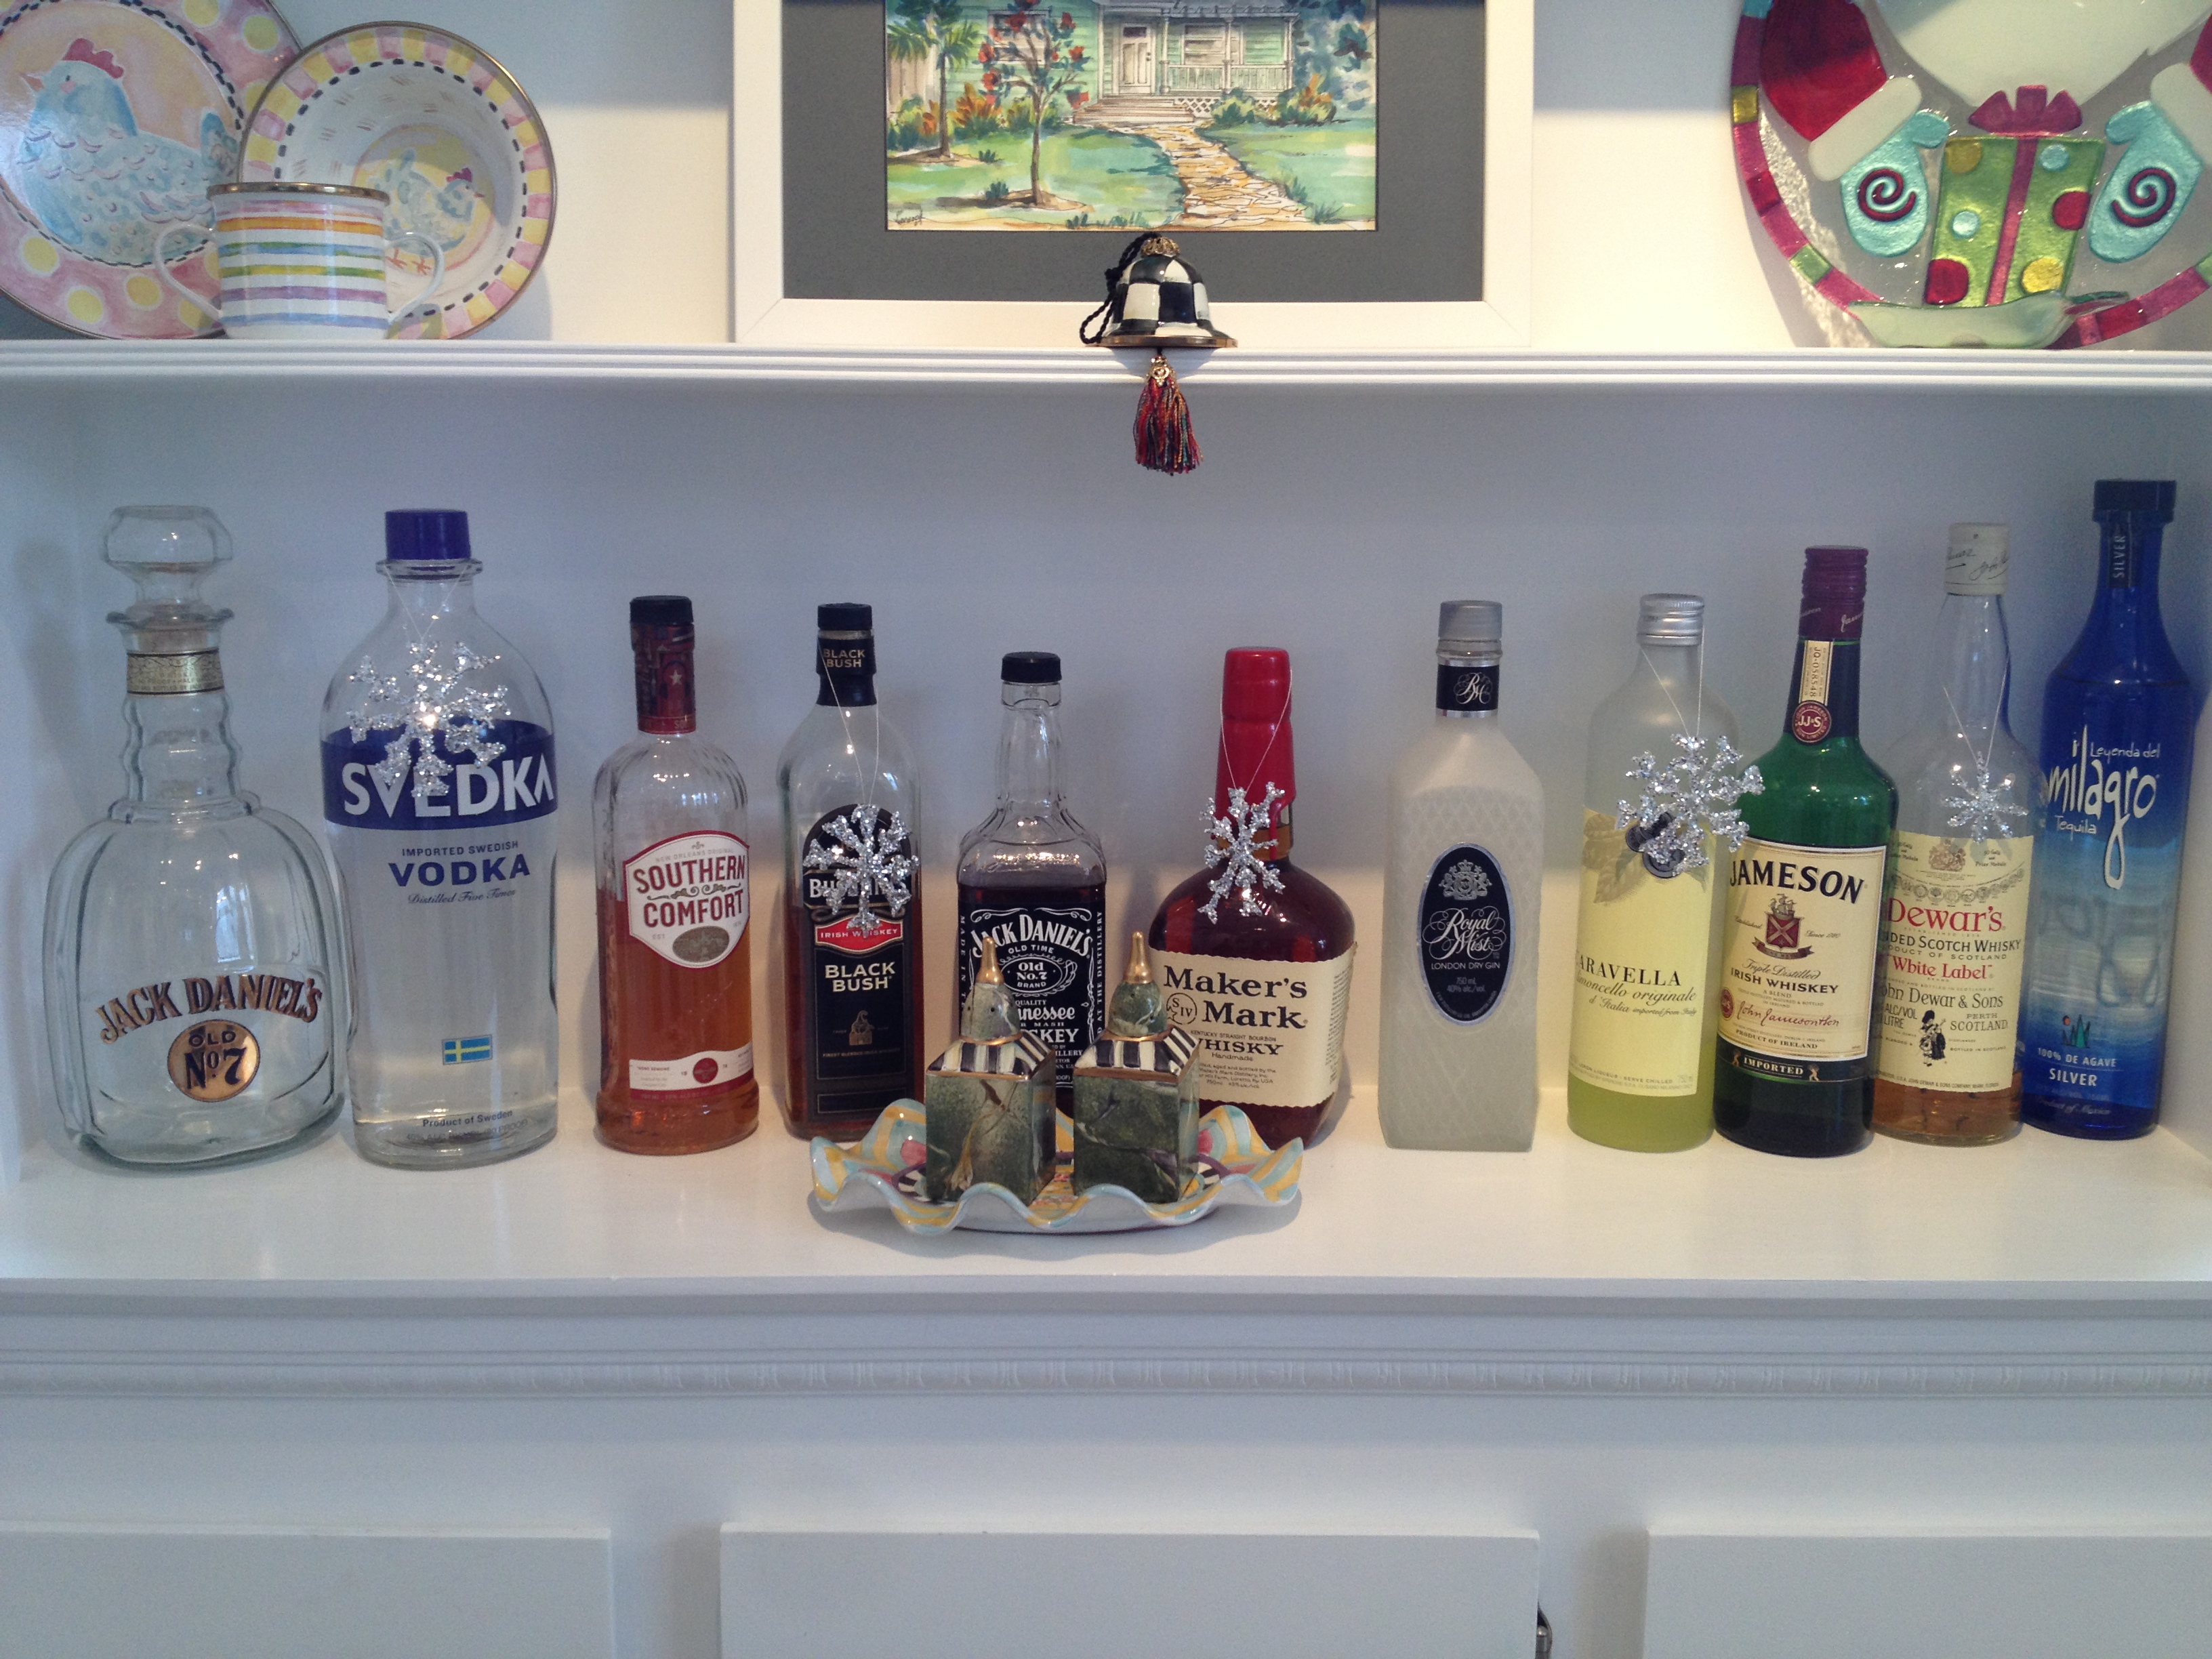 We used our snowflakes to decorate our bar in the the kitchen. The snowflakes add the perfect amount of sparkle to our kitchen!