 Do you ever feel like decorating is a domino effect? Change one thing which changes another and then leads to even more. I have been on the hunt for a very narrow console table for our entryway for almost a year. The space called for a sleek and simple table that you wouldn’t constantly bump into when you entered the apartment. I finally found the perfect table with a 10 inch depth on Amazon which led to the day of rearranging this weekend. The new table eliminated space for the coat rack, which wasn’t a big deal because it was always in the way, but then the domino effect began. Removing the coat rack from the equation left no space to hang coats for the upcoming cooler months. It’s not that we don’t have a lot of closet space, for an NYC apartment we actually have quite a lot, but the layout isn’t conducive for easy access to entirety of the racks (and maybe they’re already full with my clothes… maybe). Knowing our lifestyle, it needs to be easy to see, access and hang back up a coat or it will end up hanging from the back of a dining chair. We had a wasted corner of space in the bedroom that housed the hamper and then later a dog crate. Hudson will never be big enough for that crate but if I moved the crate the domino effect continued because he still needs it. Solution? I found a smaller crate that will fit under the shelf of my nightstand and be the perfect size for what he needs. That comes tomorrow so hopefully the nightstand space works as double duty because I have already taken over its previous space.
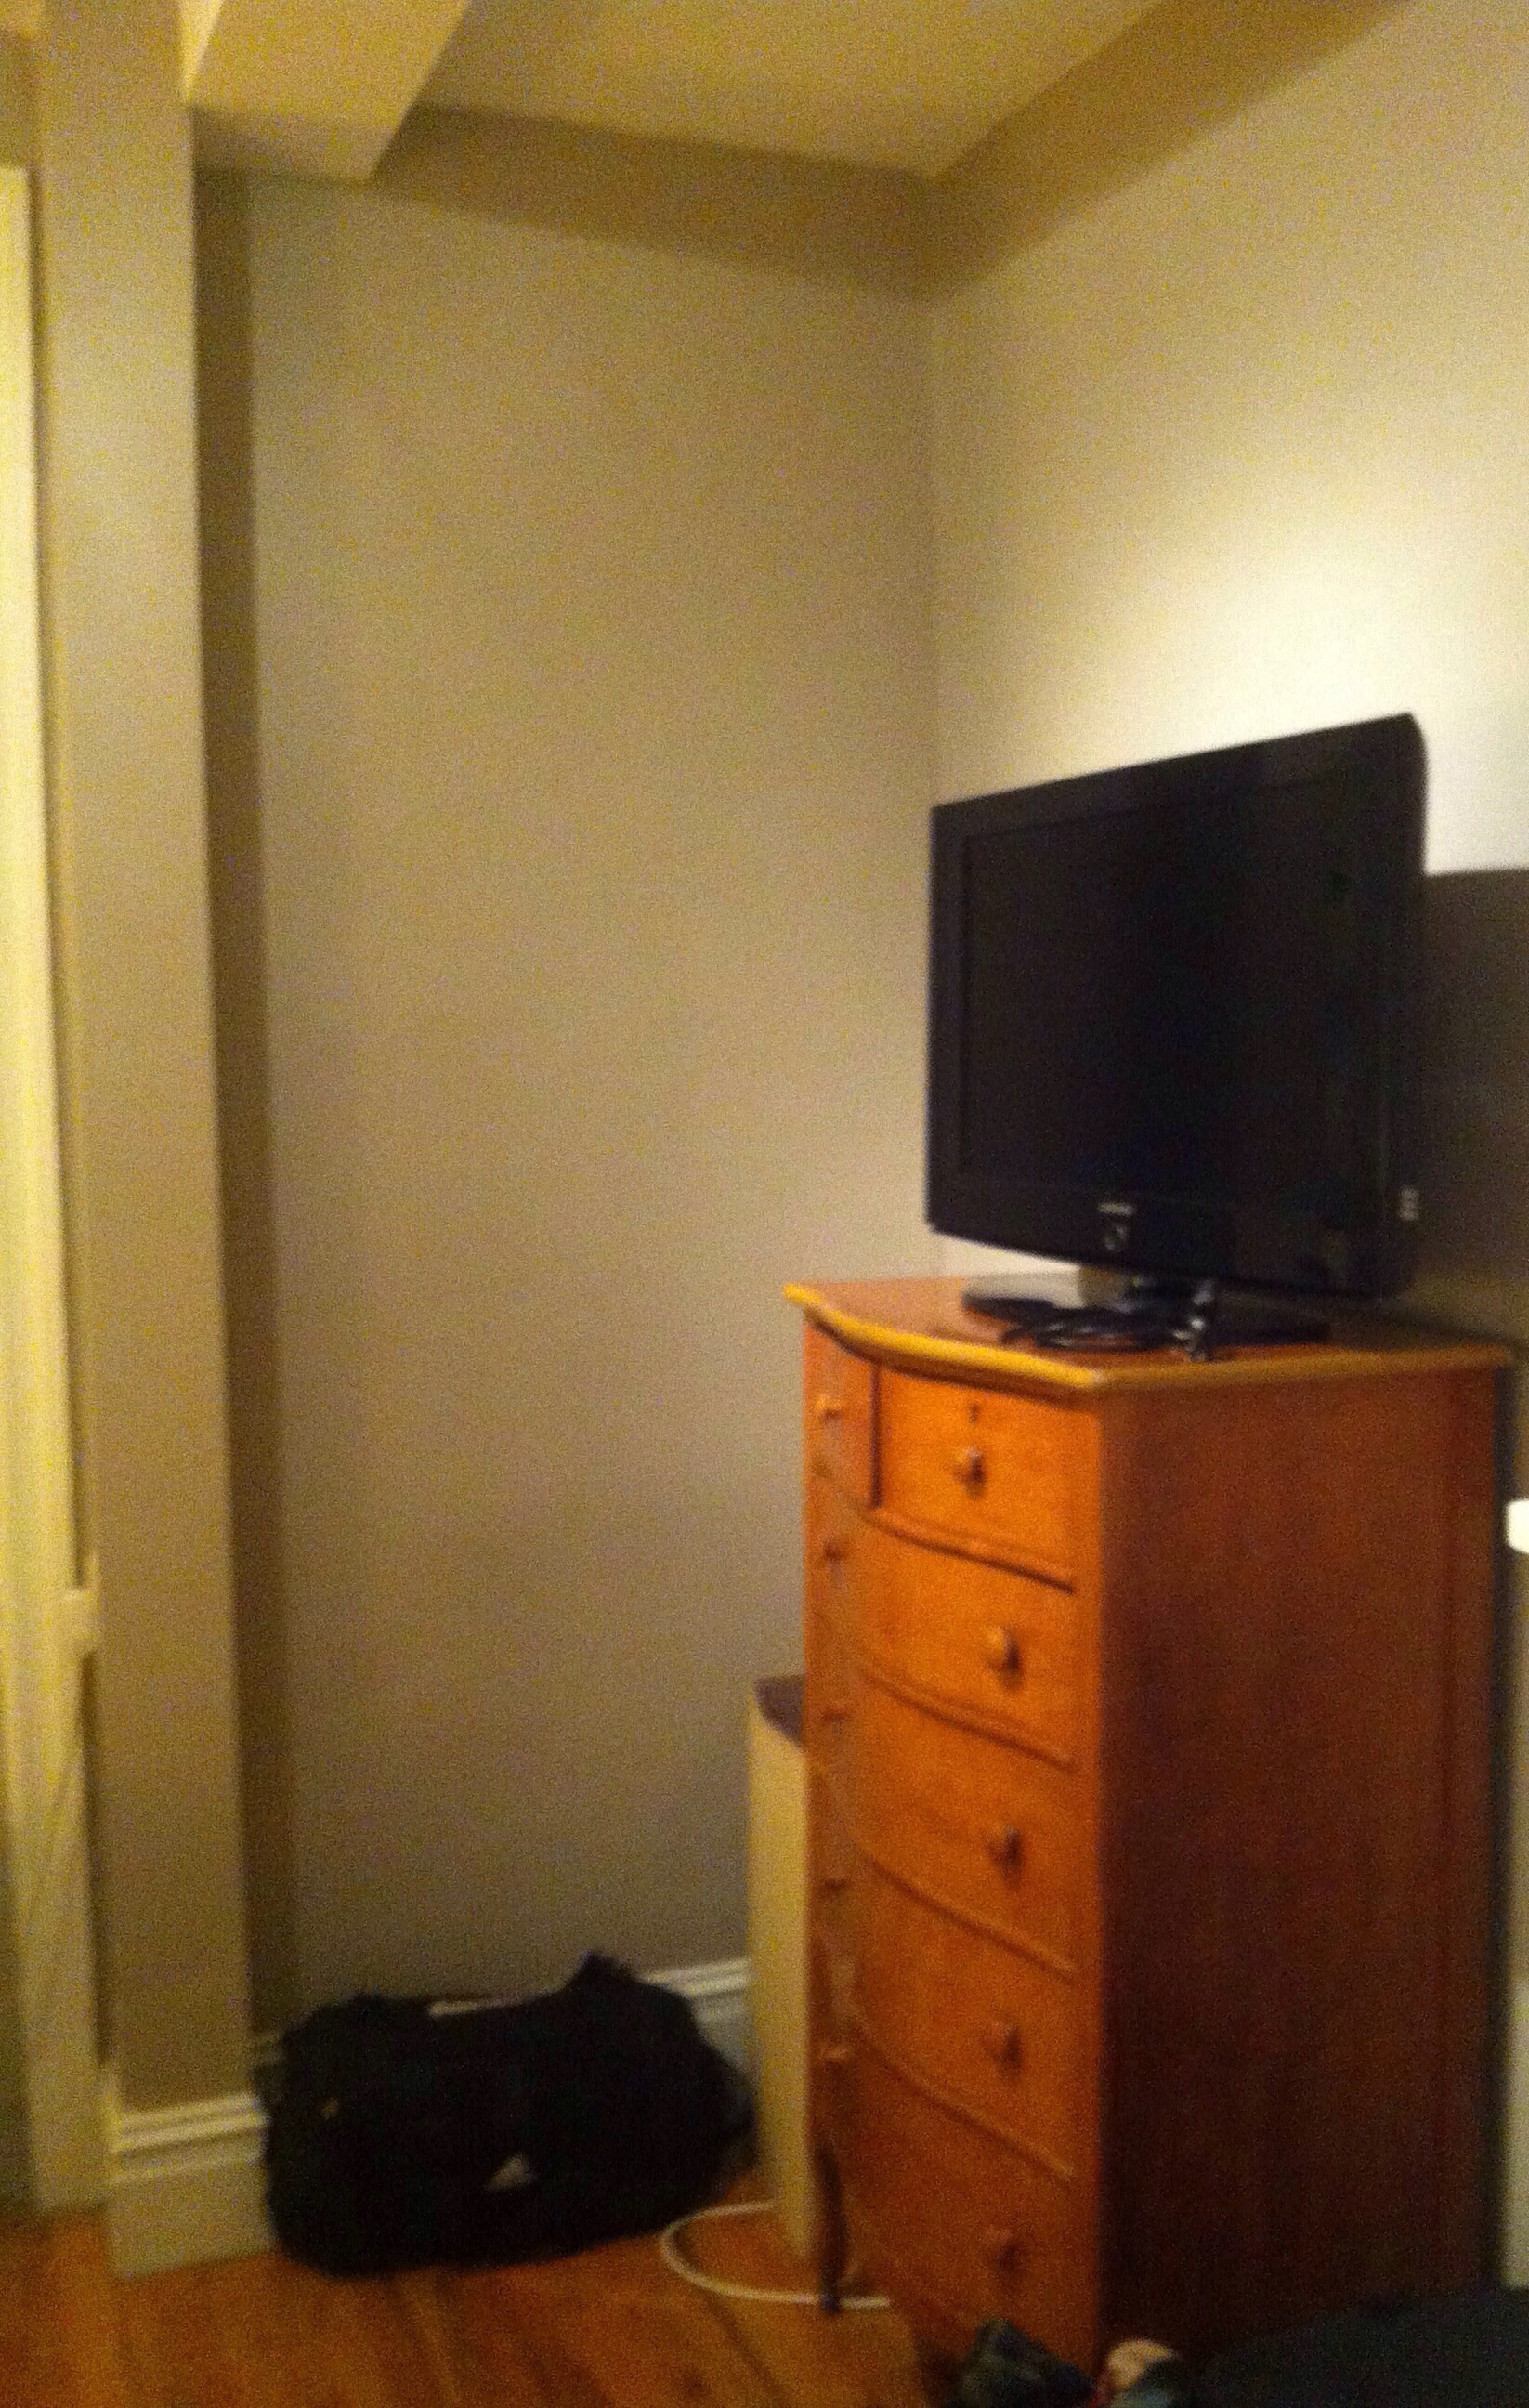
The wasted corner (pic from when we first moved in, the crate was where the bag is)
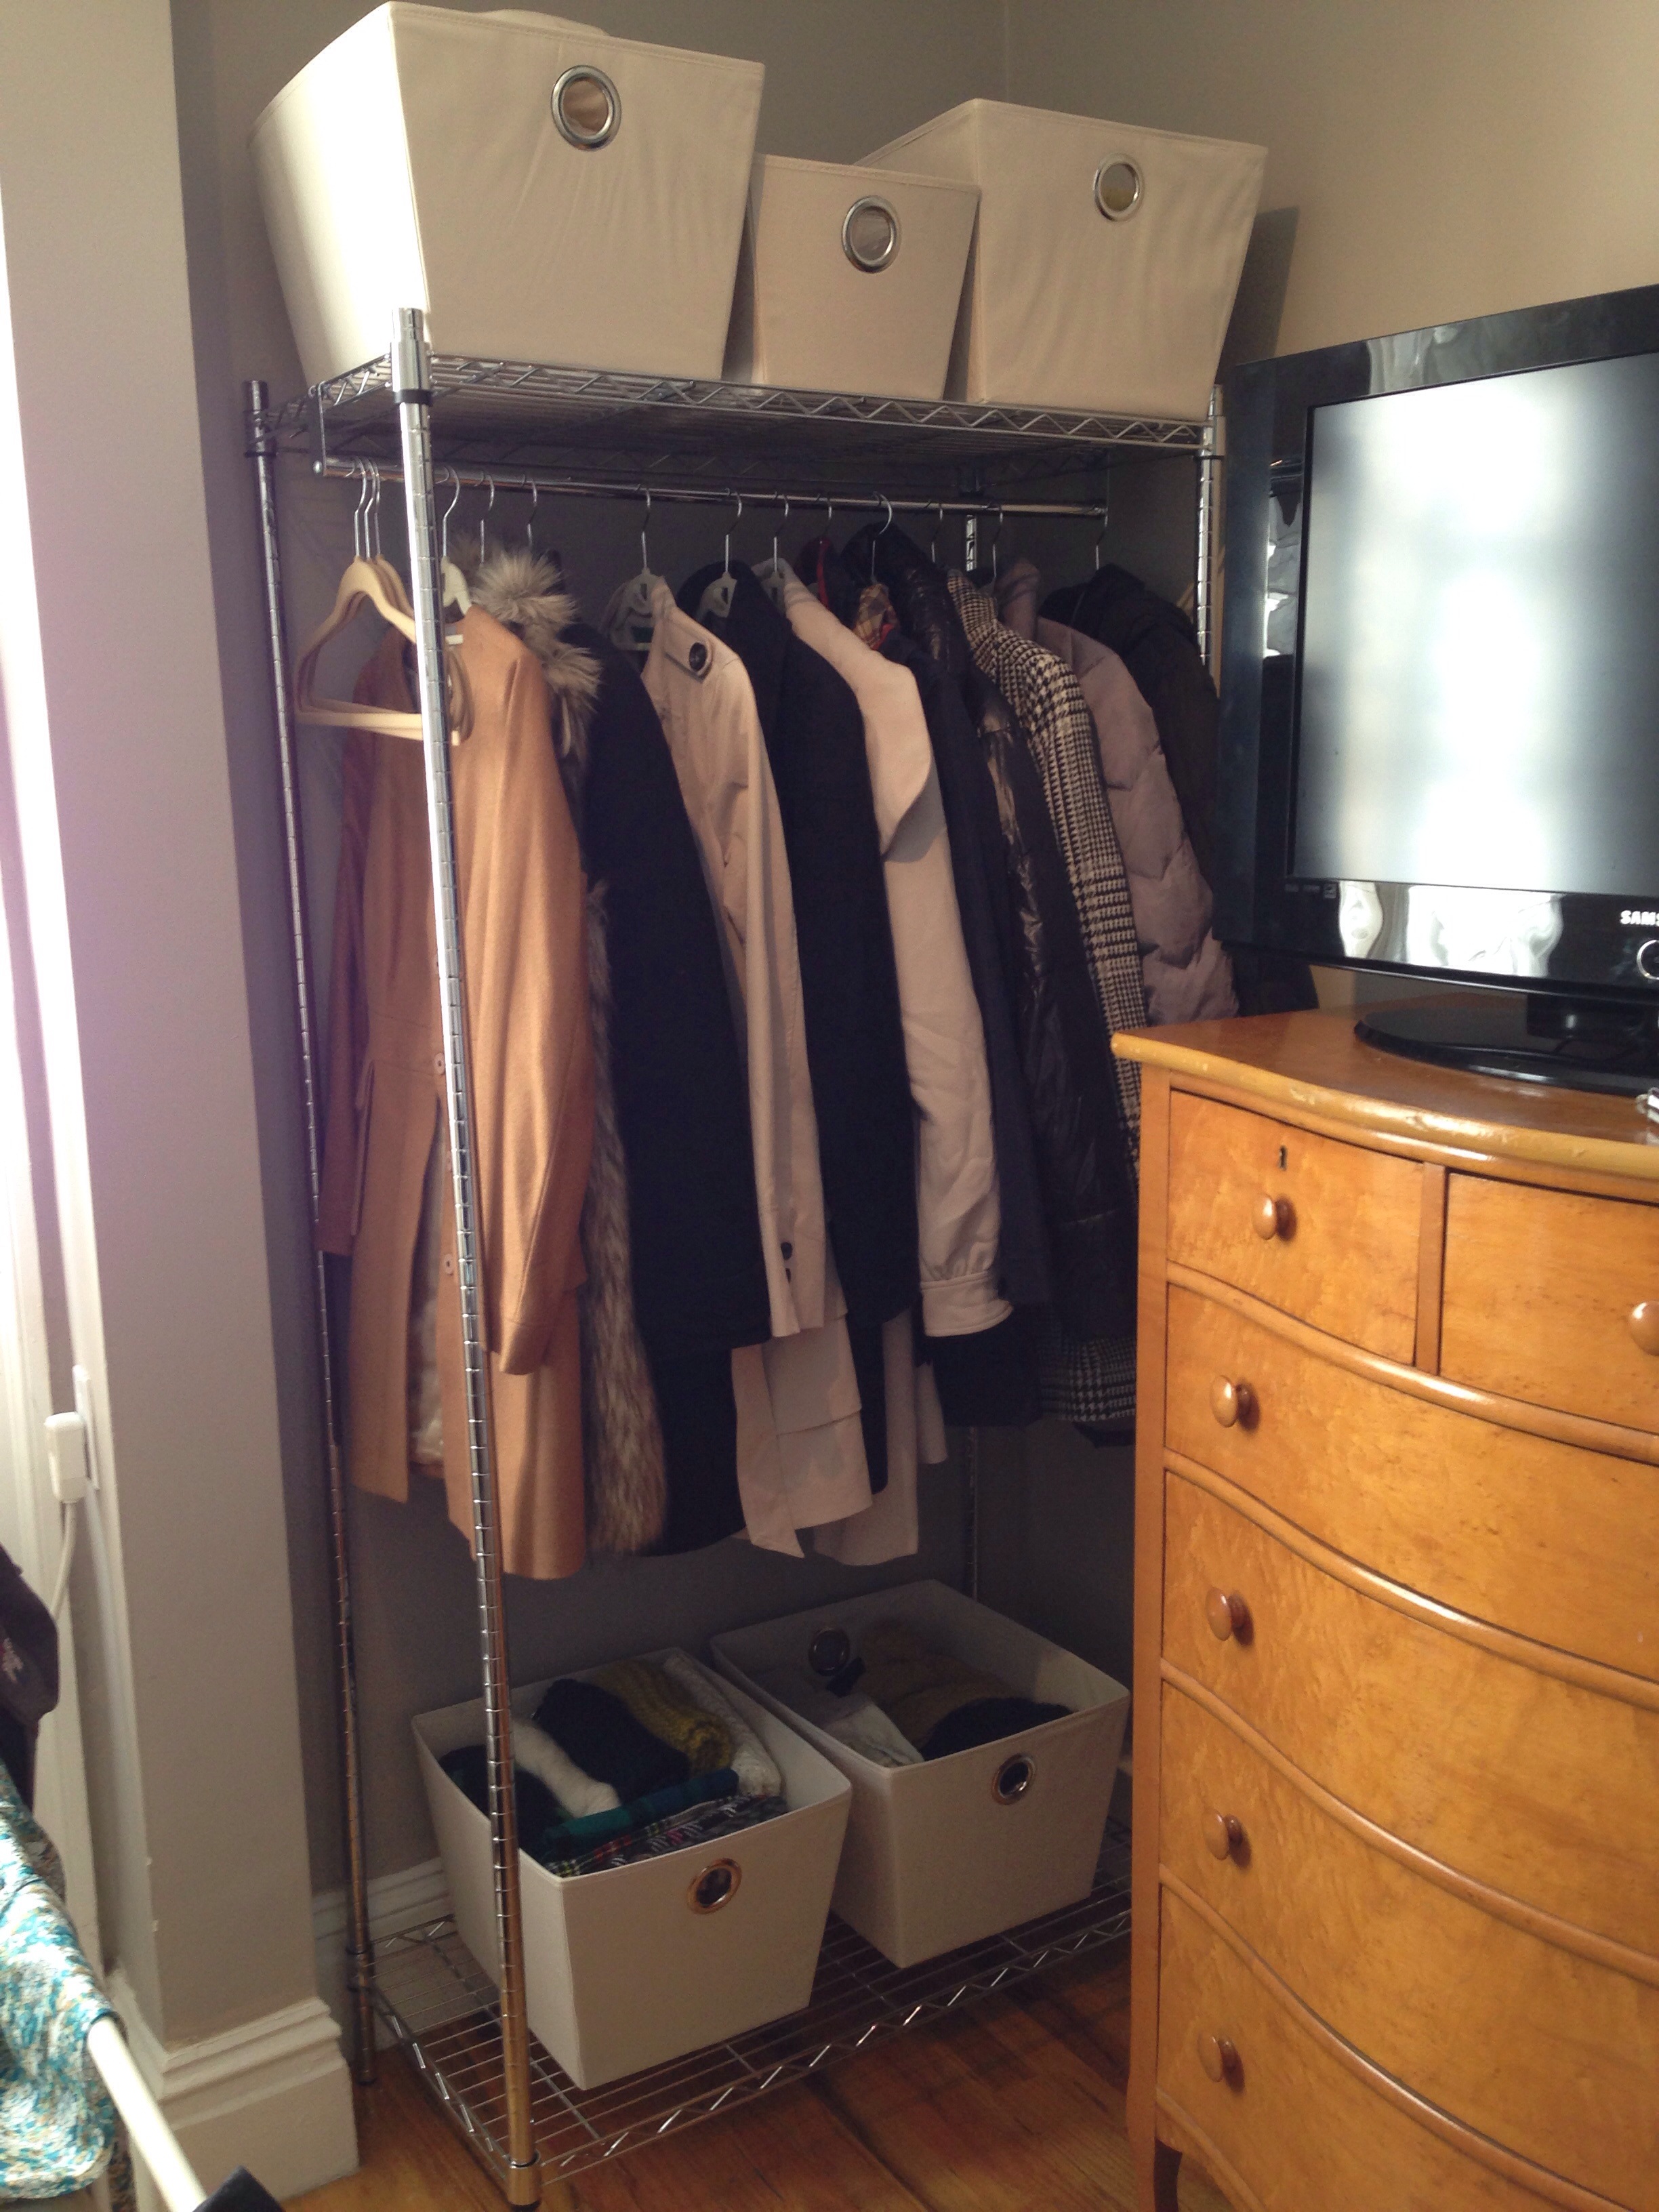
I did my research and found a garment rack that had two shelves to provide even more storage, in an apartment you can never seem to find enough. After fighting through the Saturday Bed Bath & Beyond crowds, I had the rack assembled in less than half an hour. The rack fits perfectly in the previously wasted corner and provides us with winter organization for coats, hats and gloves (in the lower baskets) as well as a better system for sheets and extra linens (in the upper baskets). I used the same baskets in my jewelry closet. The open layout allows easy access and hopefully will help the coat dumping problem at the table. 
 Baskets & Garment Rack: Bed Bath & Beyond